Strip quilting The strip piece block and the

Strip quilting

The strip piece block and the rotary cutter To cut strips of fabric accurately you need the rotary cutting system. For strip piecing it is a must.

Here is a picture of the rotary cutter, ruler and mat. All are essential in using the cutting system. The rotary cutter is surgically sharp so it is important to follow all the safety rulers.

Next I lay the second strip right sides together to the first strip so the raw edges are even. I steam press each strip after I sew it and open it out to form the new background design. I continue to build the strips on the right and left of the starting strip to fill the background.

If my fabric is pre quilted or includes batting, I use the walking foot to piece the strips. Placing the walking foot on the raw edge of the seam, I can adjust the needle position on the machines to achieve a ¼” seam Once I finish the strip piecing I turn the piece over to the wrong side and sew a ¼” around the outside edge and trim the edge even.

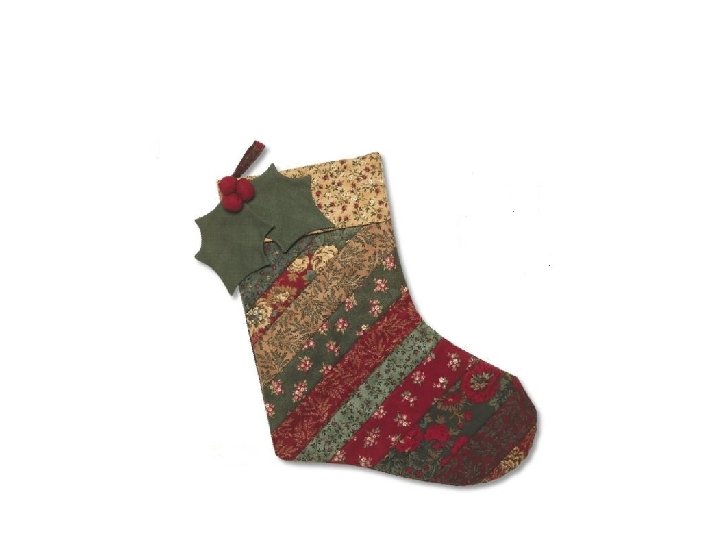
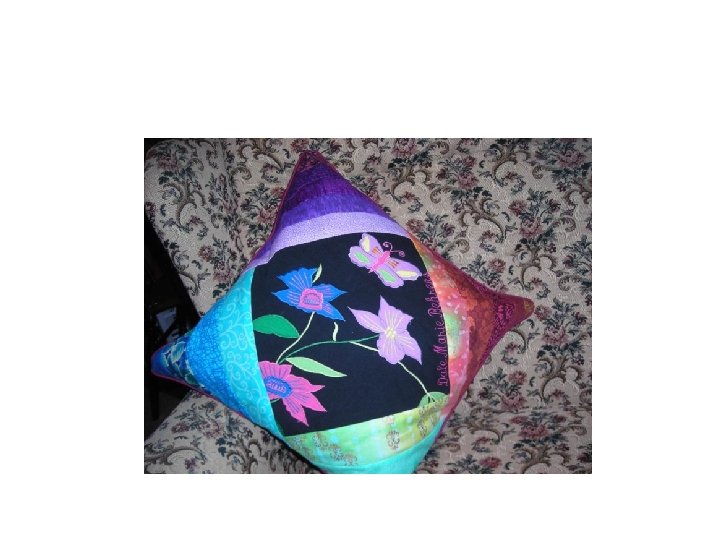
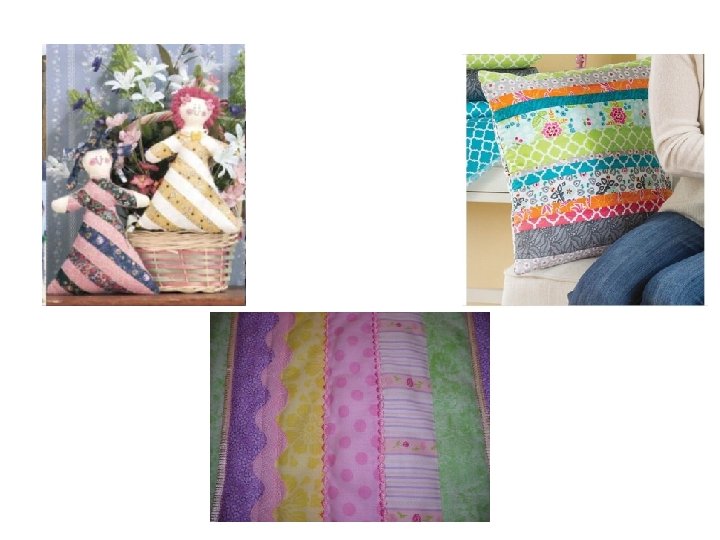
Every time I add a strip I sew the 2 strips together with a ¼” seam. I then open the strip and press it flat and get it ready to additional strips. Here are some strip quilt masterpieces.

You can construct a block for your lap quilt using strip piecing. Cut a back ground 13” ( trim it to 12 ½” later) Strip piece the block from the center out and add decorative stitches to the seams for a nice effect. Here is my block in the first few stages.

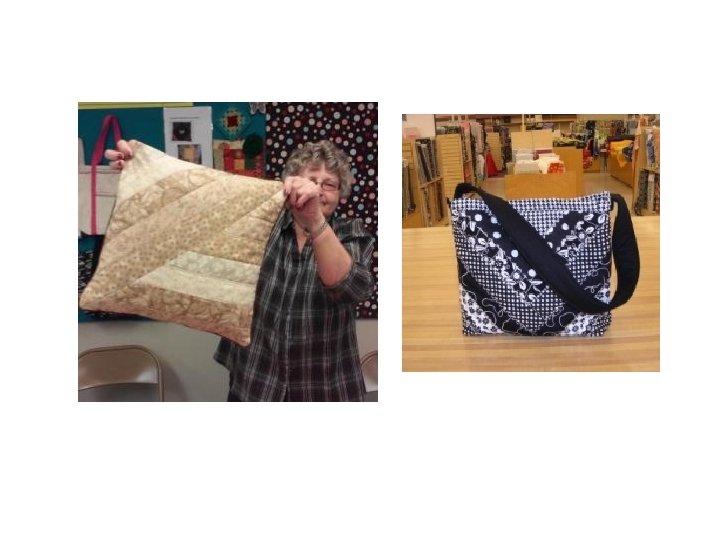
Here is a log cabin block I am using for the center of a pillow. I will strip piece the corners to fill the pillow top. The pillow will be finished with piping and boxed to cover and old foam pillow. The seating pillow will then match my lap quilt.

More strip quilt projects! I also have a link to my Pinterest page devoted to strip piecing. You can get some inspiration here!
- Slides: 13