Solid Modeling Solid Works Layout 2 D Sketching
- Slides: 35

Solid Modeling Solid. Works Layout 2 D Sketching ENGR 1182 Solid. Works 01

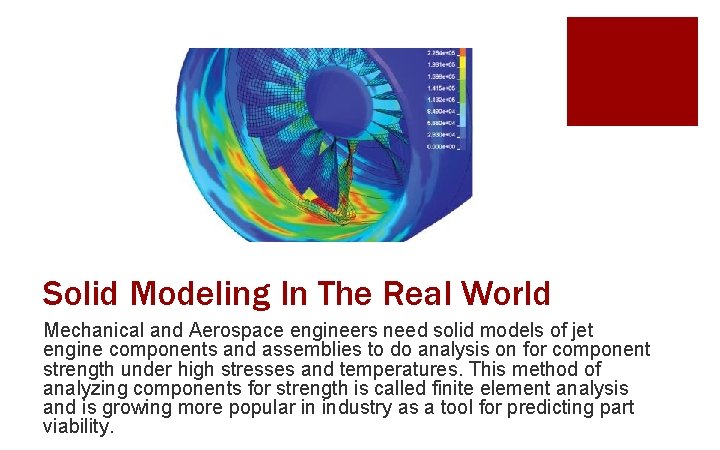
Solid Modeling In The Real World Mechanical and Aerospace engineers need solid models of jet engine components and assemblies to do analysis on for component strength under high stresses and temperatures. This method of analyzing components for strength is called finite element analysis and is growing more popular in industry as a tool for predicting part viability.

Today’s Objectives § Introduction to: • Layout of Solid. Works ¡ Starting Solid. Works ¡ Part File Layout • 2 D Sketching § SW 01 In-Class Activity ¡ View Block ¡ First 2 D Profile § SW 01 Out-of-Class Homework Assignment

Solid. Works Layout ENGR 1182 Solid. Works 01

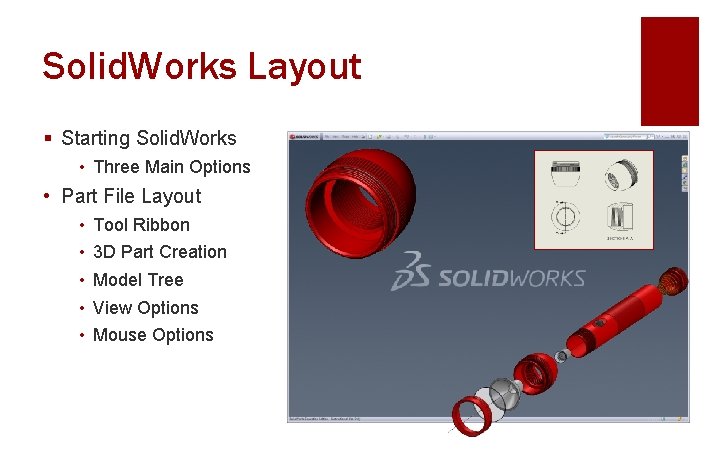
Solid. Works Layout § Starting Solid. Works • Three Main Options • Part File Layout • • • Tool Ribbon 3 D Part Creation Model Tree View Options Mouse Options

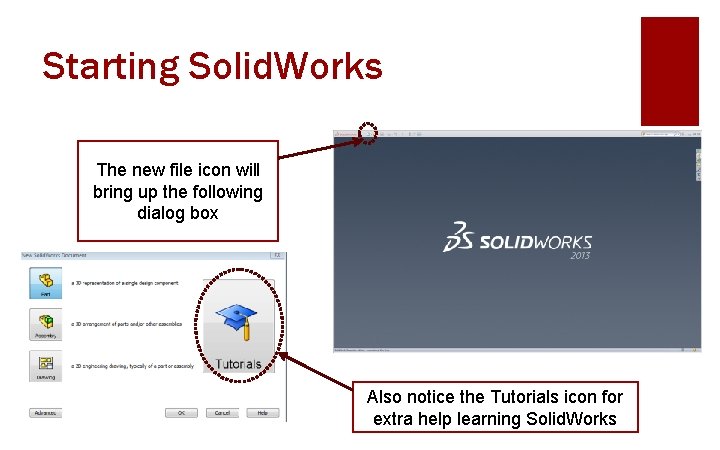
Starting Solid. Works The new file icon will bring up the following dialog box Also notice the Tutorials icon for extra help learning Solid. Works

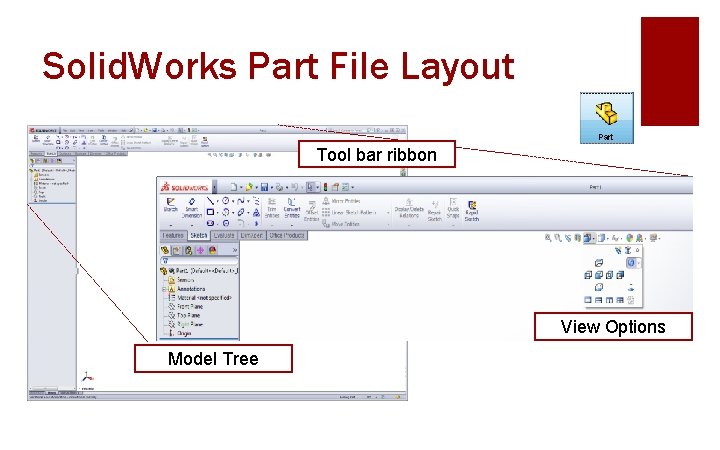
Solid. Works Part File Layout Tool bar ribbon View Options Model Tree

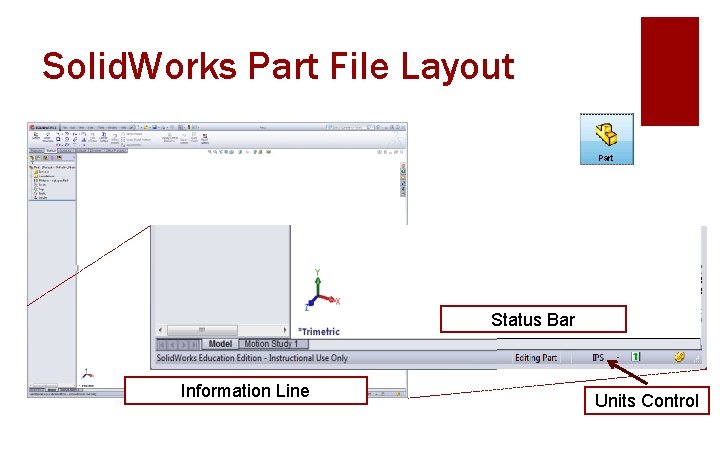
Solid. Works Part File Layout Status Bar Information Line Units Control

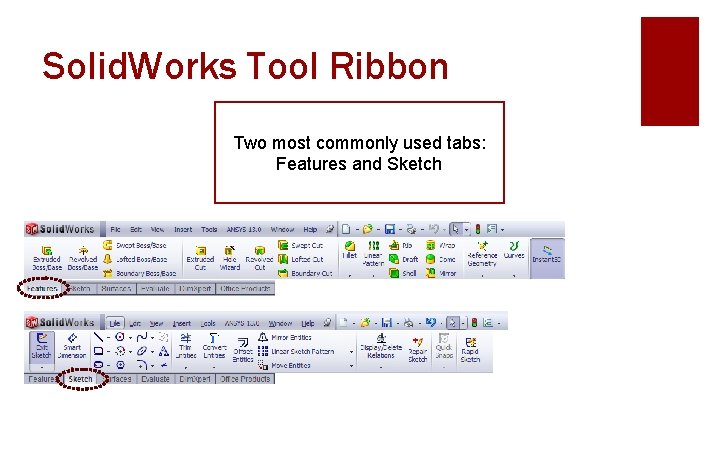
Solid. Works Tool Ribbon Two most commonly used tabs: Features and Sketch

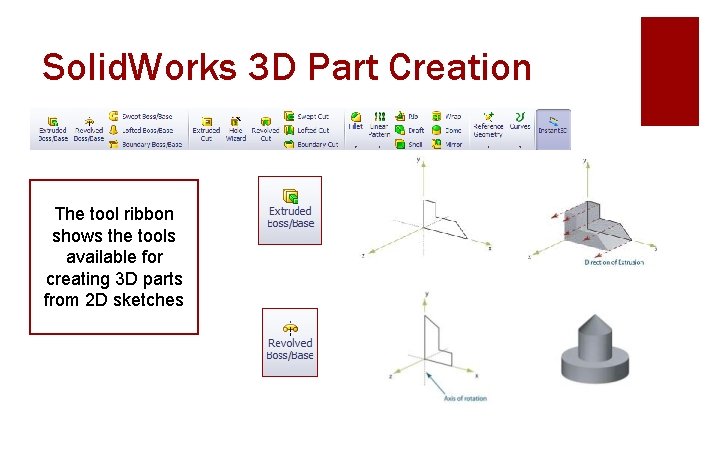
Solid. Works 3 D Part Creation The tool ribbon shows the tools available for creating 3 D parts from 2 D sketches

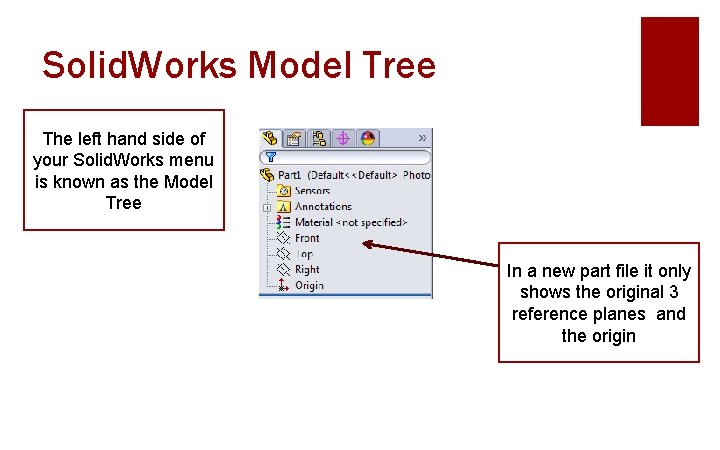
Solid. Works Model Tree The left hand side of your Solid. Works menu is known as the Model Tree In a new part file it only shows the original 3 reference planes and the origin

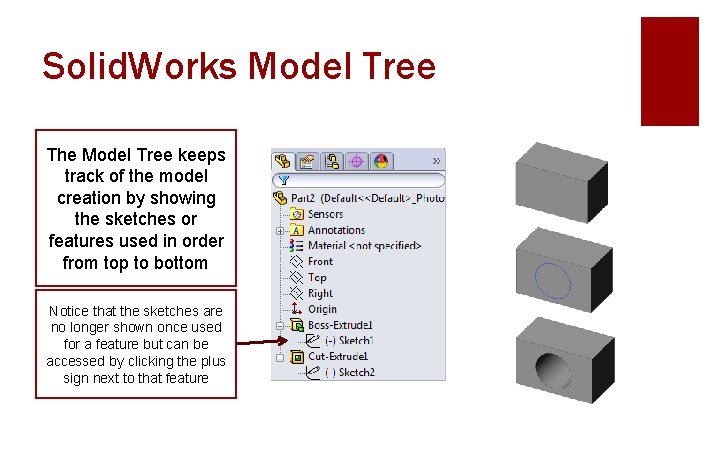
Solid. Works Model Tree The Model Tree keeps track of the model creation by showing the sketches or features used in order from top to bottom Notice that the sketches are no longer shown once used for a feature but can be accessed by clicking the plus sign next to that feature

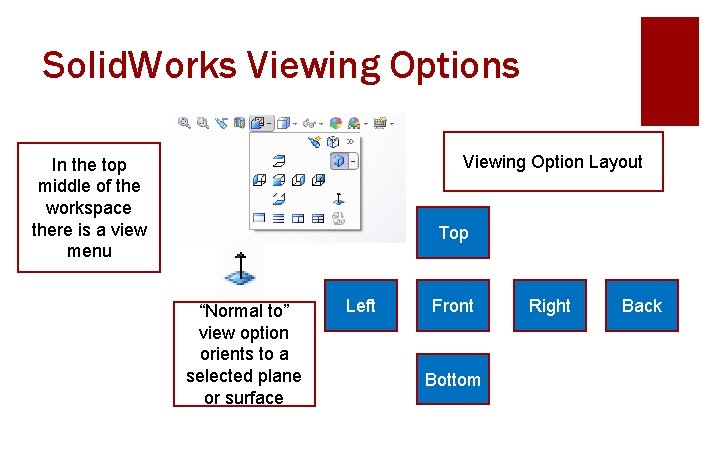
Solid. Works Viewing Option Layout In the top middle of the workspace there is a view menu Top “Normal to” view option orients to a selected plane or surface Left Front Bottom Right Back

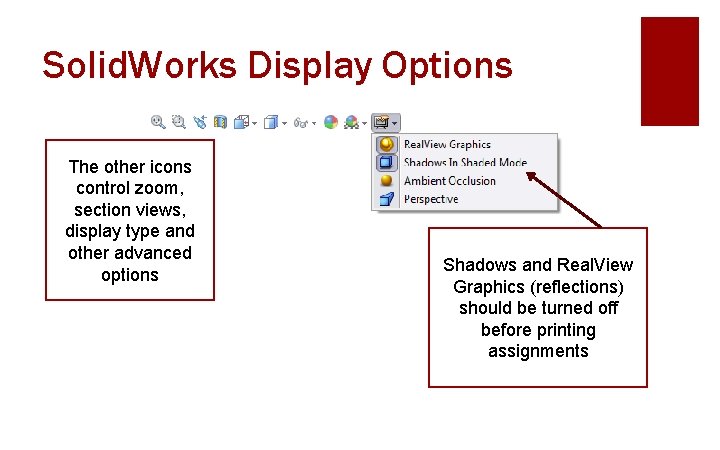
Solid. Works Display Options The other icons control zoom, section views, display type and other advanced options Shadows and Real. View Graphics (reflections) should be turned off before printing assignments

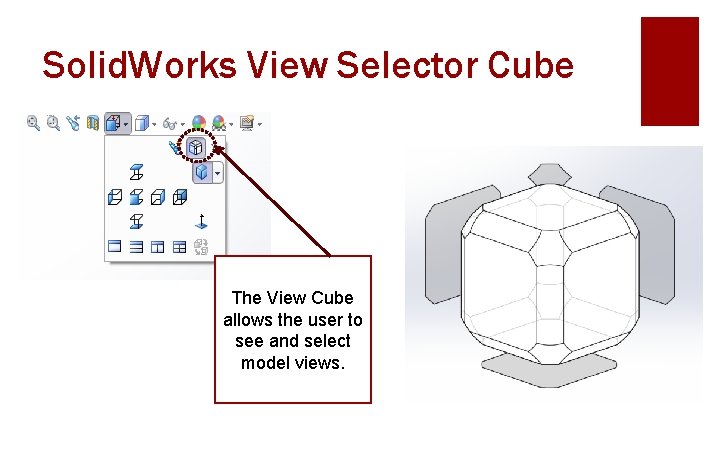
Solid. Works View Selector Cube The View Cube allows the user to see and select model views.

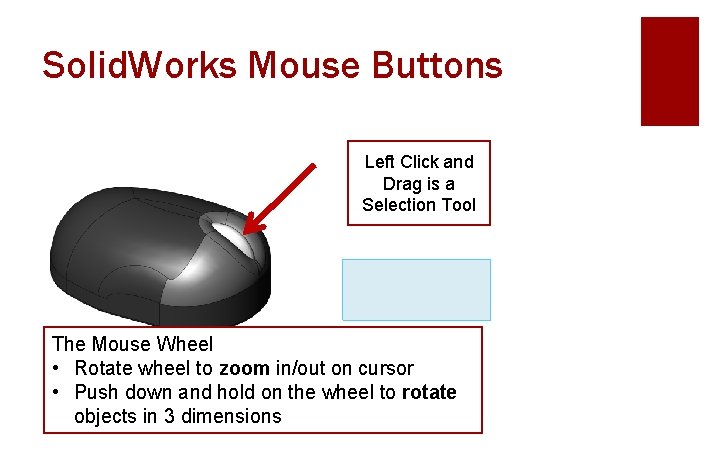
Solid. Works Mouse Buttons Left Click and Drag is a Selection Tool The Mouse Wheel • Rotate wheel to zoom in/out on cursor • Push down and hold on the wheel to rotate objects in 3 dimensions

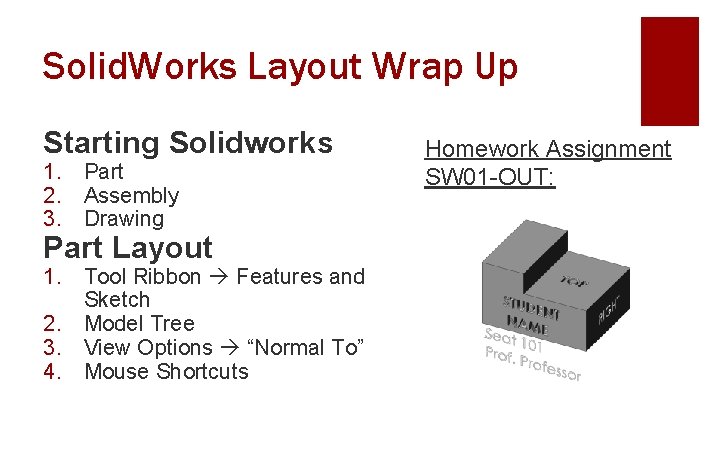
Solid. Works Layout Wrap Up Starting Solidworks 1. Part 2. Assembly 3. Drawing Part Layout 1. Tool Ribbon Features and Sketch 2. Model Tree 3. View Options “Normal To” 4. Mouse Shortcuts Homework Assignment SW 01 -OUT:

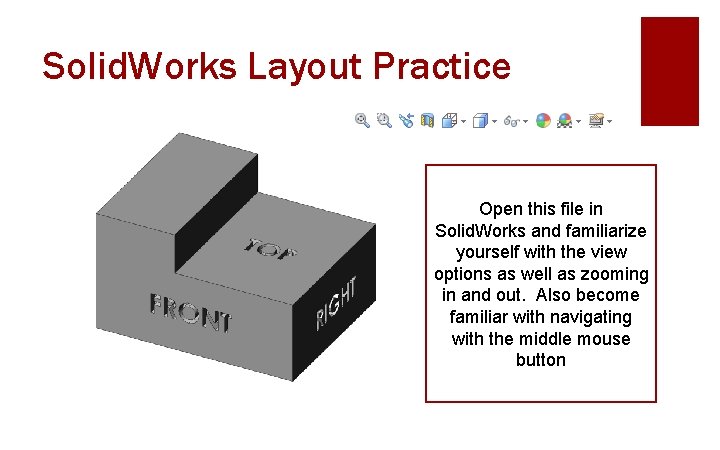
Solid. Works Layout Practice Open this file in Solid. Works and familiarize yourself with the view options as well as zooming in and out. Also become familiar with navigating with the middle mouse button

2 D Sketching ENGR 1182 Solid. Works 01

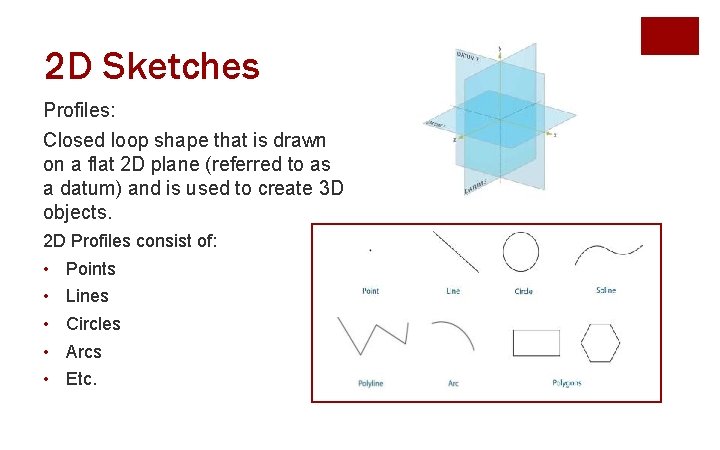
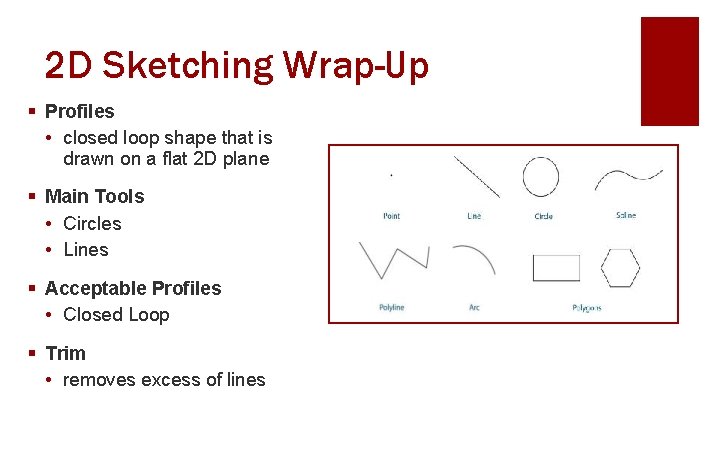
2 D Sketches Profiles: Closed loop shape that is drawn on a flat 2 D plane (referred to as a datum) and is used to create 3 D objects. 2 D Profiles consist of: • • • Points Lines Circles Arcs Etc.

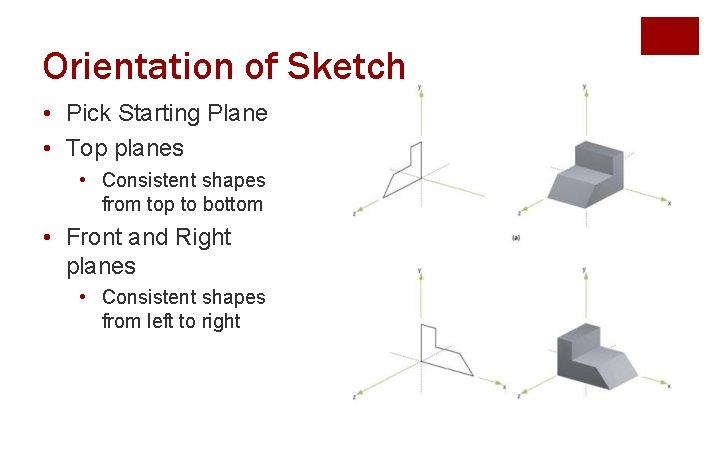
Orientation of Sketch • Pick Starting Plane • Top planes • Consistent shapes from top to bottom • Front and Right planes • Consistent shapes from left to right

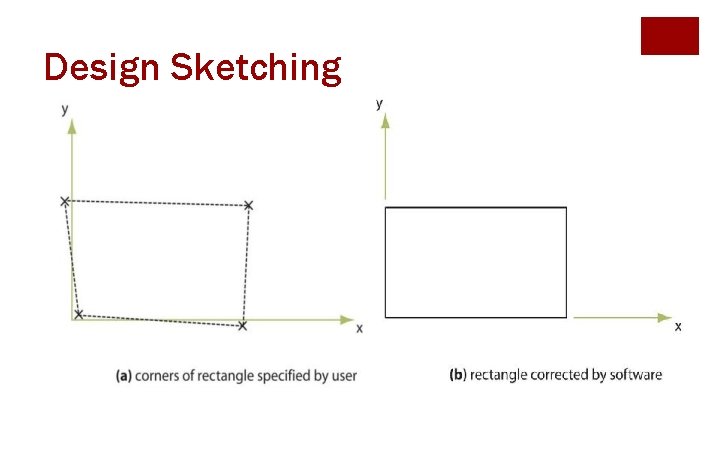
Design Sketching

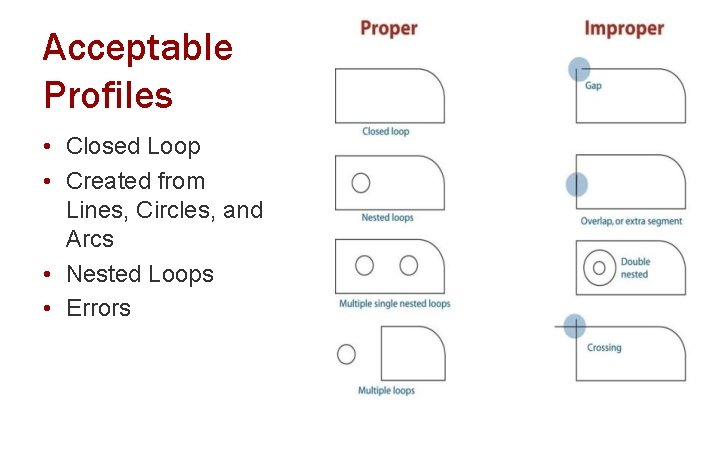
Acceptable Profiles • Closed Loop • Created from Lines, Circles, and Arcs • Nested Loops • Errors

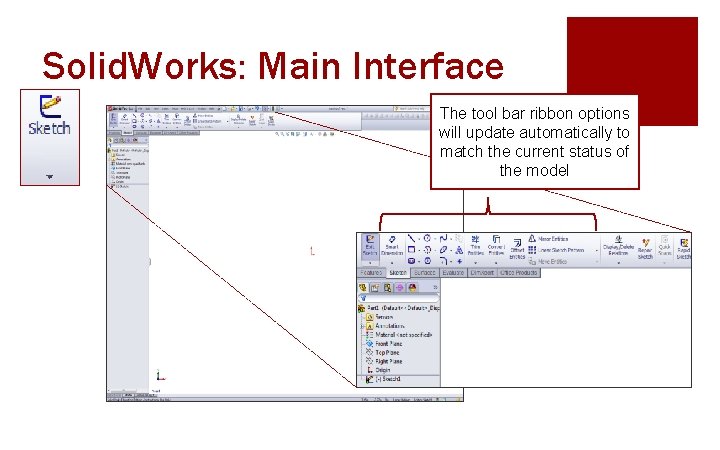
Solid. Works: Main Interface The tool bar ribbon options will update automatically to match the current status of the model

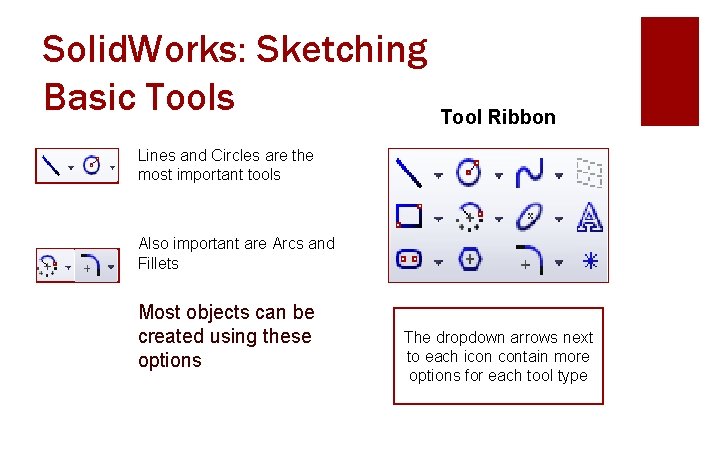
Solid. Works: Sketching Basic Tools Tool Ribbon Lines and Circles are the most important tools Also important are Arcs and Fillets Most objects can be created using these options The dropdown arrows next to each icon contain more options for each tool type

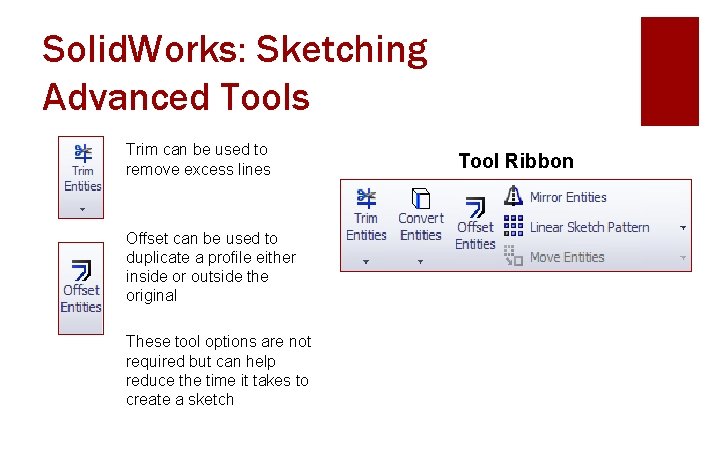
Solid. Works: Sketching Advanced Tools Trim can be used to remove excess lines Offset can be used to duplicate a profile either inside or outside the original These tool options are not required but can help reduce the time it takes to create a sketch Tool Ribbon

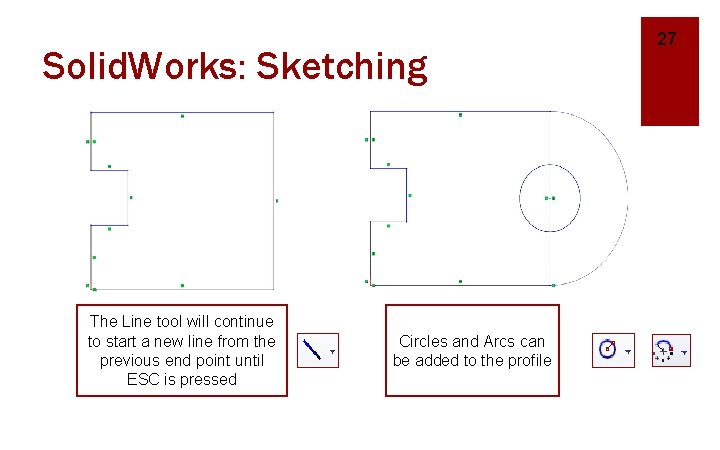
Solid. Works: Sketching The Line tool will continue to start a new line from the previous end point until ESC is pressed Circles and Arcs can be added to the profile 27

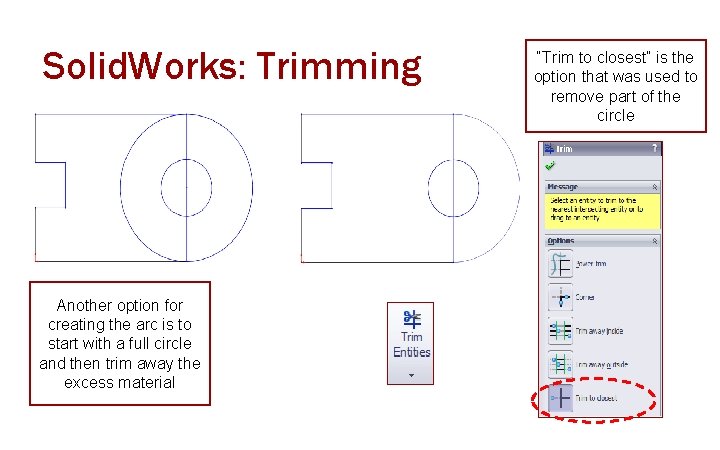
Solid. Works: Trimming Another option for creating the arc is to start with a full circle and then trim away the excess material “Trim to closest” is the option that was used to remove part of the circle

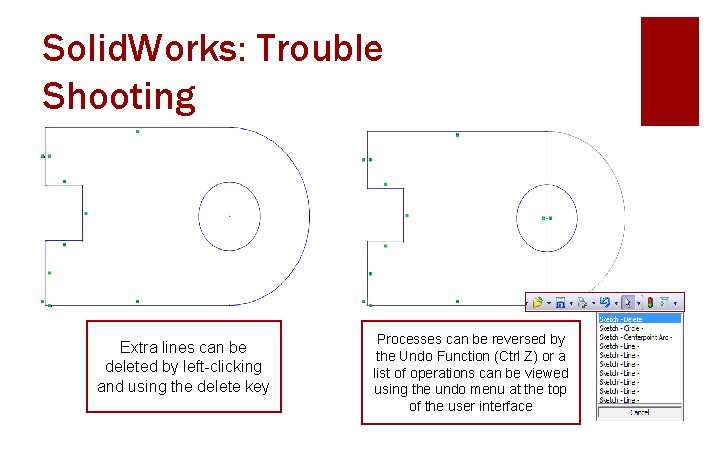
Solid. Works: Trouble Shooting Extra lines can be deleted by left-clicking and using the delete key Processes can be reversed by the Undo Function (Ctrl Z) or a list of operations can be viewed using the undo menu at the top of the user interface

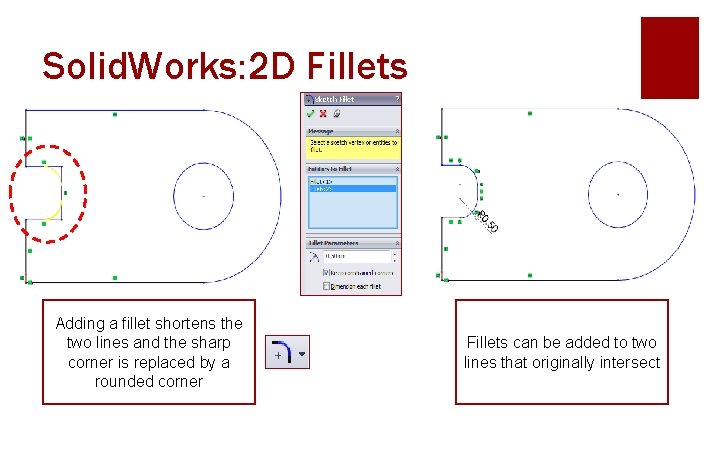
Solid. Works: 2 D Fillets Adding a fillet shortens the two lines and the sharp corner is replaced by a rounded corner Fillets can be added to two lines that originally intersect

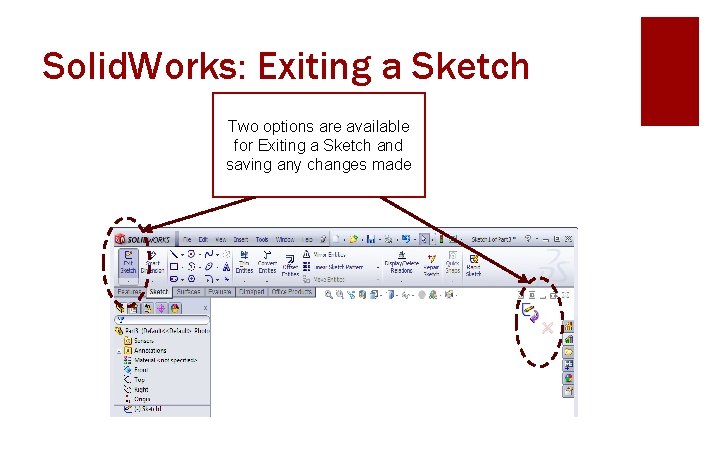
Solid. Works: Exiting a Sketch Two options are available for Exiting a Sketch and saving any changes made

2 D Sketching Wrap-Up § Profiles • closed loop shape that is drawn on a flat 2 D plane § Main Tools • Circles • Lines § Acceptable Profiles • Closed Loop § Trim • removes excess of lines

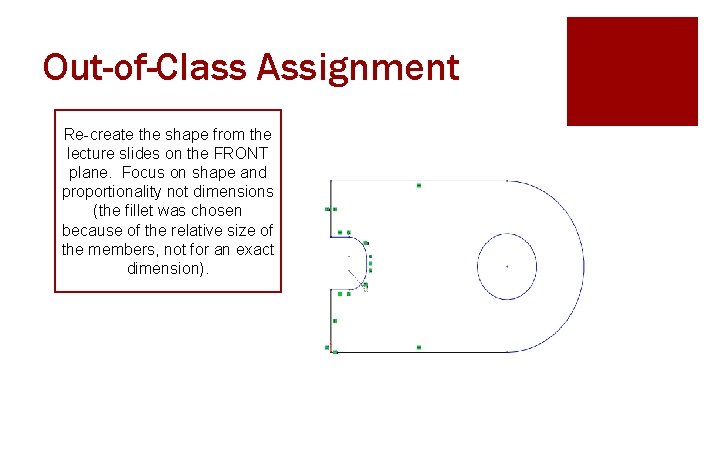
Out-of-Class Assignment Re-create the shape from the lecture slides on the FRONT plane. Focus on shape and proportionality not dimensions (the fillet was chosen because of the relative size of the members, not for an exact dimension).

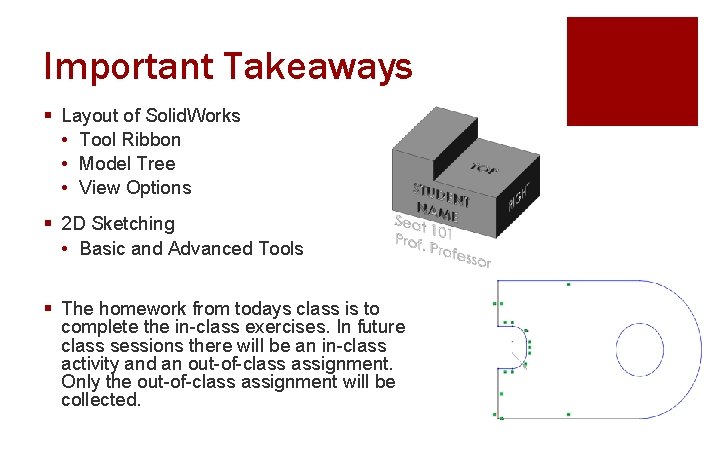
Important Takeaways § Layout of Solid. Works • Tool Ribbon • Model Tree • View Options § 2 D Sketching • Basic and Advanced Tools § The homework from todays class is to complete the in-class exercises. In future class sessions there will be an in-class activity and an out-of-class assignment. Only the out-of-class assignment will be collected.

What’s Next? § Due Next Class: SW 01 Out of Class HW § Before next class, you will read about the extrusion and revolution tools of solid modeling § The extrusion and revolution features are used to create 3 D shapes using a 2 D sketch. § Take Solid. Works 2 Quiz on readings