Small Lidded Container Technique Slab Building Using slabs

Small Lidded Container Technique – Slab Building Using slabs (flat, rolled out pieces of clay) You will create a container with a lid that will hold a small special object of some kind.

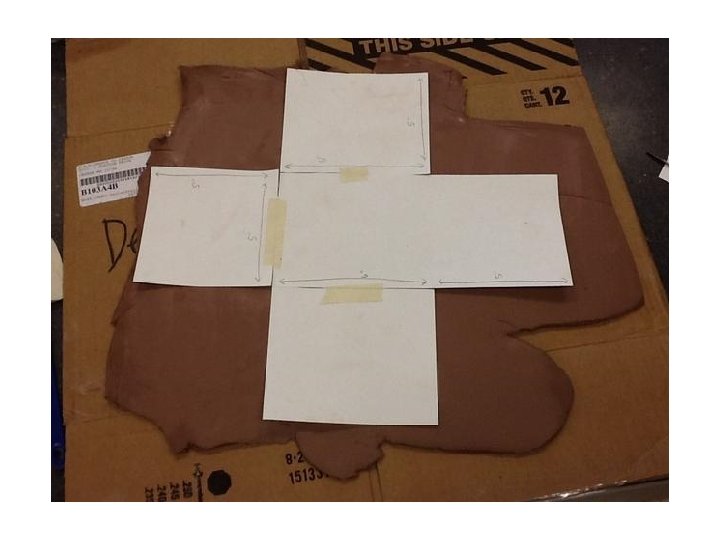
Lidded Box 1 – Think about the object your container will hold… • How could the design relate to this in form or decoration? • What will your handle look like? How will the lid fit? • What shape/form will it be? • Will it have a base or feet? 2 – Sketch 3 ideas for your container> Should be between 2 -4 inches on each side. • It can have 4 sides, plus a top and bottom (6 total) • Or 3 sides, plus a top and bottom (5 total) • OR? ? ? Use a template (draw out on paper) to figure out any other dimensions 3 – Template > • To create the box. you will make a template/pattern for your sides, so that they are cut of the slab with a high level of craftsmanship (and planning!) USE A RULER! • As you plan, think about the construction of your piece – the size of the sides and base, the height of your container and how the lid will fit

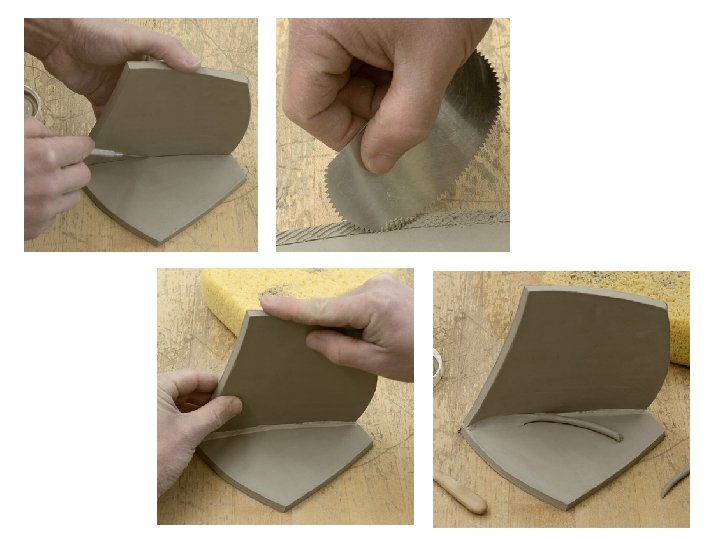
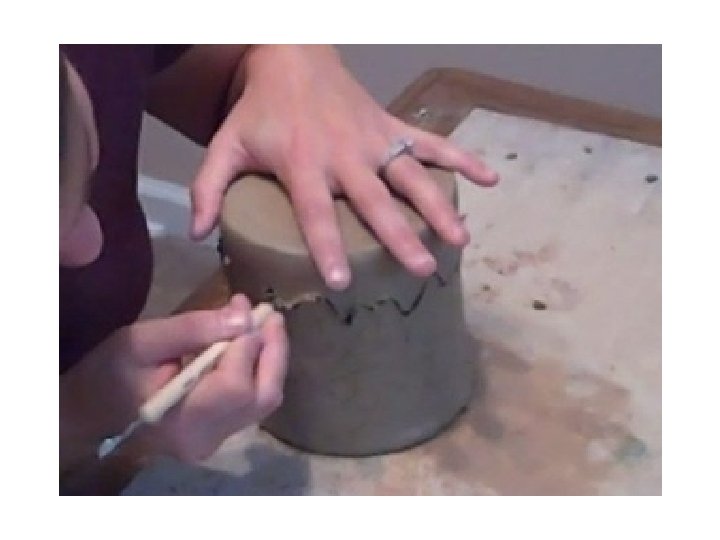
Making the Lid 1 – When your piece is leather-hard, you can cut the lid. • Create a notch in the lid so that it will fit well together. Do not go too complex with the cutout notch… it will have a greater chance of NOT fitting. Make sure the lid can be lifted off! • Draw out the line of the lid on your piece with a pencil or modeling tool first, then cut it out.
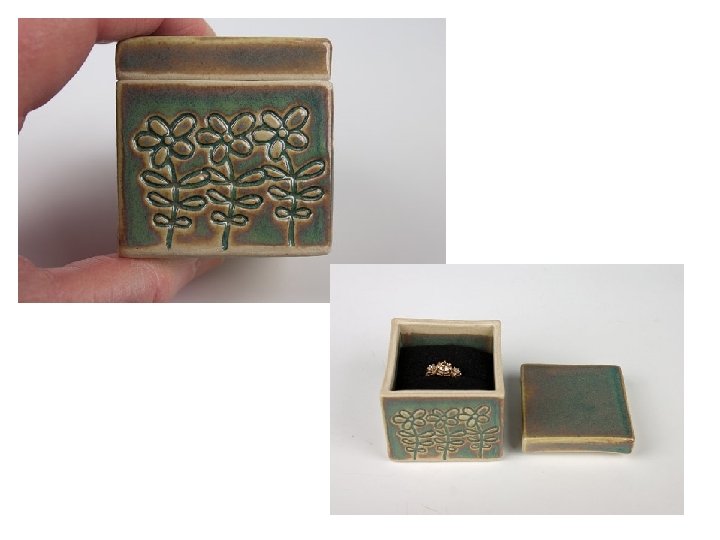
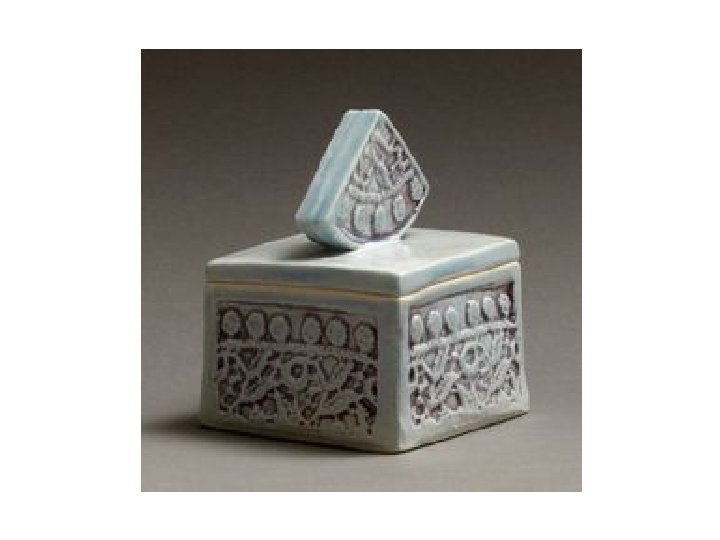
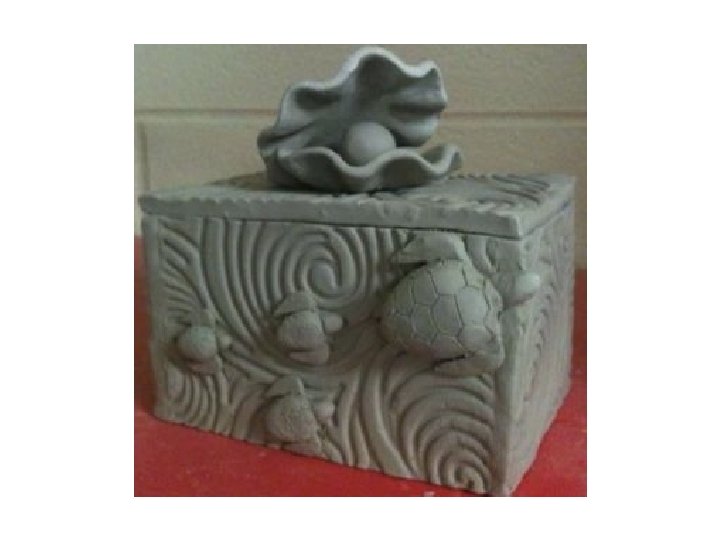
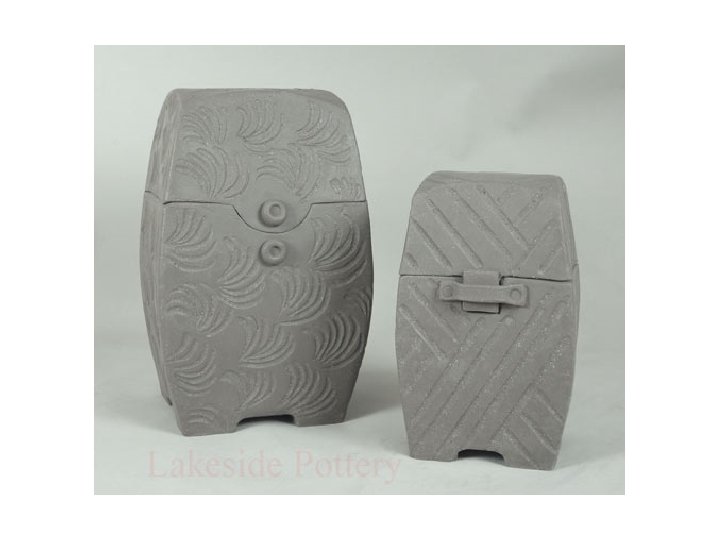
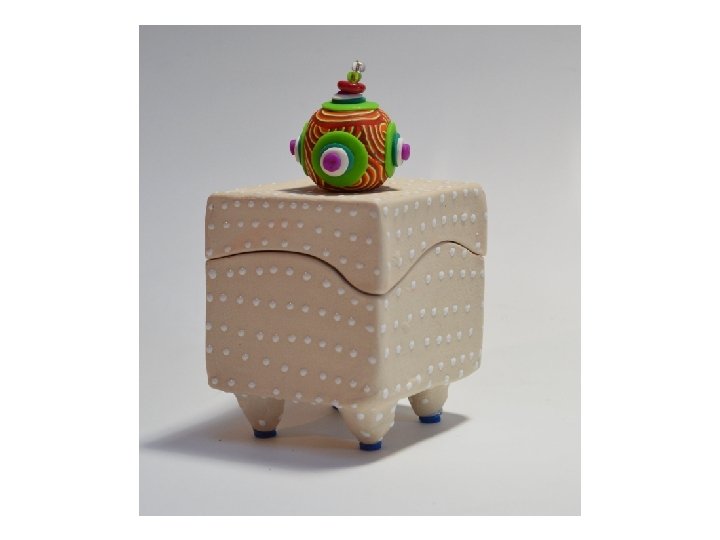
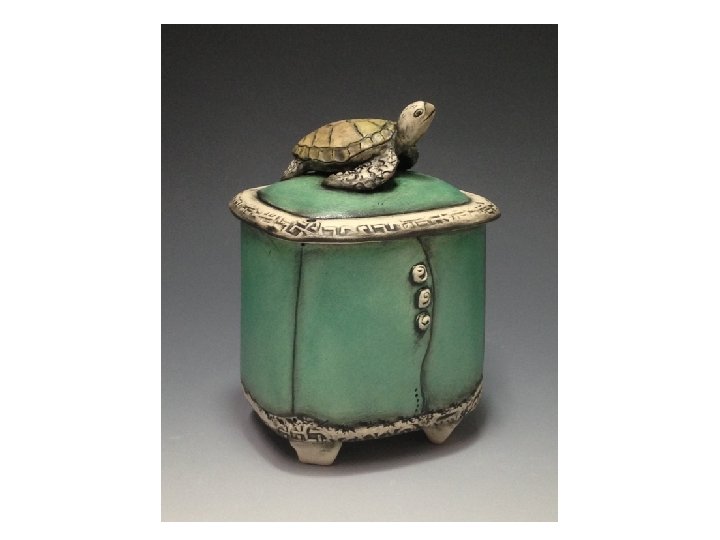
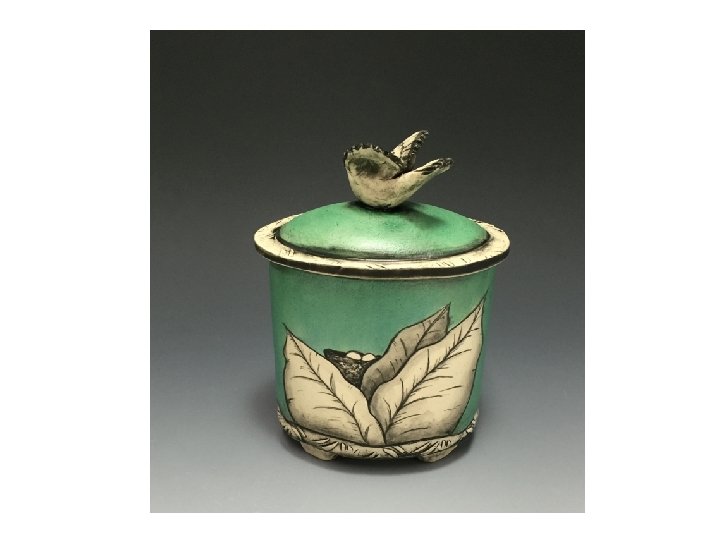
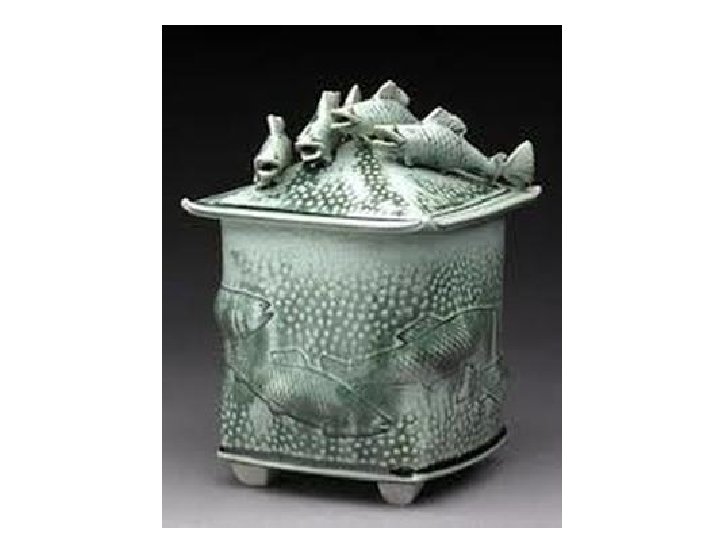
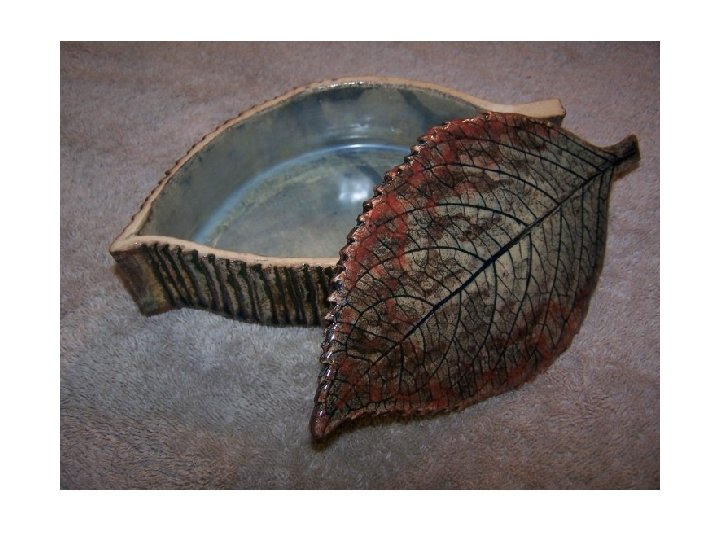
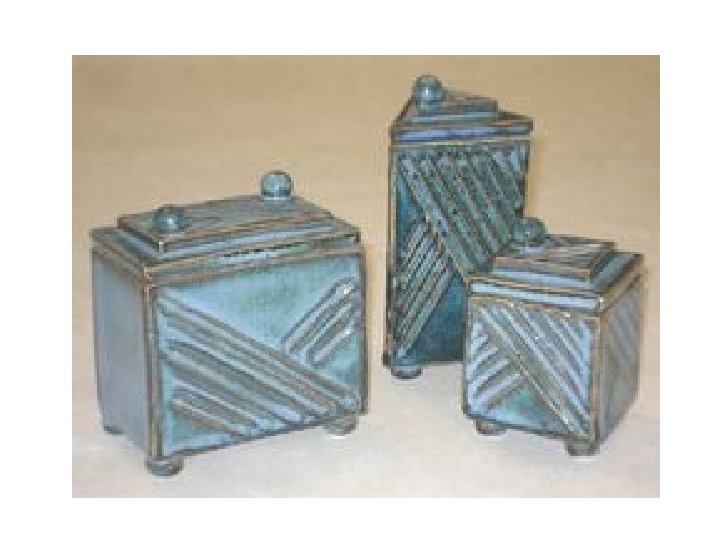
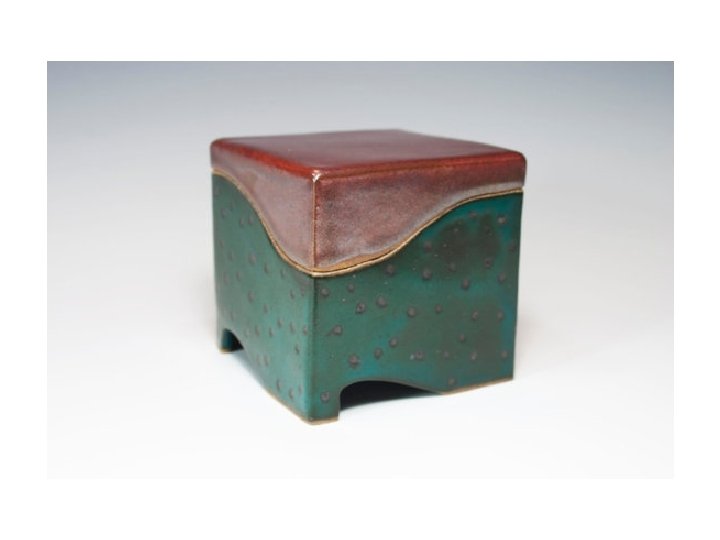
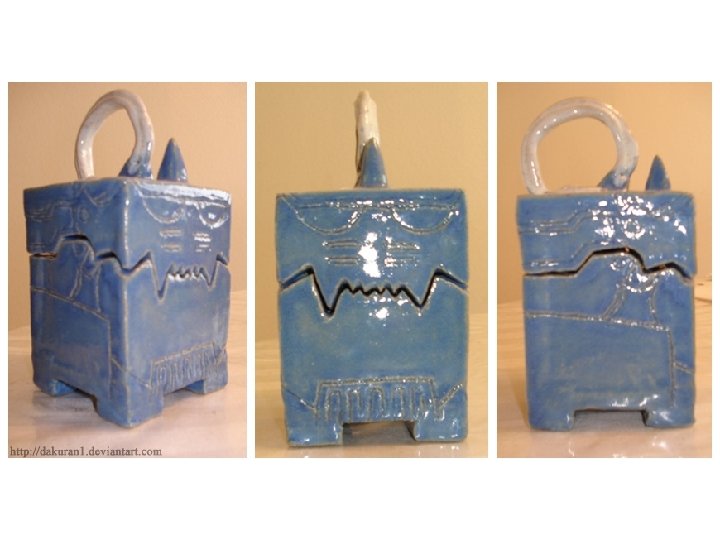
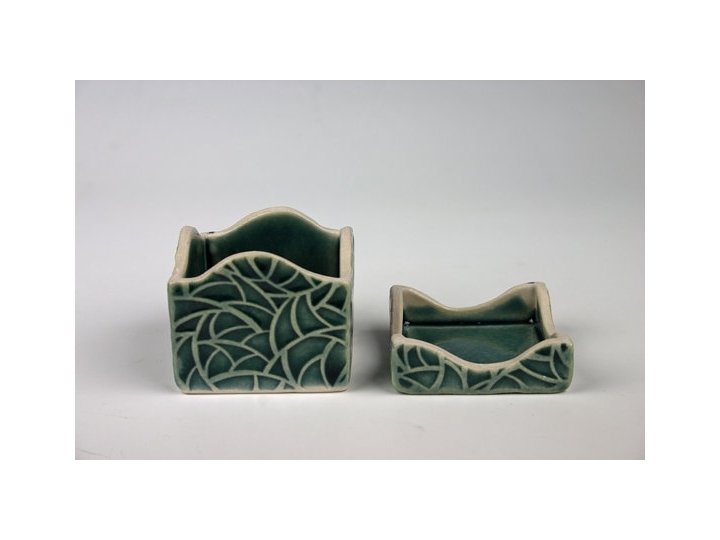

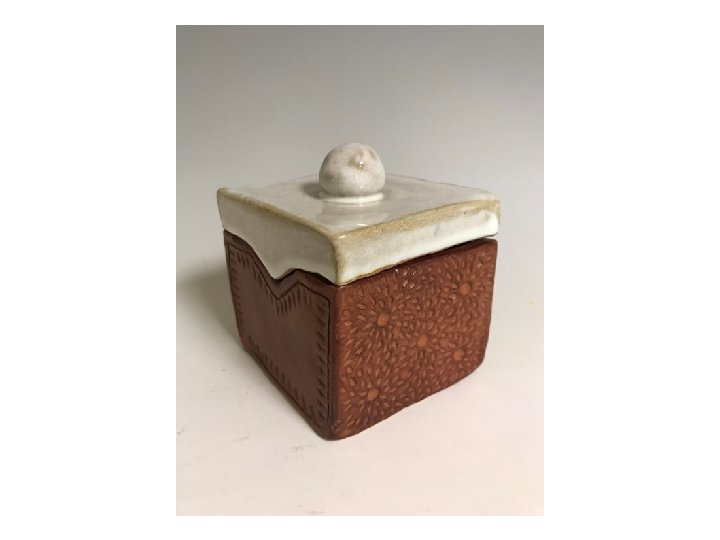
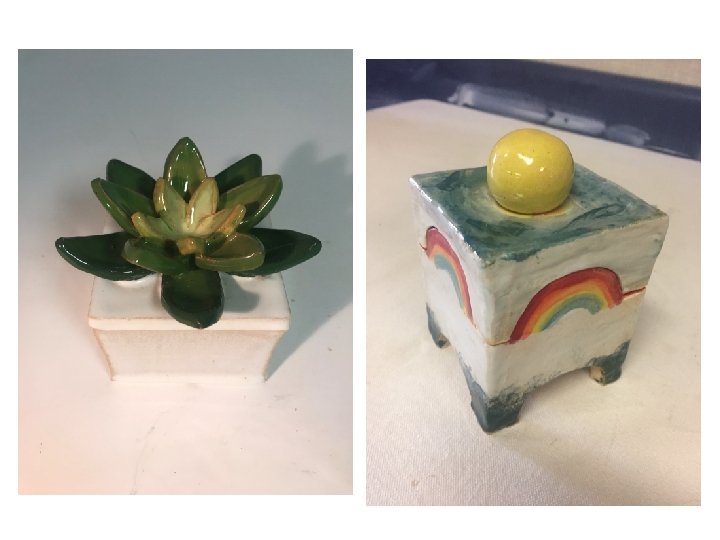
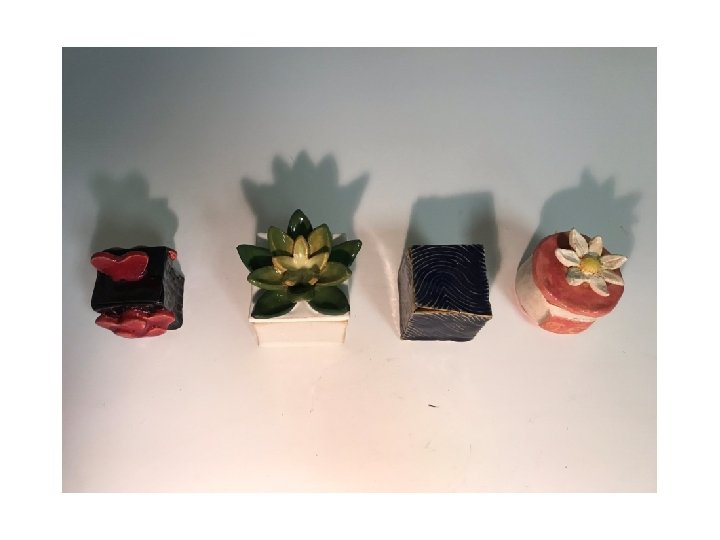
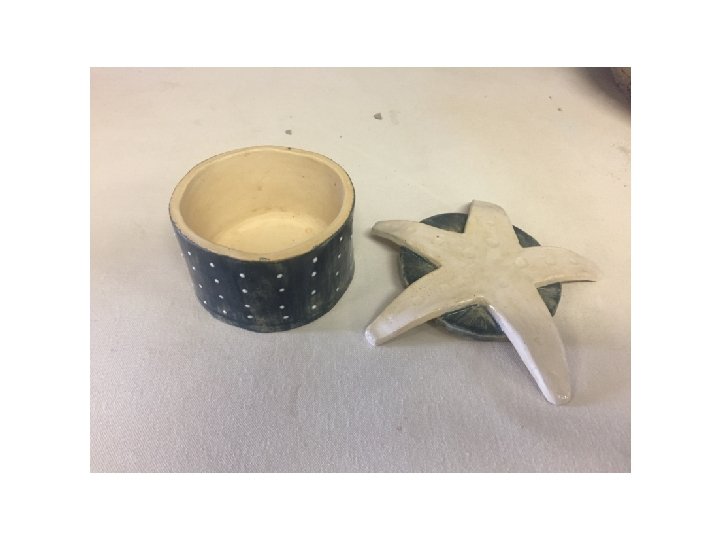
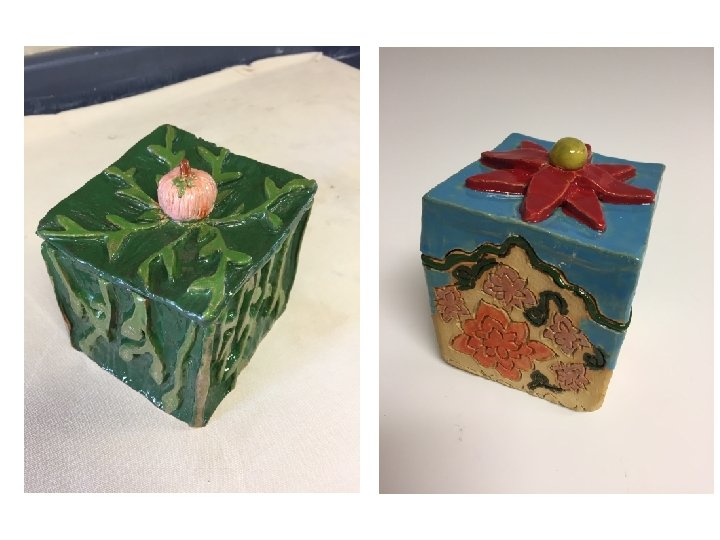

Small Lidded Box REQUIREMENTS • FORM – rectangular, cube, triangular or other • Must have a LID that fits – how will it connect/fit? Notch, groove or flange • Can have feet – will it be raised off the table? • Must have a SCULPTURAL KNOB or way to pull the lid off the container • Slab-built with good craftsmanship, proper joining of clay • Decorative Concept and/or Texture- Must have added elements or design theme. The theme or concept can relate to the object it holds or be more abstract • Your design must have AT LEAST one ADDITIVE element and one SUBTRACTIVE element • Small in size - No larger than 4 inches in height/width (approx. )

ARTISTIC PROCESS • What object will it hold? The size and form should relate to this object • SKETCH – Draw 2 -3 different sketches in your sketchbook. Draw in 3 -D! What will the additional detailing and design theme be? • USING A RULER – create a template or pattern that you will use to create a well-crafted box • Roll out your slabs. They should be between ¼ and 3/8 inch thick. • Use your templates to cut the slabs out of the larger slab. • Bevel the edges using our bevel tool if you are creating a geometric box • Let them get leather hard before joining so that they will be stable. • Score and slip to join. Add a thin coil to the seam to make the joint stronger • Cut the lid - think about the way it will stay in place – with a flange or notch in the lid? • Add a knob and any texture or decoration – using handbuilding and carving techniques. • You will be graded on Construction, Concept, Craftsmanship
- Slides: 27