SEM Metrology Today the SEM is used in




- Slides: 35

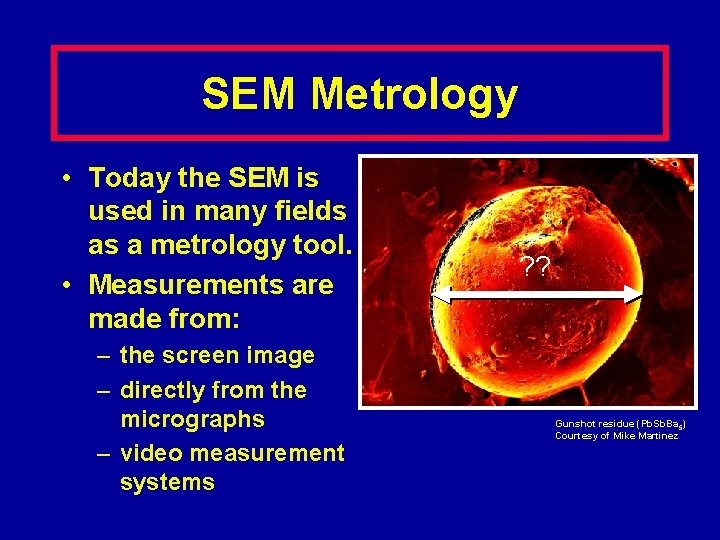
SEM Metrology • Today the SEM is used in many fields as a metrology tool. • Measurements are made from: – the screen image – directly from the micrographs – video measurement systems ? ? Gunshot residue (Pb. Sb. Ba 5) Courtesy of Mike Martinez

SEM Metrology • Often the measurement made is taken as being correct. – After all: “the image and measurement was obtained from an SEM. ” • But…. .

SEM Metrology • Unfortunately, the SEM may never have even been calibrated - much less calibrated properly! • Studies have shown that a large proportion of the SEMs are 10 -50% mis-calibrated. Calibration issues will be discussed later in this presentation.

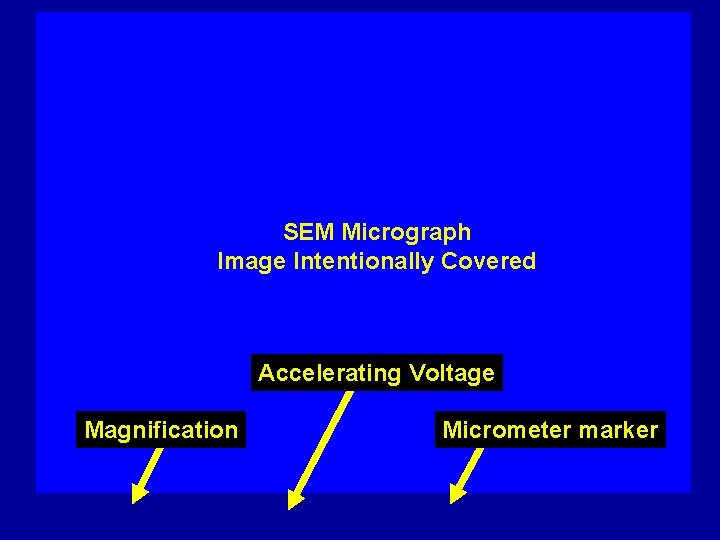
SEM Micrograph Image Intentionally Covered Accelerating Voltage Magnification Micrometer marker

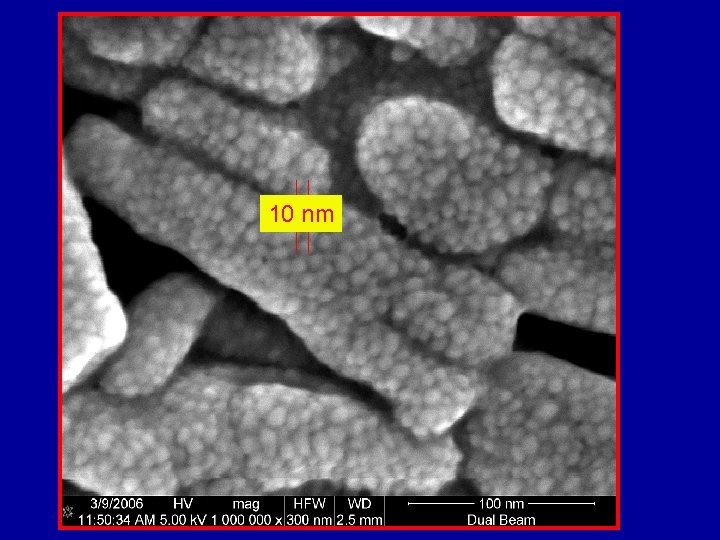
Reach into your pocket and find a dime. You have What no ifframe this was of reference gunshot other residue than or the an trust Is it 200 nm in diameter? that the instrument unknown was particle? accurately calibrated.


Which is Correct? NEITHER !

10 nm

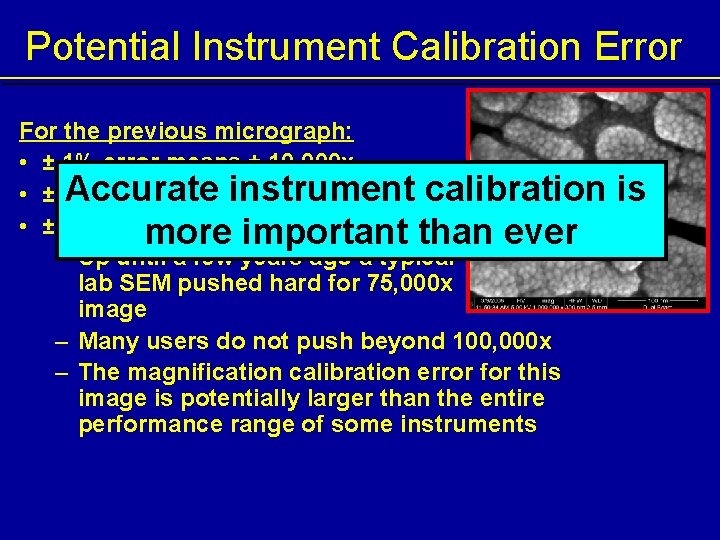
Potential Instrument Calibration Error For the previous micrograph: • ± 1% error means ± 10, 000 x Accurate instrument calibration • ± 2. 5% error means ± 25, 000 x • ± 10% error means ± 100, 000 x more important than ever – Up until a few years ago a typical lab SEM pushed hard for 75, 000 x image – Many users do not push beyond 100, 000 x – The magnification calibration error for this image is potentially larger than the entire performance range of some instruments is

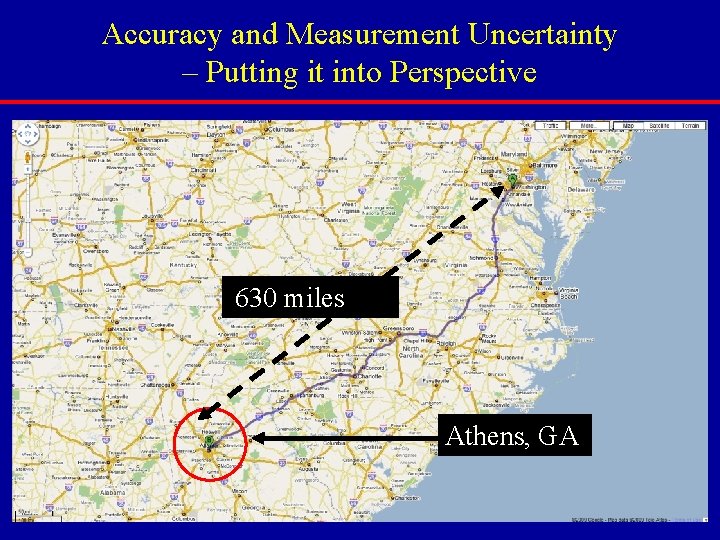
Accuracy and Measurement Uncertainty – Putting it into Perspective • Take a meter and enlarge it 1, 000 times • Result is 1000 kilometers • This is about 620 miles 630 miles Athens, GA

The only thing worse than NO Metrology is BAD Metrology

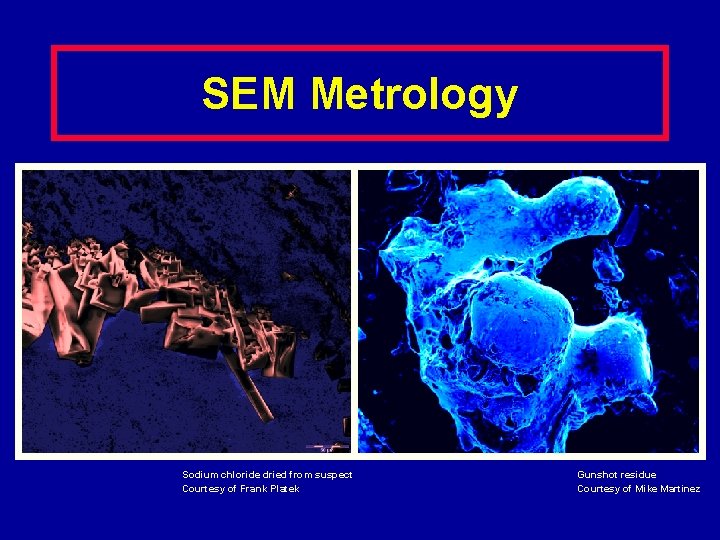
SEM Metrology Sodium chloride dried from suspect Courtesy of Frank Platek Gunshot residue Courtesy of Mike Martinez

SEM Metrology • Metrology using an SEM occurs quite frequently: – – Semiconductor lines, spaces, vias etc. Inclusions Particles Structures • The SEM was initially just an imaging tool. • Because it has high resolution and high magnification capabilities it became a metrology tool.

SEM as a Tool • SEMs were once considered to be scientific instruments. • Today they are often referred to as “tools” – Tools are the greasy things in the garage used to repair the car. • Don’t let that attitude turn a sophisticated scientific instrument into a “tool”

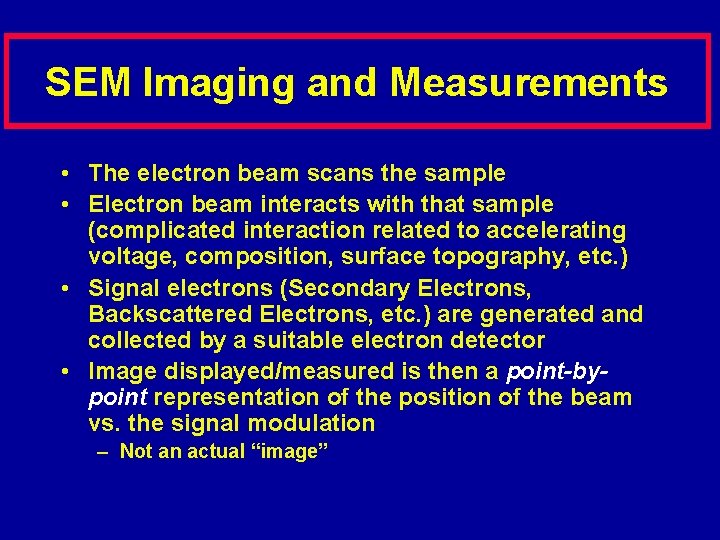
SEM Imaging and Measurements • The electron beam scans the sample • Electron beam interacts with that sample (complicated interaction related to accelerating voltage, composition, surface topography, etc. ) • Signal electrons (Secondary Electrons, Backscattered Electrons, etc. ) are generated and collected by a suitable electron detector • Image displayed/measured is then a point-bypoint representation of the position of the beam vs. the signal modulation – Not an actual “image”

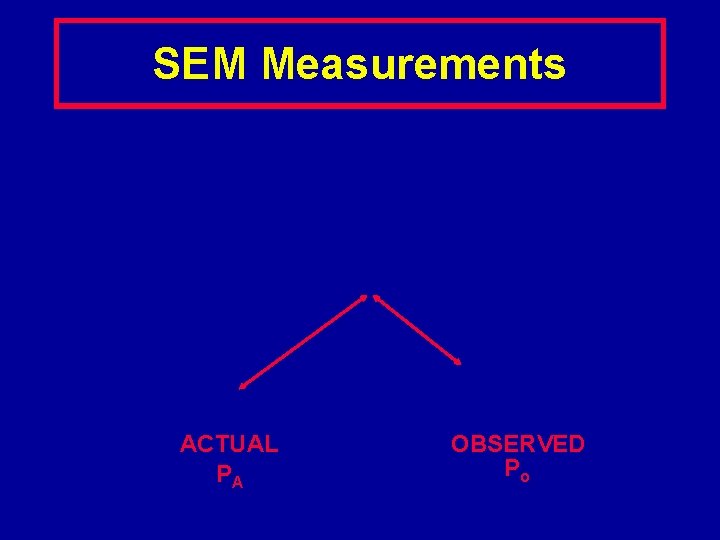
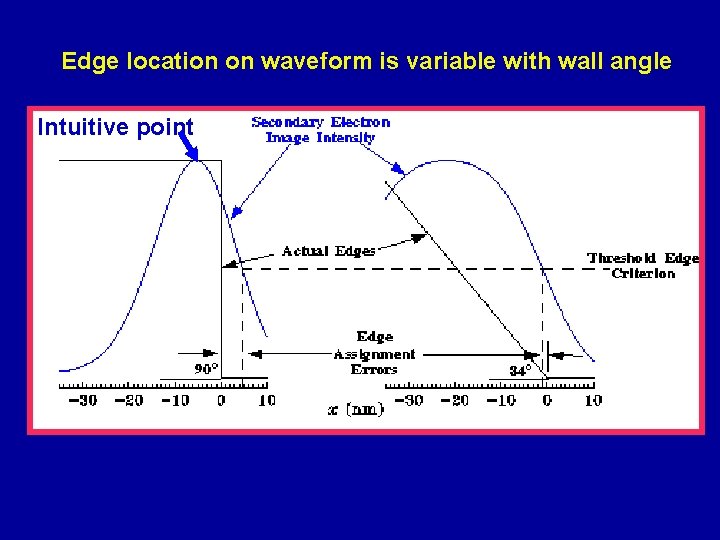
SEM Measurements ACTUAL PA OBSERVED Po

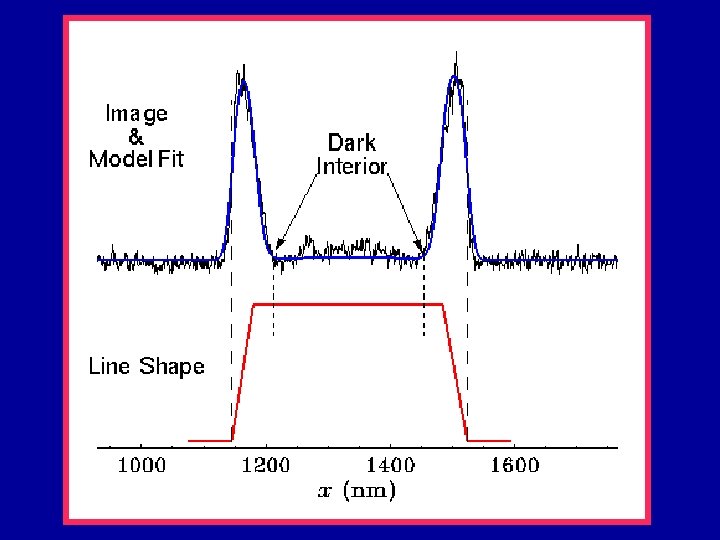
SEM Metrology • PA = The actual material shape of the structure. • PO = The observed waveform from the metrology instrument. – PO is a function of: • • Materials (sample composition) Instrument operating conditions Electron beam - specimen interactions Instrument electronics


Edge location on waveform is variable with wall angle Intuitive point

SEM Metrology • To infer the size of PA from PO an analysis of the measurement process must be made. • The parameters of the measurement process must be understood and controlled. • The purpose of this tutorial/course is to help you understand where the errors in the measurement process take place.

SEM Metrology • There are numerous areas where errors can be introduced into the measurement process. • This portion of the short course will make you aware of many of these traps in the hope that you will be able to avoid some of them.

Terminology

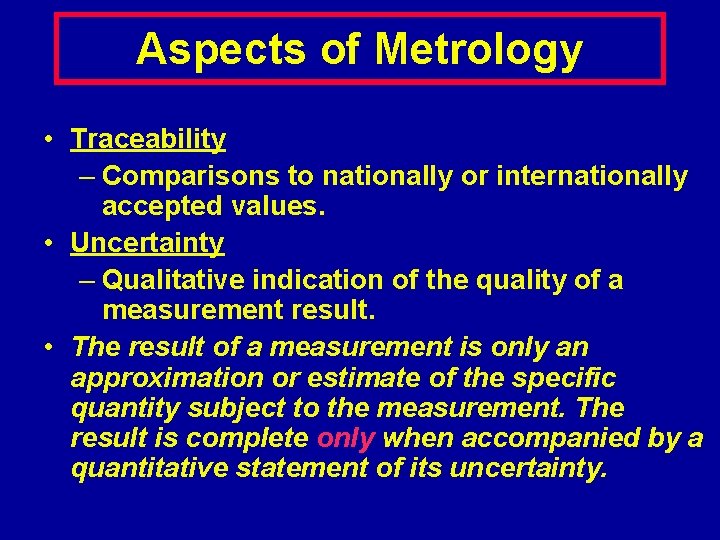
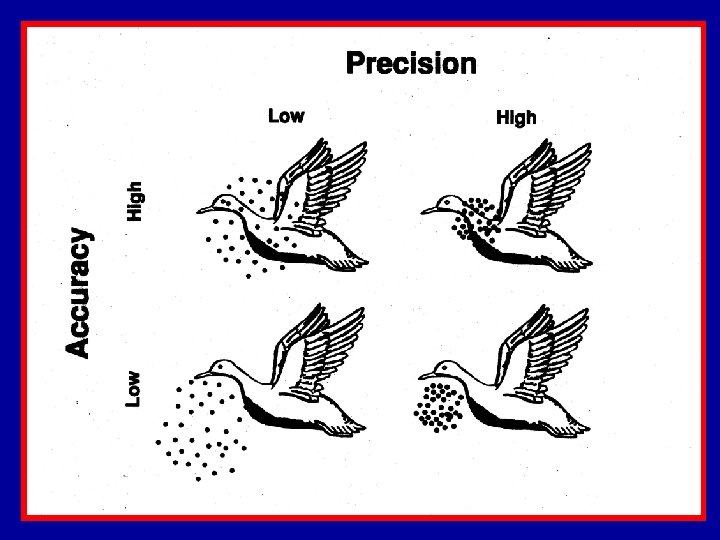
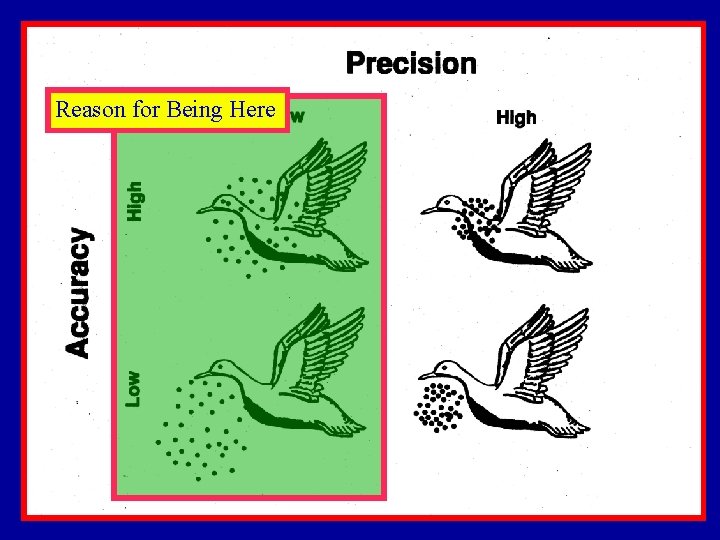
Aspects of Metrology • Reproducibility (Precision) – Closeness of agreement between a series of measured values for the same quantity. The true value of the quantity may be unknown or not considered. • Accuracy – Closeness of agreement of a measured value (or series of values) with the known “true” value of a quantity.

Aspects of Metrology • Traceability – Comparisons to nationally or internationally accepted values. • Uncertainty – Qualitative indication of the quality of a measurement result. • The result of a measurement is only an approximation or estimate of the specific quantity subject to the measurement. The result is complete only when accompanied by a quantitative statement of its uncertainty.


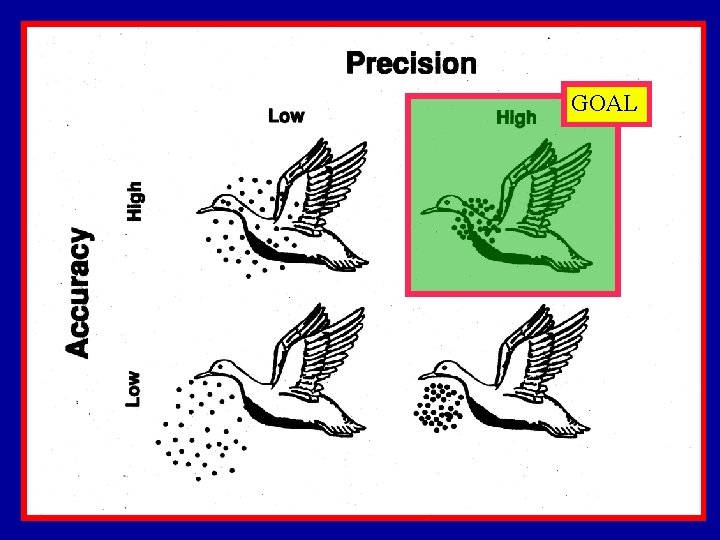
GOAL

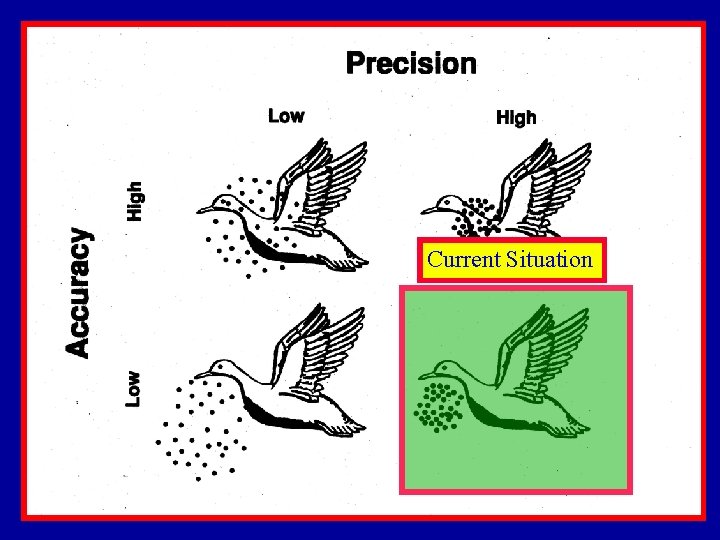
Current Situation

Reason for Being Here

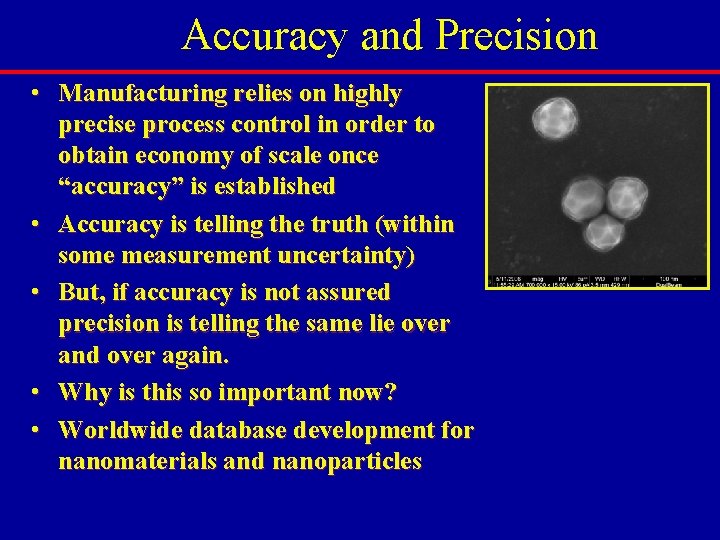
Accuracy and Precision • Manufacturing relies on highly precise process control in order to obtain economy of scale once “accuracy” is established • Accuracy is telling the truth (within some measurement uncertainty) • But, if accuracy is not assured precision is telling the same lie over and over again. • Why is this so important now? • Worldwide database development for nanomaterials and nanoparticles

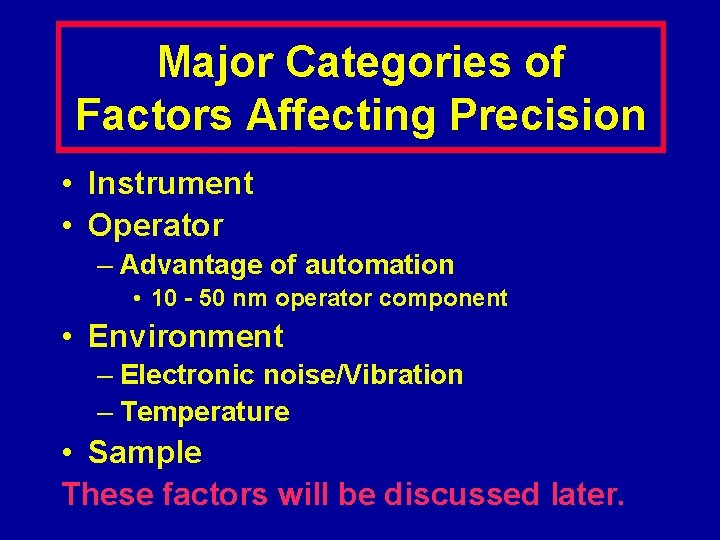
Major Categories of Factors Affecting Precision • Instrument • Operator – Advantage of automation • 10 - 50 nm operator component • Environment – Electronic noise/Vibration – Temperature • Sample These factors will be discussed later.

Precise SEM Metrology • A high degree of PRECISION is attainable today! • Precision requires a qualitative recognition, understanding and effective control of what is happening at the specimen and in the microscope. • But, precision does NOT require a detailed theoretical understanding of these effects.

ACCURATE SEM Metrology • ACCURACY (as defined here) is NOT attainable today for width measurements. – Magnification calibration can be accurately done. • Accuracy requires: – Further research into the basic mechanisms of SEM operation. – Development of electron beam interaction modeling. – Accurate standards development. • Substantial progress has been made in these areas and will be discussed in later sections of this tutorial/course.

ACCURATE SEM Metrology • Accuracy has become a marketing term. – There is no accurate SEM instrument for the width of a structure (linewidth). • Why? – Because there is no Accurate standards. • Why? – Because there is no adequate model. • Are we getting close? – YES!! – and we will discuss that.

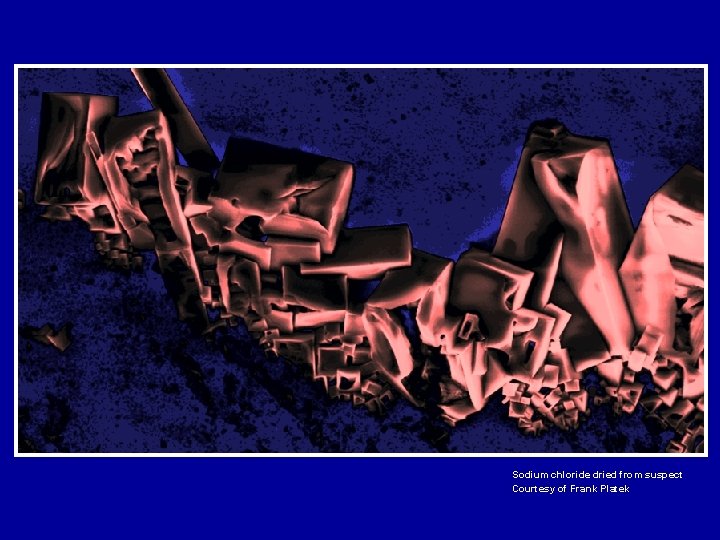
Sodium chloride dried from suspect Courtesy of Frank Platek