Science Fair Projects The Steps for a Successful


- Slides: 23
Science Fair Projects The Steps for a Successful Science Fair Project
The Scientific Method n You should always follow the steps of the scientific method when doing a science project to be successful.
Step 1 – Select a Topic A. Student What is my interest? Selected Topic B. Parent Oct. 25 -29 Will I be able to help? C. Teacher Is the project on level?
SRC Forms Approval November 5, 2010 Results from Experimentation December 5, 2010 Display Boards Due December 15, 2008 Find a Topic October 29 2010 Written Proposals November 3, 2010 Local Science Fair January 22, 2011 De. Soto ISD Science Fair February 2011 Fee For Regional Fair Due February 11, 2011 Regional Fair February 25, 2011
Step 1 A: Select a Topic Student n n n What are my interests? What would I like to learn about? Do I have a question about something? n n Where to look for topics? Science Fair book Internet Teacher Does my project meet the rule requirements?
Step 1 B: Select Topic Parent Could I help with the selected topic? n Has the teacher approved the project? n Does the selected project meet the rule requirements? n Do we have the needed materials for the project or know where to purchase or borrow? n Help set a timeline for my child. n Is my child meeting the deadlines of the n
Step 1 C: Select Topic Teacher Is the project at the student’s ability level? n Does the project meet the rule requirements? n Is there parent approval? n What is the timeline for each step? n Locate needed resources for students. n Are the students meeting the timelines? n
Data/Project Log - REQUIRED The log starts on the date you select and it is approved by the teacher n Each new entry must be dated n This log is HANDWRITTEN – not typed n ALL observations and measurements are to be recorded n Remember all measurements are metric n
Step 2 Identify the Problem This is a sentence or question about the problem. n Example: “What type of container will keep my soda cooler longer? ” n Or “I would like to compare the temperature of a glass bottle of soda to a can of soda. ” n
Step 3 Collect Background Information BOOKS: Encyclopedias Topic Books Magazines/Newspapers RESEARCH about Project Media Center Minimum of 10 references INTERNET: Websites Search by Topic CD ROM: Grolier Compton
Research Paper/Notebook REQUIRED n Must be written in your own words. Do not just print the pages from the computer. n n n Research your topic in books and online Make notes as you gather background information for the research paper Paraphrase what you read in your OWN words Research paper may be typed or handwritten You are to have a minimum of five sources Must list your sources in the bibliography in the correct format
Step 4 Form a Hypothesis A hypothesis is a statement of what you believe will happen in the experiment. This statement is based on the research you have done. n Do not start with “I think. ” n Examples: “The can will keep the soda cooler longer than the plastic or glass bottle. ” OR “If soda is placed in can, then the soda will stay cooler longer than in plastic or glass. ”
Step 5 Design an Experiment n Materials List: All materials needed to conduct the experiment: Paper Pencil Ruler Measuring cup Etc. n Procedure: The procedure is a step by step set of directions on how to do the experiment. Use metric measurements. Step 1 – gather all materials Step 2 – set up experiment Etc.
Step 6 During Experiment Observe: Watch Look During the Experiment Record: Notes Journal/Log Results Analyze Data: What have I learned from the results?
Step 7 Repeat the Experiment The experiment should be repeated at least 5 times. n This is done in order to prove the results as true. n
Step 8 Drawing A Conclusion This is a sentence that states what did happen during the experiment. What did you learn from the experiment? n Example: “The can kept the soda cooler longer than the glass bottle. ” n n Explain here why this happened.
Step 9 Application What can the results be used for? n How can I use the knowledge I have gained from the experiment? n How will I use what I have learned? n How can others use the information I have gained from the experiment? n
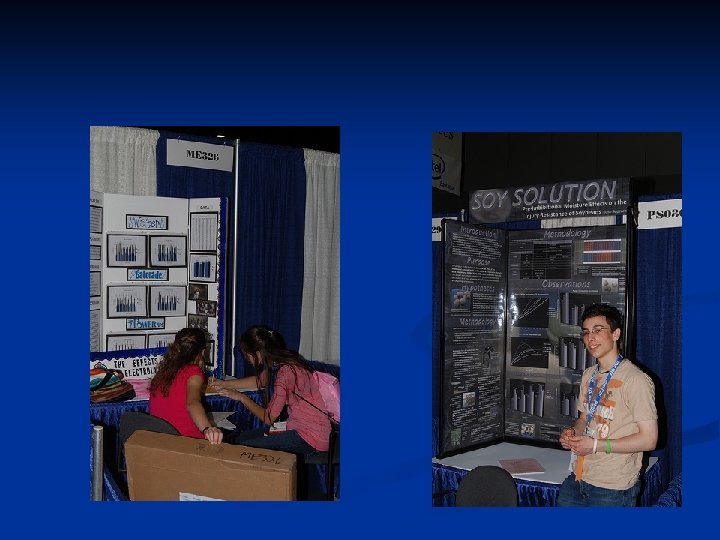
The Display Board Title/ Question Hypothesis Procedure Graphs Data/ Results Charts Conclusion Pictures Application *Abstract (Required) Notebook and Log Required
How It Looks
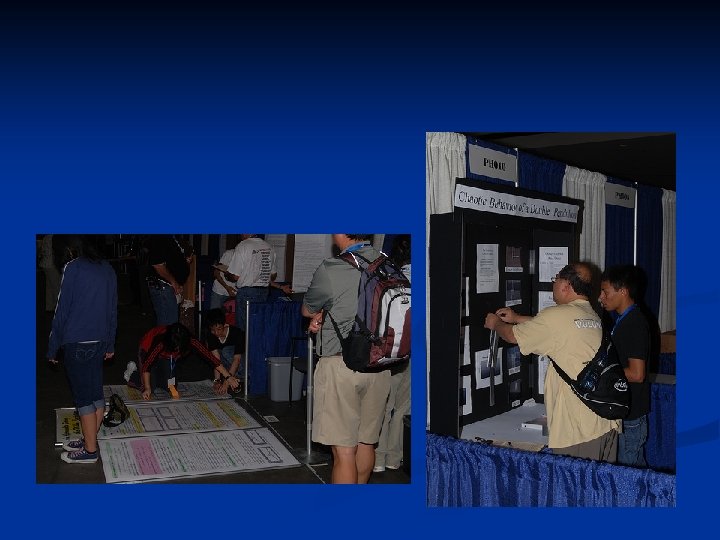
The Winning Look
Good Luck You can be successful!