Scanning Data Director Start by clicking on Data

Scanning Data Director

Start by clicking on Data Scanner Icon

Your username and password is the same as your Data Director username and password.

Click on your school

You can fill in the filters or do a “Quick Search”. The ID is located at the bottom left corner of the scantron.
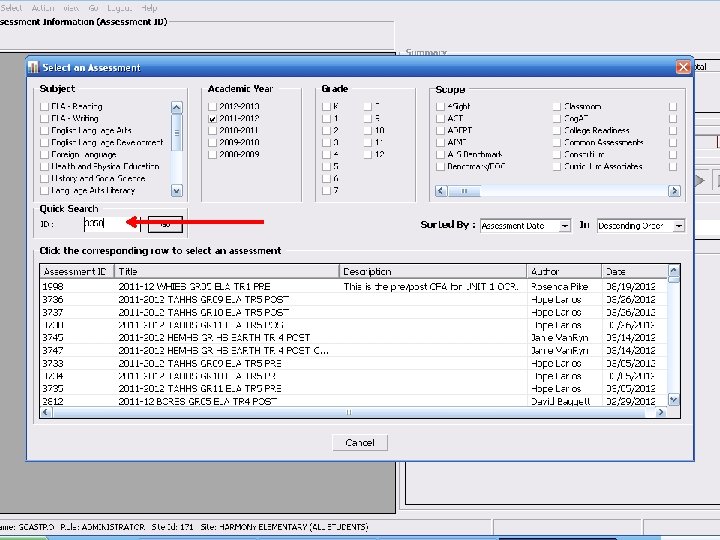

Click on the title of the CFA

If this is correct click “Yes”

Click “Scan Now”

You will start to see the progress of the scanning

If all your documents were scanned click “Finish”. If you have more documents to scan add them to the scanner and click “Continue Scanning”.

Click “Finish”

Click “ok” to fix “NOT approved” scantrons. FYI: “Not processed” means unable to read scanned document. You may have to rescan that document.

If scantron matches data side check “Approve this document” ***Always check to make sure student ID matches before approving or making changes.

Check Summary then if needed go to Documents Filter

Click on unprocessed

If this happens, find these documents and pull them out to rescan later.

Commit Results
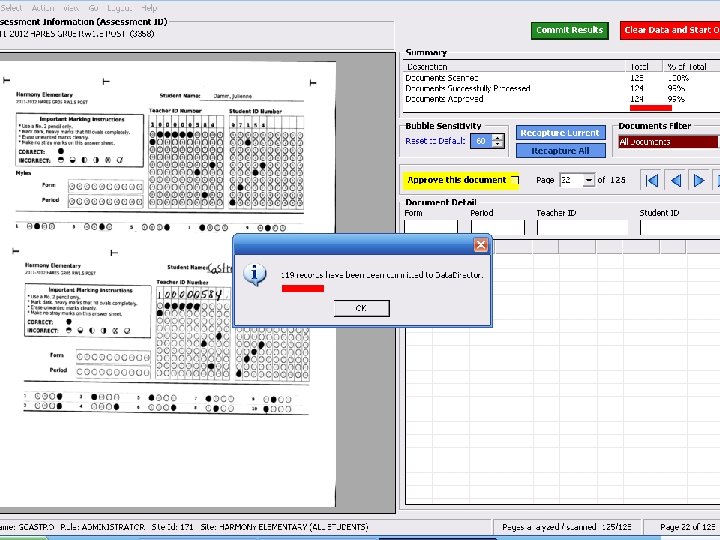

Close

Use blue arrows to scroll until you see a discrepancy between the scantron and the data side. Then fix the issue manually. Sometimes the issue will be highlighted.

Issue not highlighted, fix manually then check “Approve this document”

When you have fixed all of the issues click on “Commit Results”.

Click “Yes”

Click “OK”

To rescan the documents that did not scan click here

If Assessment Info matches your scantrons click “Scan Now”

Click “Finish”

Click “OK”

Commit Results

Click “Yes”

Click “OK”, then “Clear Data and Start Over”

If you are done, click “Logout”. If you have a different assessment to scan click “Select Assessment”
- Slides: 33