Reduction Prints Relief Linoleum Printing taken to a

. Something you like")


- Slides: 26
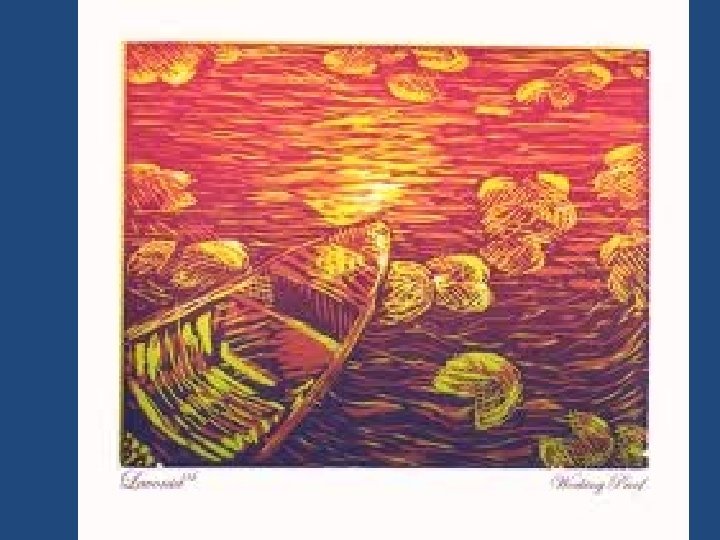
Reduction Prints • Relief Linoleum Printing taken to a higher level • Essentially, you will select a design to create a print of. Then you will simplify the image and transfer it to linoleum. You then need to plan which areas will be what color and carve the block accordingly. • Look at the examples in the presentation to help you better understand this process.
Process - Planning 1. Plan a three color drawing (plus white). Something you like so much, you would like to have multiple copies! 2. Transfer the drawing as a contour to linoleum. 3. Paint in the three colors, directly onto the linoleum, with acrylic paint. Leave what will remain white paper as bare linoleum.
Process – creating prints 1. Cut away everything that will remain white. 2. Print the linoleum with the lightest color. Print all prints and extras. 3. Cut away everything that will be the lightest color. 4. Print on top of the previous prints with the middle color. 5. Cut away everything that will be the medium color. 6. Print on top of the previous prints with the darkest color.
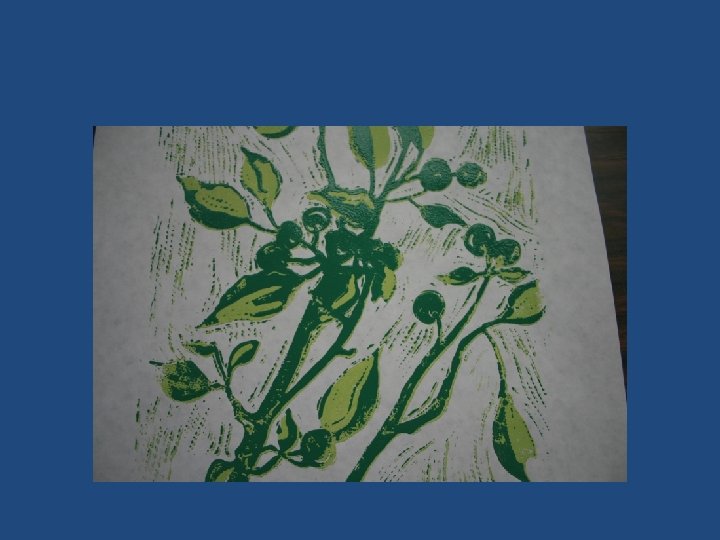
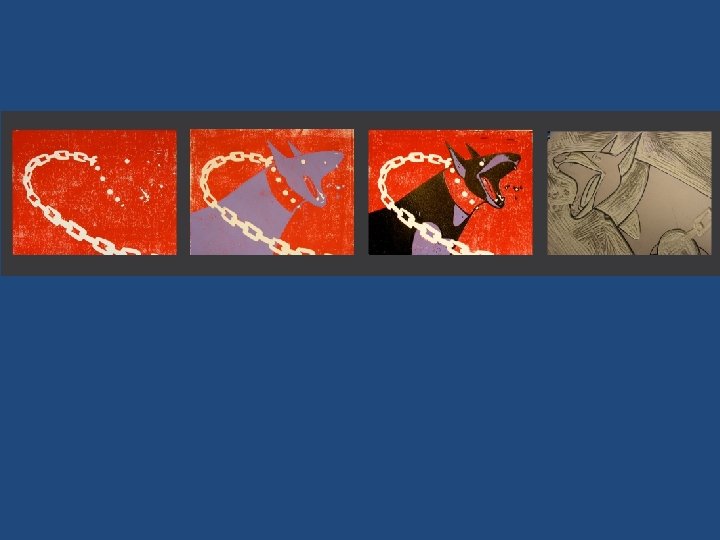
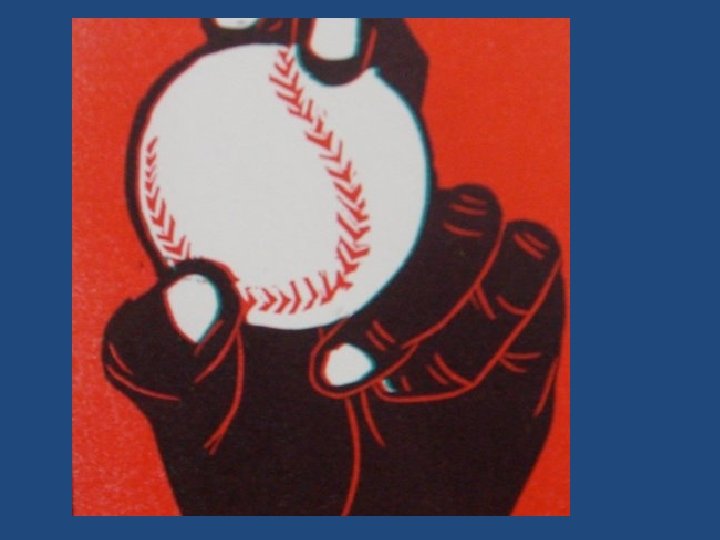
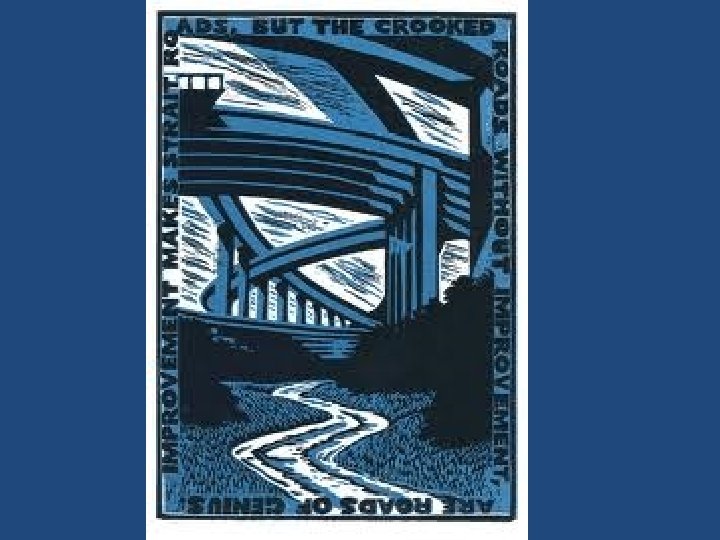
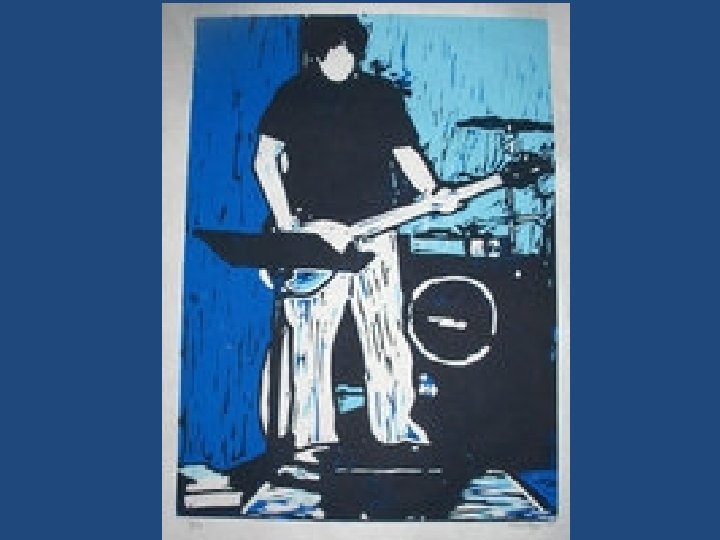
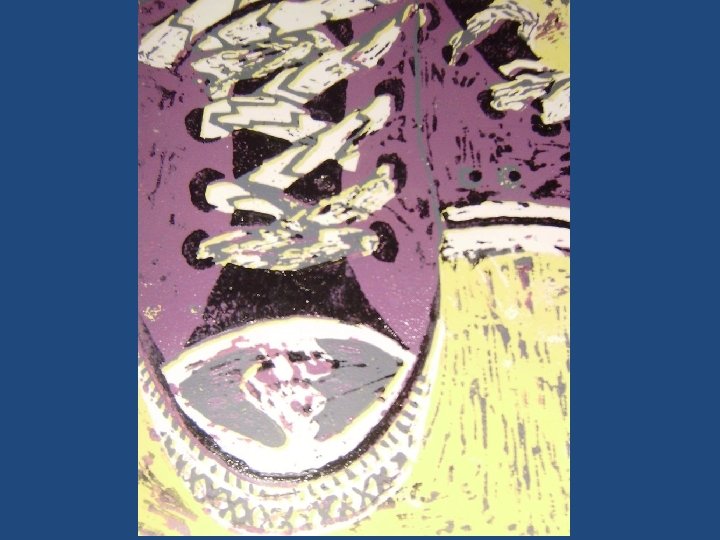
Process in Visuals Example of printing lightest color first
Process in Visuals
Registration • In order for colors to print directly on top of one another , we use a registration process • The linoleum is placed in the center cut out and the paper is lined up with white corner lines.
You will need to print more than enough prints to allow for registration problems.
Color number two – darker green
Then cut away all of the dark green
Print Color Three
Cut away everything but color four.
• Print the forth, or last color on all prints. • Often the last color is black
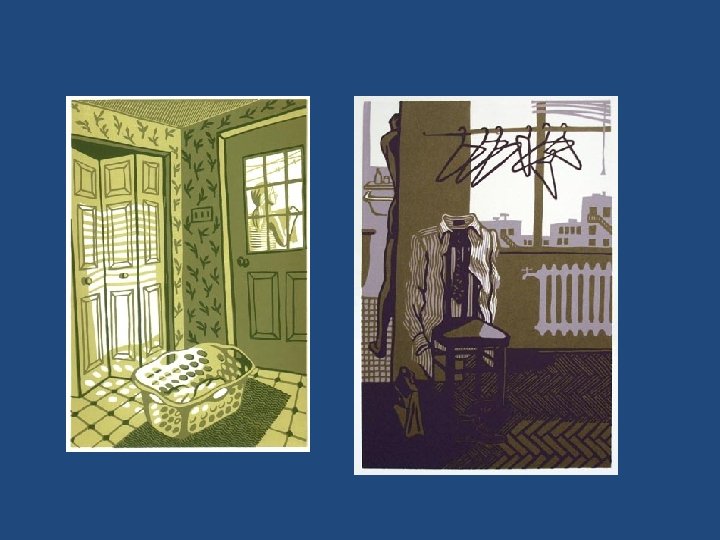
Elizabeth Catlett
Natalia Moroz
Natalia Moroz