Rail Fabrication P 16102 Rochester Institute of Technology

Rail Fabrication P 16102 Rochester Institute of Technology Multidisciplinary Senior Design Team: Robert Masti, Tristan Mc. Rae, Paul Curtin, and Anthony Hennig 04/21/2016
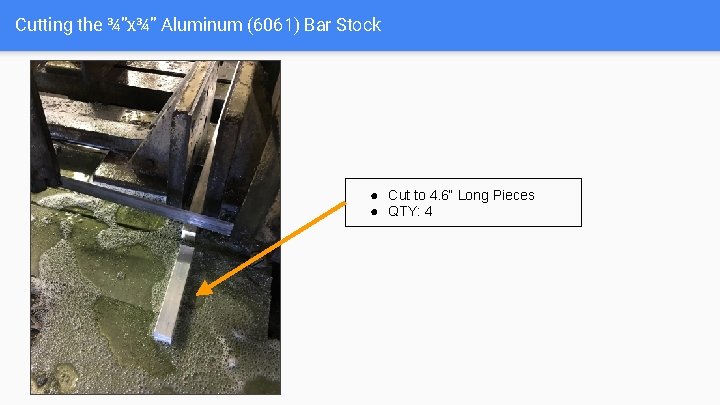
Cutting the ¾”x¾” Aluminum (6061) Bar Stock ● Cut to 4. 6“ Long Pieces ● QTY: 4
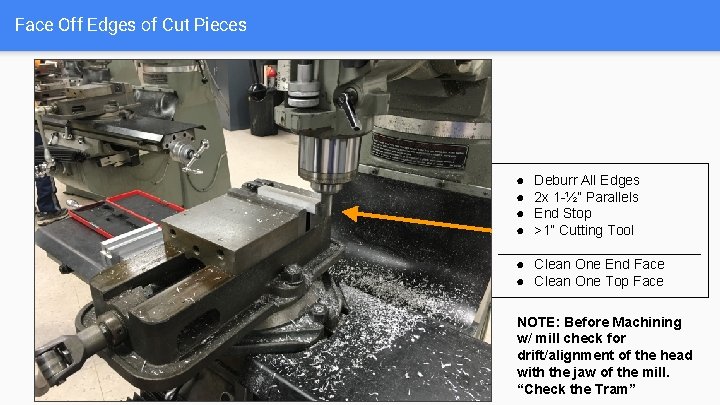
Face Off Edges of Cut Pieces ● Deburr All Edges ● 2 x 1 -½” Parallels ● End Stop ● >1” Cutting Tool _____________ ● Clean One End Face ● Clean One Top Face NOTE: Before Machining w/ mill check for drift/alignment of the head with the jaw of the mill. “Check the Tram”
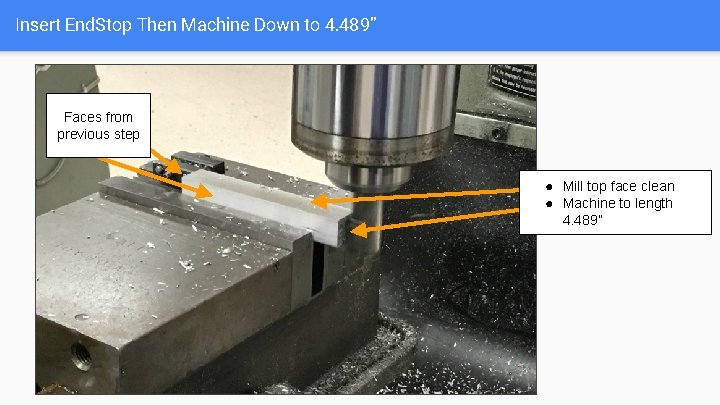
Insert End. Stop Then Machine Down to 4. 489” Faces from previous step ● Mill top face clean ● Machine to length 4. 489”
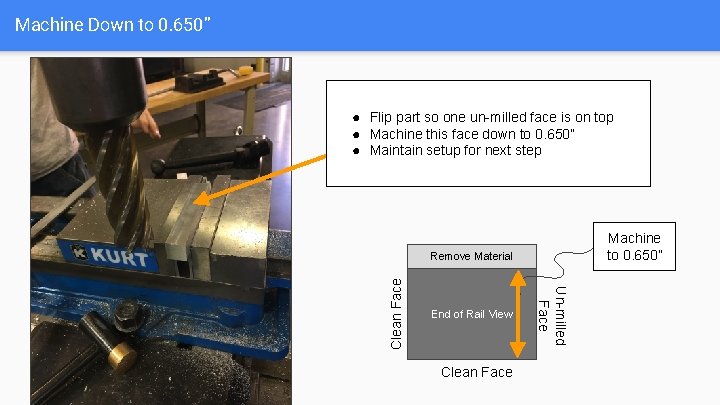
Machine Down to 0. 650” ● Flip part so one un-milled face is on top ● Machine this face down to 0. 650” ● Maintain setup for next step Machine to 0. 650” End of Rail View Clean Face Un-milled Face Clean Face Remove Material
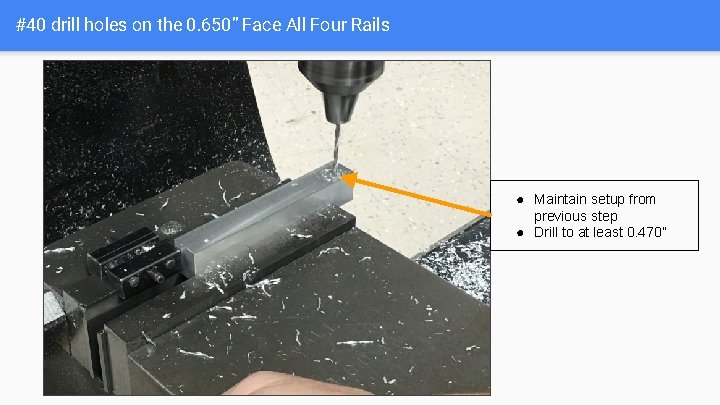
#40 drill holes on the 0. 650” Face All Four Rails ● Maintain setup from previous step ● Drill to at least 0. 470”
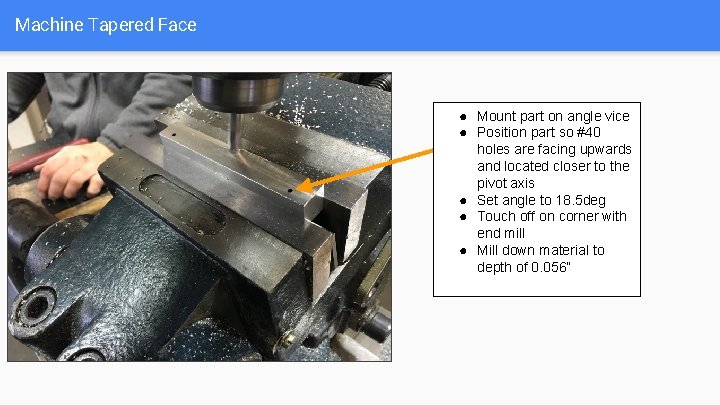
Machine Tapered Face ● Mount part on angle vice ● Position part so #40 holes are facing upwards and located closer to the pivot axis ● Set angle to 18. 5 deg ● Touch off on corner with end mill ● Mill down material to depth of 0. 056”
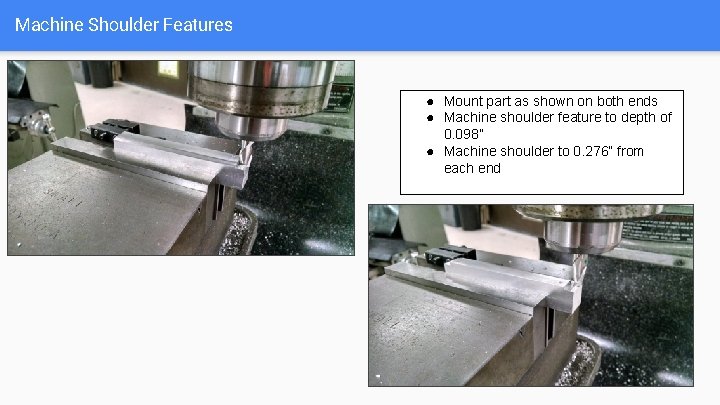
Machine Shoulder Features ● Mount part as shown on both ends ● Machine shoulder feature to depth of 0. 098” ● Machine shoulder to 0. 276” from each end
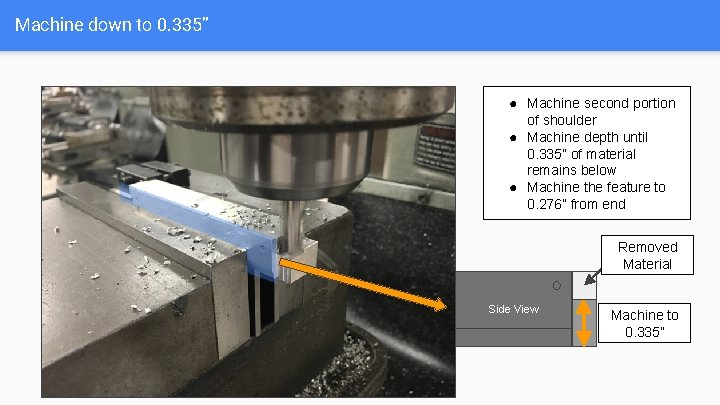
Machine down to 0. 335” ● Machine second portion of shoulder ● Machine depth until 0. 335” of material remains below ● Machine the feature to 0. 276” from end Removed Material Side View Machine to 0. 335”
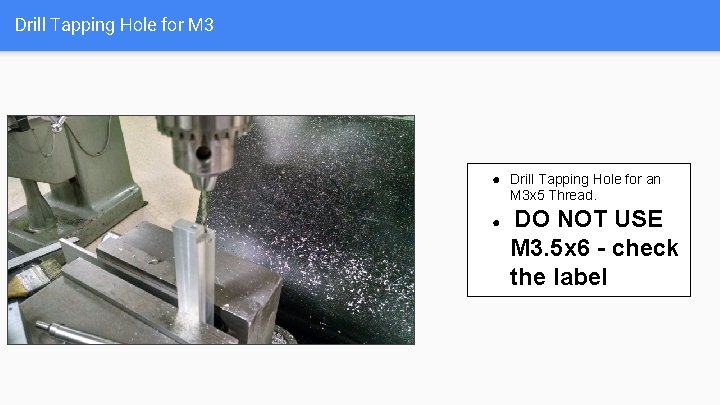
Drill Tapping Hole for M 3 ● Drill Tapping Hole for an M 3 x 5 Thread. ● DO NOT USE M 3. 5 x 6 - check the label
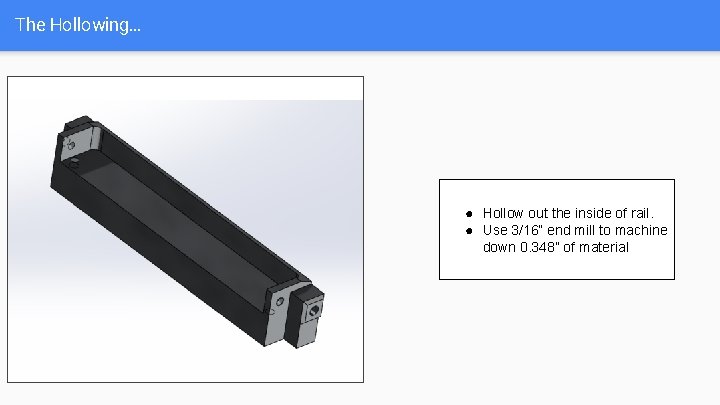
The Hollowing… ● Hollow out the inside of rail. ● Use 3/16” end mill to machine down 0. 348” of material
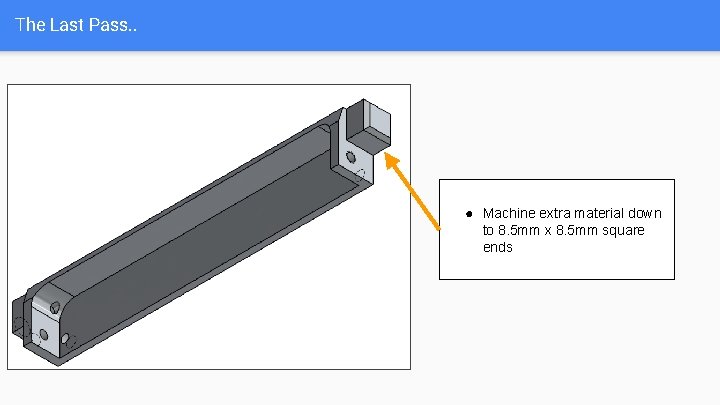
The Last Pass. . ● Machine extra material down to 8. 5 mm x 8. 5 mm square ends

Drawing Sheet Left Rail
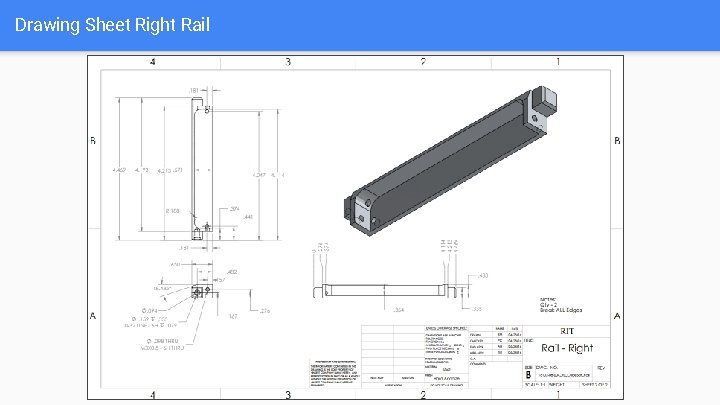
Drawing Sheet Right Rail
Rail Hardcoat Anodization ● Contact firms such as Anoplate, Thomasnet, and Keyfinishing. Anoplate quoted $300 for 8 rails ● Anoplate 05/02/2016 quotes that a thickness of 0. 002 ± 0. 0004” which is 0. 06 mm at most. This can push the outer dimensions passed spec. ● Assemble the entire Cubesat and run a Fit Test to see if it is 100 x 100 mm square. ● Then machine down rails so that the square distance is at the lowest 99. 76 mm and at the highest 98. 6 mm, so that when at most. 24 mm (4*0. 06 mm) is added it is still within spec ● Make sure to request hardcoat anodization upon submission

Deployment Pin Fab. P 16102 Rochester Institute of Technology Multidisciplinary Senior Design Team: Robert Masti, Tristan Mc. Rae, Paul Curtin, and Anthony Hennig 04/21/2016
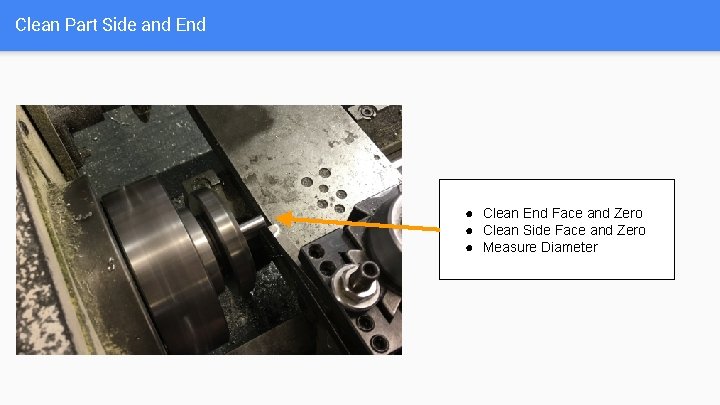
Clean Part Side and End ● Clean End Face and Zero ● Clean Side Face and Zero ● Measure Diameter
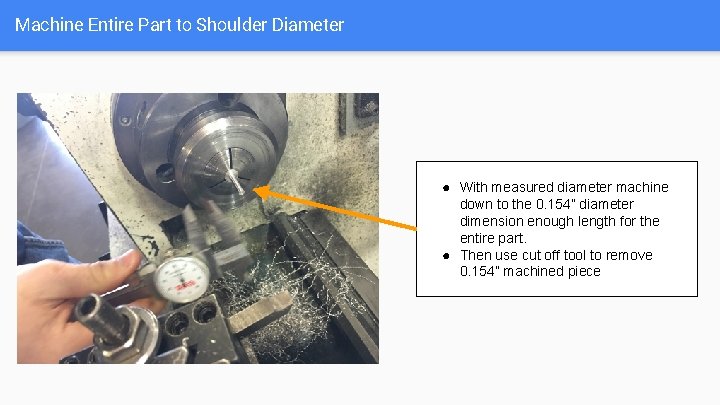
Machine Entire Part to Shoulder Diameter ● With measured diameter machine down to the 0. 154” diameter dimension enough length for the entire part. ● Then use cut off tool to remove 0. 154” machined piece
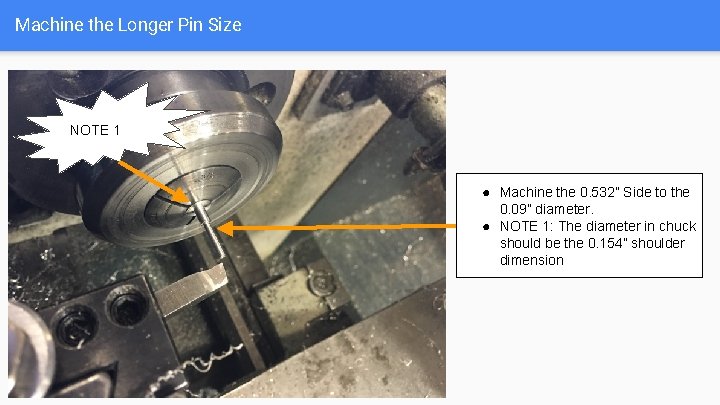
Machine the Longer Pin Size NOTE 1 ● Machine the 0. 532” Side to the 0. 09” diameter. ● NOTE 1: The diameter in chuck should be the 0. 154” shoulder dimension
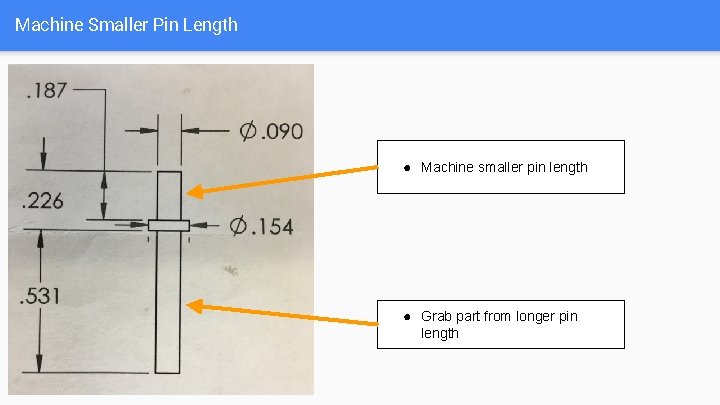
Machine Smaller Pin Length ● Machine smaller pin length ● Grab part from longer pin length
- Slides: 20