
QUICKVUE INLINE RAPID STREP A TESTING Well One

- Slides: 39
QUICKVUE IN-LINE RAPID STREP A TESTING Well. One Primary Medical and Dental Care For Medical Clinical Staff Click here to move on
WARNING Conducting this test exposes the operator to potentially infectious material. Standard precautions, including glove use, are required for this procedure. this test exposes the operator to potentially infectious material. Standard precautions, including glove use are required for this procedure. Click here to Controls are potentially infectious and should be move on handled in the same manner as a patient
Rapid Strep A Testing: Overview Pharyngitis, can be caused by streptococci from serogroups other than Group A, as well as other pathogens. The rapid strep test will not detect these other groups and pathogens. The Quick Vue ® Strep test will not differentiate asymptomatic carriers of Group A Streptococcus from those exhibiting streptococcal infection. The test is designated as a screening test at Well. One since, if clinical signs and symptoms are not consistent with test results, follow-up laboratory performed culture procedure should be Click here to performed. move on
Question (True or False): A negative Rapid Strep test is proof positive that the patient does not have strep throat. Click here for this answer choice TRUE FALS E Click here to go back and review previous slide
The correct answer is FALSE The rapid strep test is 92% sensitive (meaning that 8 out of 100 persons with strep throat will have a negative rapid strep test) If clinical signs and symptoms are not consistent with test results, follow-up laboratory performed culture procedure should be performed. Click here to go back and review previous slide Click here to move on
Rapid Strep A Testing: Storage and Stability Reagents should be stored at room temperature, in the laboratory 59 F -86 F (15 C -30 C) and out of direct sunlight. The laboratory room temperature must be checked daily and action taken for out of range temperatures. Kit contents are stable until the expiration date printed on the outer box. Swab specimens should be processed as soon as possible after collection and the test kit not opened until just prior to testing. The Test Cassette must remain sealed in the protective foil pouch until just prior to use. Click here to go back and review previous slide Click here to move on
Rapid Strep A Testing: Initial Control Testing Each test kit comes with two control swabs (one positive and one negative) that must be checked prior to use of a new box of tests Be sure that controls have been run and are acceptable for the test kit that you are using prior to patient testing If results are not as expected (ie. Positive control is negative and/or negative control is positive) DO NOT USE BOX. Segregate box of tests and notify supervisor immediately. Document the results of control testing on the strep testing log form Use a new log form for each new box of tests Click here to go back Click here to and review previous opened move on slide
Steps in Testing: General Identify patient using two patient identifiers (name and DOB) Explain procedure to patient in culturally appropriate, age appropriate terms. Gather all necessary equipment and supplies prior to start of the procedure. Inspect all equipment and supplies for damage, general integrity and expiration date- do not use any damaged or expired materials Perform hand hygiene before and after patient contact; before and after donning gloves. Click here to go back and review previous slide Click here to move on
Before conducting a strep test, the tester must: A. Ensure that the lot number on the Click here for this answer test kits begins with 1003 choice B. External controls have been run on the test kit and the control results were acceptable Click here for this answer choice C. The green lettering on the box has not faded Click here to go back and review previous slide
The correct answer is: B External controls have been run on the test kit and the control results were acceptable. External controls must be run on each test kit prior to use and recorded on the strep testing log. Click here to go back and review previous slide Click here to move on
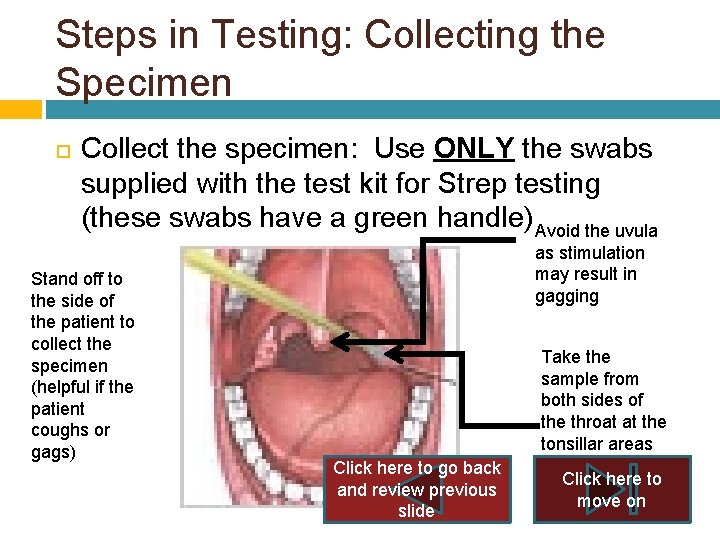
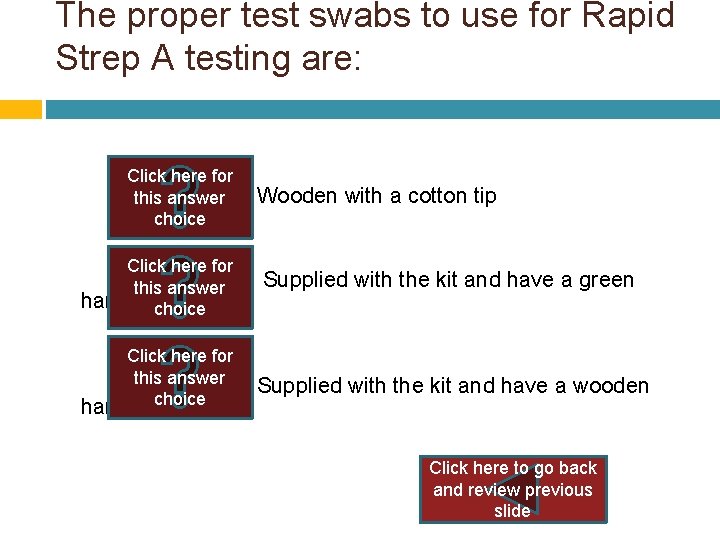
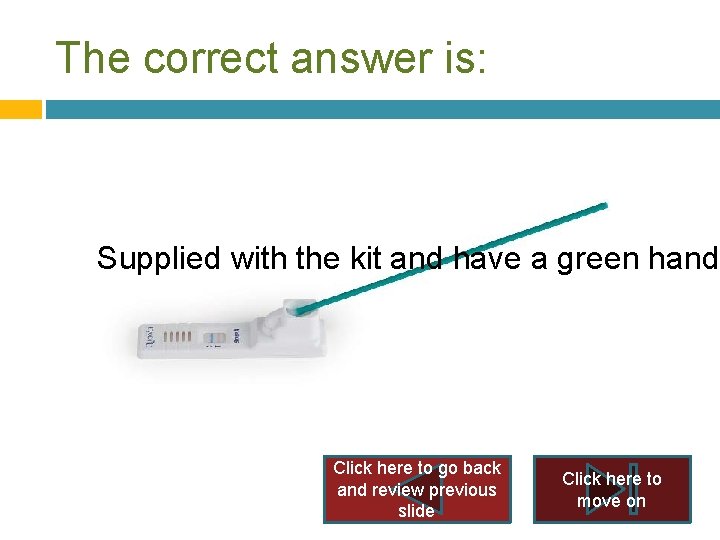
Steps in Testing: Collecting the Specimen Collect the specimen: Use ONLY the swabs supplied with the test kit for Strep testing (these swabs have a green handle) Avoid the uvula Stand off to the side of the patient to collect the specimen (helpful if the patient coughs or gags) as stimulation may result in gagging Take the sample from both sides of the throat at the tonsillar areas Click here to go back and review previous slide Click here to move on
The specimen should be collected from: Click here for The uvula this answer choice Click here for The posterior gyros this answer choice Click here for Both sides of the tonsillar areas this answer choice Click here to go back and review previous slide
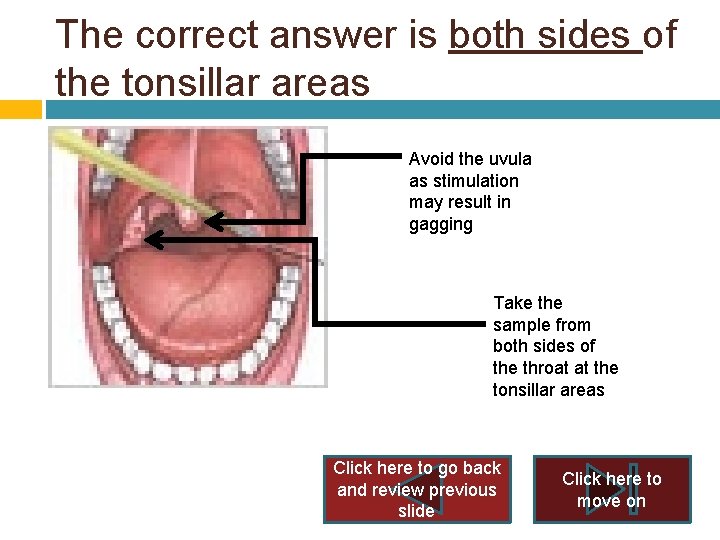
The correct answer is both sides of the tonsillar areas Avoid the uvula as stimulation may result in gagging Take the sample from both sides of the throat at the tonsillar areas Click here to go back and review previous slide Click here to move on
The proper test swabs to use for Rapid Strep A testing are: Click here for Wooden with a cotton tip this answer choice Click here for Supplied with the kit and have a green this answer handle choice Click here for this answer Supplied with the kit and have a wooden handle choice Click here to go back and review previous slide
The correct answer is: Supplied with the kit and have a green handl Click here to go back and review previous slide Click here to move on
Strep Testing: Standing Orders for MA Staff Collect and test specimen on all patients presenting with sore throat or patients stating that they have recently been exposed to strep and are ill. Click here to go back and review previous slide Click here to move on
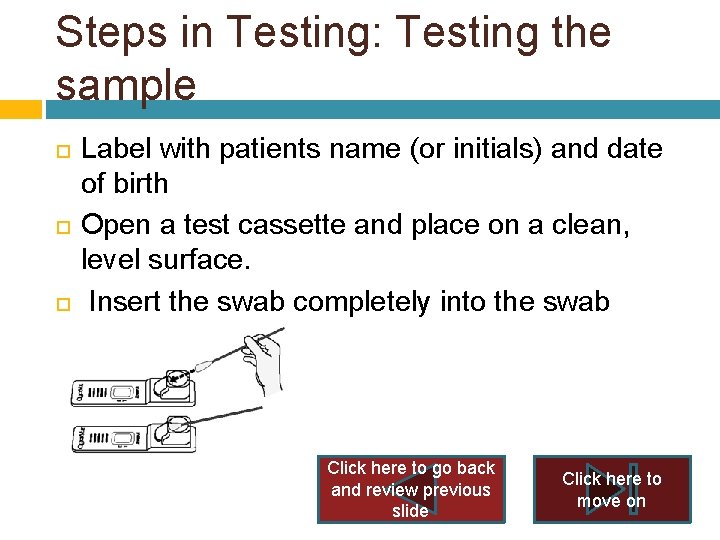
Steps in Testing: Testing the sample Label with patients name (or initials) and date of birth Open a test cassette and place on a clean, level surface. Insert the swab completely into the swab chamber. Click here to go back and review previous slide Click here to move on
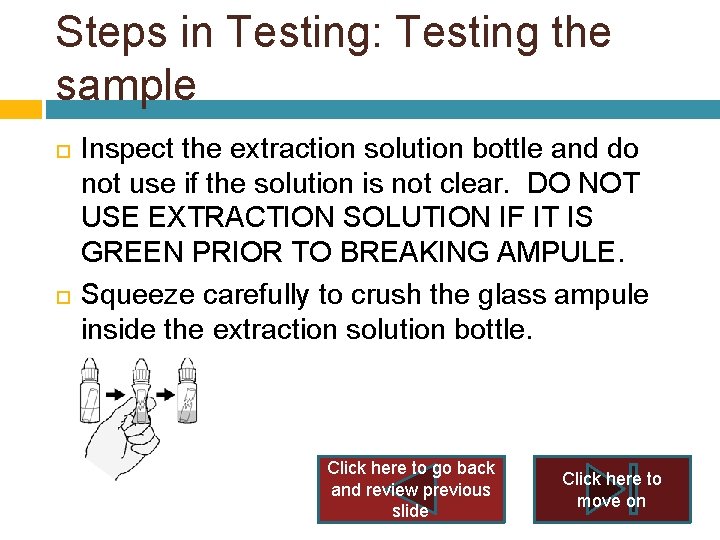
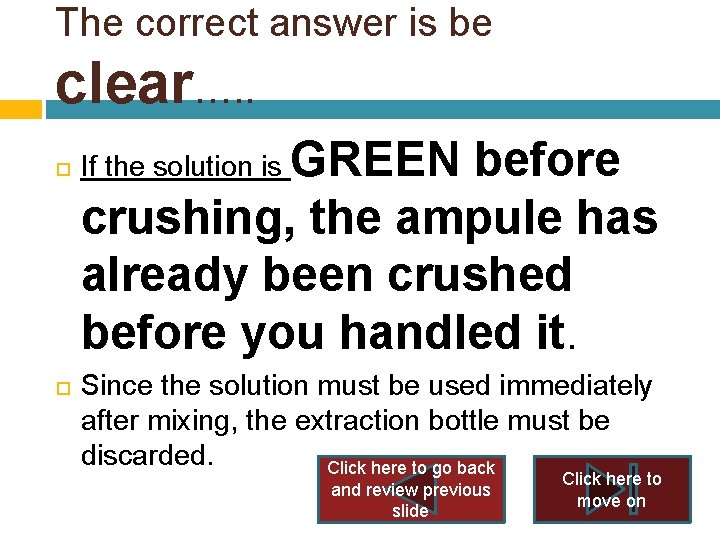
Steps in Testing: Testing the sample Inspect the extraction solution bottle and do not use if the solution is not clear. DO NOT USE EXTRACTION SOLUTION IF IT IS GREEN PRIOR TO BREAKING AMPULE. Squeeze carefully to crush the glass ampule inside the extraction solution bottle. Click here to go back and review previous slide Click here to move on
Steps in Testing: Testing the sample Vigorously shake the bottle 5 times to mix solution. Solution should turn green after the ampule is broken (do not use if green color is not present). Solution must be used immediately. Click here to go back and review previous slide Click here to move on
The extraction solution bottle should be crushed and _____ prior to use. Click here for shaken vigorously 5 times this answer choice Click here for warmed this answer choice Click here for cooled this answer choice Click here for frozen this answer choice Click here to go back and review previous slide
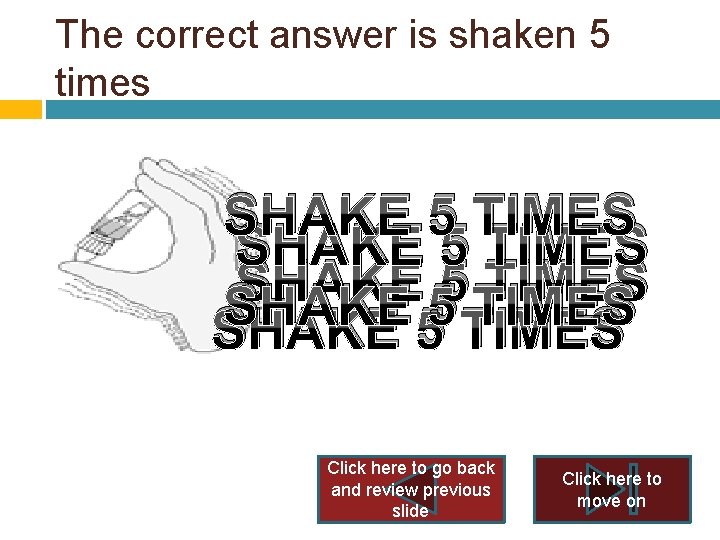
The correct answer is shaken 5 times SHAKE 5 TIMES SHAKE 5 TIMES Click here to go back and review previous slide Click here to move on
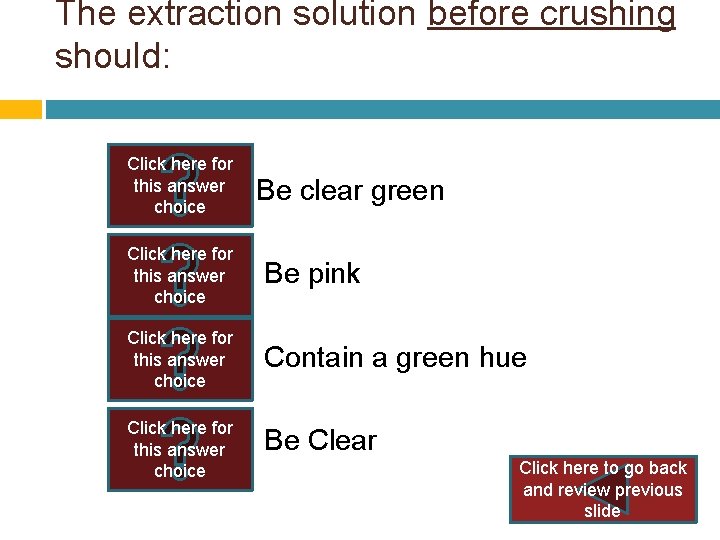
The extraction solution before crushing should: Click here for this answer Be clear green choice Click here for this answer choice Be pink Click here for this answer choice Contain a green hue Click here for Be Clear this answer choice Click here to go back and review previous slide
The correct answer is be clear…. . GREEN before crushing, the ampule has already been crushed before you handled it. If the solution is Since the solution must be used immediately after mixing, the extraction bottle must be discarded. Click here to go back and review previous slide Click here to move on
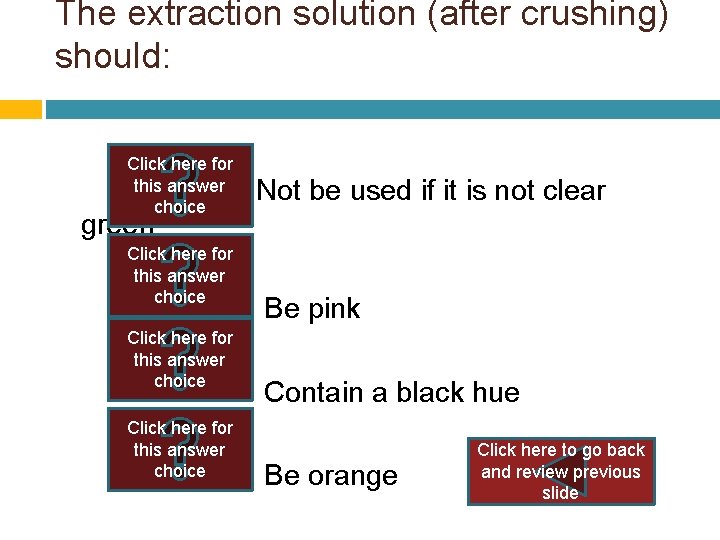
The extraction solution (after crushing) should: Click here for this answer Not be used if it is not clear choice green Click here for this answer choice Be pink Click here for this answer choice Contain a black hue Click here for this answer Click here to go back choice and review previous Be orange slide
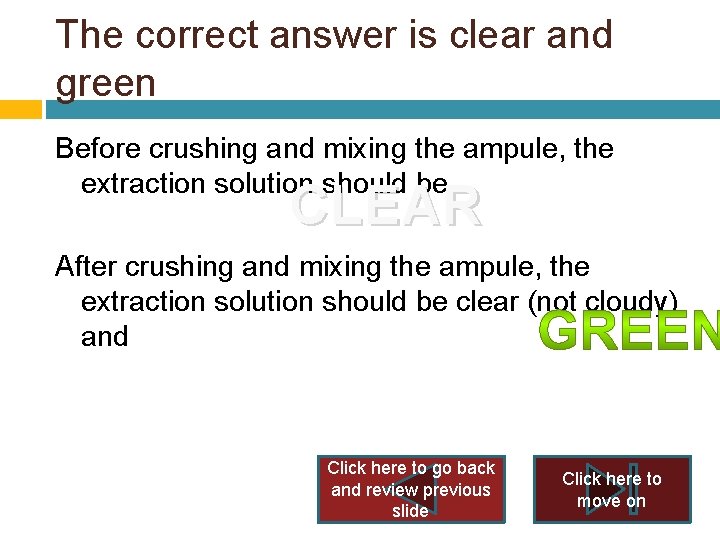
The correct answer is clear and green Before crushing and mixing the ampule, the extraction solution should be CLEAR After crushing and mixing the ampule, the extraction solution should be clear (not cloudy) and Click here to go back and review previous slide Click here to move on
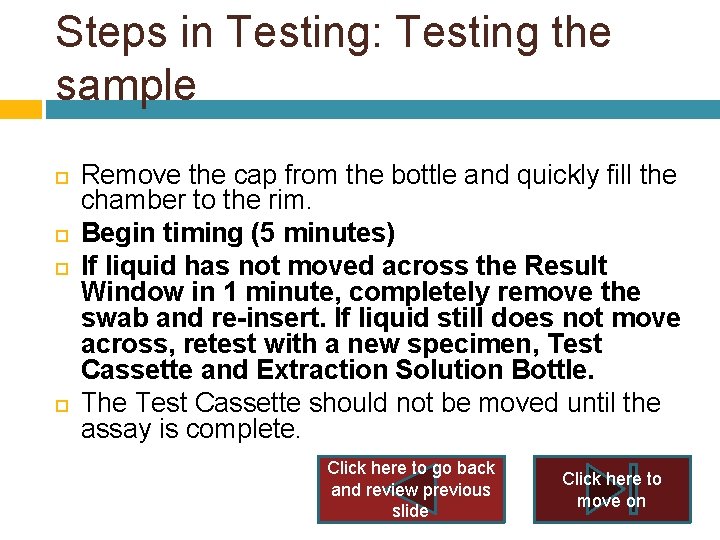
Steps in Testing: Testing the sample Remove the cap from the bottle and quickly fill the chamber to the rim. Begin timing (5 minutes) If liquid has not moved across the Result Window in 1 minute, completely remove the swab and re-insert. If liquid still does not move across, retest with a new specimen, Test Cassette and Extraction Solution Bottle. The Test Cassette should not be moved until the assay is complete. Click here to go back and review previous slide Click here to move on
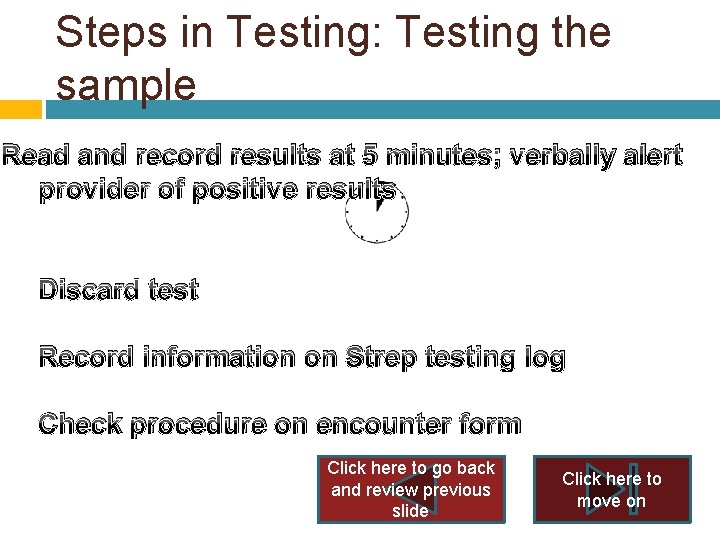
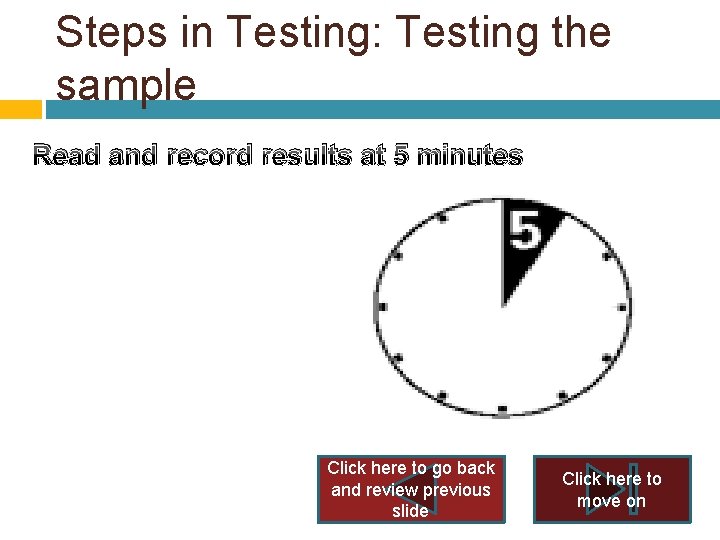
Steps in Testing: Testing the sample Read and record results at 5 minutes; verbally alert provider of positive results Discard test Record information on Strep testing log Check procedure on encounter form Click here to go back and review previous slide Click here to move on
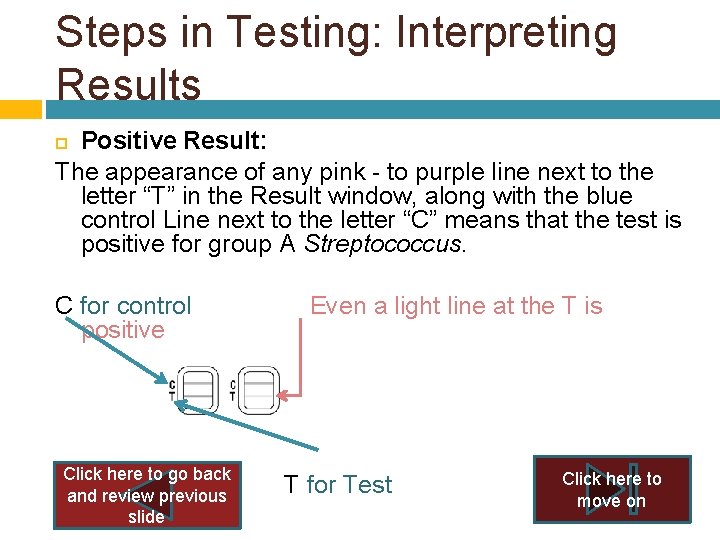
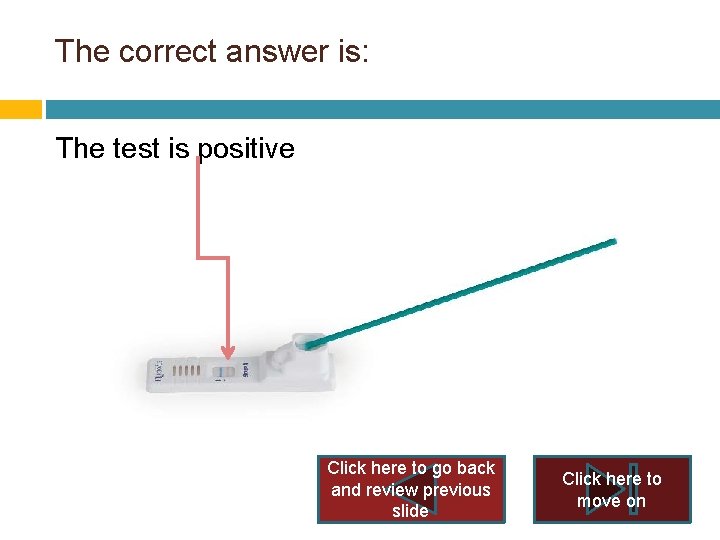
Steps in Testing: Interpreting Results Positive Result: The appearance of any pink - to purple line next to the letter “T” in the Result window, along with the blue control Line next to the letter “C” means that the test is positive for group A Streptococcus. C for control Even a light line at the T is positive Click here to go back T for Test and review previous slide Click here to move on
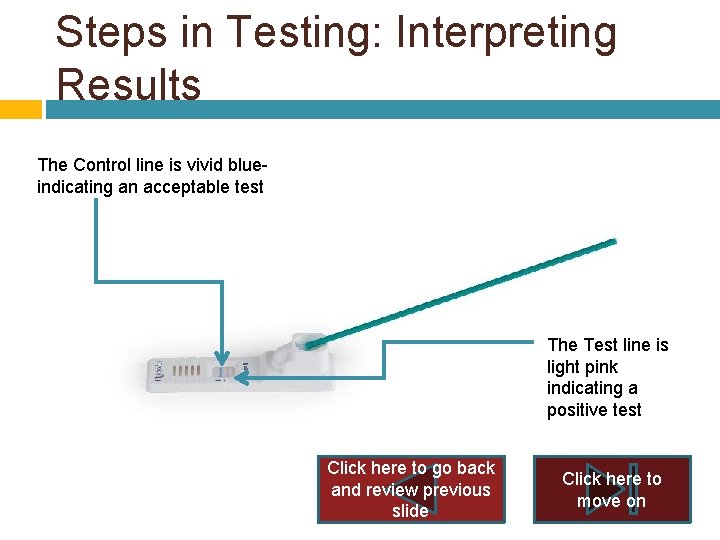
Steps in Testing: Interpreting Results The Control line is vivid blue- indicating an acceptable test The Test line is light pink indicating a positive test Click here to go back and review previous slide Click here to move on
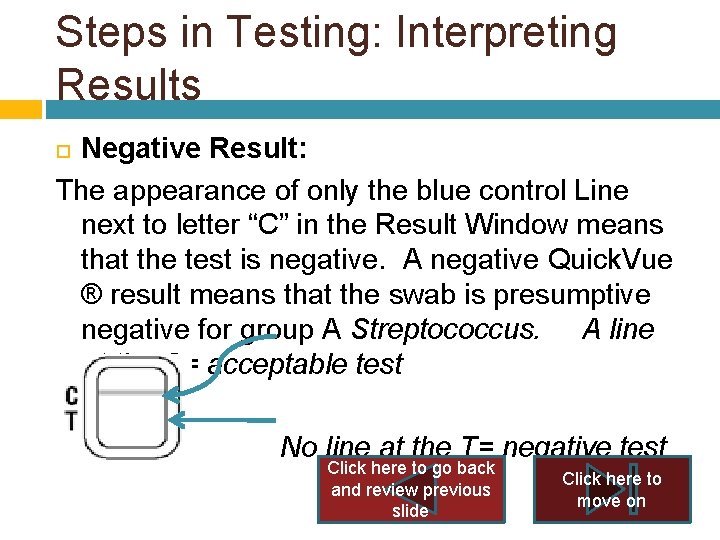
Steps in Testing: Interpreting Results Negative Result: The appearance of only the blue control Line next to letter “C” in the Result Window means that the test is negative. A negative Quick. Vue ® result means that the swab is presumptive negative for group A Streptococcus. A line at the C= acceptable test No line at the T= negative test Click here to go back and review previous slide Click here to move on
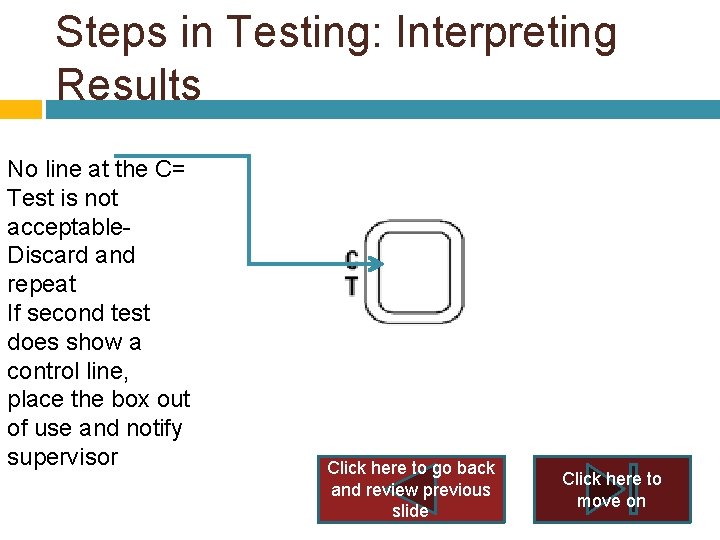
Steps in Testing: Interpreting Results No line at the C= Test is not acceptable. Discard and repeat If second test does show a control line, place the box out of use and notify supervisor Click here to go back and review previous slide Click here to move on
A blue control line next to the letter C means that: Click here for The test is positive this answer choice Click here for this answer choice This was a “good” (or reliable) test Click here for this answer choice The patient has strep throat Click here for this answer choice Click here to go back The results are not valid and review previous slide
The correct answer is: This was a “good” (or reliable) test For more on controls, place mouse here Click here to go back and review previous slide Click here to move on
Any shade of a light pink to purple line at the “T” means: Click here for The test is positive this answer choice Click here for this answer choice This was a “good” (or reliable) test Click here for this answer choice The patient has mono Click here for this answer choice Click here to go back The results are not valid and review previous slide
The correct answer is: The test is positive Click here to go back and review previous slide Click here to move on
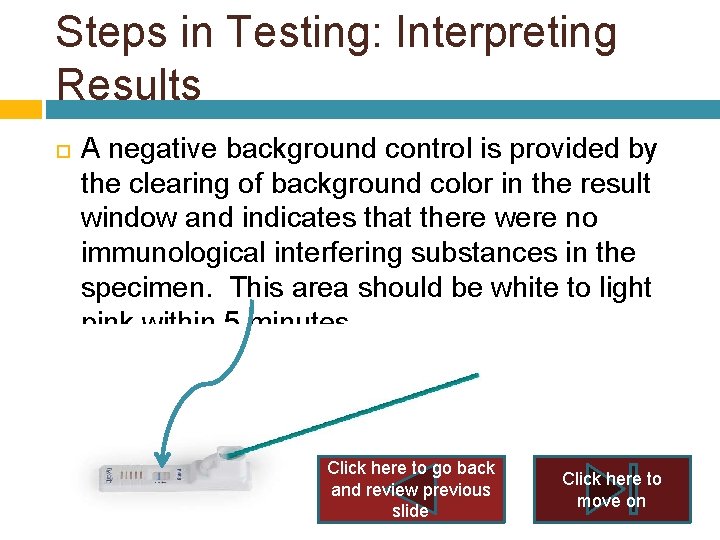
Steps in Testing: Interpreting Results A negative background control is provided by the clearing of background color in the result window and indicates that there were no immunological interfering substances in the specimen. This area should be white to light pink within 5 minutes. Click here to go back and review previous slide Click here to move on
Rapid strep results should be read at: Click here for this answer 20 minutes 5 choice minutes Click here for this answer choice 8 minutes Click here to go back and review previous slide Click here to move on
Steps in Testing: Testing the sample Read and record results at 5 minutes Click here to go back and review previous slide Click here to move on
You have reached the end of this program…. . Click below to view a video on Quick. Vue Rapid A Strep Testing http: //www. quidel. com/assets/swf/Strep. ATrainingvideo. HQ. htm Once you are confident that you are comfortable with all the materials presented, proceed to the Quick. Vue Rapid A Strep Testing post test at: http: //www. classmarker. com/professional/ Click here to go back Start Over and review previous slide Exit