QUALITY CONTROL ANALYSIS STATISTICAL QUALITY CONTROL WHAT IS
- Slides: 19

QUALITY CONTROL ANALYSIS

STATISTICAL QUALITY CONTROL WHAT IS SQC? ? n n n SQC is a mathematical study used to investigate a manufacturing process to determine its precision and accuracy. It is used to check and improve the quality control of a manufactured part. Ensure products or services are designed and produced to meet or exceed customer requirements and expectations.

USING THE STATISTICAL PROCESS CONTROL ANALYZER

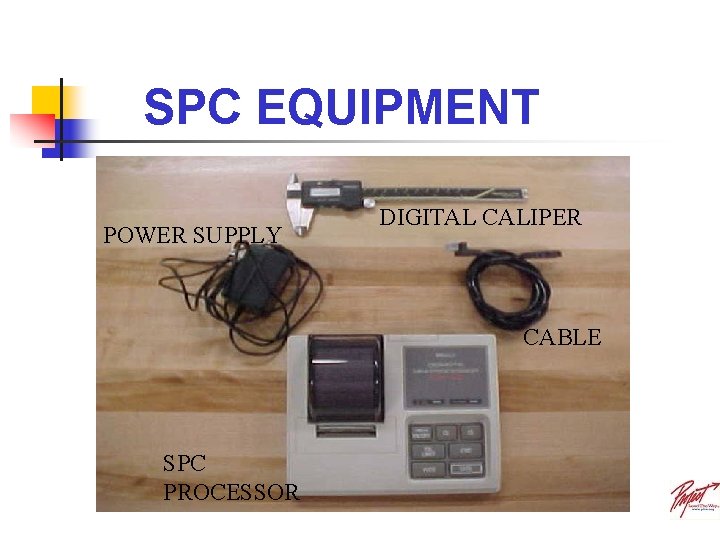
SPC EQUIPMENT POWER SUPPLY DIGITAL CALIPER CABLE SPC PROCESSOR

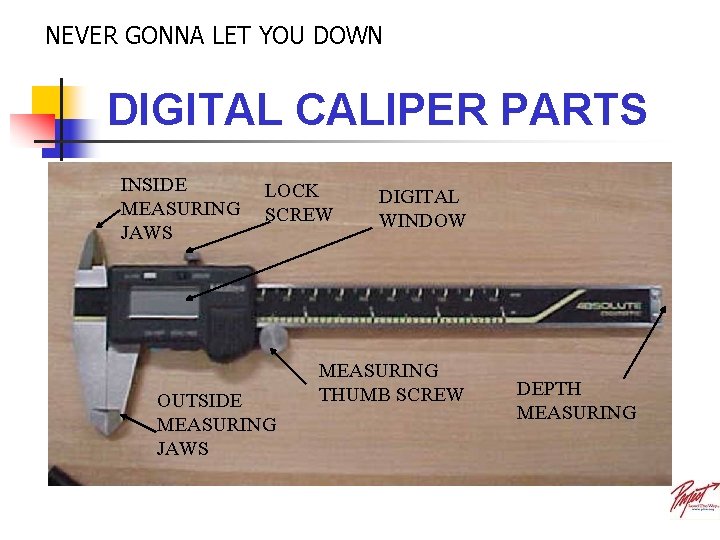
NEVER GONNA LET YOU DOWN DIGITAL CALIPER PARTS INSIDE MEASURING JAWS LOCK SCREW OUTSIDE MEASURING JAWS DIGITAL WINDOW MEASURING THUMB SCREW DEPTH MEASURING

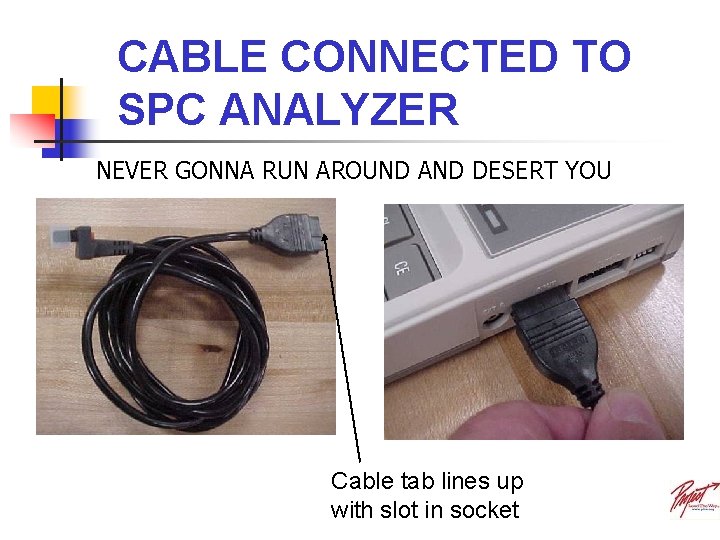
CABLE CONNECTED TO SPC ANALYZER NEVER GONNA RUN AROUND AND DESERT YOU Cable tab lines up with slot in socket

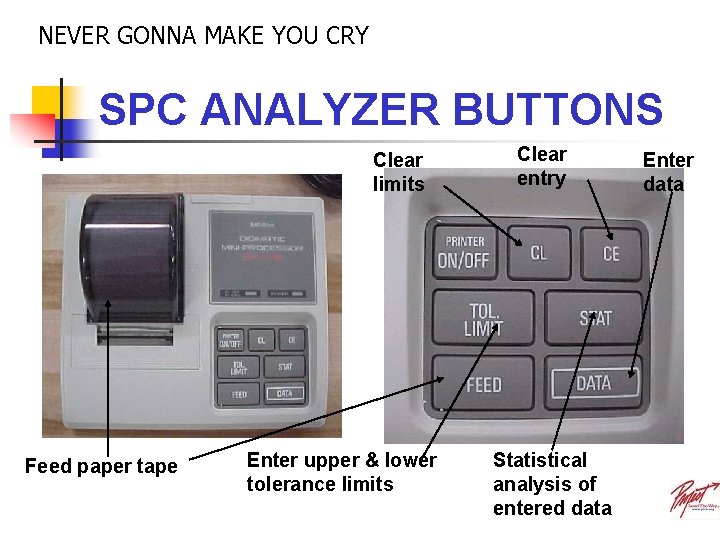
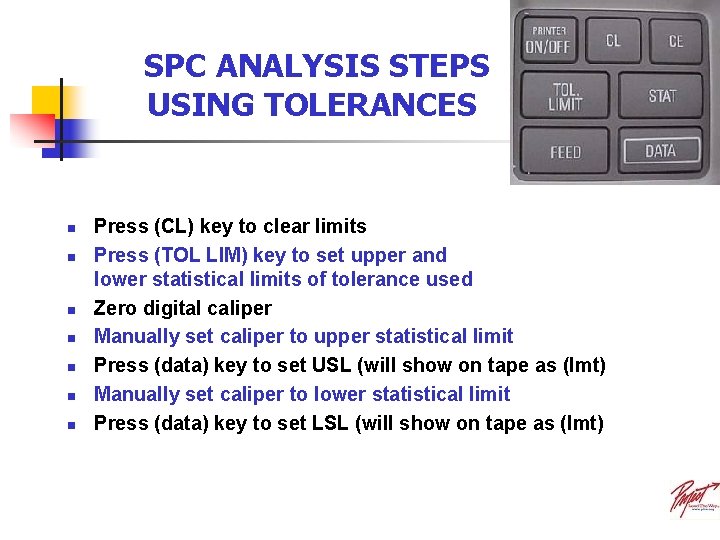
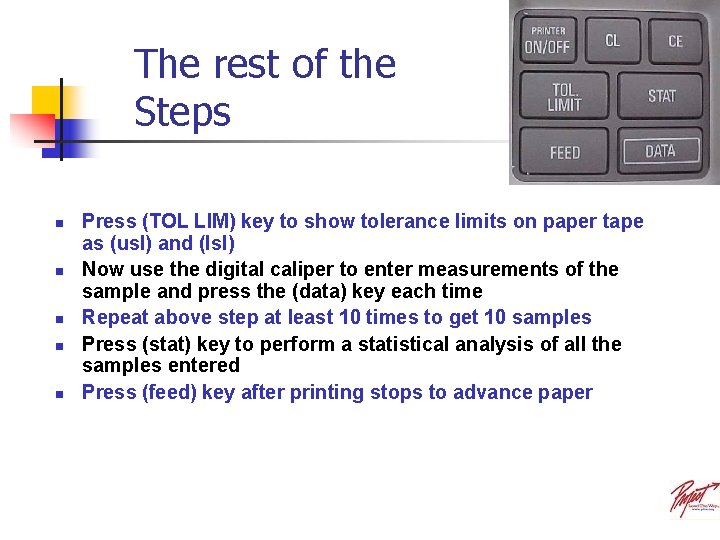
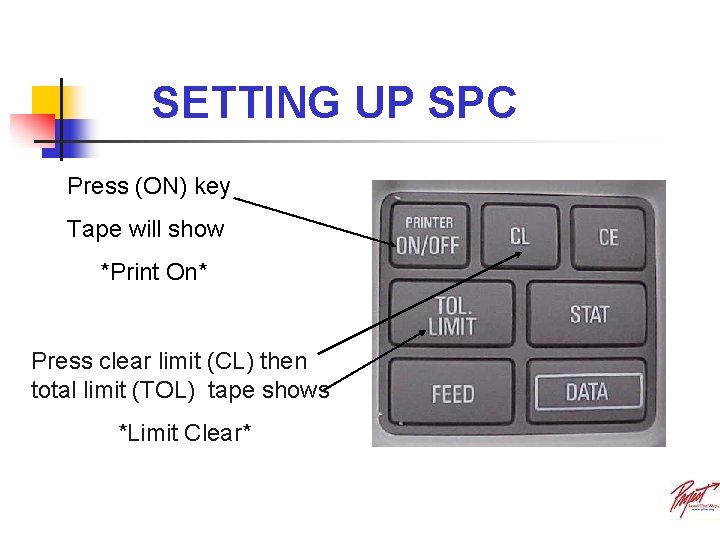
NEVER GONNA MAKE YOU CRY SPC ANALYZER BUTTONS Clear limits Feed paper tape Enter upper & lower tolerance limits Clear entry Statistical analysis of entered data Enter data

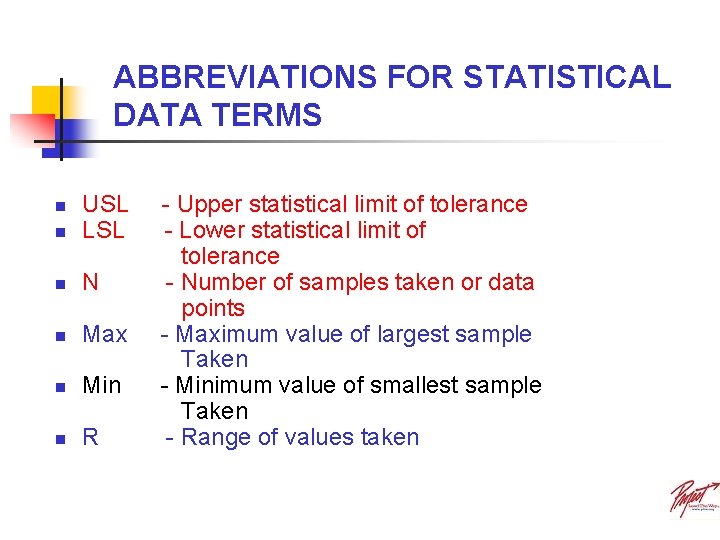
ABBREVIATIONS FOR STATISTICAL DATA TERMS n USL LSL n N n Max n Min n R n - Upper statistical limit of tolerance - Lower statistical limit of tolerance - Number of samples taken or data points - Maximum value of largest sample Taken - Minimum value of smallest sample Taken - Range of values taken

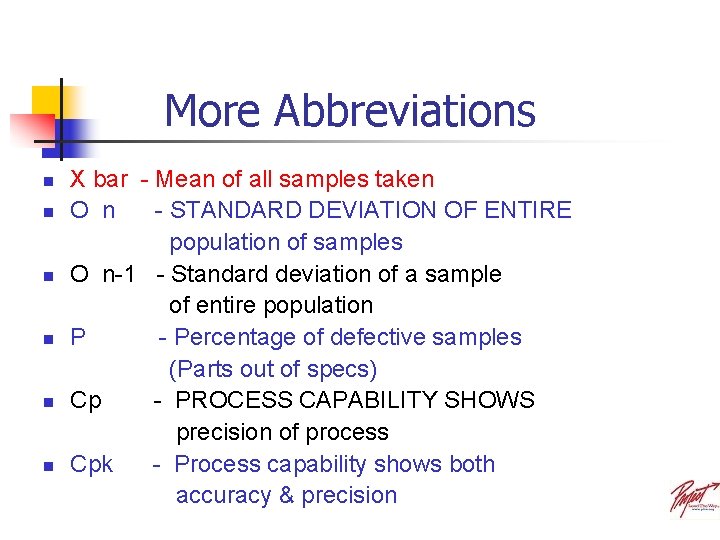
More Abbreviations n n n X bar - Mean of all samples taken O n - STANDARD DEVIATION OF ENTIRE population of samples O n-1 - Standard deviation of a sample of entire population P - Percentage of defective samples (Parts out of specs) Cp - PROCESS CAPABILITY SHOWS precision of process Cpk - Process capability shows both accuracy & precision

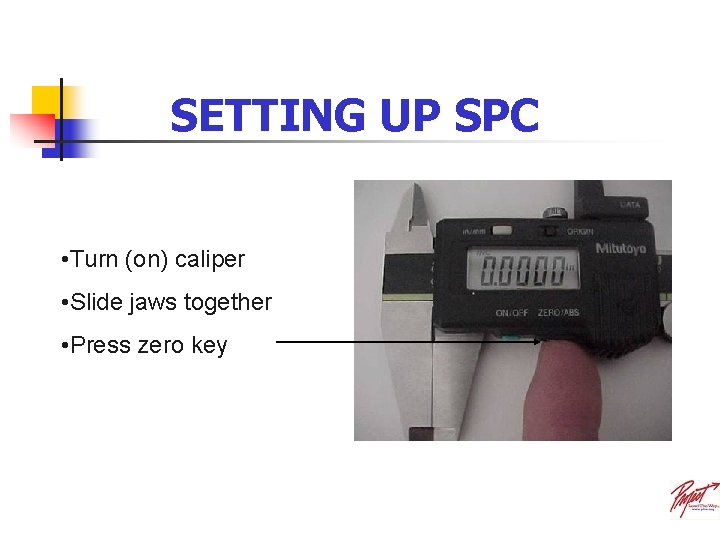
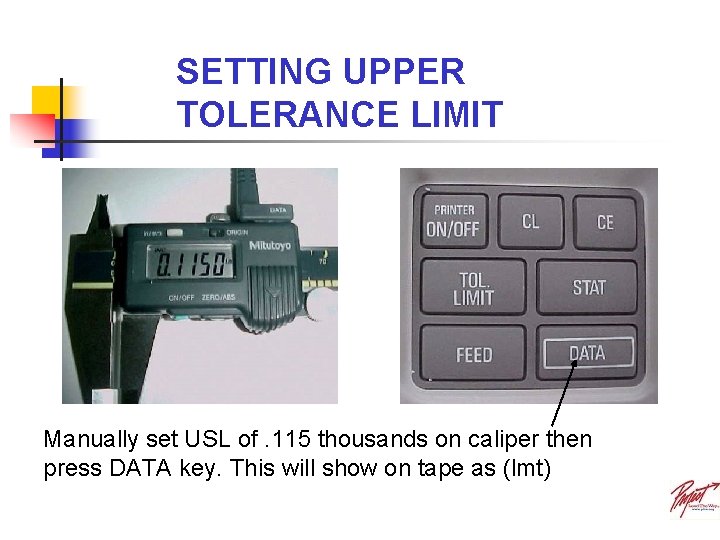
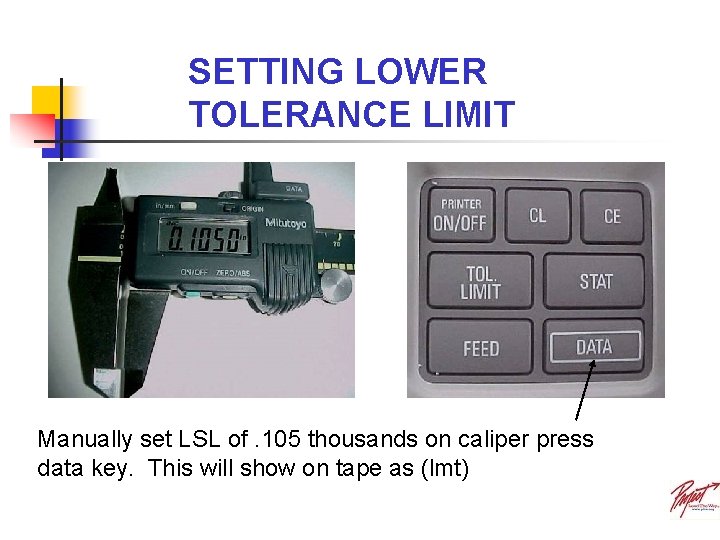
SPC ANALYSIS STEPS USING TOLERANCES n n n n Press (CL) key to clear limits Press (TOL LIM) key to set upper and lower statistical limits of tolerance used Zero digital caliper Manually set caliper to upper statistical limit Press (data) key to set USL (will show on tape as (lmt) Manually set caliper to lower statistical limit Press (data) key to set LSL (will show on tape as (lmt)

The rest of the Steps n n n Press (TOL LIM) key to show tolerance limits on paper tape as (usl) and (lsl) Now use the digital caliper to enter measurements of the sample and press the (data) key each time Repeat above step at least 10 times to get 10 samples Press (stat) key to perform a statistical analysis of all the samples entered Press (feed) key after printing stops to advance paper

SETTING UP SPC Press (ON) key Tape will show *Print On* Press clear limit (CL) then total limit (TOL) tape shows *Limit Clear*

SETTING UP SPC • Turn (on) caliper • Slide jaws together • Press zero key

SETTING UPPER TOLERANCE LIMIT Manually set USL of. 115 thousands on caliper then press DATA key. This will show on tape as (lmt)

SETTING LOWER TOLERANCE LIMIT Manually set LSL of. 105 thousands on caliper press data key. This will show on tape as (lmt)

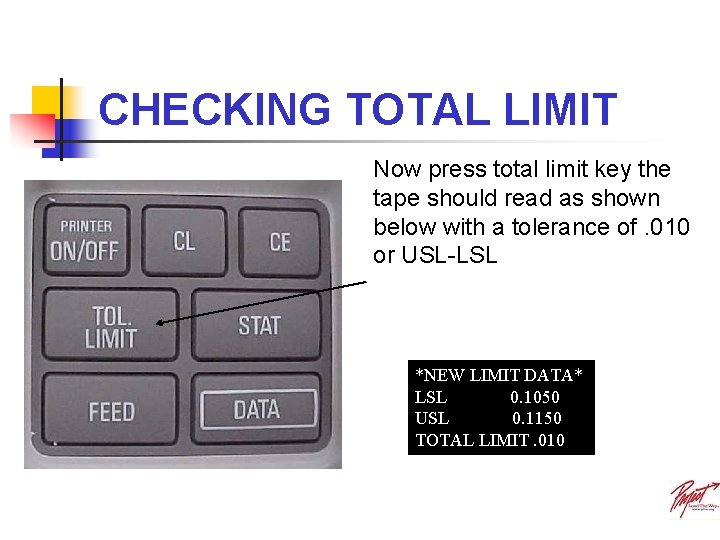
CHECKING TOTAL LIMIT Now press total limit key the tape should read as shown below with a tolerance of. 010 or USL-LSL *NEW LIMIT DATA* LSL 0. 1050 USL 0. 1150 TOTAL LIMIT. 010

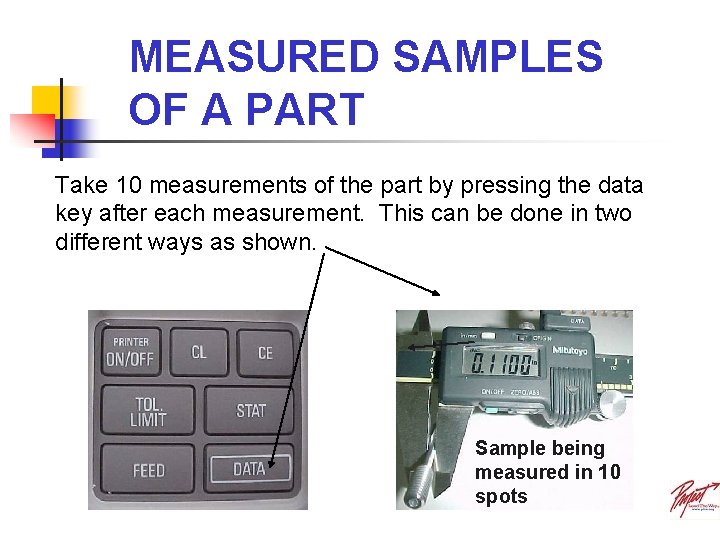
MEASURED SAMPLES OF A PART Take 10 measurements of the part by pressing the data key after each measurement. This can be done in two different ways as shown. Sample being measured in 10 spots

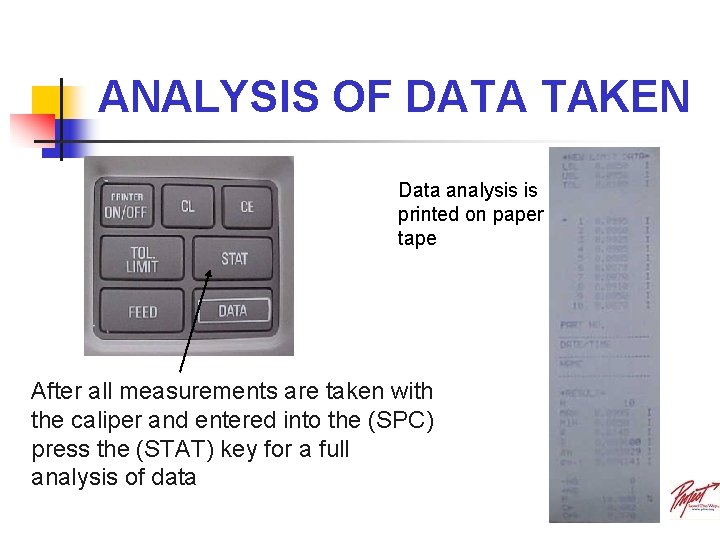
ANALYSIS OF DATA TAKEN Data analysis is printed on paper tape After all measurements are taken with the caliper and entered into the (SPC) press the (STAT) key for a full analysis of data

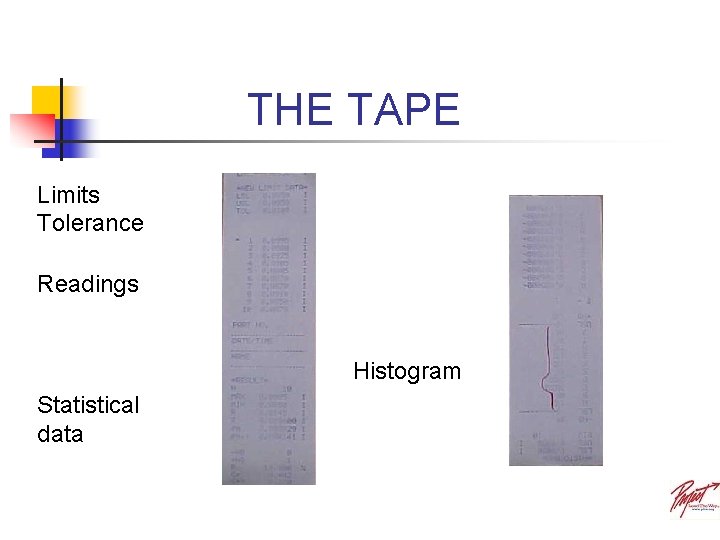
THE TAPE Limits Tolerance Readings Histogram Statistical data