
Please Note 1 YOUR PARTICIPATION IS REQUIRED You



- Slides: 123
Please Note 1. YOUR PARTICIPATION IS REQUIRED • You must click the “Play” or “Next” button to advance each slide. • This presentation must play to the very end to redeem credit. • You will be redirected to the appropriate center once credit has been automatically redeemed. 2. POP-UP BLOCKERS MAY BLOCK CREDIT BEING APPLIED • Please check your browser’s pop-up blocker settings. • We recommend adding www. ihsa. org to your blocker’s list of exceptions. • Browser toolbars such as Google or Yahoo will each have an option to allow pop-ups for the current site.
2018 -19 Body Fat Testing ILLINOIS HIGH SCHOOL ASSOCIATION The Future Plays Here! 2018 -19 IHSA Rules Interpretation Presentation
Loading video…
IHSA BODY FAT ASSESSOR ILLINOIS HIGH SCHOOL ASSOCIATION The Future Plays Here! Home Study Re-Certification Course
Kelley Altom M. S. Ed, Course Instructor Exercise Physiologist ISAK Certified Anthropometrist (Level 3) IHSA Body Fat Instructor Since 2002 Owner of Goldstandard Systems Inc.
Purpose of Re-Certification The purpose of the IHSA Body Assessor Re-Certification Home study course: • Ensure continued competence as an IHSA Certified Body Fat Assessor • Provide information needed to pass the Body Fat Assessor exam
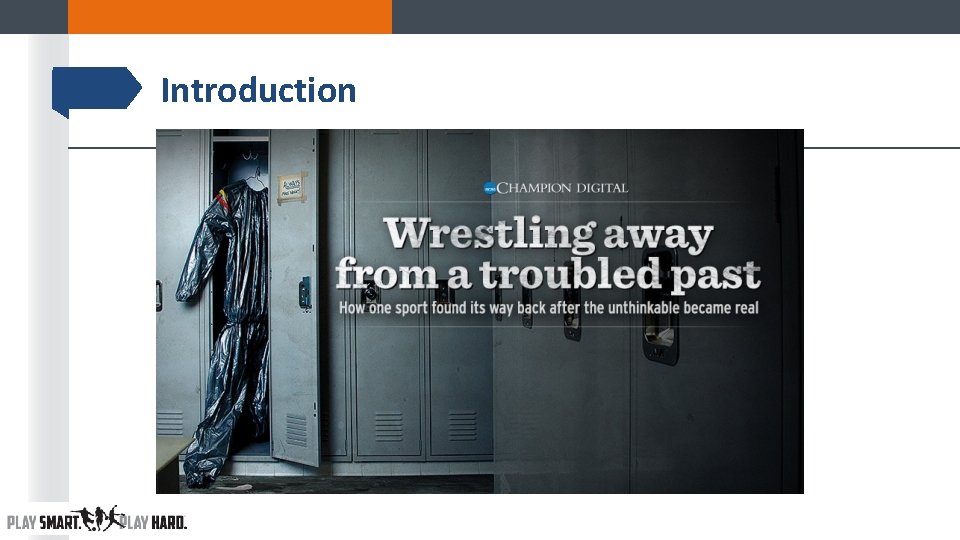
Introduction
Purpose/Goals Purpose: • Prevent unhealthy weight management practices in student athletes that compete in the sport of wrestling through education and best practice Goals: • Elimination of all weight control practices that could potentially risk the health of wrestlers • Focus on competition, not weight loss • Recommendations should be practical, enforceable, and scientifically based
Regulations To accomplish these goals, standards have been established that require each wrestler to undergo a comprehensive preseason evaluation to assess the following: • Hydration Status • Body Weight • Percent Body Fat
Regulations The data from these assessments are entered into a series of equations so that the following safeguards can be determined for each wrestler: • Minimum Wrestling Weight (MWW) • A safe weight loss descent plan (1. 5% Rule) • A weight class cycling limit
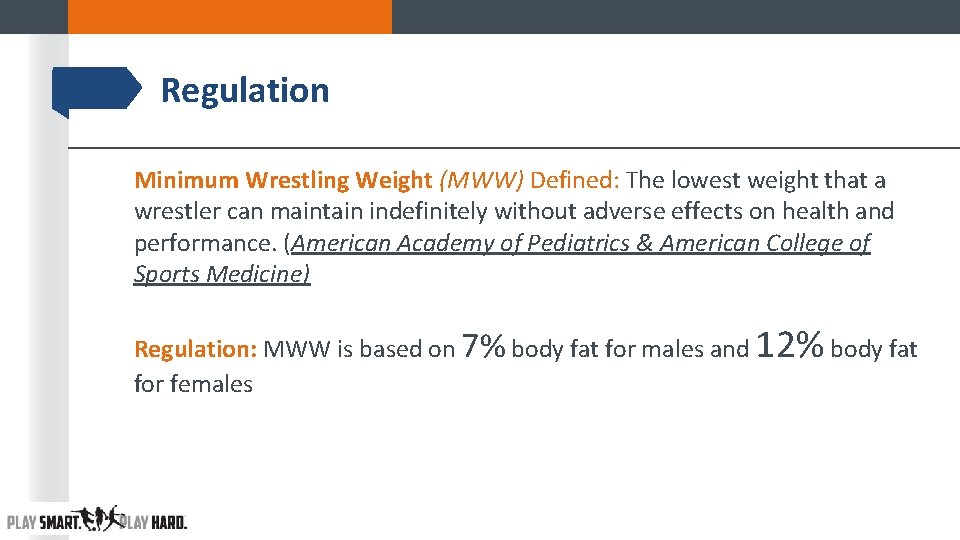
Regulation Minimum Wrestling Weight (MWW) Defined: The lowest weight that a wrestler can maintain indefinitely without adverse effects on health and performance. (American Academy of Pediatrics & American College of Sports Medicine) Regulation: MWW is based on 7% body fat for males and 12% body fat for females
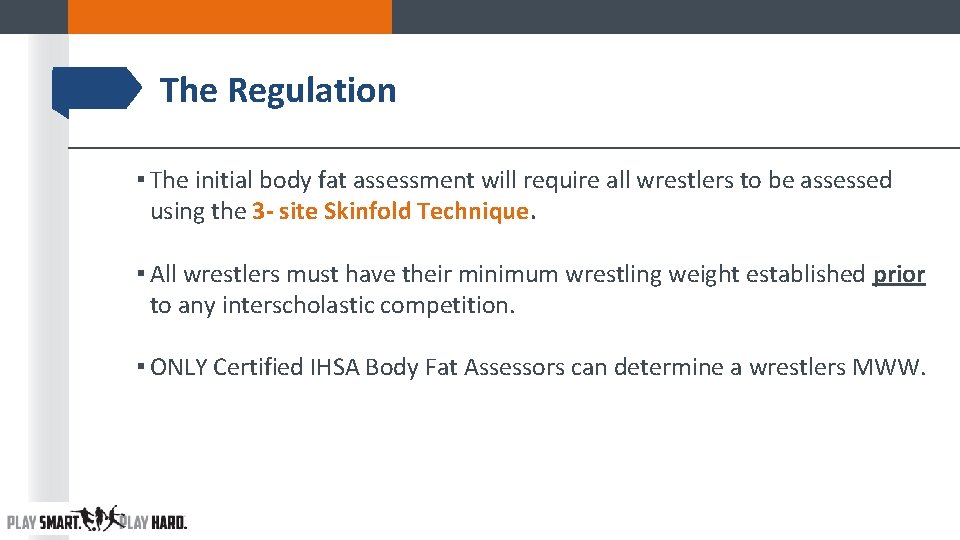
The Regulation ▪ The initial body fat assessment will require all wrestlers to be assessed using the 3 - site Skinfold Technique. ▪ All wrestlers must have their minimum wrestling weight established prior to any interscholastic competition. ▪ ONLY Certified IHSA Body Fat Assessors can determine a wrestlers MWW.
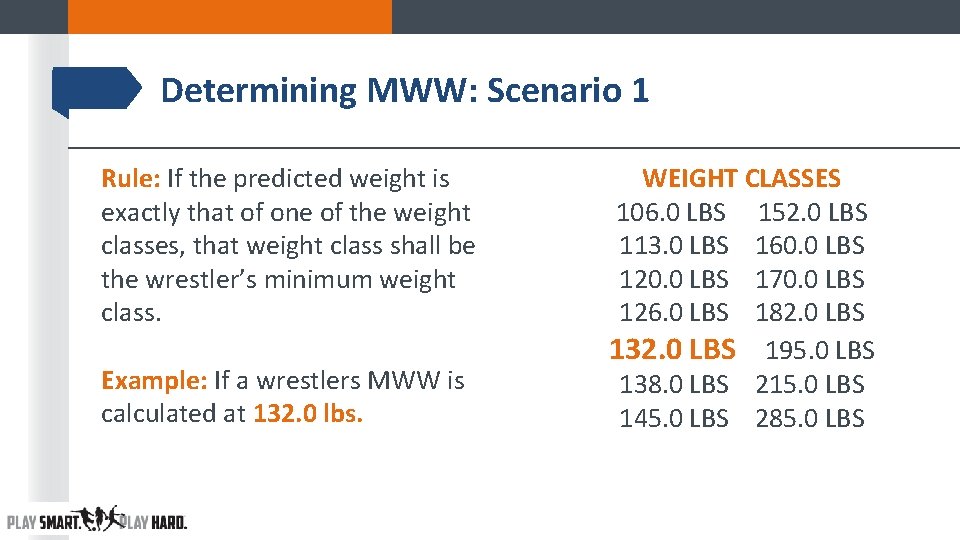
Determining MWW: Scenario 1 Rule: If the predicted weight is exactly that of one of the weight classes, that weight class shall be the wrestler’s minimum weight class. Example: If a wrestlers MWW is calculated at 132. 0 lbs. WEIGHT CLASSES 106. 0 LBS 152. 0 LBS 113. 0 LBS 160. 0 LBS 120. 0 LBS 170. 0 LBS 126. 0 LBS 182. 0 LBS 132. 0 LBS 195. 0 LBS 138. 0 LBS 215. 0 LBS 145. 0 LBS 285. 0 LBS
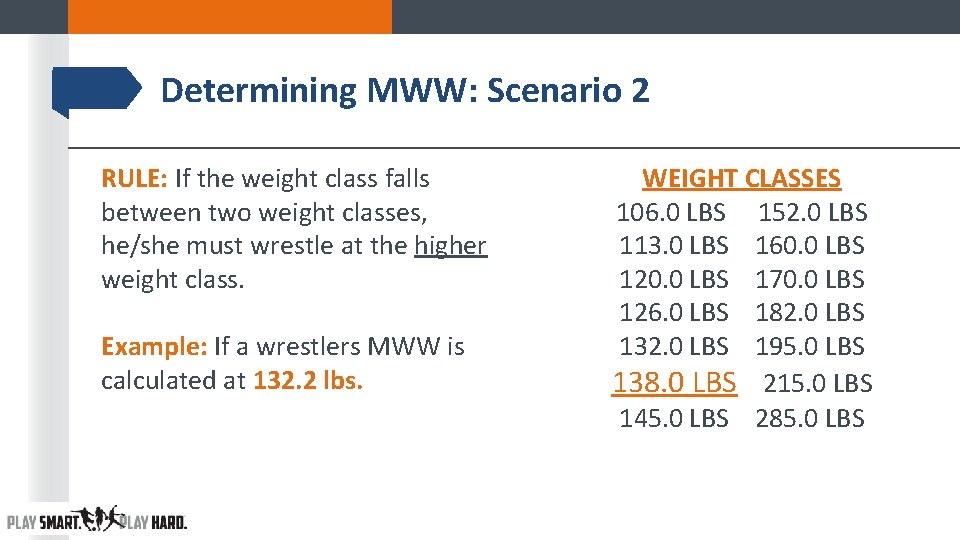
Determining MWW: Scenario 2 RULE: If the weight class falls between two weight classes, he/she must wrestle at the higher weight class. Example: If a wrestlers MWW is calculated at 132. 2 lbs. WEIGHT CLASSES 106. 0 LBS 152. 0 LBS 113. 0 LBS 160. 0 LBS 120. 0 LBS 170. 0 LBS 126. 0 LBS 182. 0 LBS 132. 0 LBS 195. 0 LBS 138. 0 LBS 215. 0 LBS 145. 0 LBS 285. 0 LBS
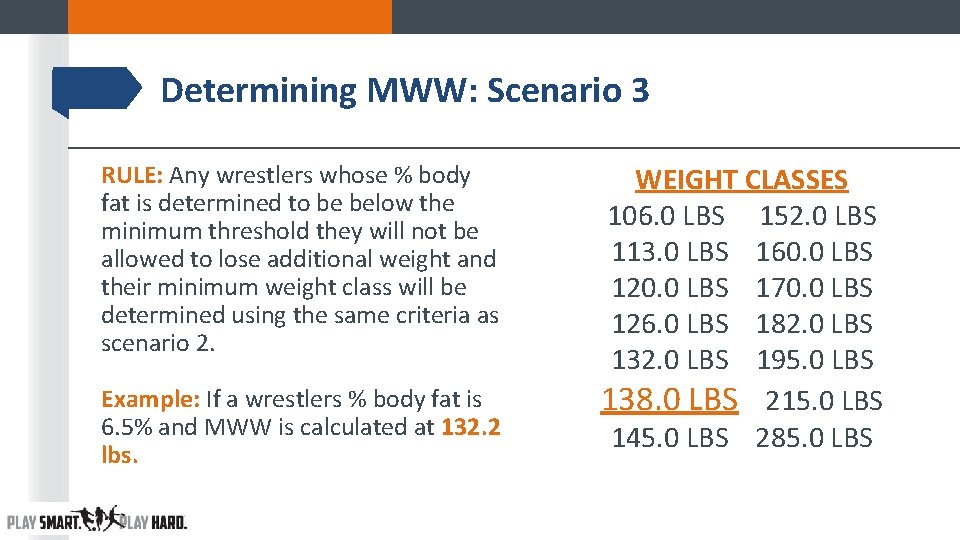
Determining MWW: Scenario 3 RULE: Any wrestlers whose % body fat is determined to be below the minimum threshold they will not be allowed to lose additional weight and their minimum weight class will be determined using the same criteria as scenario 2. Example: If a wrestlers % body fat is 6. 5% and MWW is calculated at 132. 2 lbs. WEIGHT CLASSES 106. 0 LBS 152. 0 LBS 113. 0 LBS 160. 0 LBS 120. 0 LBS 170. 0 LBS 126. 0 LBS 182. 0 LBS 132. 0 LBS 195. 0 LBS 138. 0 LBS 215. 0 LBS 145. 0 LBS 285. 0 LBS
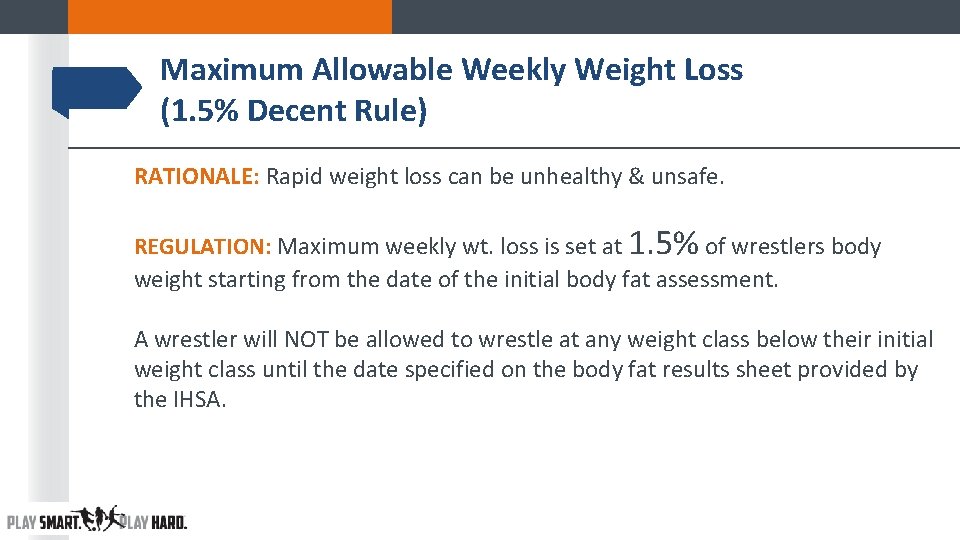
Maximum Allowable Weekly Weight Loss (1. 5% Decent Rule) RATIONALE: Rapid weight loss can be unhealthy & unsafe. REGULATION: Maximum weekly wt. loss is set at 1. 5% of wrestlers body weight starting from the date of the initial body fat assessment. A wrestler will NOT be allowed to wrestle at any weight class below their initial weight class until the date specified on the body fat results sheet provided by the IHSA.
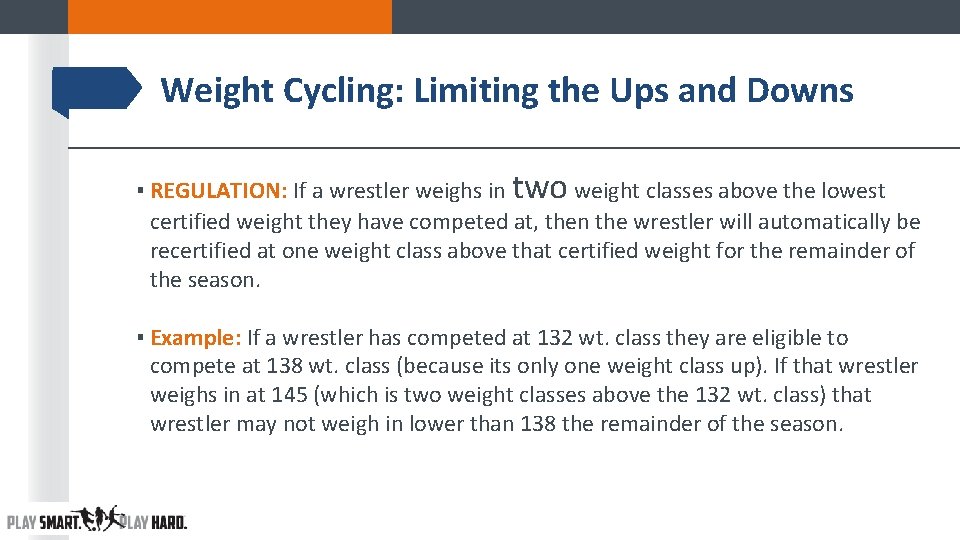
Weight Cycling: Limiting the Ups and Downs ▪ REGULATION: If a wrestler weighs in two weight classes above the lowest certified weight they have competed at, then the wrestler will automatically be recertified at one weight class above that certified weight for the remainder of the season. ▪ Example: If a wrestler has competed at 132 wt. class they are eligible to compete at 138 wt. class (because its only one weight class up). If that wrestler weighs in at 145 (which is two weight classes above the 132 wt. class) that wrestler may not weigh in lower than 138 the remainder of the season.
Time Period for Scheduling the Body Fat Assessment ▪ Measurements may begin on Monday, week 19 in the IHSA calendar (Nov. 5, 2018) ▪ Measurements must be complete by Friday of Week 30 of the IHSA calendar (Jan. 25, 2019) ▪ REMEMBER a wrestlers MWW must be established prior to competition
IHSA Certification Scheme & Fees ▪ Attend a 3 -hour “live” training course every 4 years (Fee $35) and; ▪ Complete an annual “Home Study" course and exam (Fee $10) in the years between the “live” training courses.
Basic Statistics ▪ The best strength of a method is knowing its weakness.
Basic Statistics ▪ Components of measurement quality ▪ Sources of Measurement error ▪ Quantifying the level of uncertainty
5 Components of Measurement Quality ▪ Objectivity ▪ Precision ▪ Reliability ▪ Accuracy ▪ Validity
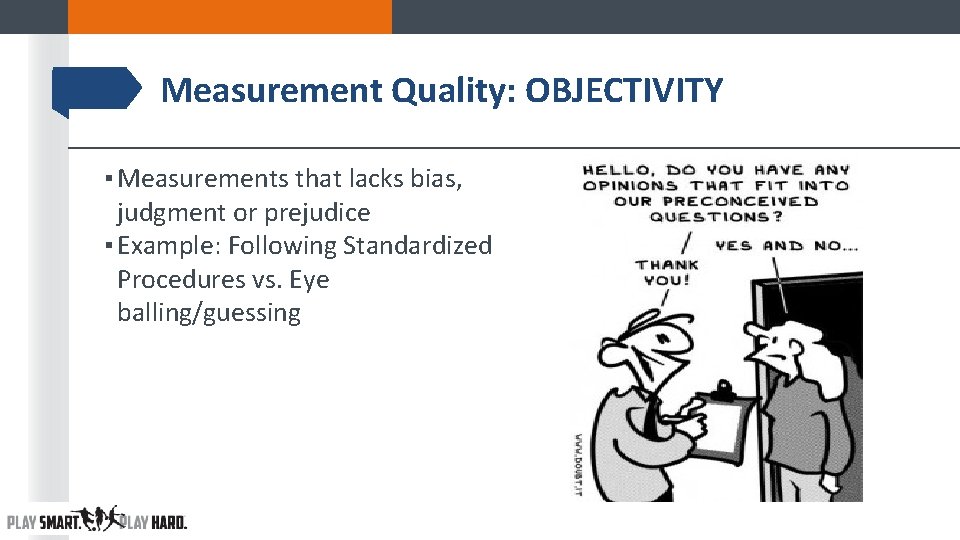
Measurement Quality: OBJECTIVITY ▪ Measurements that lacks bias, judgment or prejudice ▪ Example: Following Standardized Procedures vs. Eye balling/guessing
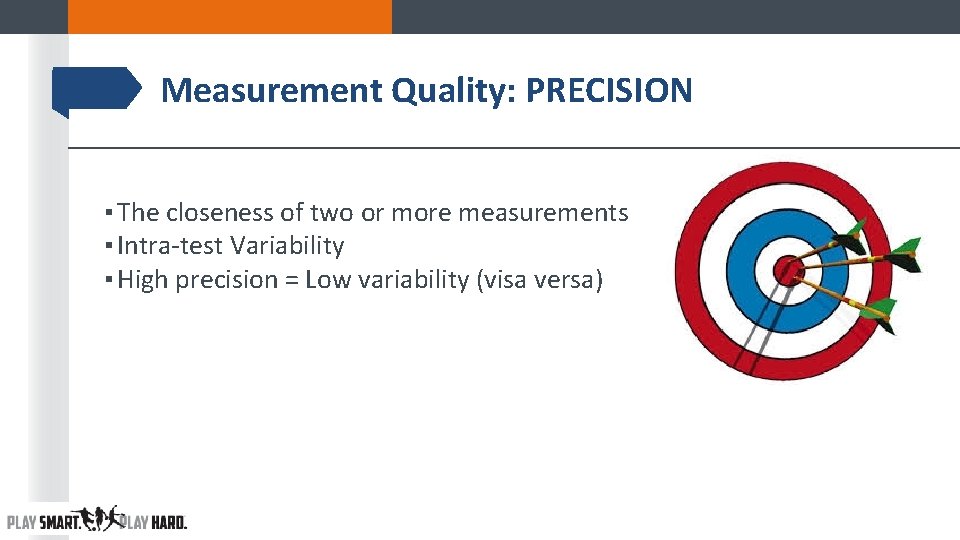
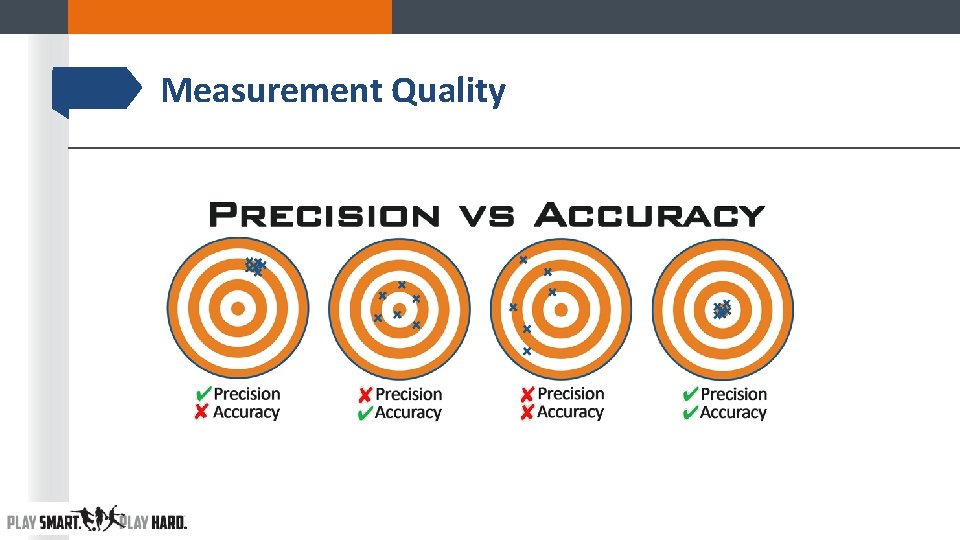
Measurement Quality: PRECISION ▪ The closeness of two or more measurements ▪ Intra-test Variability ▪ High precision = Low variability (visa versa)
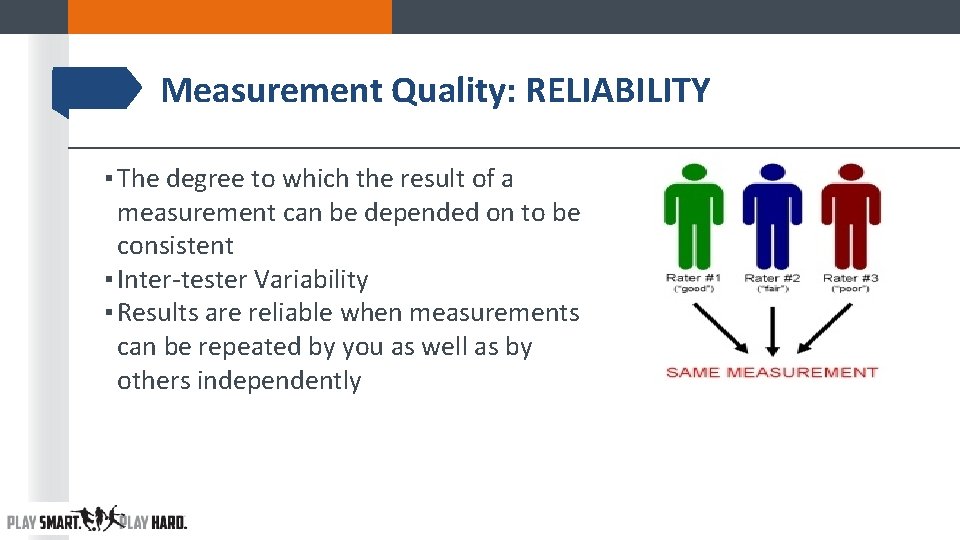
Measurement Quality: RELIABILITY ▪ The degree to which the result of a measurement can be depended on to be consistent ▪ Inter-tester Variability ▪ Results are reliable when measurements can be repeated by you as well as by others independently
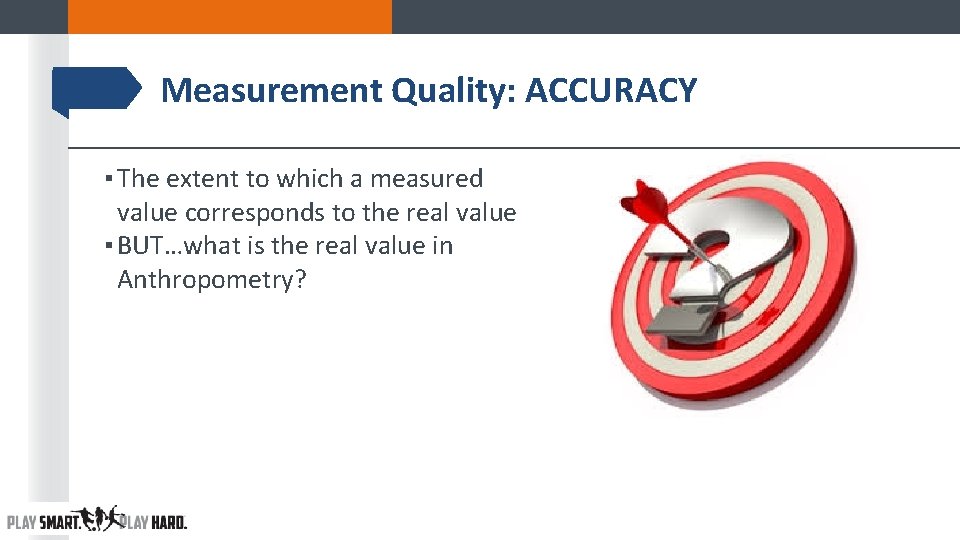
Measurement Quality: ACCURACY ▪ The extent to which a measured value corresponds to the real value ▪ BUT…what is the real value in Anthropometry?
Measurement Quality
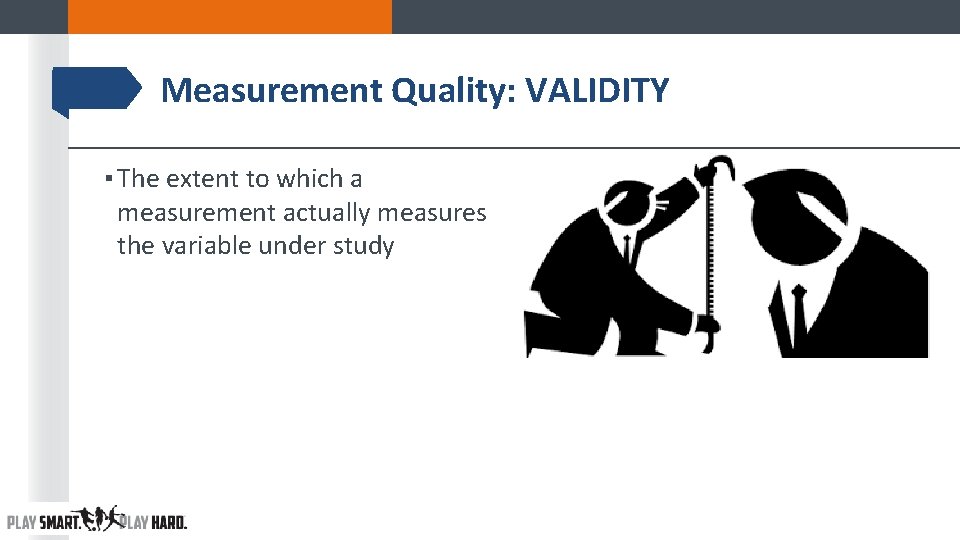
Measurement Quality: VALIDITY ▪ The extent to which a measurement actually measures the variable under study
Measurement Goals The measurement goals of an IHSA Certified Body Fat Assessor: TO ACHIEVE HIGH LEVELS OF PRECISION, RELIABILITY AND ACCURACY, USING A VALID MEASURING TECHNIQUE
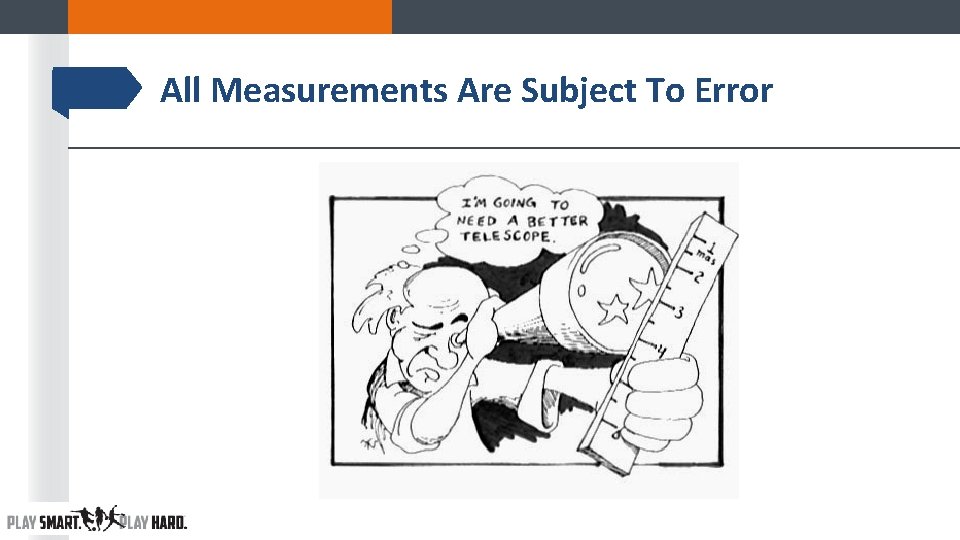
All Measurements Are Subject To Error
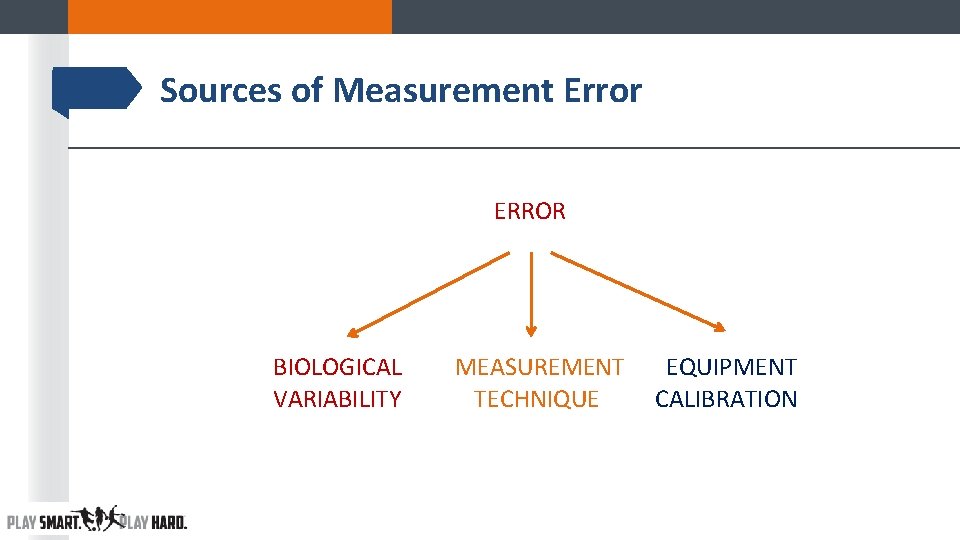
Sources of Measurement Error ERROR BIOLOGICAL MEASUREMENT EQUIPMENT VARIABILITY TECHNIQUE CALIBRATION
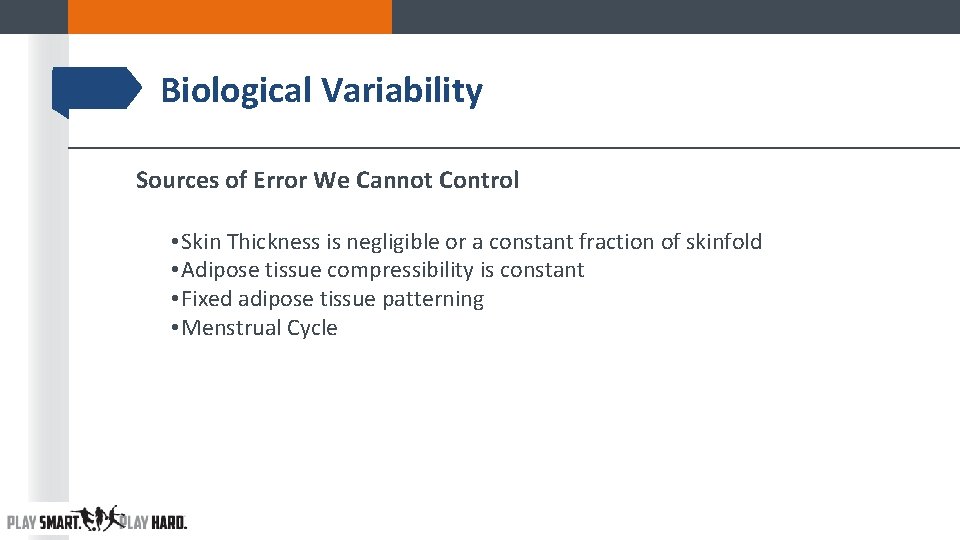
Biological Variability Sources of Error We Cannot Control • Skin Thickness is negligible or a constant fraction of skinfold • Adipose tissue compressibility is constant • Fixed adipose tissue patterning • Menstrual Cycle
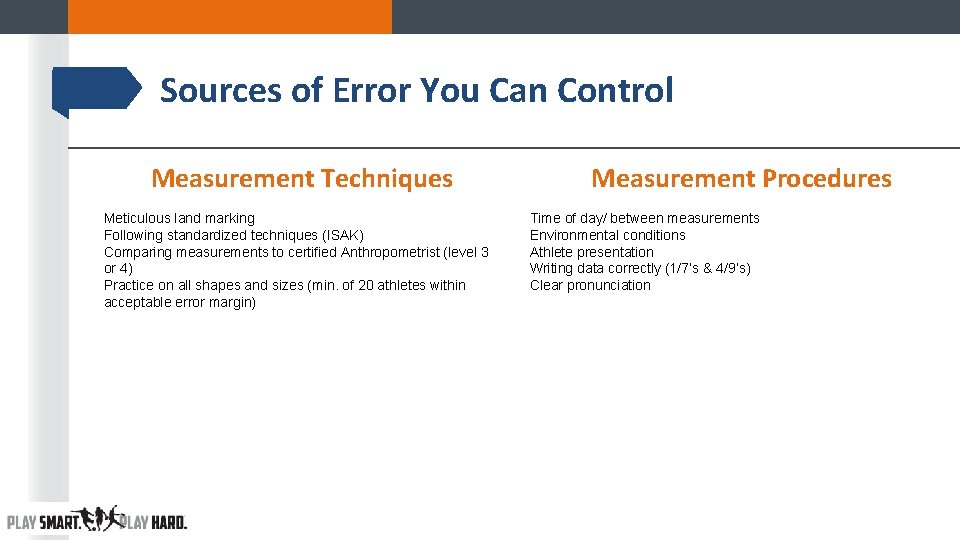
Sources of Error You Can Control Measurement Techniques Meticulous land marking Following standardized techniques (ISAK) Comparing measurements to certified Anthropometrist (level 3 or 4) Practice on all shapes and sizes (min. of 20 athletes within acceptable error margin) Measurement Procedures Time of day/ between measurements Environmental conditions Athlete presentation Writing data correctly (1/7’s & 4/9’s) Clear pronunciation
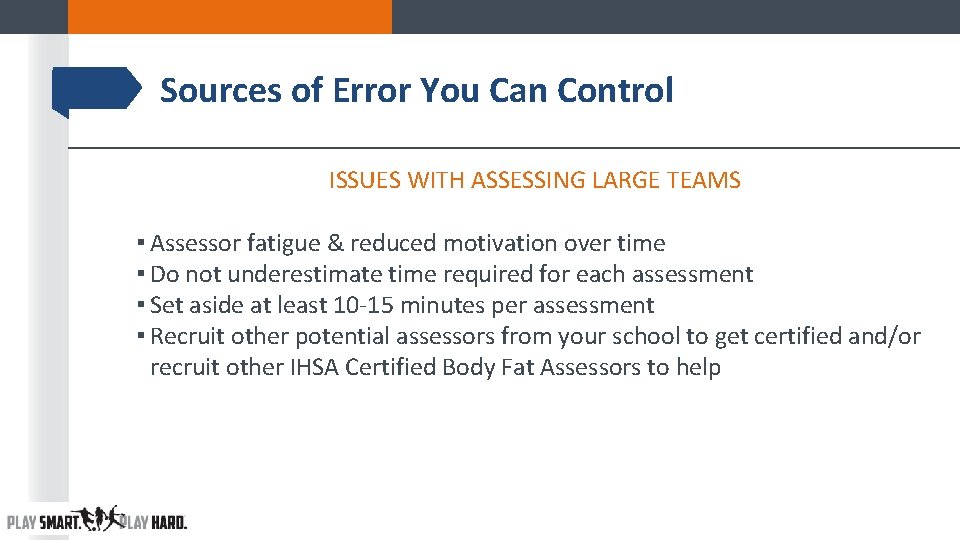
Sources of Error You Can Control ISSUES WITH ASSESSING LARGE TEAMS ▪ Assessor fatigue & reduced motivation over time ▪ Do not underestimate time required for each assessment ▪ Set aside at least 10 -15 minutes per assessment ▪ Recruit other potential assessors from your school to get certified and/or recruit other IHSA Certified Body Fat Assessors to help
Sources of Error You Can Control Equipment Quality Calibration & Maintenance ▪ Quality Equipment/Instrument ▪ Proper maintenance of Equipment/Instrument ▪ Calibration of Equipment/Instrument
Quantifying Uncertainty & Acceptable Error Margin ▪ IHSA Certified Body Fat Assessors must demonstrate they can measure skinfolds within an acceptable error margin ▪ Provides an objective method to evaluate competency ▪ IHSA has chosen a standard error of 1 mm as the acceptable error margin in repeated skinfold measures ▪ IHSA is considering other options
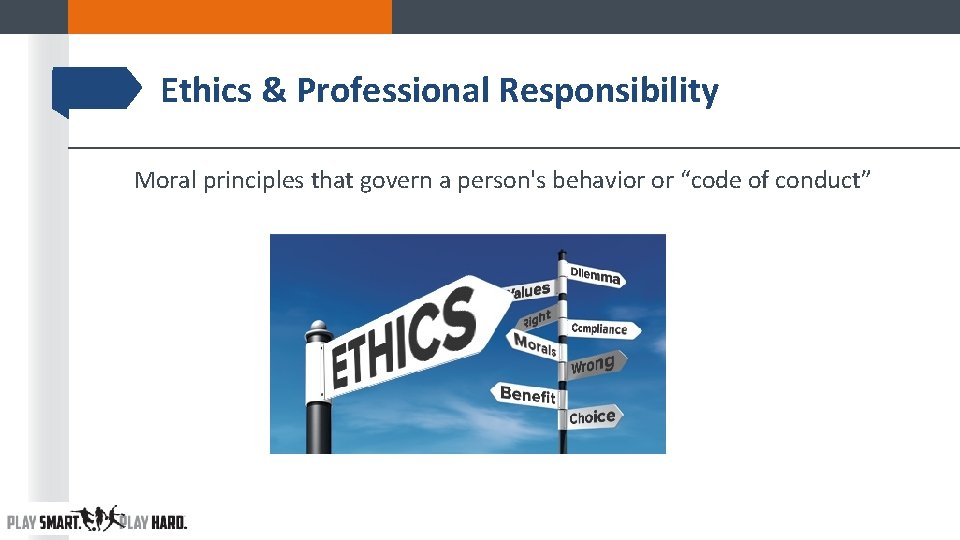
Ethics & Professional Responsibility Moral principles that govern a person's behavior or “code of conduct”
Professional Responsibility Statement ▪ All IHSA Certified Body Fat Assessors will respect the athletes “right to privacy” and the confidentiality of all the data collected during the assessment. ▪ Assessors are expected to provide the highest professional and ethical conduct relative to performing assessments on the student athletes. ▪ Independent circumstances may require assessors to make professional judgments to further validate the assessment process; therefore, mastering assessment skills and understanding the nature of the Wrestling Weight Certification Program is essential for the success of the program.
Ethics/Professional Responsibility ▪ Protect the athletes right to privacy ▪ Confidentiality of data ▪ Personal space ▪ Cultural, gender and para-sport issues ▪ Eliminate unnecessary comments or gestures ▪ Adherence to personal hygiene practices ▪ Room Temperature should be set at comfortable temp
Step One in the Assessment Process Assessing Hydration Status • Rationale • SG Terms • Equipment & Supplies • Calibration • SG Procedures • Trouble Shooting
Assessing Hydration Status Rationale Hydration is an important component of the Wrestling Weight Control Program for two primary reasons: 1. A well-hydrated state is essential for both health and performance of any student athlete. 2. Hypohydration compromises the accuracy of the body composition assessment.
Hydration Status Terms ▪ Euhydration refers to normal state/range of body water content ▪ Hypohydration refers to the STATE that occurs when your body fluid levels are inadequate for normal functioning. ▪ Dehydration refers to the PROCESS of losing body water. ▪ Athletes need to take a proactive effort to ensure adequate replenishment occurs.
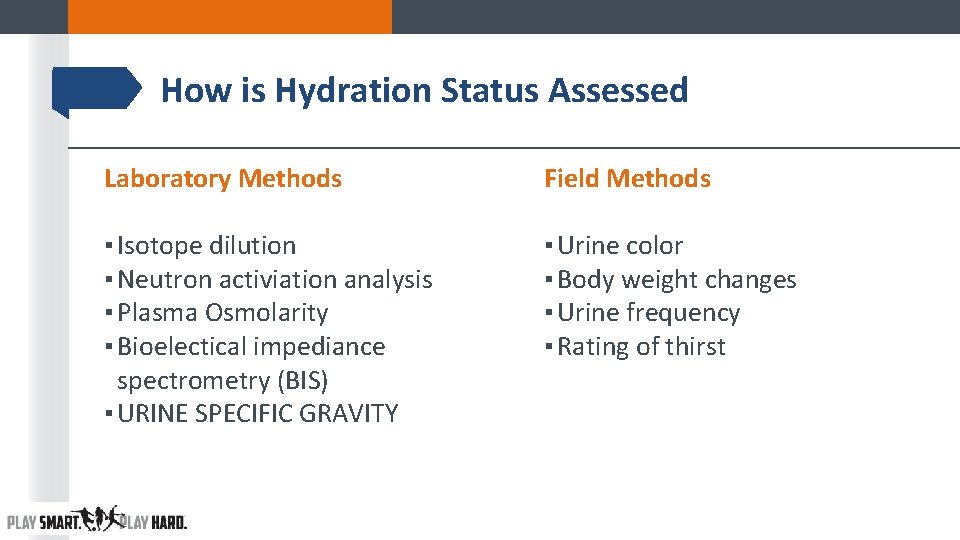
How is Hydration Status Assessed Laboratory Methods Field Methods ▪ Isotope dilution ▪ Neutron activiation analysis ▪ Plasma Osmolarity ▪ Bioelectical impediance spectrometry (BIS) ▪ URINE SPECIFIC GRAVITY ▪ Urine color ▪ Body weight changes ▪ Urine frequency ▪ Rating of thirst
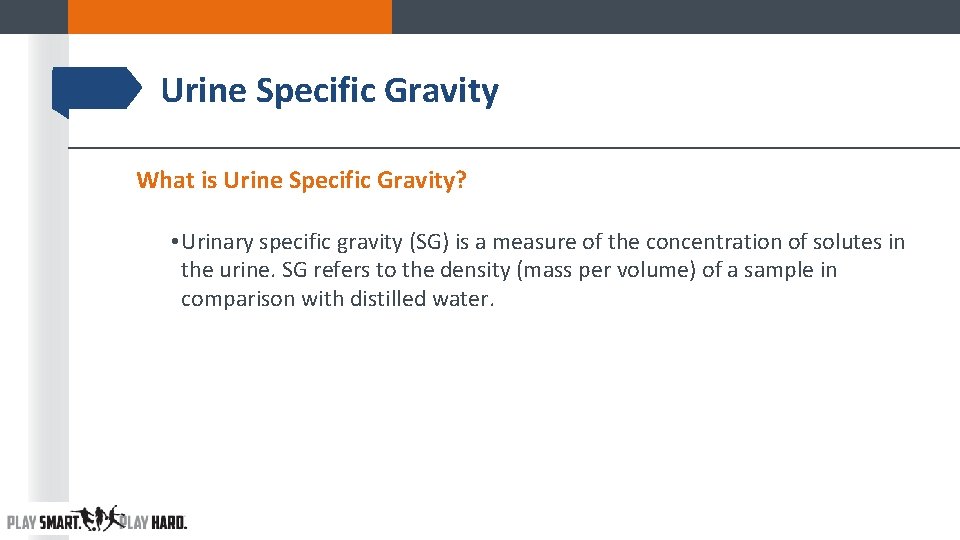
Urine Specific Gravity What is Urine Specific Gravity? • Urinary specific gravity (SG) is a measure of the concentration of solutes in the urine. SG refers to the density (mass per volume) of a sample in comparison with distilled water.
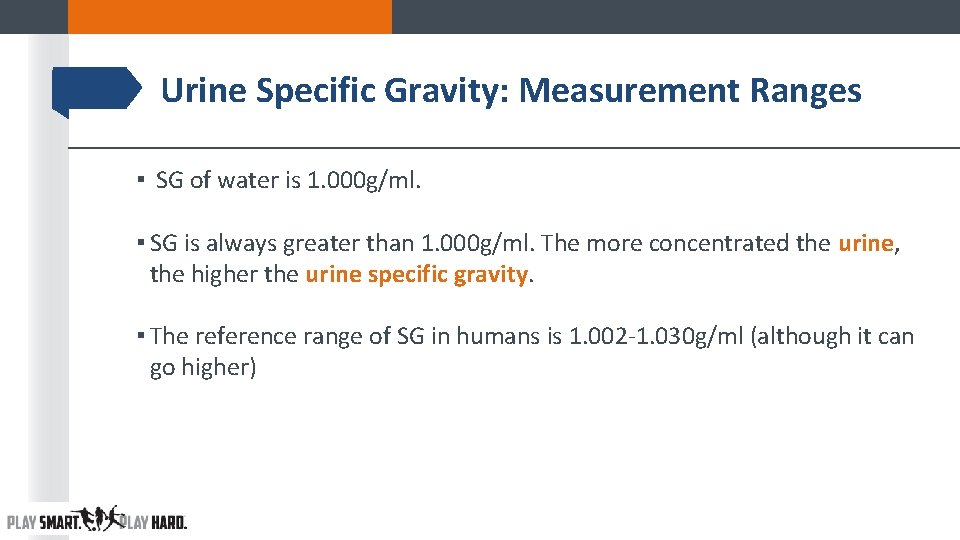
Urine Specific Gravity: Measurement Ranges ▪ SG of water is 1. 000 g/ml. ▪ SG is always greater than 1. 000 g/ml. The more concentrated the urine, the higher the urine specific gravity. ▪ The reference range of SG in humans is 1. 002 -1. 030 g/ml (although it can go higher)
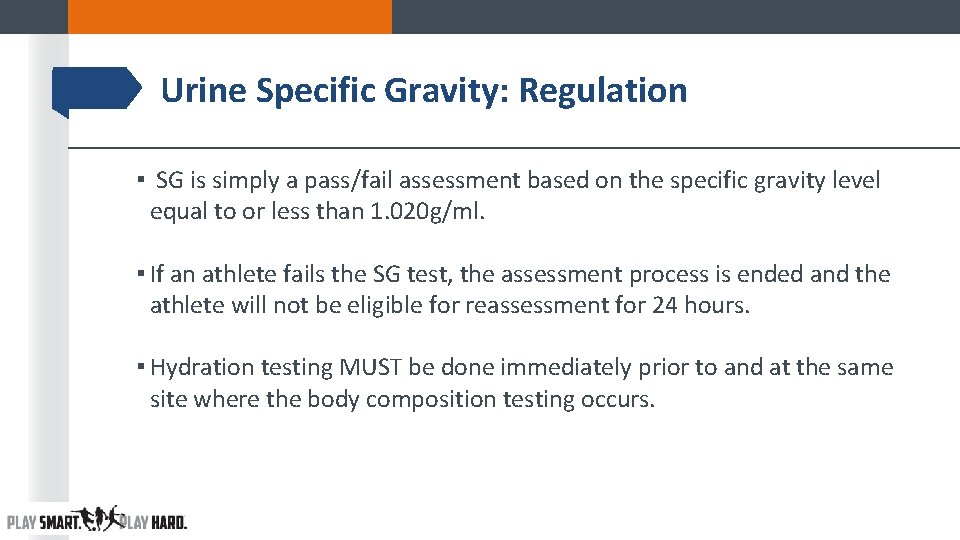
Urine Specific Gravity: Regulation ▪ SG is simply a pass/fail assessment based on the specific gravity level equal to or less than 1. 020 g/ml. ▪ If an athlete fails the SG test, the assessment process is ended and the athlete will not be eligible for reassessment for 24 hours. ▪ Hydration testing MUST be done immediately prior to and at the same site where the body composition testing occurs.
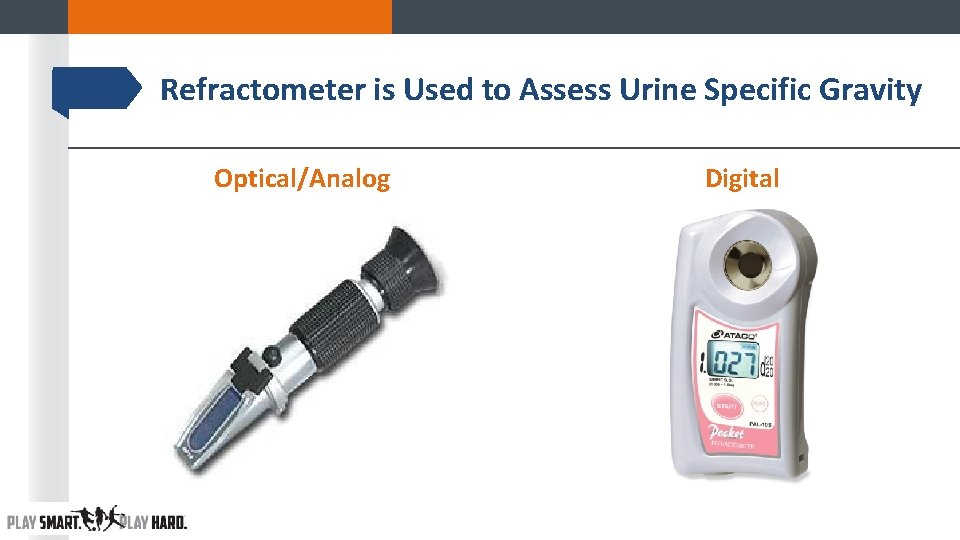
Refractometer is Used to Assess Urine Specific Gravity Optical/Analog Digital
USG Supplies List ▪ Urine Collection Cups ▪ Latex-Free Gloves ▪ Pipettes/Straws ▪ Bio-hazard Waste Bags & Waste Basket ▪ Copies of “Clean Catch” procedures for males & females ▪ Hand Sanitizer ▪ Towelettes ▪ Mild soap and water solution, Isopropyl Alcohol to clean ▪ Distilled Water ▪ Soft Lint & Residue-free cloth (Kimwipes) ▪ Markers/pens ▪ Clipboard ▪ Tape ▪ Color dye
Refractometer Calibration ▪ Refer to your refractometer operation manual for your model's specific calibration instructions. If you do not have the manual, here are basic calibration instructions. (Note that while distilled water works for most models, a few models require calibration fluid. The procedure is the same whether you use distilled water or calibration fluid. )
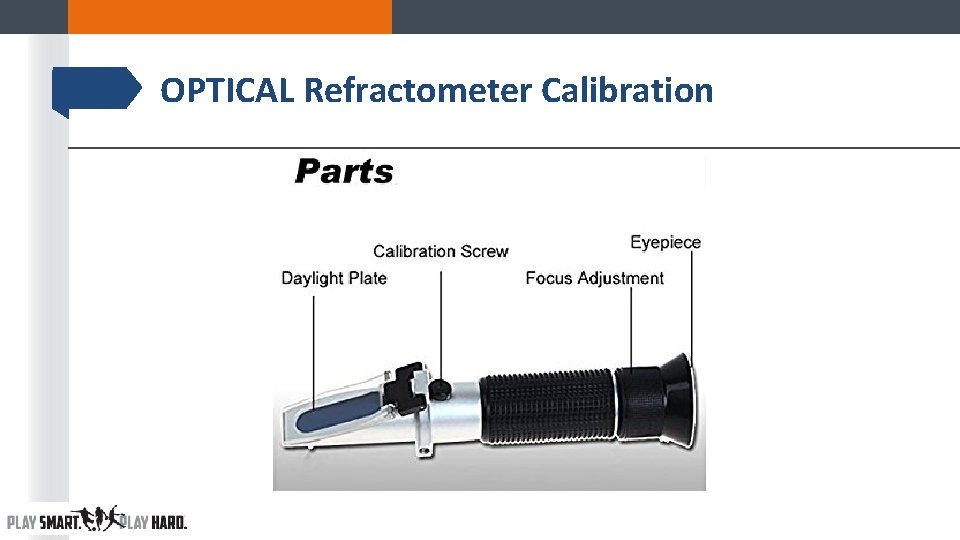
OPTICAL Refractometer Calibration
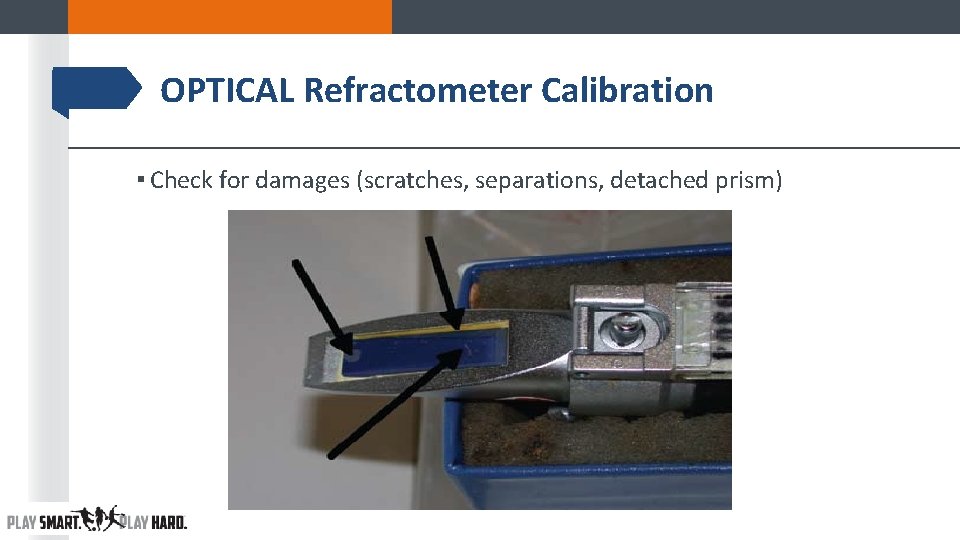
OPTICAL Refractometer Calibration ▪ Check for damages (scratches, separations, detached prism)
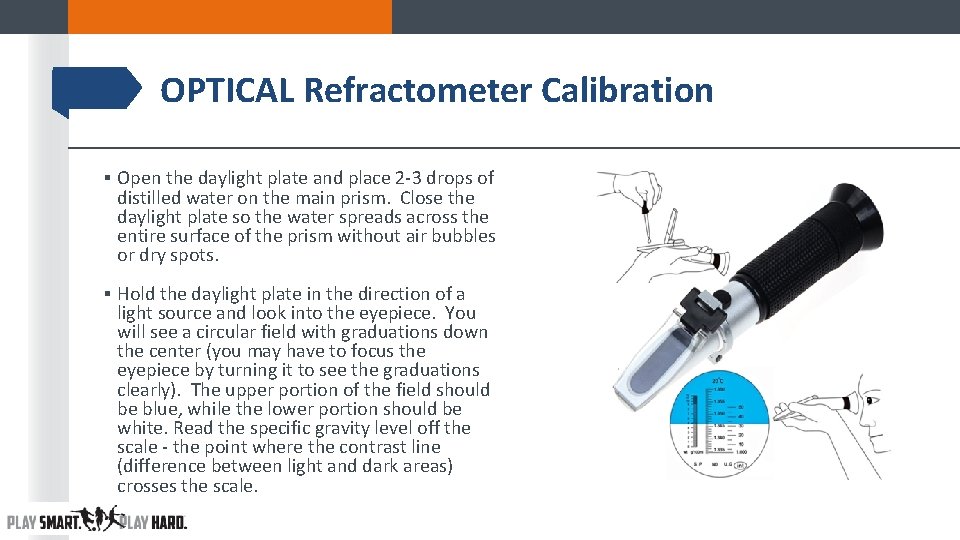
OPTICAL Refractometer Calibration ▪ Open the daylight plate and place 2 -3 drops of distilled water on the main prism. Close the daylight plate so the water spreads across the entire surface of the prism without air bubbles or dry spots. ▪ Hold the daylight plate in the direction of a light source and look into the eyepiece. You will see a circular field with graduations down the center (you may have to focus the eyepiece by turning it to see the graduations clearly). The upper portion of the field should be blue, while the lower portion should be white. Read the specific gravity level off the scale - the point where the contrast line (difference between light and dark areas) crosses the scale.
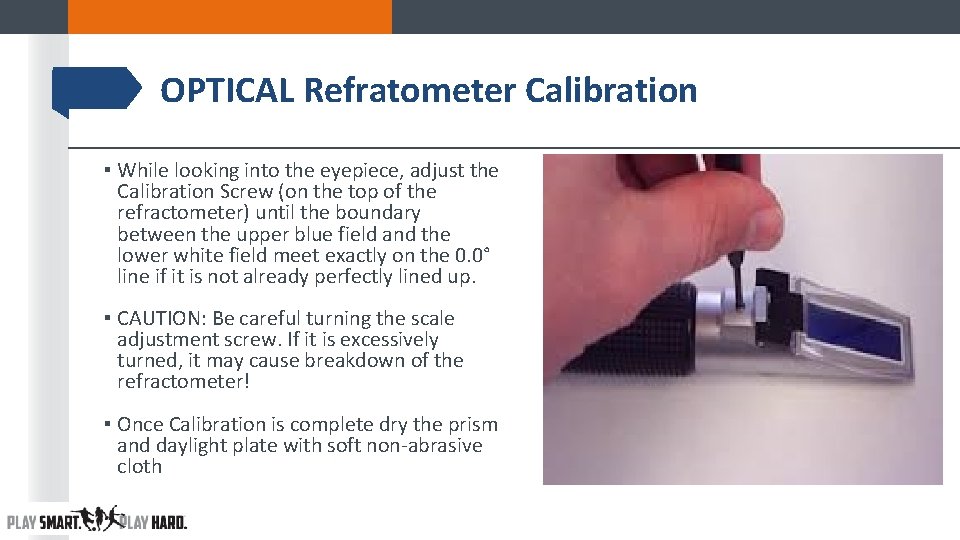
OPTICAL Refratometer Calibration ▪ While looking into the eyepiece, adjust the Calibration Screw (on the top of the refractometer) until the boundary between the upper blue field and the lower white field meet exactly on the 0. 0° line if it is not already perfectly lined up. ▪ CAUTION: Be careful turning the scale adjustment screw. If it is excessively turned, it may cause breakdown of the refractometer! ▪ Once Calibration is complete dry the prism and daylight plate with soft non-abrasive cloth
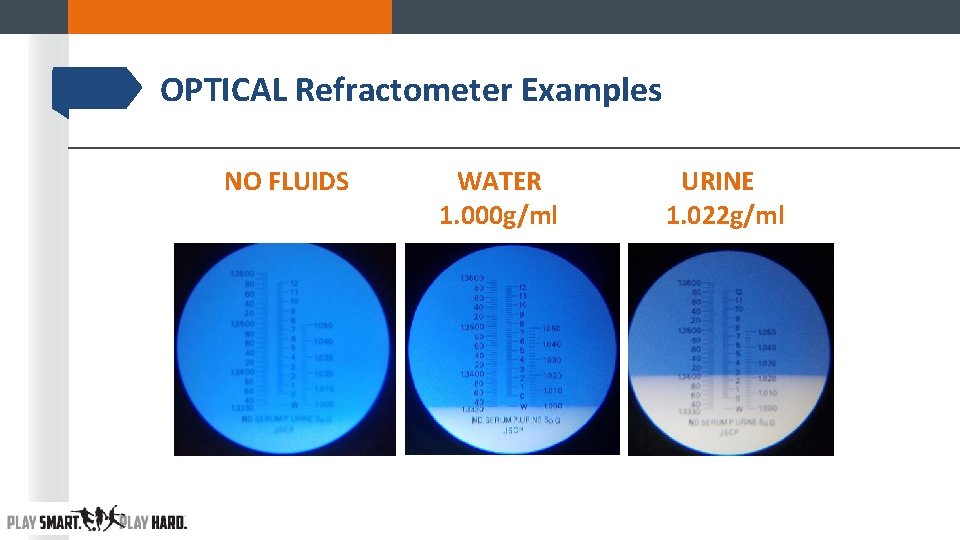
OPTICAL Refractometer Examples NO FLUIDS WATER 1. 000 g/ml URINE 1. 022 g/ml
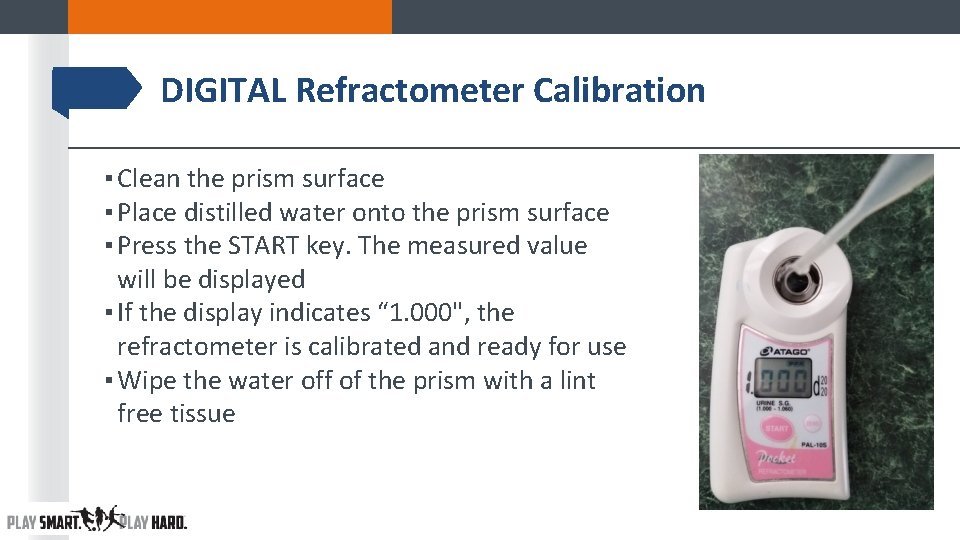
DIGITAL Refractometer Calibration ▪ Clean the prism surface ▪ Place distilled water onto the prism surface ▪ Press the START key. The measured value will be displayed ▪ If the display indicates “ 1. 000", the refractometer is calibrated and ready for use ▪ Wipe the water off of the prism with a lint free tissue
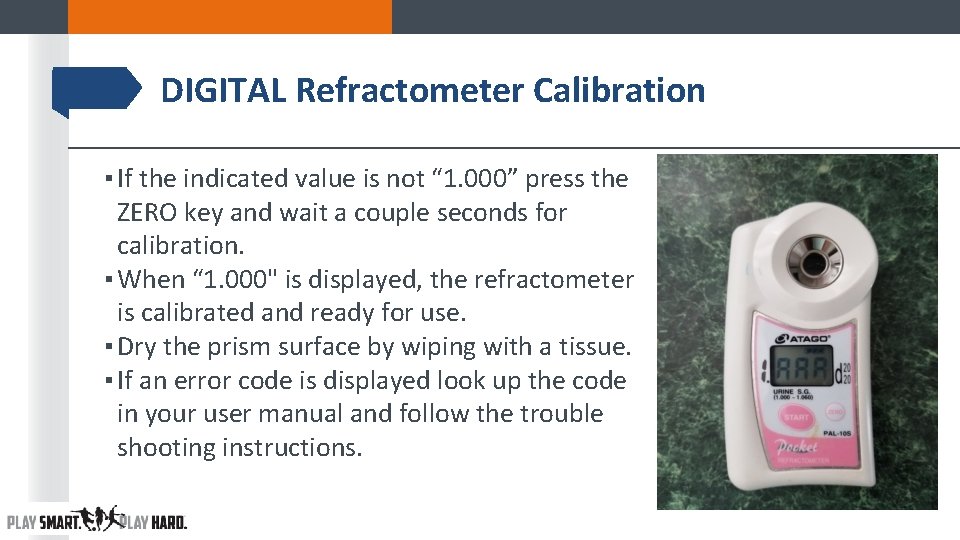
DIGITAL Refractometer Calibration ▪ If the indicated value is not “ 1. 000” press the ZERO key and wait a couple seconds for calibration. ▪ When “ 1. 000" is displayed, the refractometer is calibrated and ready for use. ▪ Dry the prism surface by wiping with a tissue. ▪ If an error code is displayed look up the code in your user manual and follow the trouble shooting instructions.
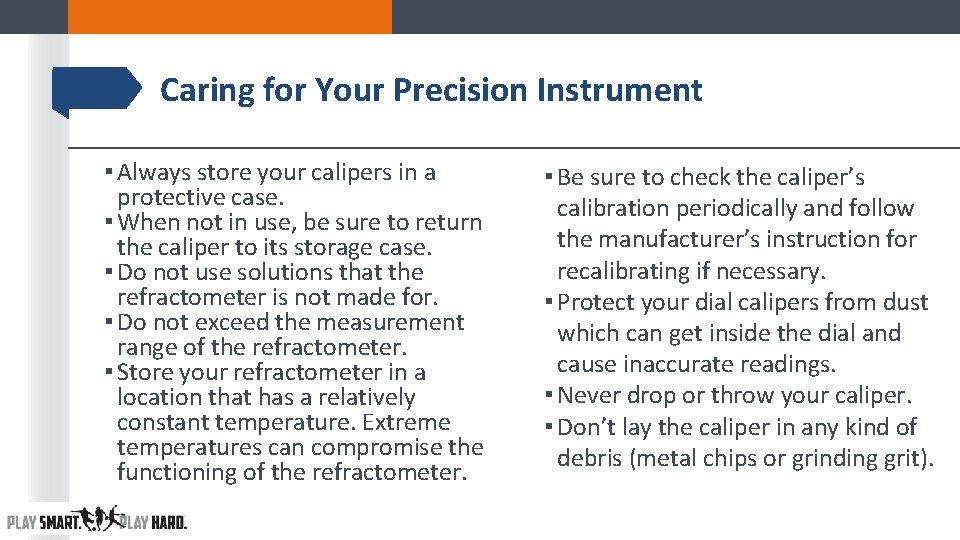
Caring for Your Precision Instrument ▪ Always store your calipers in a protective case. ▪ When not in use, be sure to return the caliper to its storage case. ▪ Do not use solutions that the refractometer is not made for. ▪ Do not exceed the measurement range of the refractometer. ▪ Store your refractometer in a location that has a relatively constant temperature. Extreme temperatures can compromise the functioning of the refractometer. ▪ Be sure to check the caliper’s calibration periodically and follow the manufacturer’s instruction for recalibrating if necessary. ▪ Protect your dial calipers from dust which can get inside the dial and cause inaccurate readings. ▪ Never drop or throw your caliper. ▪ Don’t lay the caliper in any kind of debris (metal chips or grinding grit).
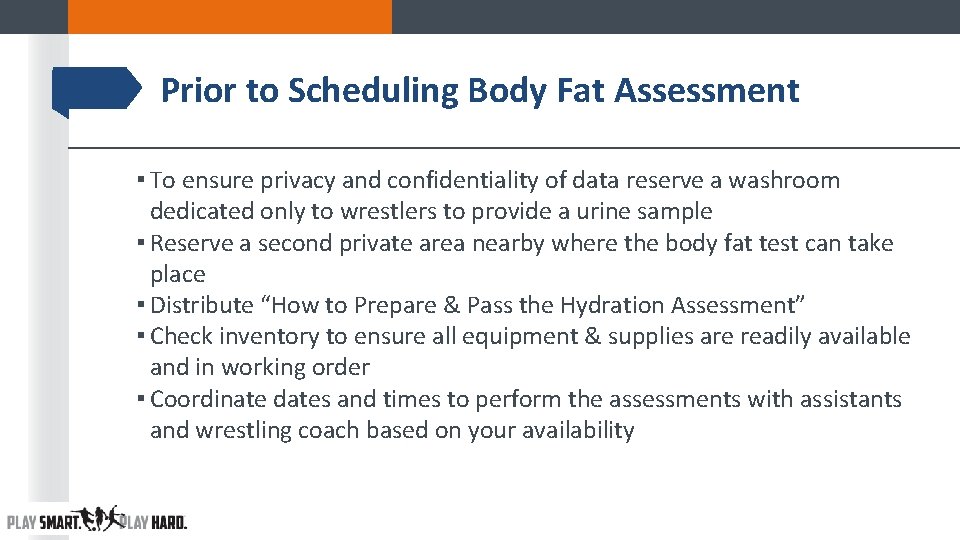
Prior to Scheduling Body Fat Assessment ▪ To ensure privacy and confidentiality of data reserve a washroom dedicated only to wrestlers to provide a urine sample ▪ Reserve a second private area nearby where the body fat test can take place ▪ Distribute “How to Prepare & Pass the Hydration Assessment” ▪ Check inventory to ensure all equipment & supplies are readily available and in working order ▪ Coordinate dates and times to perform the assessments with assistants and wrestling coach based on your availability
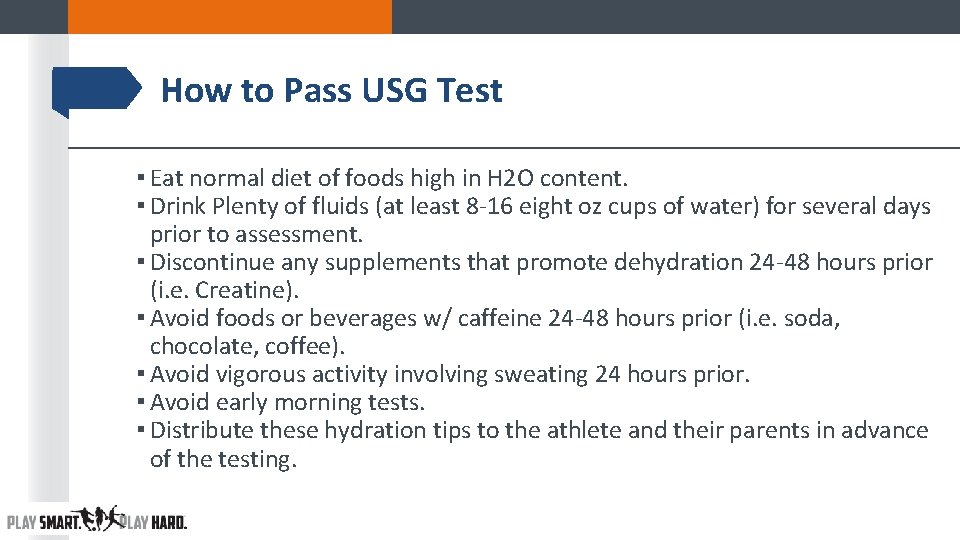
How to Pass USG Test ▪ Eat normal diet of foods high in H 2 O content. ▪ Drink Plenty of fluids (at least 8 -16 eight oz cups of water) for several days prior to assessment. ▪ Discontinue any supplements that promote dehydration 24 -48 hours prior (i. e. Creatine). ▪ Avoid foods or beverages w/ caffeine 24 -48 hours prior (i. e. soda, chocolate, coffee). ▪ Avoid vigorous activity involving sweating 24 hours prior. ▪ Avoid early morning tests. ▪ Distribute these hydration tips to the athlete and their parents in advance of the testing.
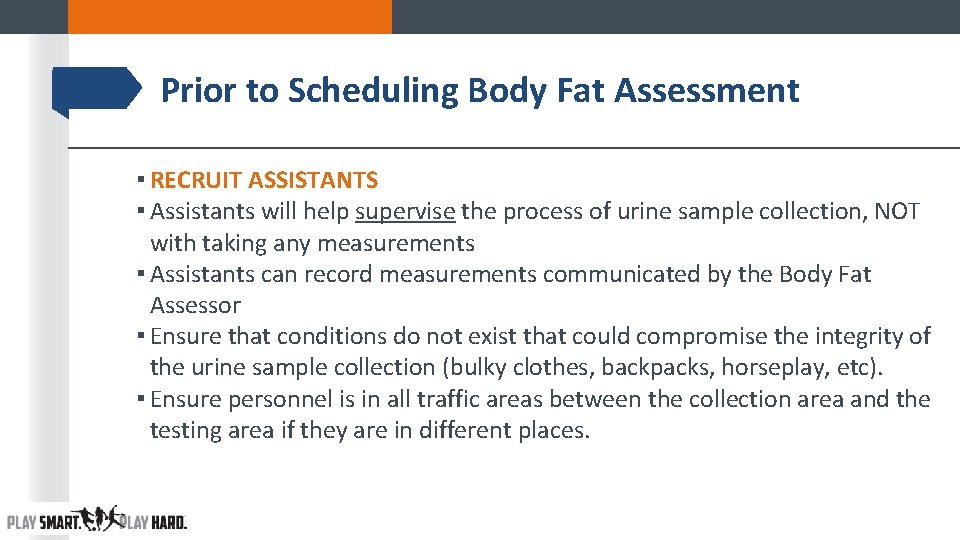
Prior to Scheduling Body Fat Assessment ▪ RECRUIT ASSISTANTS ▪ Assistants will help supervise the process of urine sample collection, NOT with taking any measurements ▪ Assistants can record measurements communicated by the Body Fat Assessor ▪ Ensure that conditions do not exist that could compromise the integrity of the urine sample collection (bulky clothes, backpacks, horseplay, etc). ▪ Ensure personnel is in all traffic areas between the collection area and the testing area if they are in different places.
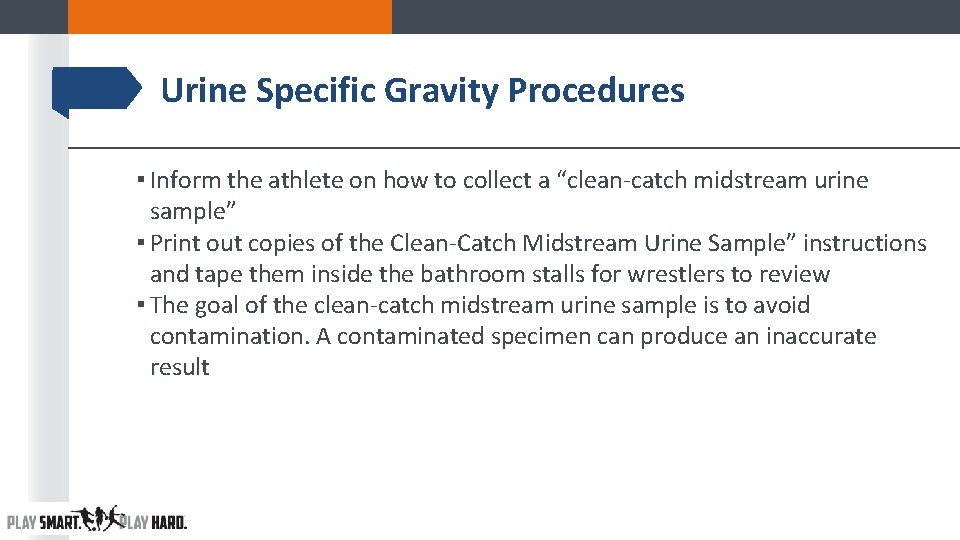
Urine Specific Gravity Procedures ▪ Inform the athlete on how to collect a “clean-catch midstream urine sample” ▪ Print out copies of the Clean-Catch Midstream Urine Sample” instructions and tape them inside the bathroom stalls for wrestlers to review ▪ The goal of the clean-catch midstream urine sample is to avoid contamination. A contaminated specimen can produce an inaccurate result
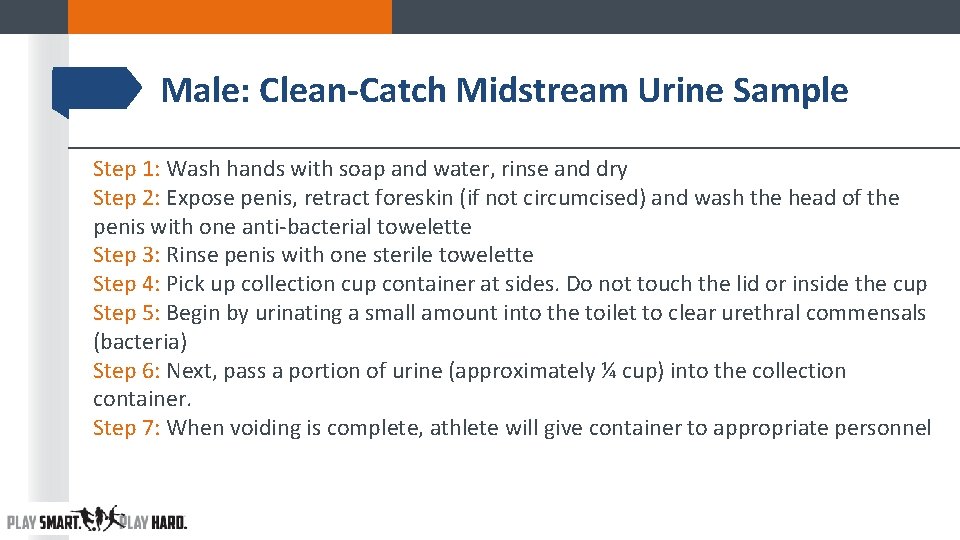
Male: Clean-Catch Midstream Urine Sample Step 1: Wash hands with soap and water, rinse and dry Step 2: Expose penis, retract foreskin (if not circumcised) and wash the head of the penis with one anti-bacterial towelette Step 3: Rinse penis with one sterile towelette Step 4: Pick up collection cup container at sides. Do not touch the lid or inside the cup Step 5: Begin by urinating a small amount into the toilet to clear urethral commensals (bacteria) Step 6: Next, pass a portion of urine (approximately ¼ cup) into the collection container. Step 7: When voiding is complete, athlete will give container to appropriate personnel
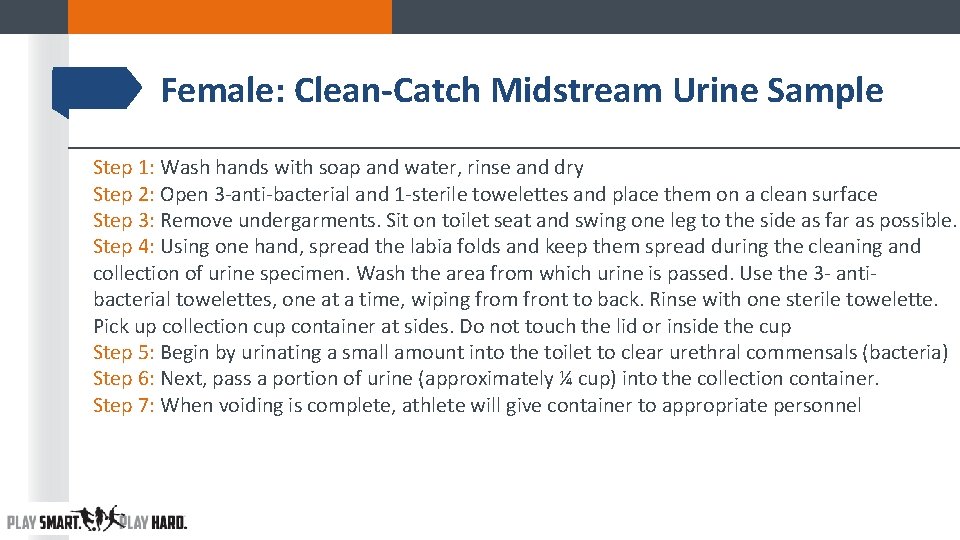
Female: Clean-Catch Midstream Urine Sample Step 1: Wash hands with soap and water, rinse and dry Step 2: Open 3 -anti-bacterial and 1 -sterile towelettes and place them on a clean surface Step 3: Remove undergarments. Sit on toilet seat and swing one leg to the side as far as possible. Step 4: Using one hand, spread the labia folds and keep them spread during the cleaning and collection of urine specimen. Wash the area from which urine is passed. Use the 3 - antibacterial towelettes, one at a time, wiping from front to back. Rinse with one sterile towelette. Pick up collection cup container at sides. Do not touch the lid or inside the cup Step 5: Begin by urinating a small amount into the toilet to clear urethral commensals (bacteria) Step 6: Next, pass a portion of urine (approximately ¼ cup) into the collection container. Step 7: When voiding is complete, athlete will give container to appropriate personnel
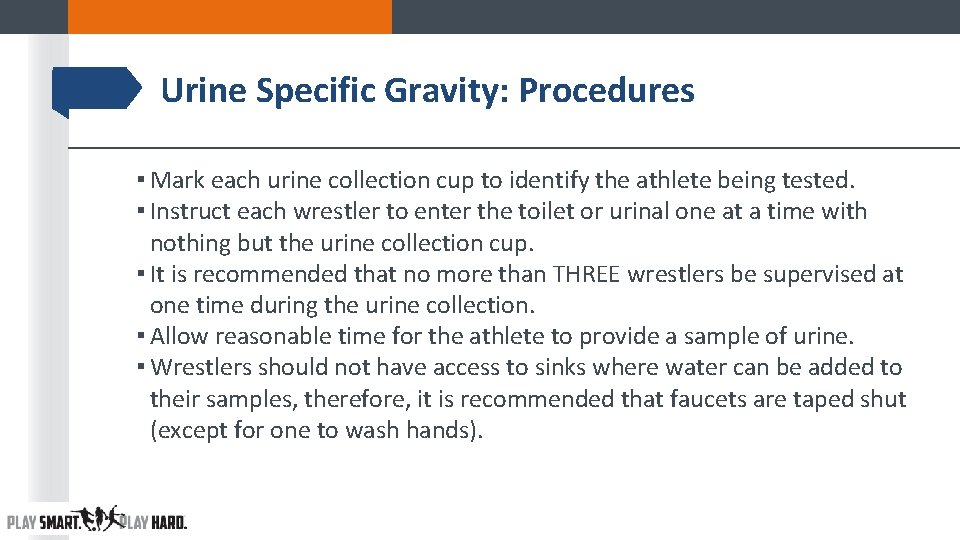
Urine Specific Gravity: Procedures ▪ Mark each urine collection cup to identify the athlete being tested. ▪ Instruct each wrestler to enter the toilet or urinal one at a time with nothing but the urine collection cup. ▪ It is recommended that no more than THREE wrestlers be supervised at one time during the urine collection. ▪ Allow reasonable time for the athlete to provide a sample of urine. ▪ Wrestlers should not have access to sinks where water can be added to their samples, therefore, it is recommended that faucets are taped shut (except for one to wash hands).
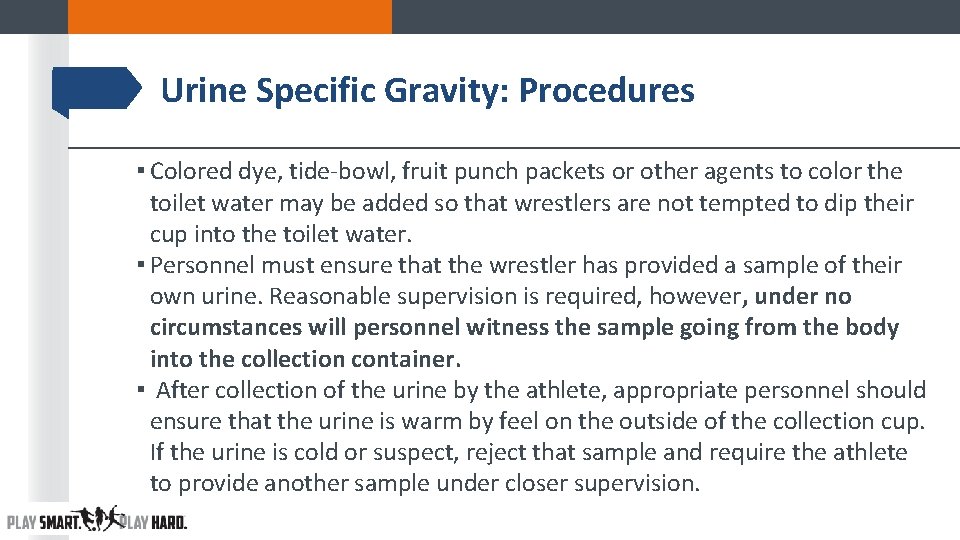
Urine Specific Gravity: Procedures ▪ Colored dye, tide-bowl, fruit punch packets or other agents to color the toilet water may be added so that wrestlers are not tempted to dip their cup into the toilet water. ▪ Personnel must ensure that the wrestler has provided a sample of their own urine. Reasonable supervision is required, however, under no circumstances will personnel witness the sample going from the body into the collection container. ▪ After collection of the urine by the athlete, appropriate personnel should ensure that the urine is warm by feel on the outside of the collection cup. If the urine is cold or suspect, reject that sample and require the athlete to provide another sample under closer supervision.
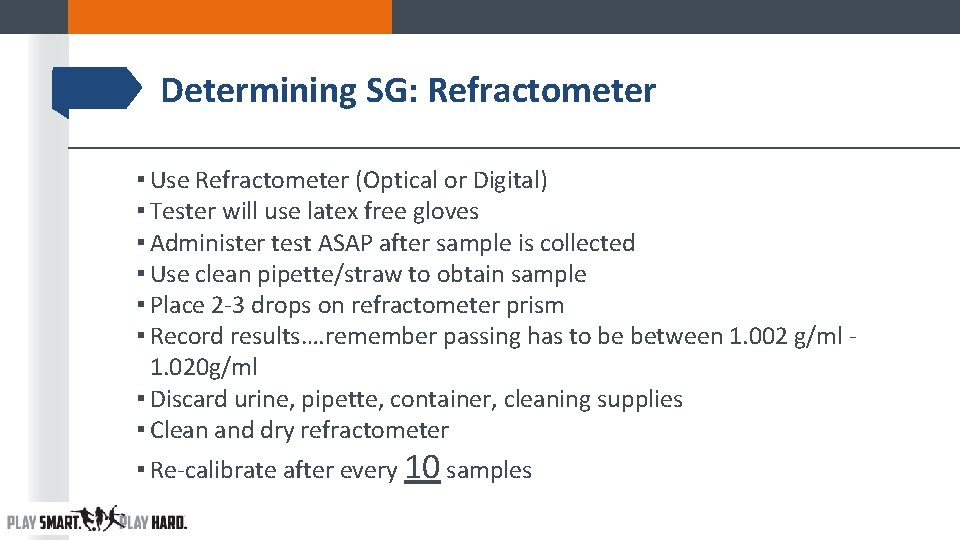
Determining SG: Refractometer ▪ Use Refractometer (Optical or Digital) ▪ Tester will use latex free gloves ▪ Administer test ASAP after sample is collected ▪ Use clean pipette/straw to obtain sample ▪ Place 2 -3 drops on refractometer prism ▪ Record results…. remember passing has to be between 1. 002 g/ml - 1. 020 g/ml ▪ Discard urine, pipette, container, cleaning supplies ▪ Clean and dry refractometer ▪ Re-calibrate after every 10 samples
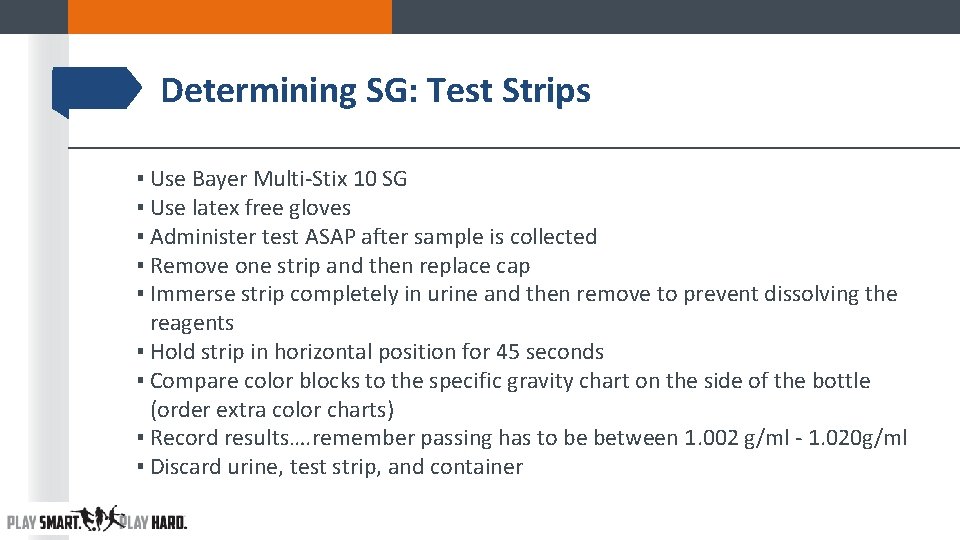
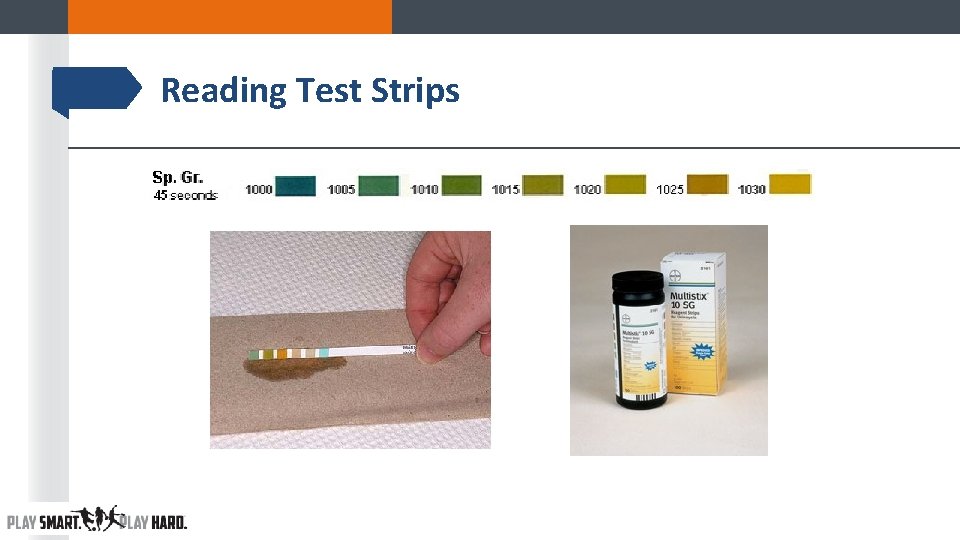
Determining SG: Test Strips ▪ Use Bayer Multi-Stix 10 SG ▪ Use latex free gloves ▪ Administer test ASAP after sample is collected ▪ Remove one strip and then replace cap ▪ Immerse strip completely in urine and then remove to prevent dissolving the reagents ▪ Hold strip in horizontal position for 45 seconds ▪ Compare color blocks to the specific gravity chart on the side of the bottle (order extra color charts) ▪ Record results…. remember passing has to be between 1. 002 g/ml - 1. 020 g/ml ▪ Discard urine, test strip, and container
Reading Test Strips
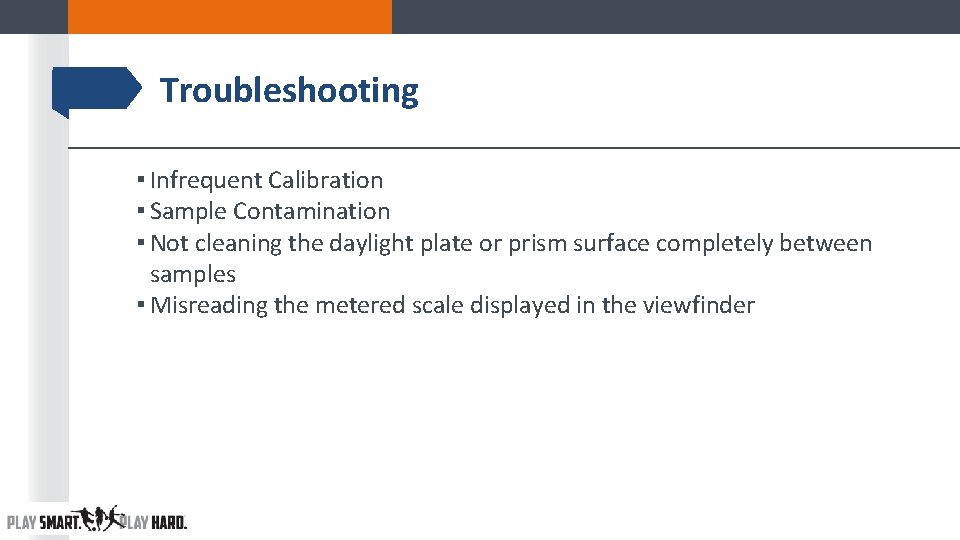
Troubleshooting ▪ Infrequent Calibration ▪ Sample Contamination ▪ Not cleaning the daylight plate or prism surface completely between samples ▪ Misreading the metered scale displayed in the viewfinder
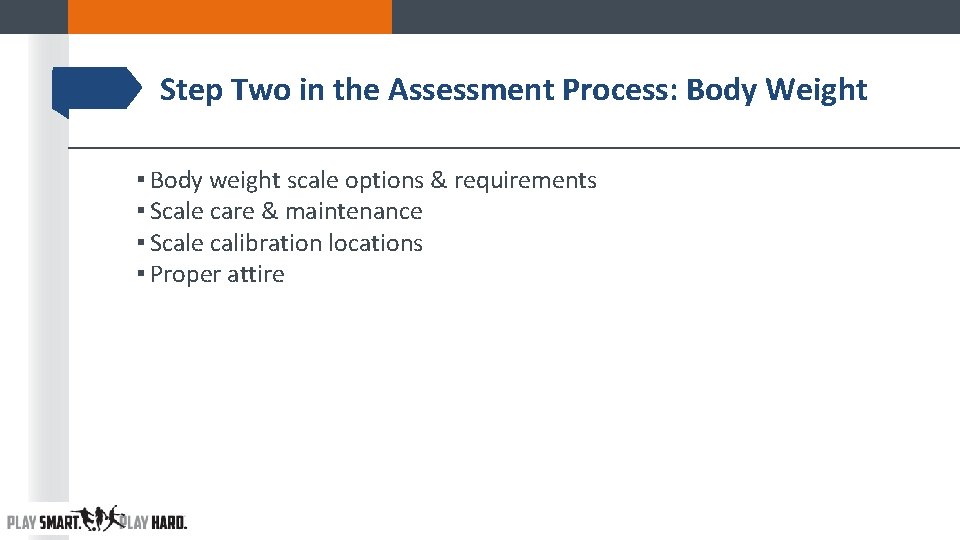
Step Two in the Assessment Process: Body Weight ▪ Body weight scale options & requirements ▪ Scale care & maintenance ▪ Scale calibration locations ▪ Proper attire
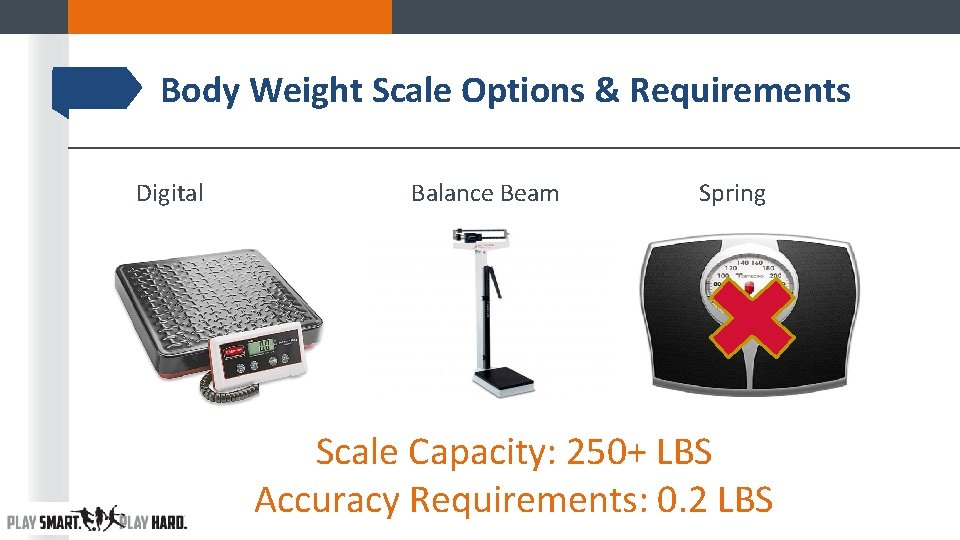
Body Weight Scale Options & Requirements Digital Balance Beam Spring Scale Capacity: 250+ LBS Accuracy Requirements: 0. 2 LBS
Scale Care & Maintenance ▪ To clean the scale, wipe surfaces with damp cloth. Never submerge the scale in water ▪ Do not store the scale in direct sunlight or other hot places ▪ Do not try to adjust digital/electronic scales. If adjustment is necessary, contact the manufacturer
Scale Calibration Local bureau of weights and measure can calibrate equipment against criterion standards. • Illinois Dept. of Agriculture- Weights & Measures: 801 E Sangamon Ave, Springfield, IL 62702 • Department of Business Affairs and Consumer Protection (BACP): 2350 W. Ogden Ave. , 2 nd Floor Chicago, IL 60608
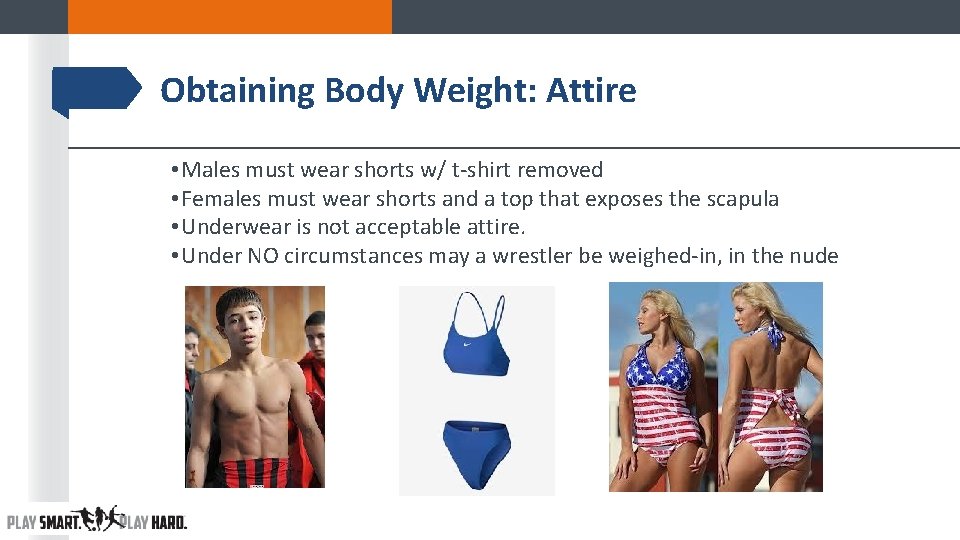
Obtaining Body Weight: Attire • Males must wear shorts w/ t-shirt removed • Females must wear shorts and a top that exposes the scapula • Underwear is not acceptable attire. • Under NO circumstances may a wrestler be weighed-in, in the nude
Step 3 in the Assessment Process: 3 -site Skinfold ▪ Facility & Assistance Recommendations ▪ Equipment & Supplies ▪ Skinfold Caliper Calibration ▪ Land marking ▪ Skinfold Technique
Skin Fold Assessment: Facility Recommendations ▪ Choose a location close to where the Hydration assessment was taken for convenience. ▪ Assessments must be taken in a separate room or screened-off area to allow for privacy and confidentiality of data. ▪ Ensure adequate space to easily move around the subject and manipulate the equipment. ▪ Area should be at set at a comfortable temperature.
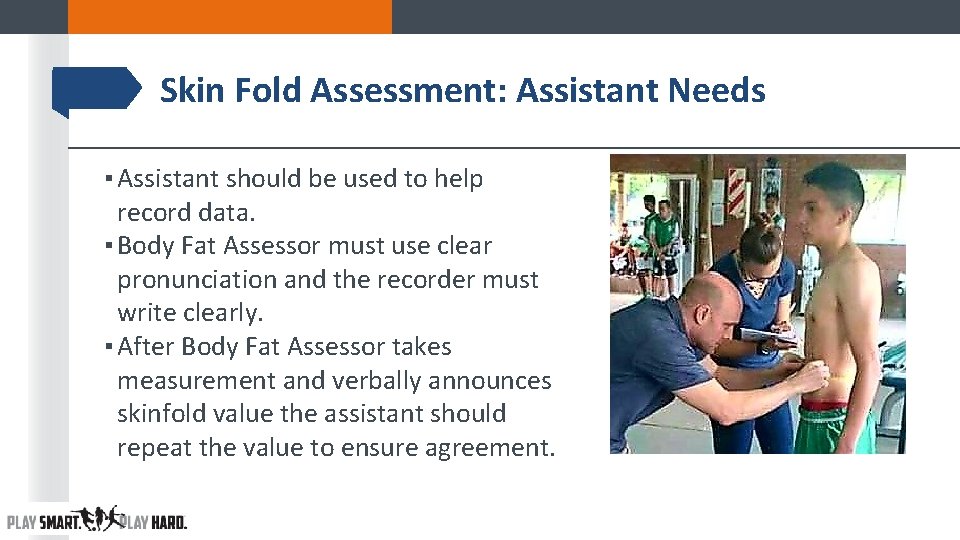
Skin Fold Assessment: Assistant Needs ▪ Assistant should be used to help record data. ▪ Body Fat Assessor must use clear pronunciation and the recorder must write clearly. ▪ After Body Fat Assessor takes measurement and verbally announces skinfold value the assistant should repeat the value to ensure agreement.
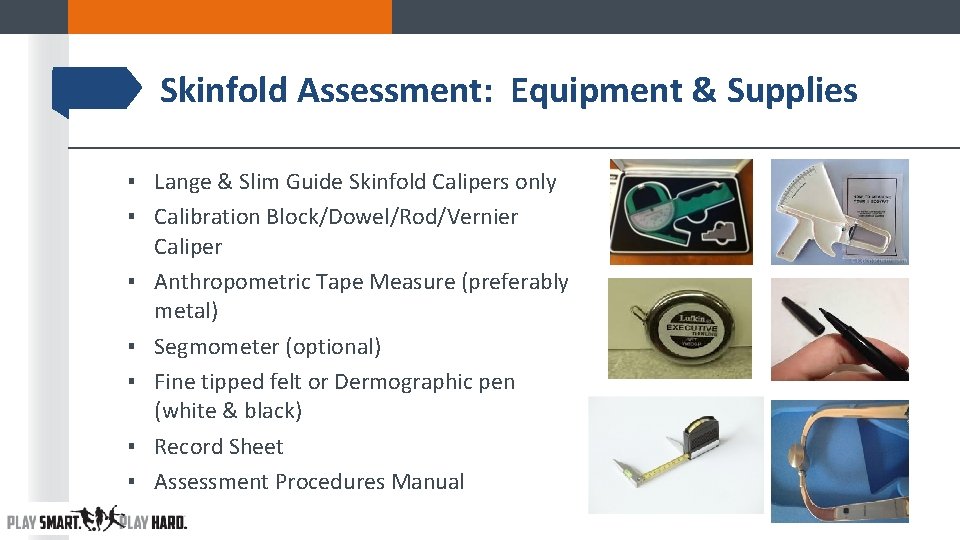
Skinfold Assessment: Equipment & Supplies ▪ Lange & Slim Guide Skinfold Calipers only ▪ Calibration Block/Dowel/Rod/Vernier Caliper ▪ Anthropometric Tape Measure (preferably metal) ▪ Segmometer (optional) ▪ Fine tipped felt or Dermographic pen (white & black) ▪ Record Sheet ▪ Assessment Procedures Manual
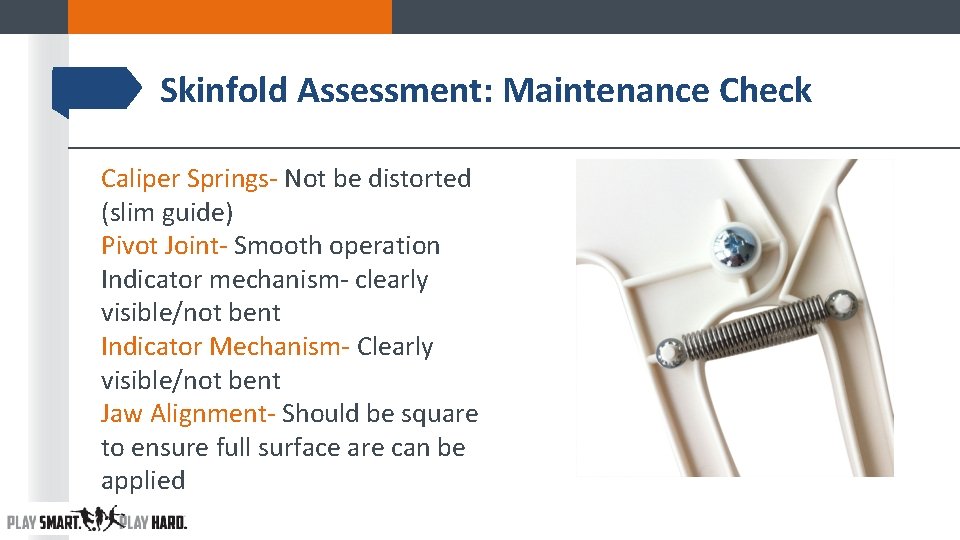
Skinfold Assessment: Maintenance Check Caliper Springs- Not be distorted (slim guide) Pivot Joint- Smooth operation Indicator mechanism- clearly visible/not bent Indicator Mechanism- Clearly visible/not bent Jaw Alignment- Should be square to ensure full surface are can be applied
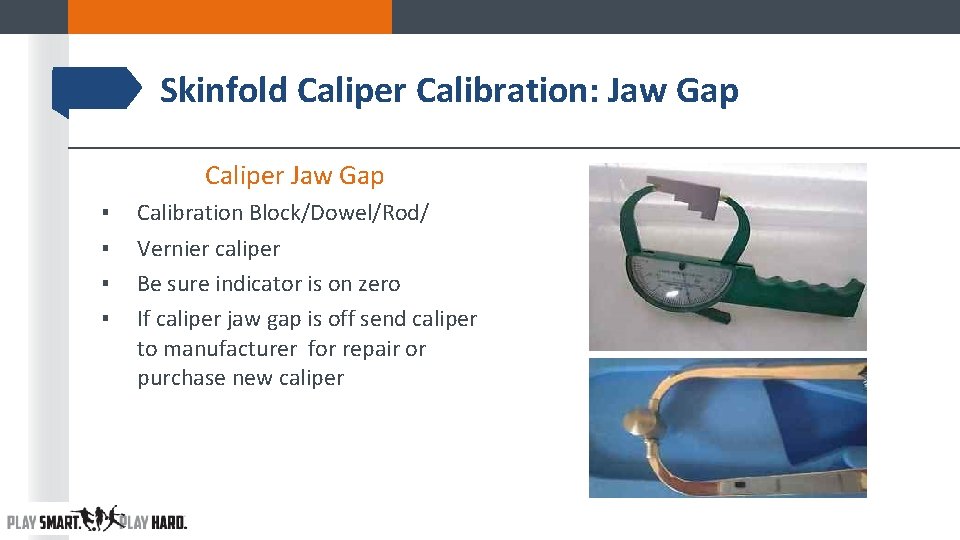
Skinfold Caliper Calibration: Jaw Gap Caliper Jaw Gap ▪ ▪ Calibration Block/Dowel/Rod/ Vernier caliper Be sure indicator is on zero If caliper jaw gap is off send caliper to manufacturer for repair or purchase new caliper
Skinfold Caliper Calibration: Spring Tension ▪ Caliper spring tension should remain constant throughout the range of measurement; if not replace springs or send caliper to manufacturer or replace old springs ▪ Calipers spring tension should be calibrated every 2 years! ▪ Currently working on developing standard foam “open cell” blocks
Prior to Skinfold Assessment ▪ Wrestlers must not exercise, take a shower, or sit in a sauna/steam or equivalent between their Hydration status assessment and the skinfold assessment. All of above mentioned will increased blood flow to the skin which will compromise the accuracy of the assessment. ▪ Ensure the athlete’s skin is dry and lotion-free. ▪ If the wrestlers skin is not dry for any reason use a dry cloth or towel to dry the areas of the body that will be skinfold tested. ▪ It is recommended that Body Fat Assessors review their ethical and professional responsibilities prior to the skinfold assessment.
Preparing Wrestler Prior to Skinfold Assessment • Explain the skinfold assessment process to the wrestler and answer any questions/concerns. • Verbal consent should be obtained prior to beginning the skin fold assessment. • Athletes should be offered the option of having a friend or parent as chaperone especially is the Body Fat Assessor is not the same gender.
Skinfold Technique: Landmarking ▪ All landmarks are identified and marked using a fine-tipped felt or dermographic marker before any measurements are made. ▪ Landmarks are identifiable skeletal points which generally lie close to the body’s surface and are the “markers” which identify the exact location of the measurement site. ▪ Landmarks are identified with the thumb OR index finger. ▪ For accuracy of measuring and comfort of the athlete, the body fat assessor’s fingernails should be kept trim.
Skinfold Technique: Landmarking ▪ Particular attention should be made to preserving a 90* angle between the assessor’s finger and the athlete’s skin surface to detect bony surfaces. without the skin being pulled out of its normal position. ▪ Once a landmark is identified with your finger release to remove any distortion of the skin, then relocated and make your mark. ▪ The mark is then re-checked to ensure that there has been no displacement of the skin relative to the underlying bone.
Skinfold Landmark ▪ Skinfold Landmarks are marked with a cross ▪ The long axis of the mark defines the direction of the skinfold and is used as a guide to ensure thumb and index finger are equal distance when grasping the skinfold ▪ The short axis mark defines the alignment of the Assessor’s index finger and thumb ▪ Use a straight edge for marking skinfold landmarks (i. e. , tape measure, small ruler, business card)
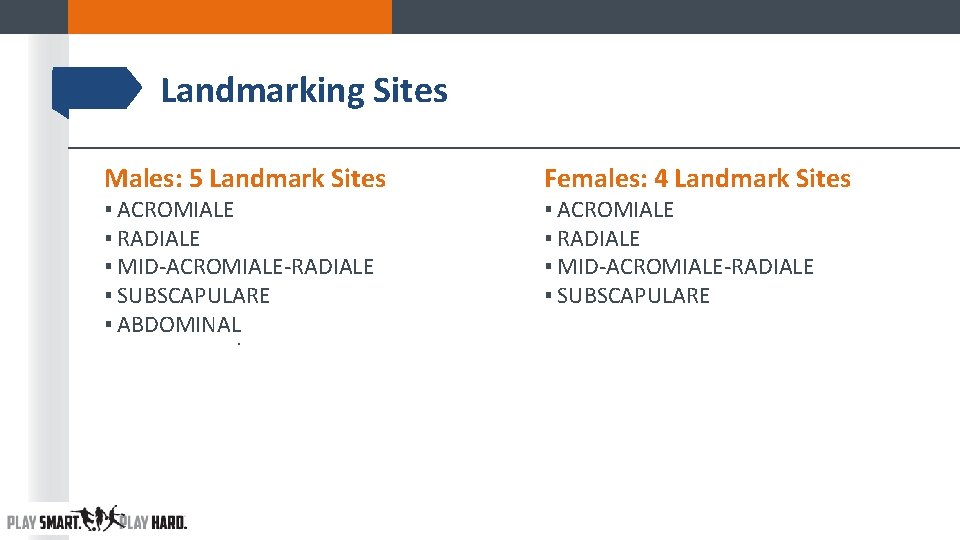
Landmarking Sites Males: 5 Landmark Sites ▪ ACROMIALE ▪ RADIALE ▪ MID-ACROMIALE-RADIALE ▪ SUBSCAPULARE ▪ ABDOMINAL ▪ Females: 4 Landmark Sites ▪ ACROMIALE ▪ RADIALE ▪ MID-ACROMIALE-RADIALE ▪ SUBSCAPULARE
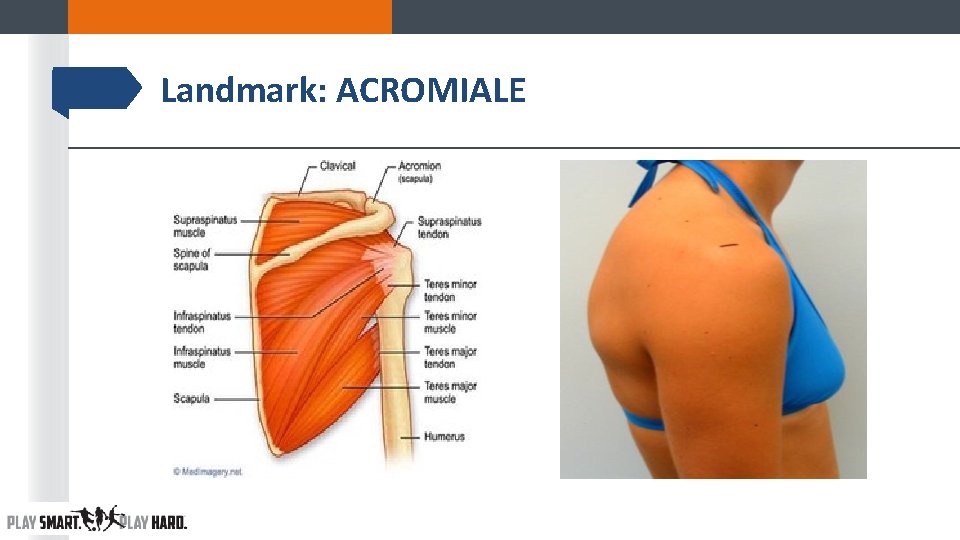
Skinfold Technique: Landmarking ACROMIALE • Definition: The point at the superior and lateral border of the acromion process, midway between the anterior and posterior boarders of the deltoid muscle when viewed from the side. • Subject Position: Relaxed position with the arms hanging by the sides. • Location: Standing behind and on the right side of the athlete palpate along the spine of the scapula to the corner of the acromion. Apply the straight edge of a pencil to the lateral aspect of the acromion to confirm the location of the boarder, if necessary. The landmark is a point on the most lateral and superior part of the border which is adjudged to be the mid-deltoid position when viewed from the side.
Landmark: ACROMIALE
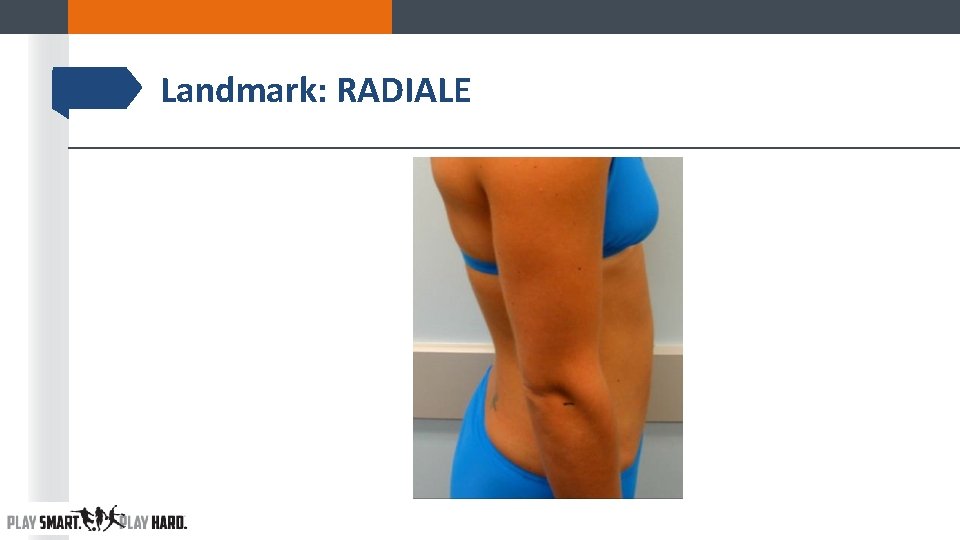
Skinfold Technique: Landmarking RADIALE ▪ Definition: The point at the proximal and lateral border of the head of the radius. ▪ Subject Position: Relaxed position with the arms hanging by the sides and the hand in the mid-prone position. ▪ Location: Palpate downward into the lateral dimple of the right elbow. It should be possible to feel the space between the capitulum of the humerus and the head of the radius. Move your thumb distally onto the most lateral part of the proximal radial head. Mark with short line perpendicular to the long axis of the forearm.
Landmark: RADIALE
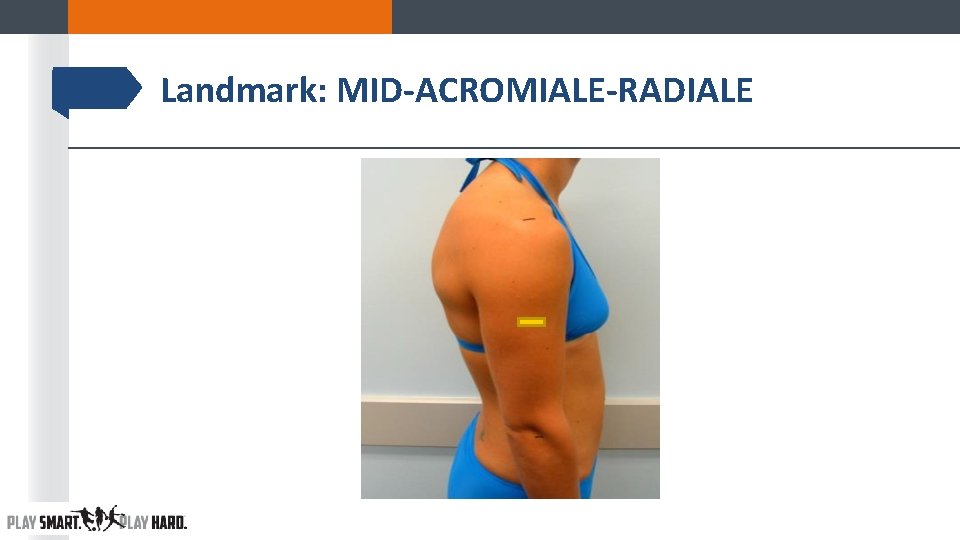
Skinfold Technique: Landmarking MID-ACROMIALE-RADIALE ¨ Definition: The mid-point of the straight line joining the Acromiale and the Radiale. ¨ Subject Position: Relaxed position with the arms hanging by their side in anatomical position. ¨ Location: Measure the linear distance between the acromiale and radiale landmarks. If a tape measure is used, be sure to hold it so that the perpendicular distance between the two landmarks is measured, rather than following the curvature of the skin. Place a small mark at the level of the mid-point between those two landmarks. Using a tape measure project this mark around to the posterior surface of the arm. Next, intersect the projected line with a vertical line in the middle of the arm when viewed from behind.
Landmark: MID-ACROMIALE-RADIALE
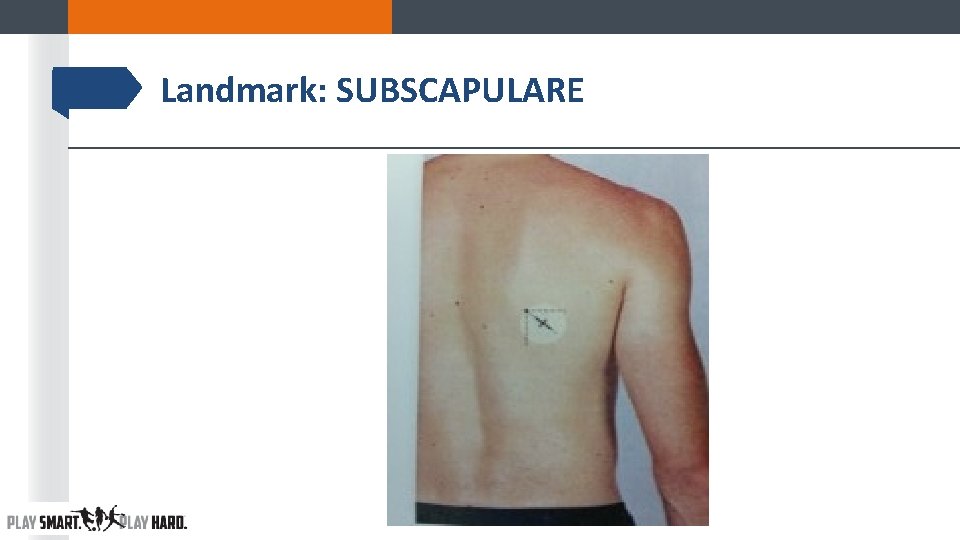
Skinfold Technique: Landmarking SUBSCAPULARE ▪ Definition: The uppermost tip of the inferior angle of the scapula. ▪ Subject Position: Relaxed position with the arms hanging by the sides. ▪ Location: Palpate the inferior angle of the scapula using your left thumb. Mark the undermost point as a dot when located. Next, draw a line 2 cm from the mark laterally downward at an angle of 45 degrees. Draw a second line, perpendicular to the first, to indicate the alignment of the finger and thumb when picking up the fold. If there is difficulty locating the inferior angle of the scapula, have the athlete slowly reach behind the back using the right arm. The inferior angle of the scapula should then be felt continuously as the hand is again placed by the side of the body.
Landmark: SUBSCAPULARE
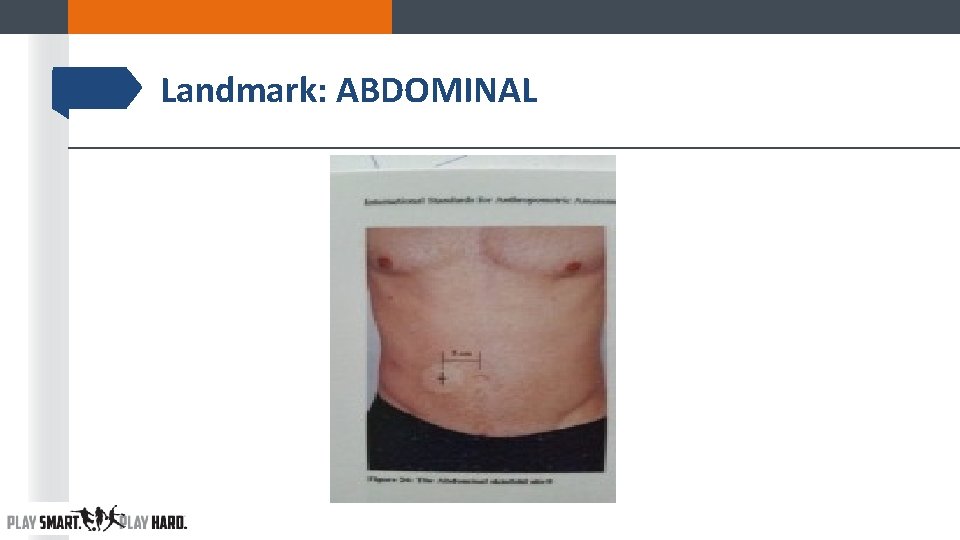
Skinfold Technique: Landmarking ABDOMINAL ▪ Definition: The point 5 cm horizontally to the right hand side of the omphalion (midpoint of the navel) ▪ Subject Position: Relaxed position with the arms hanging by the sides ▪ Location: The site is identified by a horizontal measure of 5 cm, to the athlete’s right, from the omphalion
Landmark: ABDOMINAL
Skinfold Technique ▪ Begin by having athlete standing in anatomical position ▪ Take all measurements on right side of body (exceptions include; injury, deformity, etc. ). ▪ Hold the skinfold caliper in the right hand while raising the skinfold with the thumb and index finger of the left hand using the prone grip (the back of the hand should be facing the measurer). ▪ Position yourself so you are looking directly at the caliper dial to avoid errors from viewing from the caliper dial from a disadvantaged angle. ▪ If you need a better view for very tall athletes use a box or step ladder. Remember never move the skinfold caliper for a better view move your head or body.
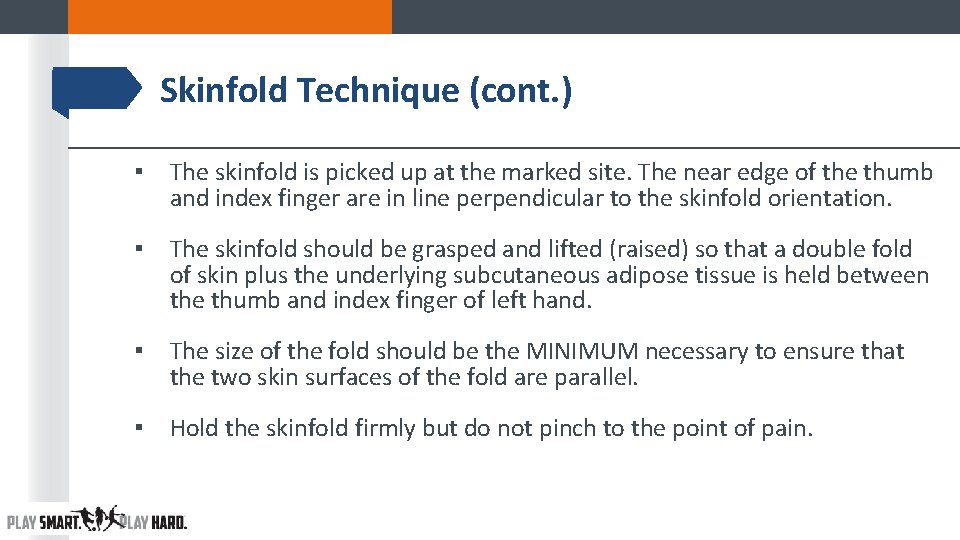
Skinfold Technique (cont. ) ▪ The skinfold is picked up at the marked site. The near edge of the thumb and index finger are in line perpendicular to the skinfold orientation. ▪ The skinfold should be grasped and lifted (raised) so that a double fold of skin plus the underlying subcutaneous adipose tissue is held between the thumb and index finger of left hand. ▪ The size of the fold should be the MINIMUM necessary to ensure that the two skin surfaces of the fold are parallel. ▪ Hold the skinfold firmly but do not pinch to the point of pain.
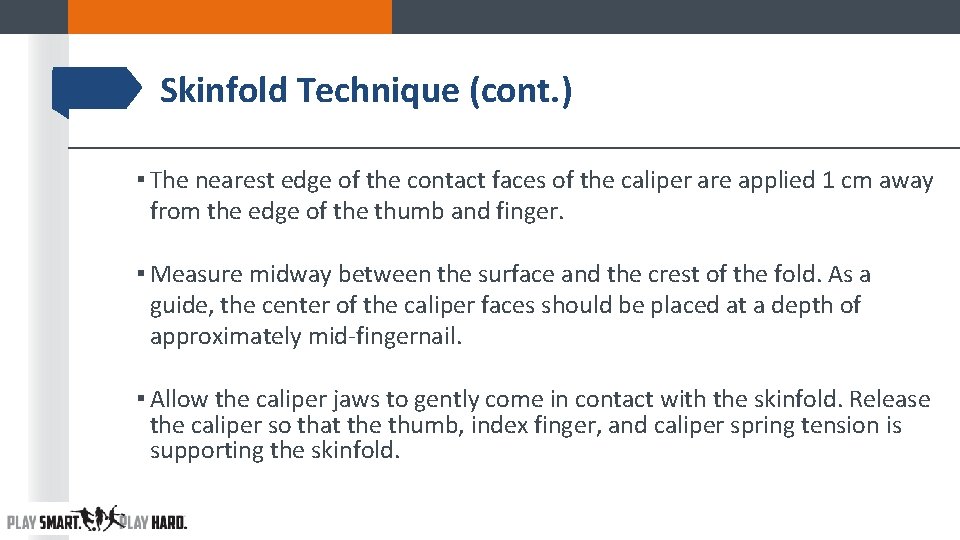
Skinfold Technique (cont. ) ▪ The nearest edge of the contact faces of the caliper are applied 1 cm away from the edge of the thumb and finger. ▪ Measure midway between the surface and the crest of the fold. As a guide, the center of the caliper faces should be placed at a depth of approximately mid-fingernail. ▪ Allow the caliper jaws to gently come in contact with the skinfold. Release the caliper so that the thumb, index finger, and caliper spring tension is supporting the skinfold.
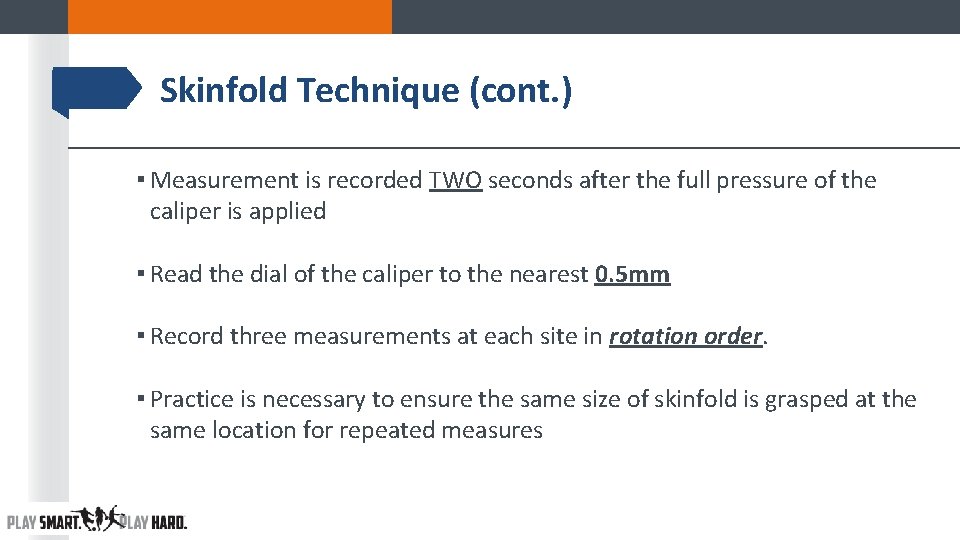
Skinfold Technique (cont. ) ▪ Measurement is recorded TWO seconds after the full pressure of the caliper is applied ▪ Read the dial of the caliper to the nearest 0. 5 mm ▪ Record three measurements at each site in rotation order. ▪ Practice is necessary to ensure the same size of skinfold is grasped at the same location for repeated measures
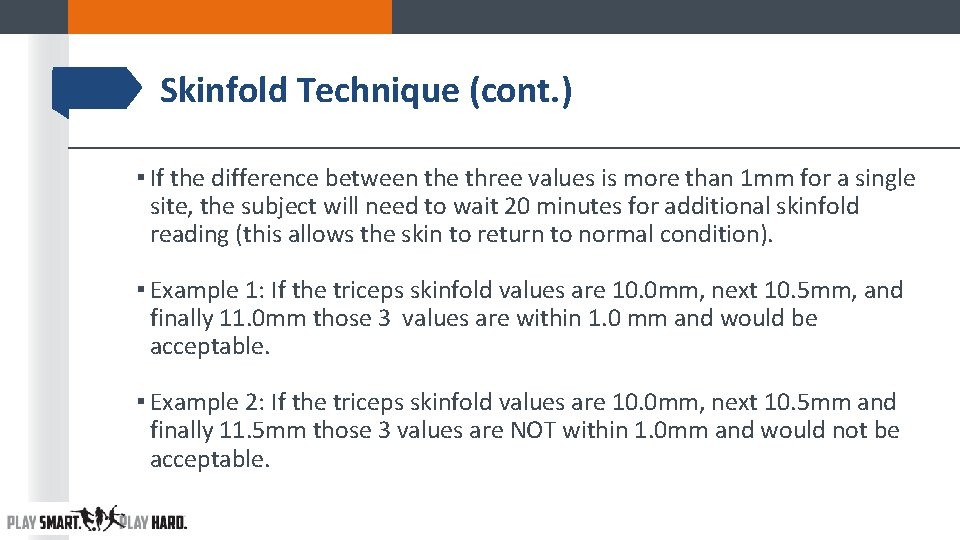
Skinfold Technique (cont. ) ▪ If the difference between the three values is more than 1 mm for a single site, the subject will need to wait 20 minutes for additional skinfold reading (this allows the skin to return to normal condition). ▪ Example 1: If the triceps skinfold values are 10. 0 mm, next 10. 5 mm, and finally 11. 0 mm those 3 values are within 1. 0 mm and would be acceptable. ▪ Example 2: If the triceps skinfold values are 10. 0 mm, next 10. 5 mm and finally 11. 5 mm those 3 values are NOT within 1. 0 mm and would not be acceptable.
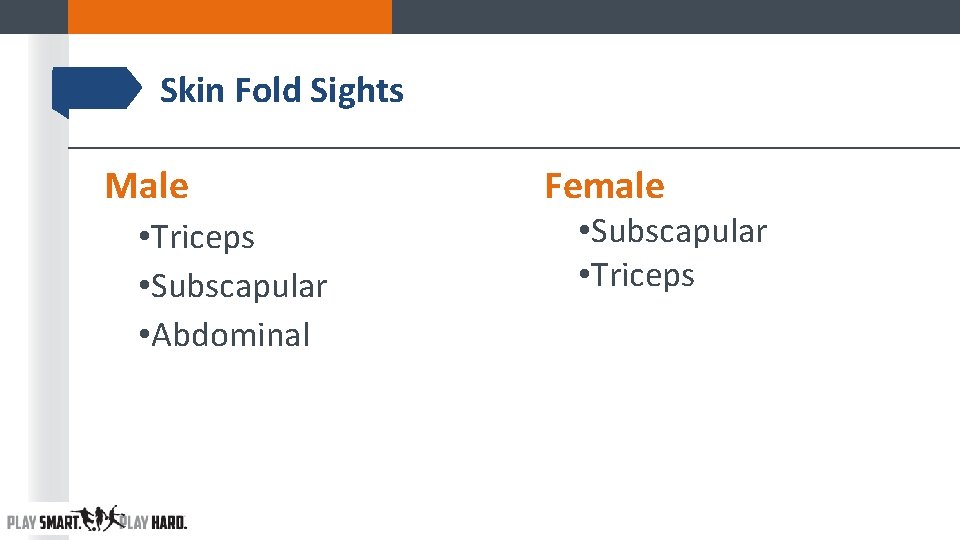
Skin Fold Sights Male • Triceps • Subscapular • Abdominal Female • Subscapular • Triceps
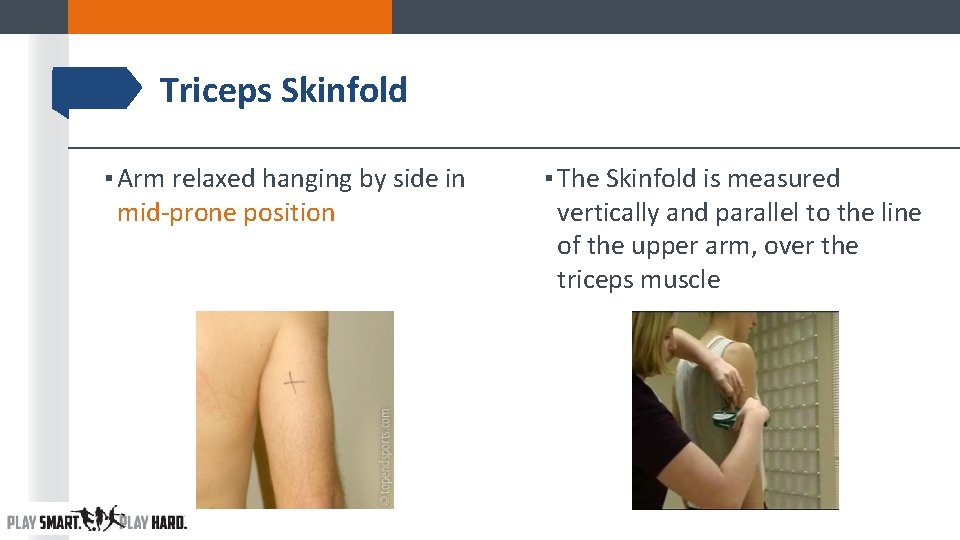
Triceps Skinfold ▪ Arm relaxed hanging by side in mid-prone position ▪ The Skinfold is measured vertically and parallel to the line of the upper arm, over the triceps muscle
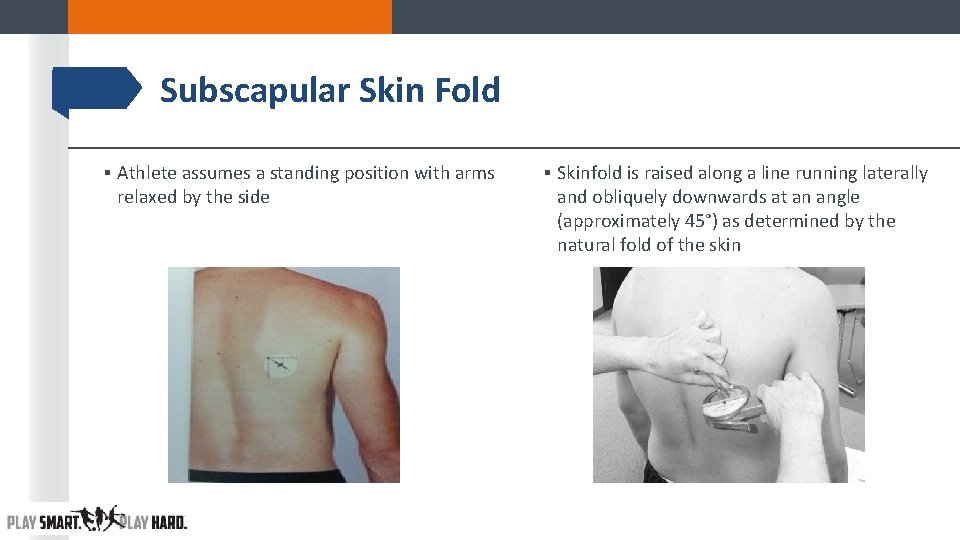
Subscapular Skin Fold ▪ Athlete assumes a standing position with arms relaxed by the side ▪ Skinfold is raised along a line running laterally and obliquely downwards at an angle (approximately 45°) as determined by the natural fold of the skin
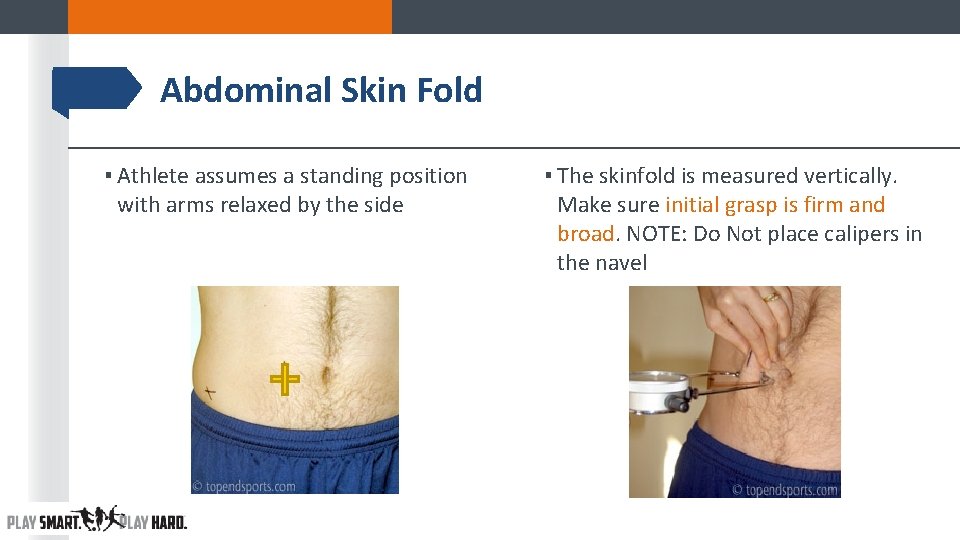
Abdominal Skin Fold ▪ Athlete assumes a standing position with arms relaxed by the side ▪ The skinfold is measured vertically. Make sure initial grasp is firm and broad. NOTE: Do Not place calipers in the navel
Special Circumstances ▪ There are some people for whom the skinfold technique cannot be accurately taken (injury, deformity, extremely tight skin, large subcutaneous adiposity). To avoid both large errors and/or embarrassment contact IHSA for another option.
Body Fat Appeal Rationale: Allow wrestlers the opportunity to pursue a more accurate/comprehensive body fat assessment when the 3 -site skinfold technique proves to be insufficient for a particular “high risk” wrestler and/or circumstance.
When is Appeal Option Recommended? ▪ Wrestler considering a wt. class that would put them below the minimum threshold ▪ Multiple “varsity” wrestlers competing for same weight class (who goes up or down? ) ▪ Wrestler/coach isn’t satisfied with the results and another skinfold test isn’t likely going to change ▪ Cannot obtain valid skinfold assessment (anatomical or mechanical reasons) ▪ Wrestler/coach/parent request
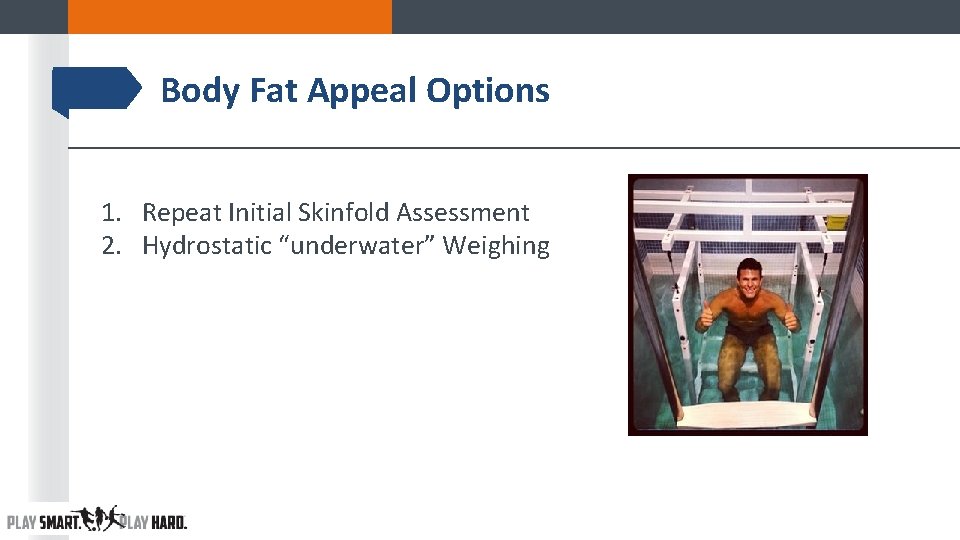
Body Fat Appeal Options 1. Repeat Initial Skinfold Assessment 2. Hydrostatic “underwater” Weighing
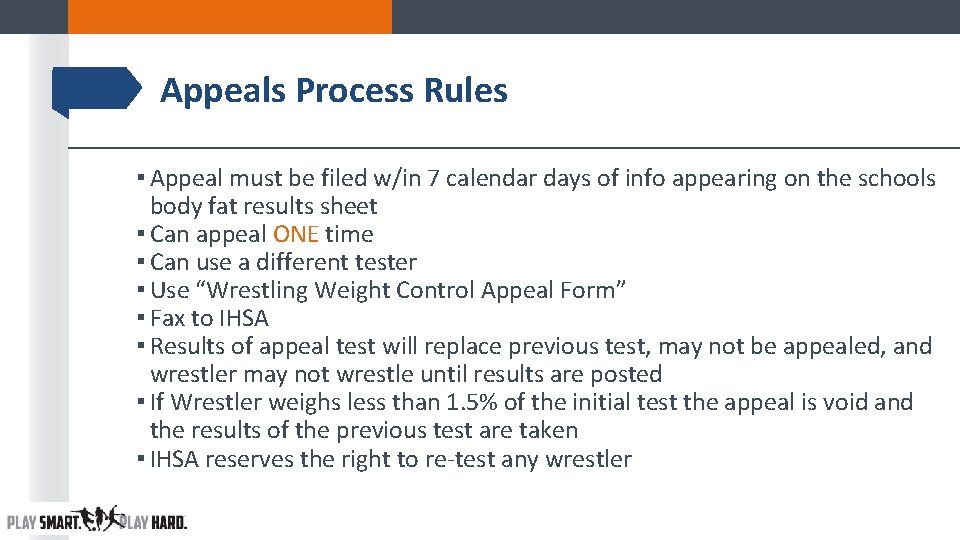
Appeals Process Rules ▪ Appeal must be filed w/in 7 calendar days of info appearing on the schools body fat results sheet ▪ Can appeal ONE time ▪ Can use a different tester ▪ Use “Wrestling Weight Control Appeal Form” ▪ Fax to IHSA ▪ Results of appeal test will replace previous test, may not be appealed, and wrestler may not wrestle until results are posted ▪ If Wrestler weighs less than 1. 5% of the initial test the appeal is void and the results of the previous test are taken ▪ IHSA reserves the right to re-test any wrestler
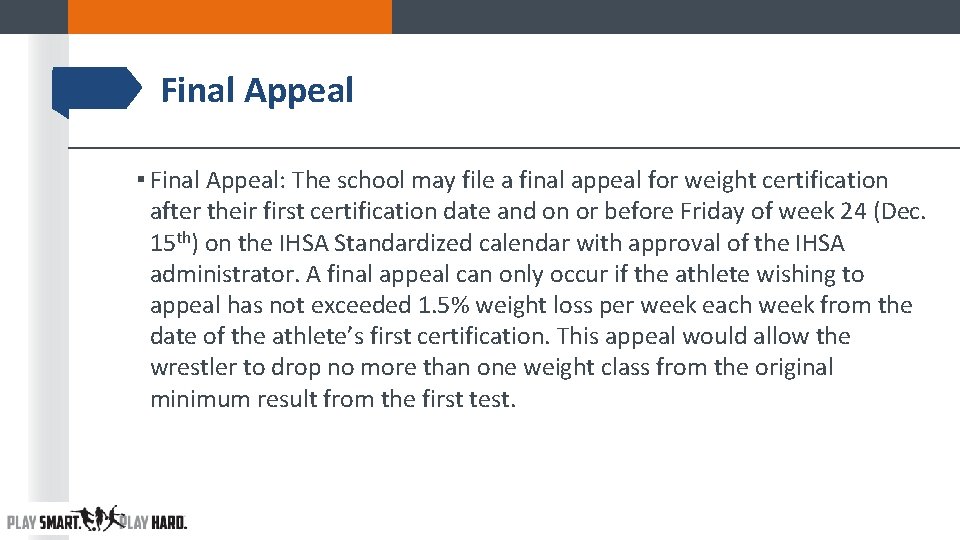
Final Appeal ▪ Final Appeal: The school may file a final appeal for weight certification after their first certification date and on or before Friday of week 24 (Dec. 15 th) on the IHSA Standardized calendar with approval of the IHSA administrator. A final appeal can only occur if the athlete wishing to appeal has not exceeded 1. 5% weight loss per week each week from the date of the athlete’s first certification. This appeal would allow the wrestler to drop no more than one weight class from the original minimum result from the first test.
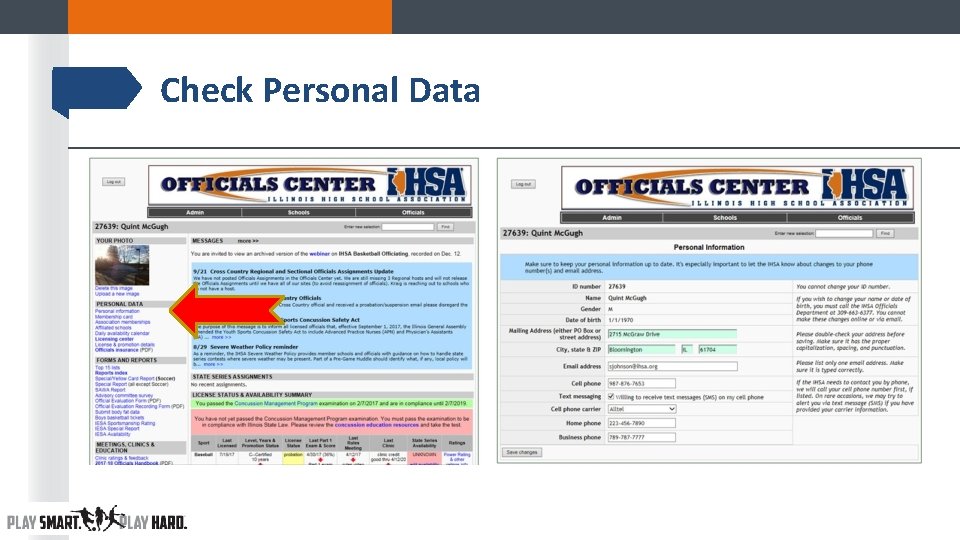
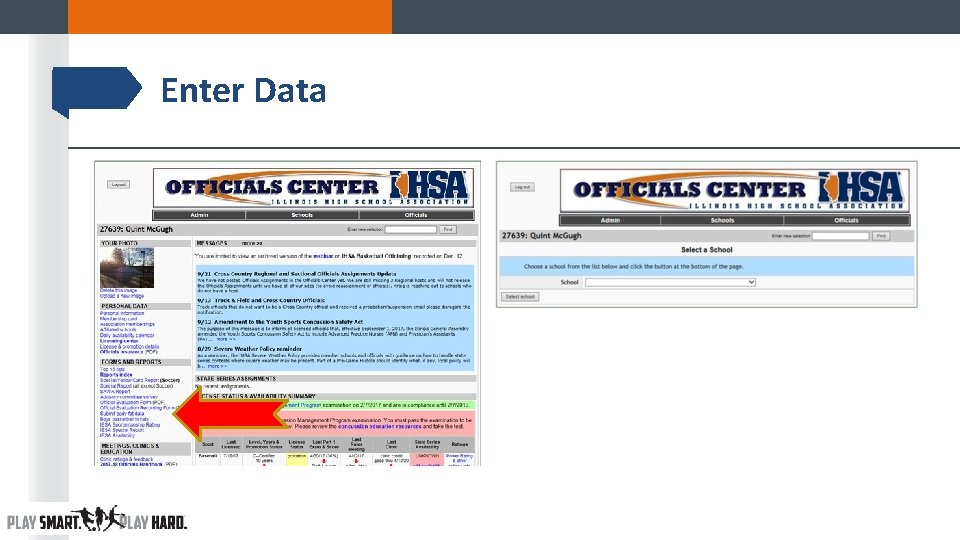
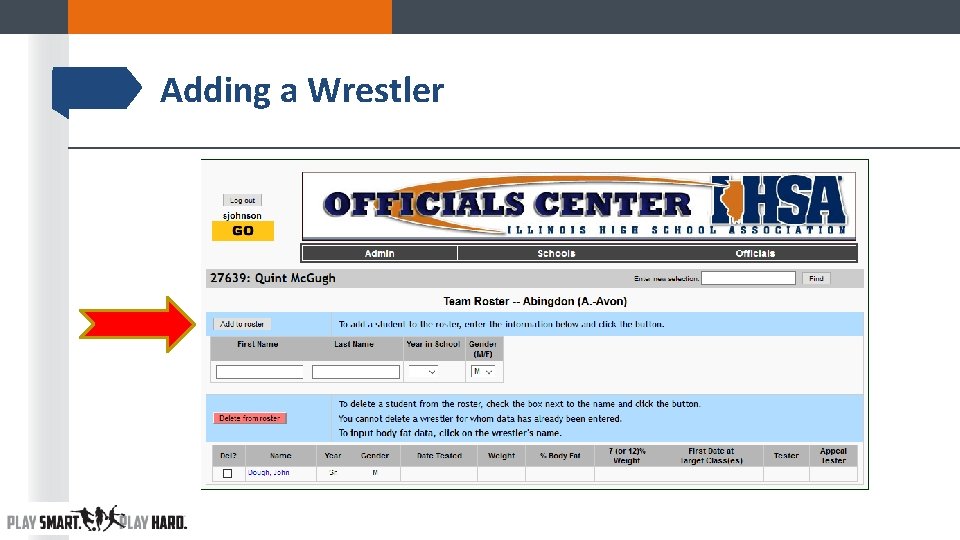
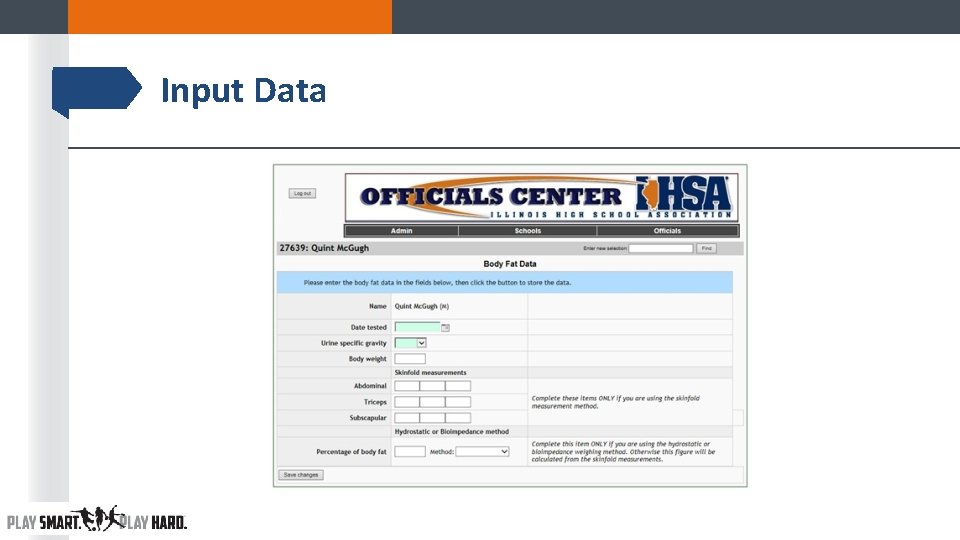
Website Data Entry ILLINOIS HIGH SCHOOL ASSOCIATION The Future Plays Here! Calculations/Results
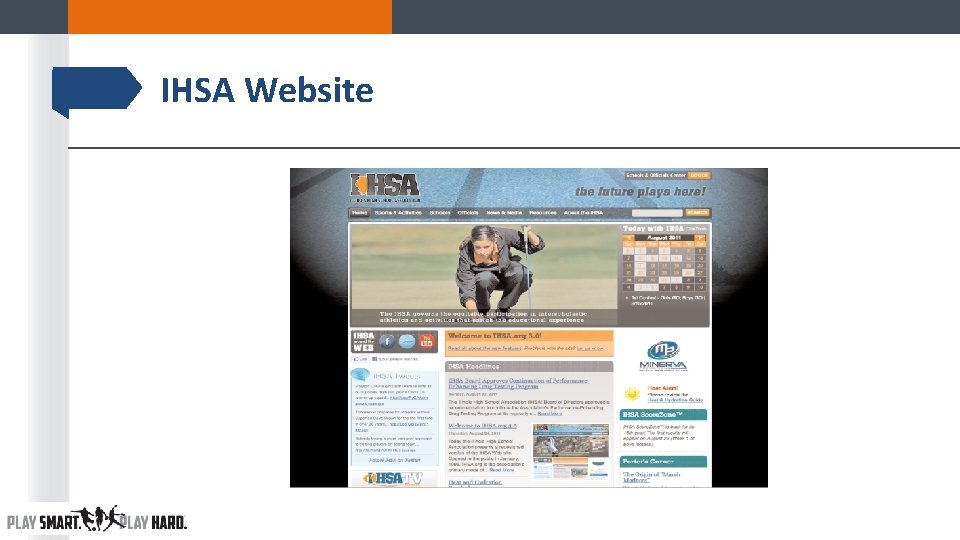
IHSA Website
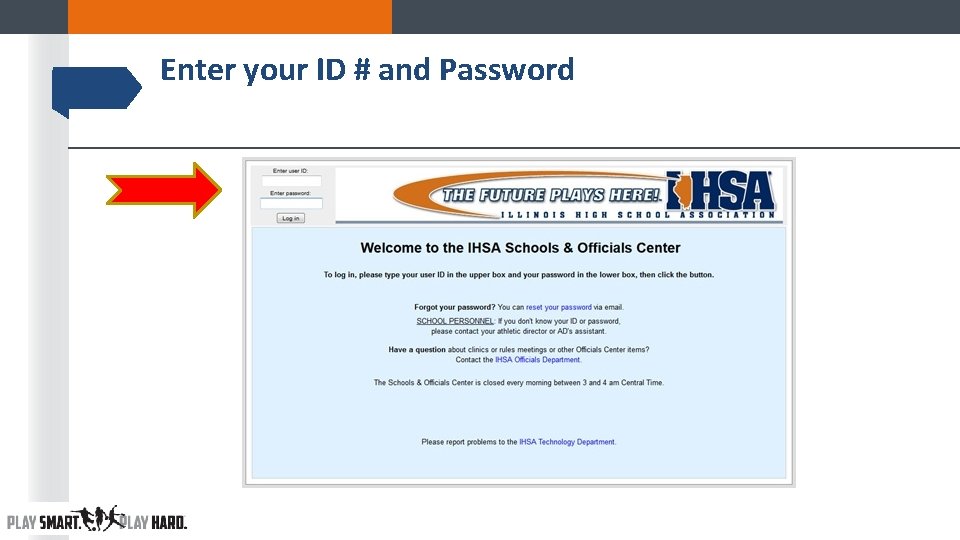
Enter your ID # and Password
Check Personal Data
Enter Data
Adding a Wrestler
Input Data
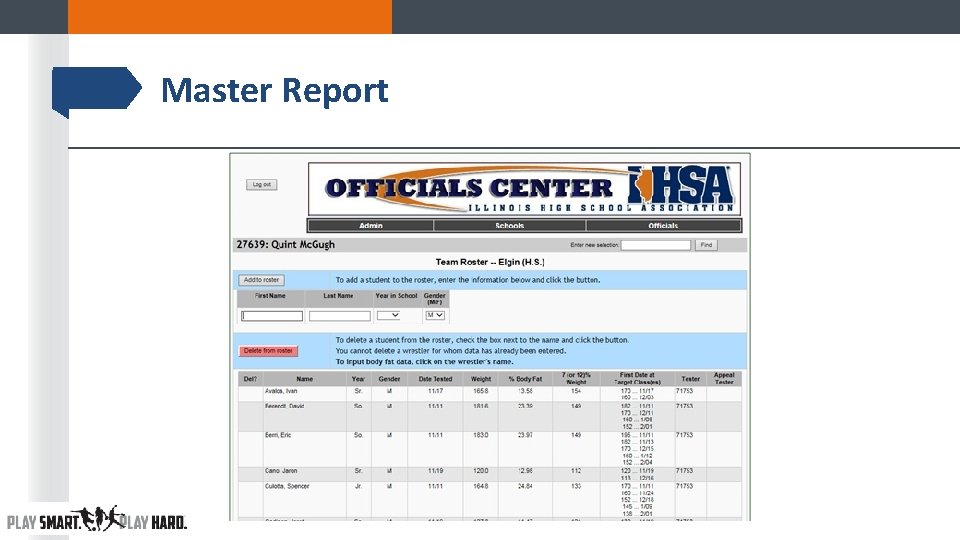
Master Report
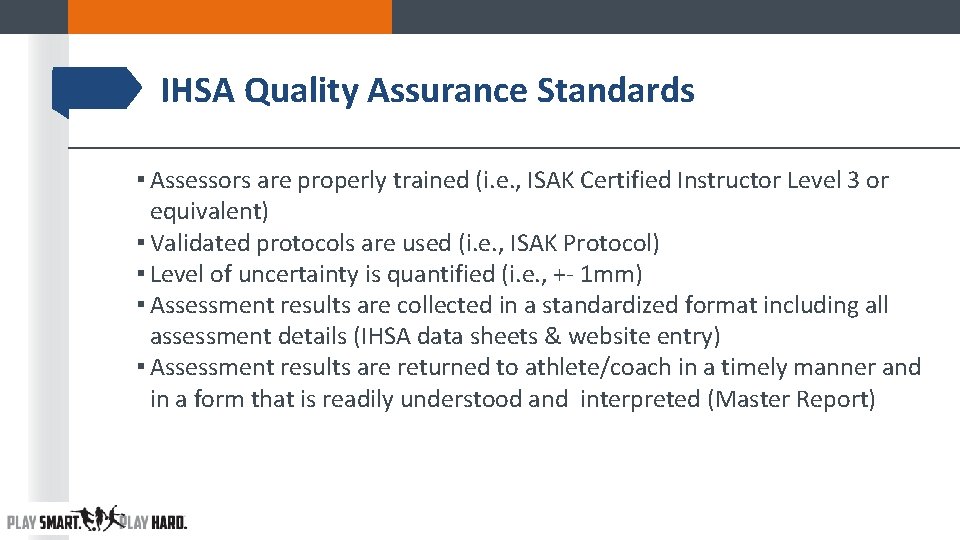
IHSA Quality Assurance Standards ▪ Assessors are properly trained (i. e. , ISAK Certified Instructor Level 3 or equivalent) ▪ Validated protocols are used (i. e. , ISAK Protocol) ▪ Level of uncertainty is quantified (i. e. , +- 1 mm) ▪ Assessment results are collected in a standardized format including all assessment details (IHSA data sheets & website entry) ▪ Assessment results are returned to athlete/coach in a timely manner and in a form that is readily understood and interpreted (Master Report)
If you get stuck on this slide, your browser’s pop-up blocker may be the cause. 1. There may be a bar at the top of this window asking if you would like to allow pop-ups for this site. Answer in the affirmative to proceed. 2. You can also go into the browser tools menu and allow pop-ups for www. ihsa. org. 3. Toolbars from Google, Yahoo, etc. may also be blocking pop-ups.
If you get stuck on this slide, your browser’s pop-up blocker may be the cause. 1. There may be a bar at the top of this window asking if you would like to allow pop-ups for this site. Answer in the affirmative to proceed. 2. You can also go into the browser tools menu and allow pop-ups for www. ihsa. org. 3. Toolbars from Google, Yahoo, etc. may also be blocking pop-ups.