Photo Story 3 What is Photo Story Photo


- Slides: 13

Photo Story 3

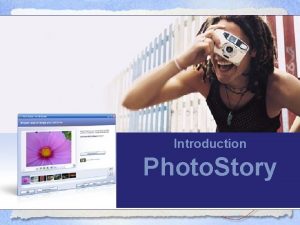
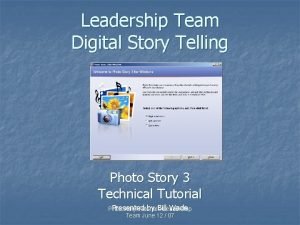
What is Photo Story? • Photo Story is a program that takes your images (or digital photos) and complies them into a movie in a series of steps. • It is a “juiced up” power point, where you put your images onto slides, edit those photos, add narration, text, and/or music and put it into a. wmv file. • It’s easier to use than Movie Maker, but does not allow you to use video (just images/photos). This is a great program for kids to use!

Examples from Classrooms Elementary • • • Kindergarten First Grade Second Grade Third Grade Fourth Grade

Examples from Classrooms Middle School • Grabber for social studies unit • Student produced Photo Stories

Other Applications • Digital Storytelling: – http: //www. coe. uh. edu/digital-storytelling/example -pages/personal-reflection-examples. htm • Photo Story Demos (check out “First Grade Memories”) – http: //www. greece. k 12. ny. us/task/photostory/ps 3 d emos. htm • Ideas and Examples from Teachnet – http: //www. teachnet. ie/innovative_teacher/default. asp? NCID=365

How does it work? • Before you ever begin your Photo Story project, you must have your images ready to go. (Preferably in a file designated for the project—makes things move more quickly). • The program will take you through a series of steps to begin creating the movie.

The Steps: 1 Importing Pictures • When you double-click on the Photo Story icon, it will ask you if you want to begin a new project or edit an old one, (select whichever applies). • Next, it will open a screen asking you to import the images you want to use. Your images could be digital photos, Kid. Pix pictures, clipart, etc. • At this point, you can also rearrange your pictures in the order you would like.

Step 1 continued… • On the same screen, you can remove the black borders around your pictures (however, this might alter the image and cut out areas that you don’t want cropped). • In addition, you can use the image tools to rotate, crop, or edit your photos.

Step 2: Adding Titles • On the next screen, you can add titles, or captions to your images. • All you have to do is click on the image, and then click in the text box to write whatever you’d like. • Of course, you can change your font color, style, etc. • Also on this screen, you can add effects to your images!!

Step 3: Narration • When you get to the next screen, you have the option of narrating each of your photos. • Click on the red, “record” button and speak into your computer’s microphone (of course, you’ll need a working microphone for this step). • You can use the “preview” key to make sure everything sounds just right.

Step 4: Motion and Transitions • The photos will move during the movie. You can determine the motion you pictures take as they progress. • Likewise, you can determine the transition effect you’d like to add as the movie moves from one photo to the next (like Movie Maker).

Step 5: Making Music (Students’ favorite part ) • During this step you have the option of adding your own music you’ve saved (in MP 3 format) or creating your own. • Honestly, kids love to create their own music. They have the option to pick their genre, tempo, instruments. • It’s like having your own music lab.

Saving Project/Creating Movie • At the end of the entire process, you have the option to save your movie. This takes your Photo Story project and makes it into a movie. Photo Story will save it to your computer as a WMV file (you have to buy special programs to convert it to a DVD).
 Characteristics of a short story
 Photo story 3
 Photo story 3 download
 Download microsoft photo story
 Microsoft photo story
 Straight news structure
 Once upon a time short story examples
 Every picture has a story and every story has a moment
 Narrative elements
 Fiction story example
 Definition of short story
 Photo
Photo La plus belle photo du monde
 Monophasic liquid dosage form list


