Parts of the Microscope What is a microscope


- Slides: 14

Parts of the Microscope

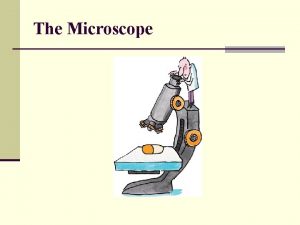
What is a microscope? A microscope is a type of lab equipment that magnifies the image of an object so that small details can be observed. The word “micro” means small. The word “scope” means to see or view

Magnified cells from plant root

Light Microscope Most common type used in schools Uses a compound lenses to magnify objects Compound lenses bend or refract light to make the object beneath them appear closer.

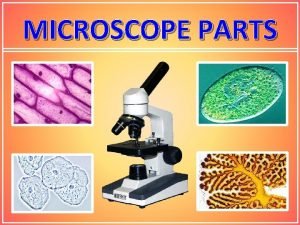
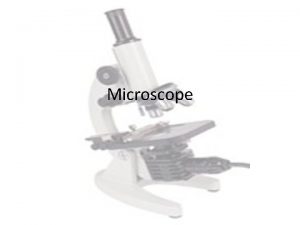
Microscope parts (pg. R 14) Eyepiece Body Tube Nosepiece Objective Lens Stage Clips Diaphragm Light Arm Stage Coarse Focus Fine Focus Base

Microscope parts Ø Eyepiece: allows you to see object on slide by 10 times its normal size Ø Body tube: separates the lens in the eyepiece from the objective lens Ø Nosepiece: holds the objective lenses

Microscope parts ØObjective lens: 40 X (high power) magnifies to 400 times normal size, 10 X (low power) magnifies to 100 times normal size; 4 X (scanning power) magnifies to 40 times normal size ØStage: supports the slide ØDiaphragm: used to control the amount of light passing through the lens

Microscope parts ØCoarse adjustment: knob used to move the stage up and down ØFine adjustment: knob used to make to lens focused ØArm: used to hold and support the body above the stage ØStage clip: used to hold slide in place ØBase: bottom support of microscope

How to use microscope ●Always carry with 2 hands ●Hold the base and the arm ●Do not force knobs ●Always store covered ●Keep objects clear of desk and cords

How to draw specimens 1. Always use pencil - you can erase and shade areas 2. All drawings should include clear and proper labels (and be large enough to view details). Drawings should be labeled with the specimen name and magnification.

How to draw specimens 3. Labels should be written on the outside of the circle. The circle indicates the viewing field as seen through the eyepiece, specimens should be drawn to scale. **if your specimen takes up the whole viewing field, make sure your drawing reflects that.

How to draw specimens

Practice Labeling the Parts

Practice labeling the parts 1. 2. 3. 4. 5. 6. 7. Body tube Nosepiece Scanning objective lens (4 x) Low power objective lens (10 x) High power objective lens (40 x) Stage clips Diaphragm 8. Light 9. Eyepiece 10. Arm 11. Stage 12. Coarse Adjustment 13. Fine Adjustment 14. Base
 Function of body tube in microscope
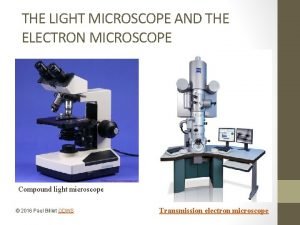
 Light microscope vs electron microscope
 Microscope mania compound light microscope
 Chụp phim tư thế worms-breton
 đại từ thay thế
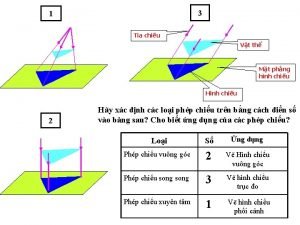
 Vẽ hình chiếu đứng bằng cạnh của vật thể
 Quá trình desamine hóa có thể tạo ra
 Khi nào hổ con có thể sống độc lập
 Các châu lục và đại dương trên thế giới
 Dot
Dot Nguyên nhân của sự mỏi cơ sinh 8
 Bổ thể
 độ dài liên kết
 Thiếu nhi thế giới liên hoan
 Vẽ hình chiếu vuông góc của vật thể sau
