Part 5 Fragment 25 Fragment 26 Fragment 27


方法中進行介面的設定而不是在 on. Create()中進行,請參考以下範例: public class My. Fragment extends Fragment")


 把Fragment加入程式的操作介面。 2. remove() 從程式的操作介面中移除指定的Fragment。 3. replace()")
; Fragment. Transaction frag. Tran =")


/Game. Result. Fragment. java,在程式碼編輯視窗中按 下滑鼠右鍵,然從在出現的快選功能表中選擇Source > Override/Implement Methods…,在對話盒左邊的清單 中勾選on. Pause()再按下OK按鈕,然後加入以下粗體字")
/Game. Result. Fragment 2. java如下: @Override public void on. Resume()")


狀態轉換方法 中完成,因為在Android系統呼叫on. Attach() 方法的時候會傳入程式的Activity,也就是 Main物件,我們在Game. Fragment類別中宣 告一個Callback.")


方法設定給它。 List.")

;")
方法把Simple. Adapter物件設定給List. View。 Simple. Adapter")


 {")
 // 設定我們的Expandable. List. Adapter m. Expa. List. Adap = new")
方法來 完成。")


 // 設定button元件的事件listener btn. Add. Auto. Complete. Text. set. On.")


- Slides: 91
Part 5 Fragment與進階介面元件 單元25 使用Fragment讓程式介面一分為多 單元26 動態Fragment讓程式成為變形金剛 單元27 Fragment的進階用法 單元28 Fragment和Activity之間的callback機制 單元29 List. View和Expandable. List. View 單元30 Auto. Complete. Text. View自動完成文字輸入 單元31 Seek. Bar和Rating. Bar介面元件 2
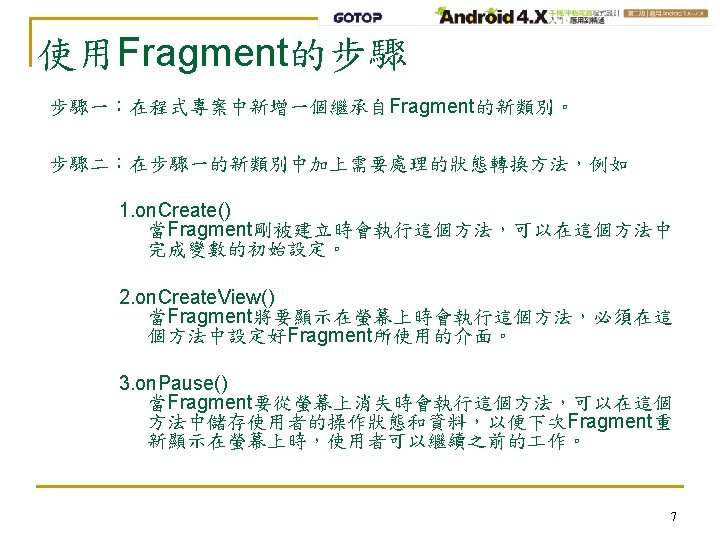
使用Fragment的步驟 步驟三:建立Fragment使用的介面佈局檔,Fragment的操作介面同樣是 由程式專案中的res/layout資料夾下的介面佈局檔來定義,只是我們必須 在Fragment的on. Create. View()方法中進行介面的設定而不是在 on. Create()中進行,請參考以下範例: public class My. Fragment extends Fragment { @Override public View on. Create. View(Layout. Inflater inflater, View. Group container, Bundle saved. Instance. State) { // TODO Auto-generated method stub return inflater. inflate(R. layout. fragment_layout, container, false); } } 利用inflater物件的inflate()方法取得res/layout/fragment_layout. xml介面 佈局檔,並將最後的結果傳回給系統,這樣就完成了Fragment的介面設 定。 8
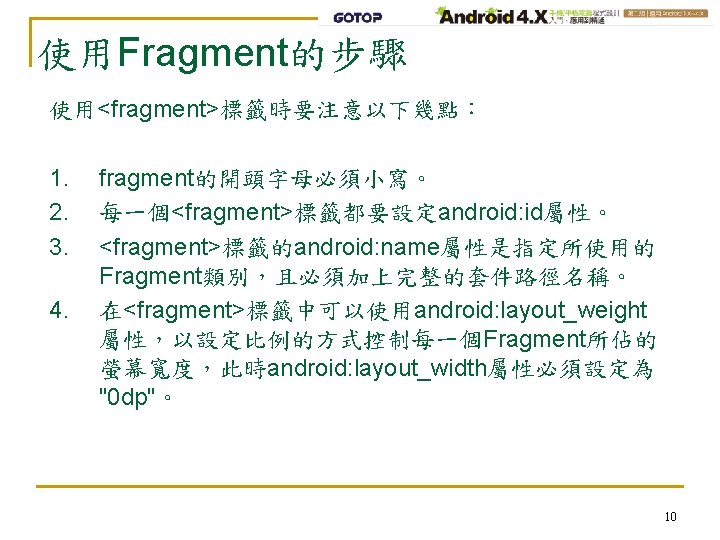
使用Fragment的步驟 步驟四:把前面建立好的Fragment類別加入程式中,我們可 以利用<fragment>標籤,在主程式的介面佈局檔中完成加入 Fragment的動作如以下範例: <? xml version="1. 0" encoding="utf-8"? > <Linear. Layout xmlns: android="http: //schemas. android. com/apk/res/android" android: orientation="horizontal" android: layout_width="match_parent" android: layout_height="match_parent" > <fragment android: id="@+id/frag" android: name="tw. android. My. Fragment" android: layout_width="0 dp" android: layout_height="wrap_content" android: layout_weight="1" /> </Linear. Layout> 9
為Fragment加上外框並調整大小和位置 Fragment本身並無法做出像前面範例右邊的外框效果,如果要在 Fragment外圍加上框線,必須配合使用<Frame. Layout>標籤,也就是說 在介面佈局檔中用一個<Frame. Layout>標籤把需要加上外框的Fragment 包覆起來如下: <? xml version="1. 0" encoding="utf-8"? > <Linear. Layout xmlns: android="http: //schemas. android. com/apk/res/android" android: orientation="horizontal" android: layout_width="match_parent" android: layout_height="match_parent" > <Frame. Layout android: layout_weight="1" android: layout_width="0 dp" android: layout_height="wrap_content" android: background="? android: attr/details. Element. Background" > <fragment android: id="@+id/frag" android: name="tw. android. My. Fragment" android: layout_width="match_parent" android: layout_height="wrap_content" /> </Frame. Layout> </Linear. Layout> 11
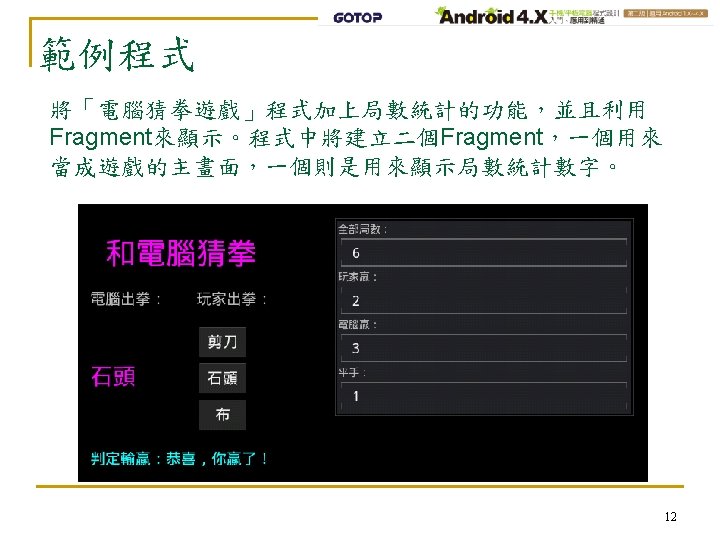
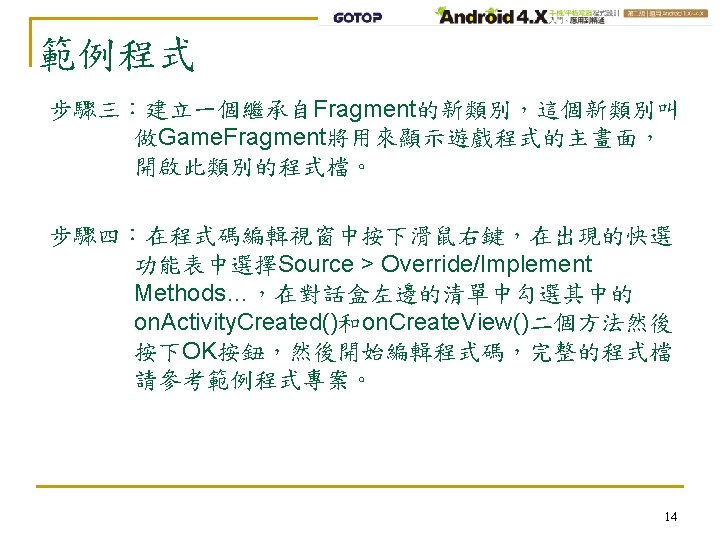
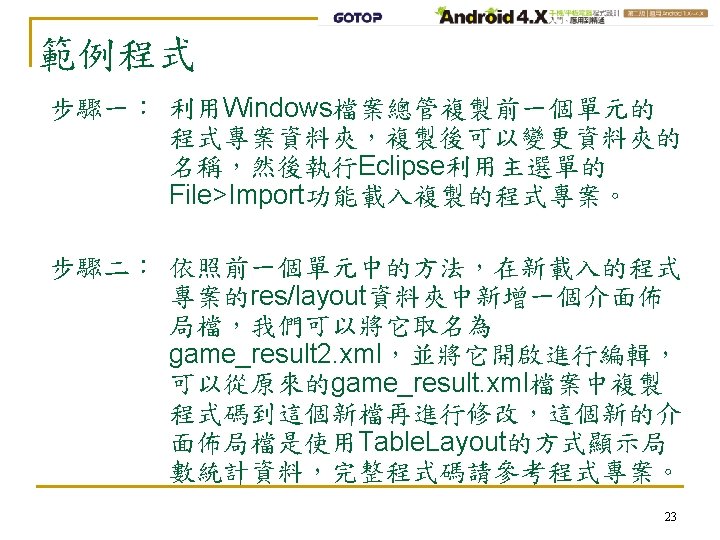
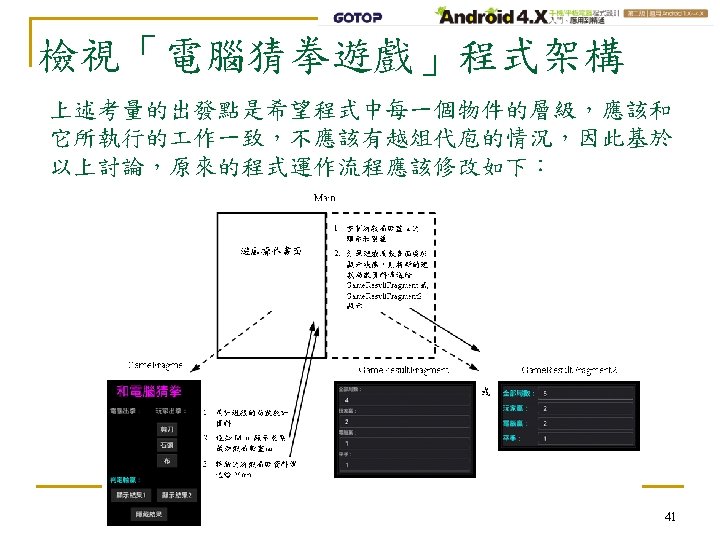
範例程式 步驟五:仿照步驟二的方法新增一個介面佈局檔 res/layout/game_result. xml,並完成其中的程式碼,完整的程 式檔請參考範例程式專案。 步驟六:仿照步驟三和四新增一個繼承自Fragment的新類別,此類別的 名稱叫做Game. Result. Fragment,它的程式碼如下: public class Game. Result. Fragment extends Fragment { @Override public View on. Create. View(Layout. Inflater inflater, View. Group container, Bundle saved. Instance. State) { // TODO Auto-generated method stub return inflater. inflate(R. layout. game_result, container, false); } } on. Create. View()方法用來設定顯示的介面。 15
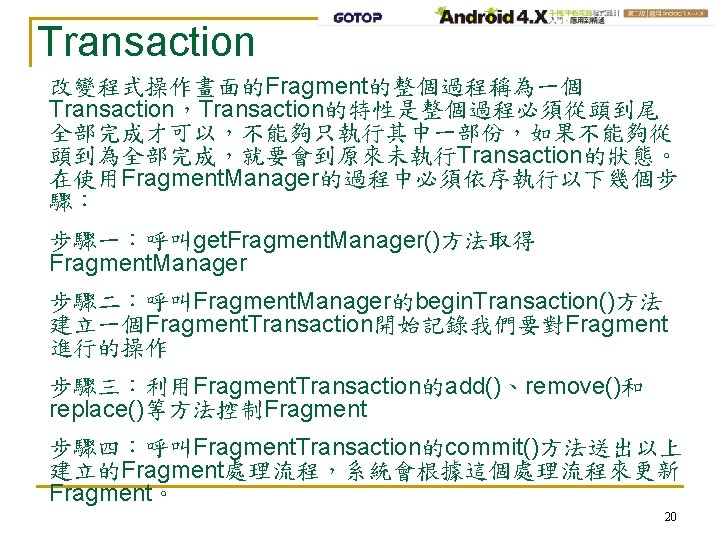
Fragment的總管 Fragment. Manager提供以下三個控制Fragment的方 Fragment. Manager 法: 1. add() 把Fragment加入程式的操作介面。 2. remove() 從程式的操作介面中移除指定的Fragment。 3. replace() 用新的Fragment取代目前程式畫面中的Fragment。 19
Transaction範例 Fragment. Manager frag. Mgr = get. Fragment. Manager(); Fragment. Transaction frag. Tran = frag. Mgr. begin. Transaction(); My. Fragment my. Frag = new My. Fragment(); My. Fragment 2 my. Frag 2 = new My. Fragment 2(); frag. Tran. add(R. id. frame. Layout, my. Frag, "My fragment"); frag. Tran. replace(R. id. frame. Layout, my. Frag, "My fragment 2"); My. Fragment 2 frag = (My. Fragment 2)frag. Mgr. find. Fragment. By. Tag("My fragment 2"); frag. Tran. remove(frag); frag. Tran. commit(); 21
範例程式 步驟五:仿照步驟四的方法找到res/layout/main. xml檔案, 然後刪除在<Frame. Layout>標籤中的<fragment>標 籤,並且在<Frame. Layout>標籤的屬性中新增一個 android: id如下,因為我們將在程式碼中依照使用 者的操作,把不同的Fragment放進這個 Frame. Layout元件中。 <? xml version="1. 0" encoding="utf-8"? > <Linear. Layout xmlns: android="http: //schemas. android. com/apk/res/android". . . > <fragment … /> <Frame. Layout android: id="@+id/frame. Layout" android: layout_weight="1" android: layout_width="0 px" android: layout_height="wrap_content" android: background="? android: attr/details. Element. Background" /> </Linear. Layout> 25
單元27 Fragment的進階用法 27
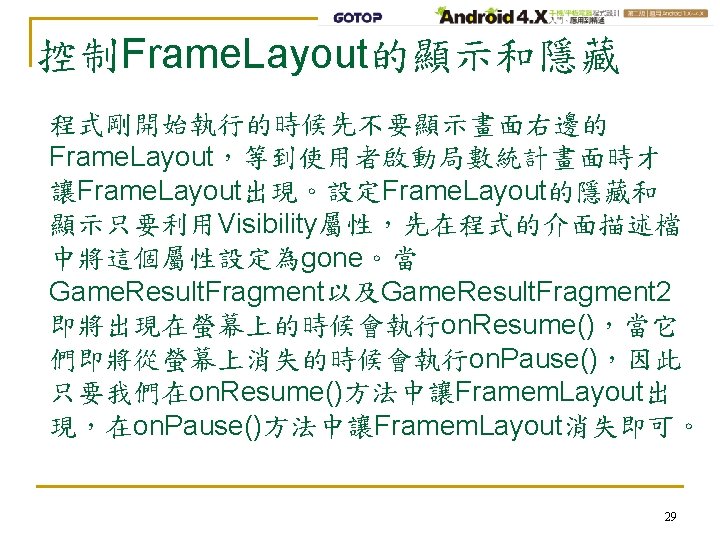
控制Frame. Layout的顯示和隱藏 步驟一:執行Eclipse開啟前一個單元的「電腦猜拳 遊戲」程式專案的介面佈局檔 res/layout/main. xml,在<Frame. Layout> 標籤中加入以下粗體字的屬性: <? xml version="1. 0" encoding="utf-8"? > <Linear. Layout xmlns: android="http: //schemas. android. com/apk/res/android" … > <fragment android: id="@+id/frag. Game" … /> <Frame. Layout android: id="@+id/frame. Layout" … android: visibility="gone" /> </Linear. Layout> 30
控制Frame. Layout的顯示和隱藏 步驟二: 開啟程式檔src/(套件路徑名稱 )/Game. Result. Fragment. java,在程式碼編輯視窗中按 下滑鼠右鍵,然從在出現的快選功能表中選擇Source > Override/Implement Methods…,在對話盒左邊的清單 中勾選on. Pause()再按下OK按鈕,然後加入以下粗體字 的程式碼: @Override public void on. Resume() { // TODO Auto-generated method stub super. on. Resume(); …(原來的程式碼) get. Activity(). find. View. By. Id(R. id. frame. Layout). set. Visibility(View. VISIBLE); } @Override public void on. Pause() { // TODO Auto-generated method stub super. on. Pause(); get. Activity(). find. View. By. Id(R. id. frame. Layout). set. Visibility(View. GONE); } 31
控制Frame. Layout的顯示和隱藏 步驟三: 仿照步驟二的方法修改程式檔src/(此程式專案的套件名稱 )/Game. Result. Fragment 2. java如下: @Override public void on. Resume() { // TODO Auto-generated method stub super. on. Resume(); …(原來的程式碼) get. Activity(). find. View. By. Id(R. id. frame. Layout). set. Visibility(View. VISIBLE); } @Override public void on. Pause() { // TODO Auto-generated method stub super. on. Pause(); get. Activity(). find. View. By. Id(R. id. frame. Layout). set. Visibility(View. GONE); } 32
單元28 Fragment和Activity之間 的callback機制 37
實作Fragment和Activity之間的callback機制 步驟一:在Game. Fragment類別中宣告一個 Interface,其中包含所有需要由Main類別 提供的callback方法,例如: public class Game. Fragment extends Fragment { // Main Activity 必須實作以下介面中的callback方法 public interface Callback. Interface { public void method 1(…); public void method 2(…); … } 42
實作Fragment和Activity之間的callback機制 步驟二:讓Main類別實作步驟一所建立的 Callback. Interface public class Main extends Activity implements Game. Fragment. Callback. Interface { public void method 1(…) { … } public void method 2(…) { … } } 43
實作Fragment和Activity之間的callback機制 步驟三: 將Main類別中的callback方法傳給 Game. Fragment,這個步驟可以在 Game. Fragment的on. Attach()狀態轉換方法 中完成,因為在Android系統呼叫on. Attach() 方法的時候會傳入程式的Activity,也就是 Main物件,我們在Game. Fragment類別中宣 告一個Callback. Interface的物件,然後把系 統傳入的Activity轉型成為Callback. Interface 物件(因為我們在步驟二中已經讓Main實作 Callback. Interface)並存入該 Callback. Interface物件,這樣在 Game. Fragment類別中就可以藉由此 Callback. Interface物件呼叫Main中的 callback方法。 44
實作Fragment和Activity之間的callback機制 public class Game. Fragment extends Fragment { // Main Activity 必須實作以下介面中的callback方法 … private Callback. Interface m. Callback; public void on. Attach(Activity activity) { // TODO Auto-generated method stub super. on. Attach(activity); try { m. Callback = (Callback. Interface) activity; } catch (Class. Cast. Exception e) { throw new Class. Cast. Exception(activity. to. String() + "must implement Game. Fragment. Callback. Interface. "); } } … } 45
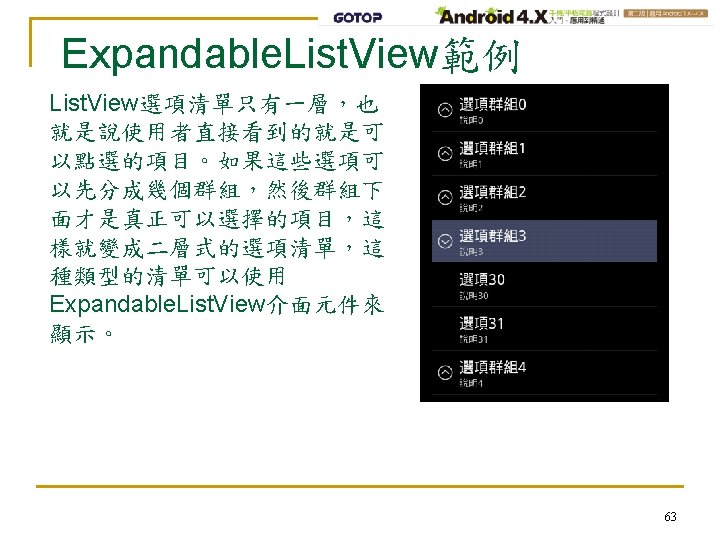
單元29 List. View和 Expandable. List. View 49
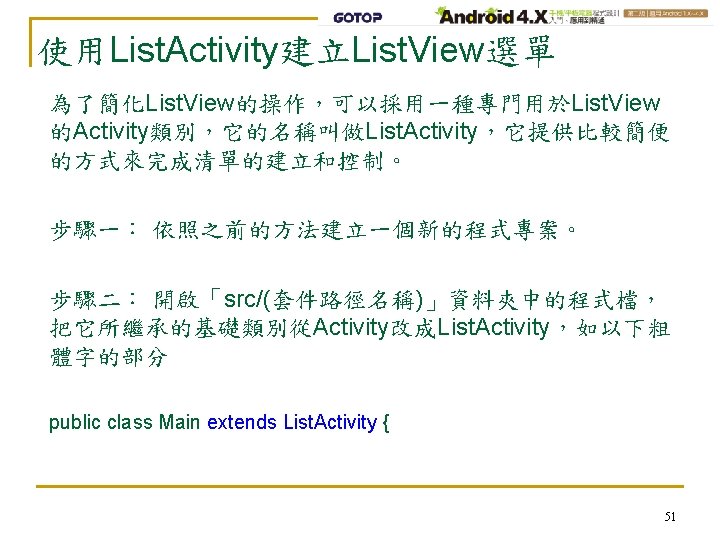
使用List. Activity建立List. View選單 步驟三: 開啟res/layout/main. xml介面佈局檔並編輯如下: <? xml version="1. 0" encoding="utf-8"? > <Linear. Layout xmlns: android="http: //schemas. android. com/apk/res/android" android: orientation="horizontal" <Text. View android: id="@+id/txt. Result" android: layout_width="match_parent" android: layout_height="match_parent" android: layout_height="wrap_content" > android: text="" <Linear. Layout /> android: orientation="vertical" <List. View android: id="@id/android: list" android: layout_width="0 dp" android: layout_width="match_parent" android: layout_height="match_parent" android: layout_weight="1" /> android: draw. Selector. On. Top="false" <Linear. Layout /> android: orientation="vertical" </Linear. Layout> android: layout_width="0 dp" <Linear. Layout android: layout_height="match_parent" android: orientation="vertical" android: layout_weight="1" android: layout_width="0 dp" > android: layout_height="match_parent" (接右邊) android: layout_weight="1" /> 52 </Linear. Layout>
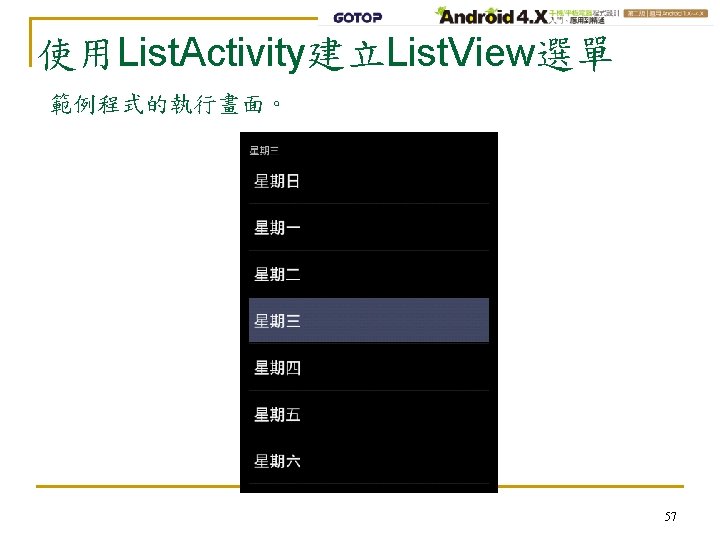
使用List. Activity建立List. View選單 步驟五:在程式中必須建立一個 Adapter. View. On. Item. Click. Listener型態的物件,當 使用者點選List. View中的某個項目後,便會執行該 物件中的程式碼,以下範例是把使用者點選的項目 名稱顯示在程式畫面的Text. View元件中: Adapter. View. On. Item. Click. Listener listview. On. Item. Clk. Lis = new Adapter. View. On. Item. Click. Listener() { public void on. Item. Click(Adapter. View<? > parent, View view, int position, long id) { // 在Text. View元件中顯示使用者點選的項目名稱 m. Txt. Result. set. Text(((Text. View) view). get. Text()); } }; 55
使用List. Activity建立List. View選單 步驟六: 最後的 作是取得介面佈局檔中定義的List. View元 件,然後把步驟五建立的物件利用 set. On. Item. Click. Listener()方法設定給它。 List. View listview = get. List. View(); listview. set. On. Item. Click. Listener(listview. On. Item. Clk. Lis); 56
幫List. View加上小圖示 list_item. xml的格式就是一個Image. View元件後面跟著一個Text. View元件, 而且是水平排列。 <? xml version="1. 0" encoding="utf-8"? > <Linear. Layout xmlns: android="http: //schemas. android. com/apk/res/android" android: orientation="horizontal" android: layout_width="match_parent" android: layout_height="match_parent" android: padding. Top="5 dp" android: padding. Bottom="5 dp“ > <Image. View android: id="@+id/img. View" android: layout_width="wrap_content" android: layout_height="wrap_content" /> <Text. View android: id="@+id/txt. View" android: layout_width="wrap_content" android: layout_height="wrap_content" android: text. Size="20 sp" android: layout_gravity="center_vertical" /> </Linear. Layout> 59
幫List. View加上小圖示 接下來在程式檔中利用Array. List物件儲存每一個項目的資料, 由於每一個項目都有圖示和文字二個部分,因此我們用Map 這個泛型類別把每一個項目的圖示和文字集合起來,並且指 定對應的介面元件id如下: m. List = new Array. List<Map<String, Object>>(); for (int i = 0; i < list. From. Resource. length; i++) { Map<String, Object> item = new Hash. Map<String, Object>(); item. put("img. View", android. R. drawable. ic_menu_my_calendar); item. put("txt. View", list. From. Resource[i]); m. List. add(item); 60
幫List. View加上小圖示 接著再建立一個Simple. Adapter物件,把上述建立好的選單 陣列存入該物件並指定使用前面建立的介面佈局檔 list_item. xml,另外也要指定格式檔中的介面元件id,最後呼 叫set. List. Adapter()方法把Simple. Adapter物件設定給List. View。 Simple. Adapter adapter = new Simple. Adapter(this, m. List, R. layout. list_item, new String[] { "img. View", "txt. View" }, new int[] { R. id. img. View , R. id. txt. View }); set. List. Adapter(adapter); 建立和設定Adapter. View. On. Item. Click. Listener物件的方法和 前一個小節類似。 61
幫List. View加上小圖示 62
建立Expandable. List. View的方法 Step 1. 建立一個新的程式專案。 Step 2. 開啟主類別程式檔,把它所繼承的基礎類別從 Activity改成Expandable. List. Activity,如以下粗體字 的部分 public class My. Expa. List. Act extends Expandable. List. Activity { … 65
建立Expandable. List. View的方法 Step 3. 開啟res/layout/main. xml介面佈局檔並加以編輯成如 下,Expandable. List. View元件的id一定要和範例相同 不可以改變,因為Expandable. List. Activity物件會固 定取得這個id。 <? xml version="1. 0" encoding="utf-8"? > <Linear. Layout … > <Text. View android: id="@+id/txt. Result“ android: layout_width="fill_parent" android: layout_height="wrap_content“ android: text="“ /> <Expandable. List. View android: id="@id/android: list“ android: layout_width="match_parent" android: layout_height="match_parent“ android: layout_weight="1“ android: draw. Selector. On. Top="false“ /> </Linear. Layout> 66
建立Expandable. List. View的方法 List<Map<String, String>> child. List = private void setup. View. Component() { m. Txt. Result = (Text. View)find. View. By. Id(R. id. txt. Result); new Array. List<Map<String, String>>(); for (int j = 0; j < 2; j++) { Map<String, String> child = new Hash. Map<String, String>(); child. put(ITEM_NAME, "選項" + i + j); child. put(ITEM_SUBNAME, "說明" + i + j); child. List. add(child); } child. List 2 D. add(child. List); List<Map<String, String>> group. List = new Array. List<Map<String, String>>(); List<Map<String, String>>> child. List 2 D = new Array. List<Map<String, String>>>(); for (int i = 0; i < 5; i++) { Map<String, String> group = new Hash. Map<String, String>(); group. put(ITEM_NAME, "選項群組" + i); group. put(ITEM_SUBNAME, "說明" + i); group. List. add(group); } // 設定我們的Expandable. List. Adapter (接下頁) 68
建立Expandable. List. View的方法 (接上頁) // 設定我們的Expandable. List. Adapter m. Expa. List. Adap = new Simple. Expandable. List. Adapter( this, group. List, android. R. layout. simple_expandable_list_item_2, new String[] {ITEM_NAME, ITEM_SUBNAME}, new int[] {android. R. id. text 1, android. R. id. text 2}, child. List 2 D, android. R. layout. simple_expandable_list_item_2, new String[] {ITEM_NAME, ITEM_SUBNAME}, new int[] {android. R. id. text 1, android. R. id. text 2} ); set. List. Adapter(m. Expa. List. Adap); } group. List是群組名稱的陣 列,它是一維結構,而 child. List 2 D則是選項陣列, 它是二維結構,我們使用 二層的for迴圈來建立選項 清單,每個群組和它所包 含的選項都以編號來命名。 完成群組名稱陣列和選項 陣列的建立之後,再產生 一個 Simple. Expandable. List. Ada pter物件儲存這二個陣列, 最後呼叫set. List. Adapter() 方法把這個 Simple. Expandable. List. Ada pter物件設定給 Expandable. List. Activity就 完成顯示選項清單的 作。 69
建立Expandable. List. View的方法 Step 5. 當使用者點選清單中的項目時,程式必須取得該項 目的位置。這個 作可以藉由 Expandable. List. Activity類別的on. Child. Click()方法來 完成。 public boolean on. Child. Click(Expandable. List. View parent, View v, int group. Position, int child. Position, long id) { // TODO Auto-generated method stub String s = "選擇:群組" + group. Position + ", 選項" + child. Position + ", ID" + id; m. Txt. Result. set. Text(s); return super. on. Child. Click(parent, v, group. Position, child. Position, id); } 70
建立Expandable. List. View的方法 71
單元30 Auto. Complete. Text. View 自動完成文字輸入 72
建立Auto. Complete. Text. View的方法 Step 1. 在res/layout資料夾下的介面佈局檔中建立一個 Auto. Complete. Text. View元件: <Auto. Complete. Text. View android: id=“@+id/aut. Comp. Text. View“ android: layout_width=”fill_parent” android: layout_height=“wrap_content“ /> 74
建立Auto. Complete. Text. View的方法 Step 2. 在程式碼中建立一個Array. Adapter類別的物件。 Array. Adapter是一個泛型類別,在前面我們已經使 用過,這一次要再度利用它來設定自動完成功能的 候選字串: Auto. Complete. Text. View aut. Comp. Text. View = (Auto. Complete. Text. View)find. View. By. Id(R. id. aut. Comp. Text. View); String[] s. Arr = new String[] {"候選字串 1", "候選字串 2", "候選字串 3"}; Array. Adapter<String> adap. Auto. Comp. Text = new Array. Adapter<String>( this, android. R. layout. simple_dropdown_item_1 line, s. Arr); aut. Comp. Text. View. set. Adapter(adap. Auto. Comp. Text); 75
動態Auto. Complete. Text. View 77
動態Auto. Complete. Text. View 字串資源檔: <? xml version="1. 0" encoding="utf-8"? > <resources> <string name="hello">Hello World, Auto. Complete. Text. Input!</string> <string name="app_name">自動完成文字輸入</string> <string name="prompt. Auto. Complete. Text">請輸入文字</string> <string name="prompt. Btn. Add. Auto. Complete. Text">加入自動完成文字 </string> <string name="prompt. Btn. Clr. Auto. Complete. Text">清除自動完成文字 </string> </resources> 。 78
動態Auto. Complete. Text. View 介面佈局檔: <? xml version="1. 0" encoding="utf-8"? > <Linear. Layout … > <Text. View android: layout_width="fill_parent" android: layout_height="wrap_content" android: text= "@string/prompt. Auto. Complete. Text" /> <Auto. Complete. Text. View android: id="@+id/aut. Comp. Text. View" android: layout_width="fill_parent" android: layout_height="wrap_content" /> <Button android: id="@+id/btn. Add. Auto. Complete. Text" android: layout_width="fill_parent" android: layout_height="wrap_content” android: text= "@string/prompt. Btn. Add. Auto. Complete. Text" /> <Button android: id="@+id/btn. Clr. Auto. Complete. Text" android: layout_width="fill_parent" android: layout_height="wrap_content" android: text= "@string/prompt. Btn. Clr. Auto. Complete. Text" /> </Linear. Layout> 79
動態Auto. Complete. Text. View 程式碼: public class Auto. Complete. Text. Input extends Activity { private Button btn. Add. Auto. Complete. Text, btn. Clr. Auto. Complete. Text; private Auto. Complete. Text. View aut. Comp. Text. View; private Array. Adapter<String> adap. Auto. Comp. Text; /** Called when the activity is first created. */ @Override public void on. Create(Bundle saved. Instance. State) { super. on. Create(saved. Instance. State); set. Content. View(R. layout. main); setup. View. Component(); } private void setup. View. Component() { // 從資源類別R中取得介面元件 btn. Add. Auto. Complete. Text = (Button)find. View. By. Id( R. id. btn. Add. Auto. Complete. Text); btn. Clr. Auto. Complete. Text = (Button)find. View. By. Id( R. id. btn. Clr. Auto. Complete. Text); aut. Comp. Text. View = (Auto. Complete. Text. View)find. View. By. Id( R. id. aut. Comp. Text. View); adap. Auto. Comp. Text = new Array. Adapter<String>( this, android. R. layout. simple_dropdown_item_1 line) ; aut. Comp. Text. View. set. Adapter( adap. Auto. Comp. Text); // 設定button元件的事件listener 80 (接下一頁)
動態Auto. Complete. Text. View (接上一頁) // 設定button元件的事件listener btn. Add. Auto. Complete. Text. set. On. Click. Listener( btn. Add. Auto. Complete. Text. On. Click. Lis); btn. Clr. Auto. Complete. Text. set. On. Click. Liste ner( btn. Clr. Auto. Complete. Text. On. Click. Lis); } private Button. On. Click. Listener btn. Add. Auto. Complete. Text. On. Click. Lis = new Button. On. Click. Listener() { public void on. Click(View v) { String s = aut. Comp. Text. View. get. Text(). to. String(); adap. Auto. Comp. Text. add(s); aut. Comp. Text. View. set. Text(""); } }; private Button. On. Click. Listener btn. Clr. Auto. Complete. Text. On. Click. Lis = new Button. On. Click. Listener() { public void on. Click(View v) { adap. Auto. Comp. Text. clear(); } }; } 81
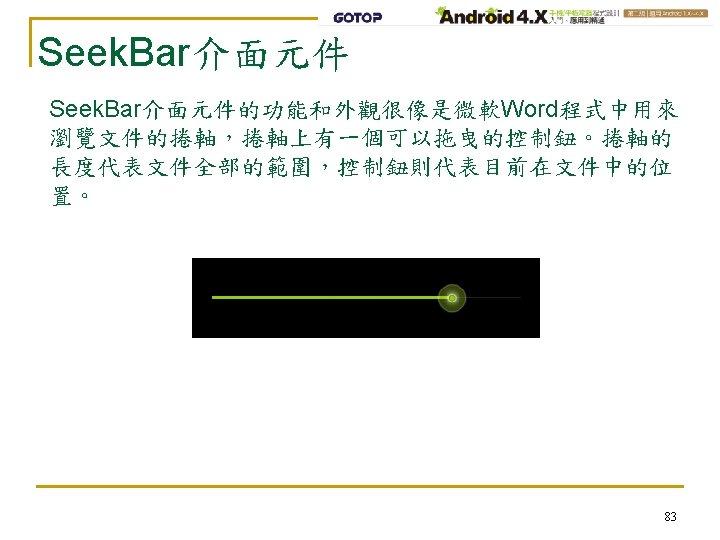
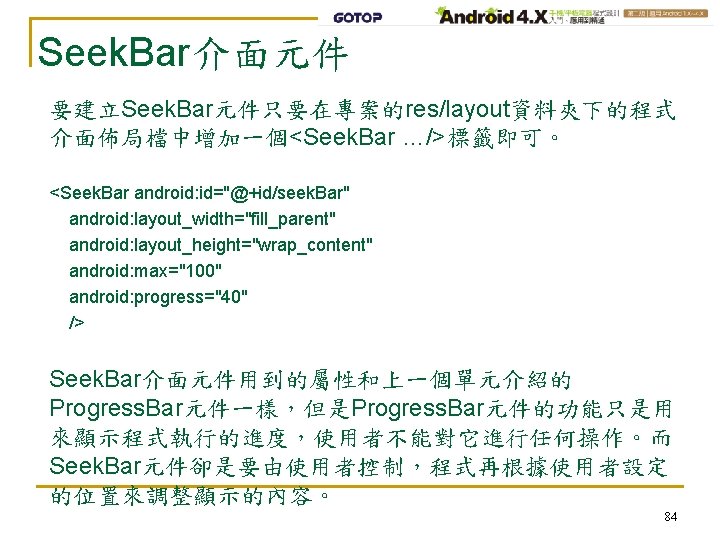
單元31 Seek. Bar和Rating. Bar介 面元件 82
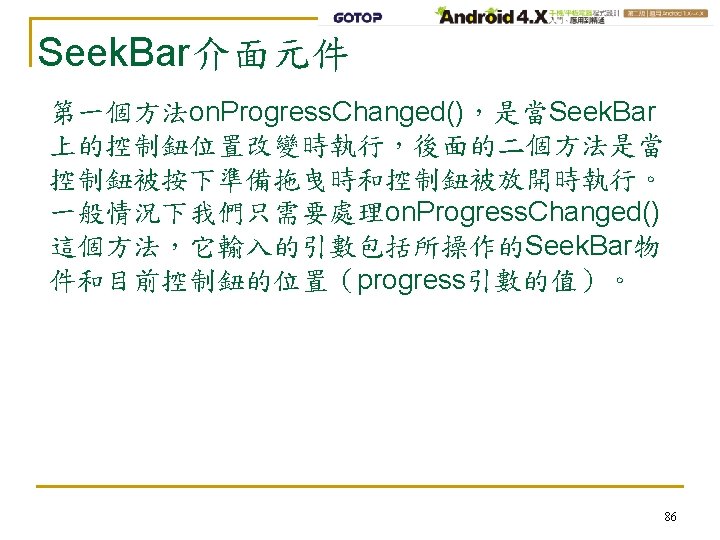
Seek. Bar介面元件 我們必須在程式中建立一個Seek. Bar元件的 On. Seek. Bar. Change. Listener物件,當使用者改變了Seek. Bar 上的控制扭的位置時,Android系統會自動執行該事件處理 程序。在這個On. Seek. Bar. Change. Listener物件中我們必須建 立以下3個方法: public void on. Progress. Changed(Seek. Bar seek. Bar, int progress, boolean from. User) { } public void on. Start. Tracking. Touch(Seek. Bar seek. Bar) { } public void on. Stop. Tracking. Touch(Seek. Bar seek. Bar) { } 85
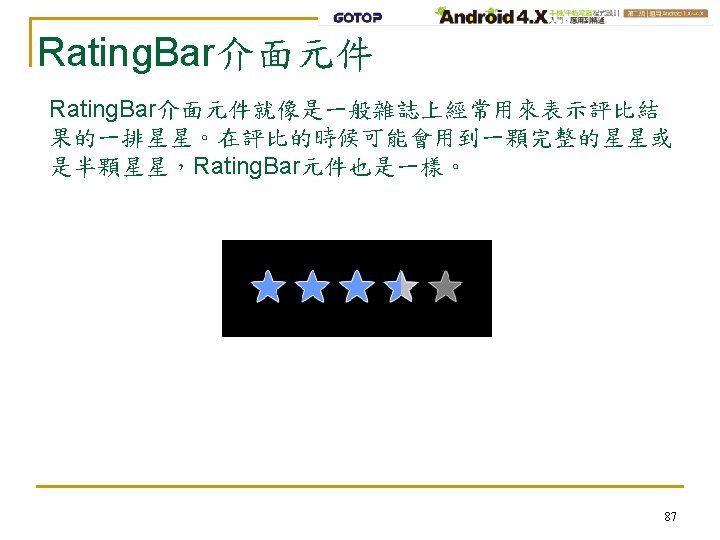
Rating. Bar介面元件 建立Rating. Bar元件的方法是在介面佈局檔中加上 <Rating. Bar …/>標籤 <Rating. Bar android: id="@+id/rat. Bar" android: layout_width="wrap_content" android: layout_height="wrap_content" style="? android: attr/rating. Bar. Style" android: num. Stars="5" android: rating="3. 5" /> 88