Other Tests goals thermal properties electrical properties magnetic
- Slides: 41

Other Tests goals thermal properties electrical properties magnetic properties thermal properties wear testing summary

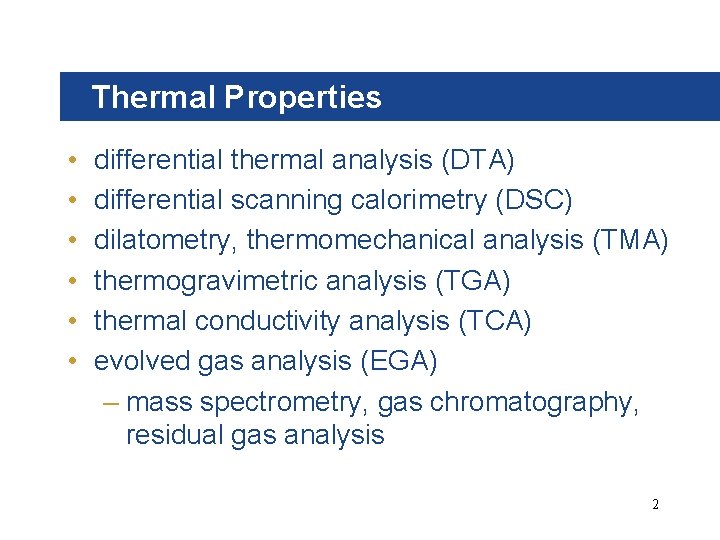
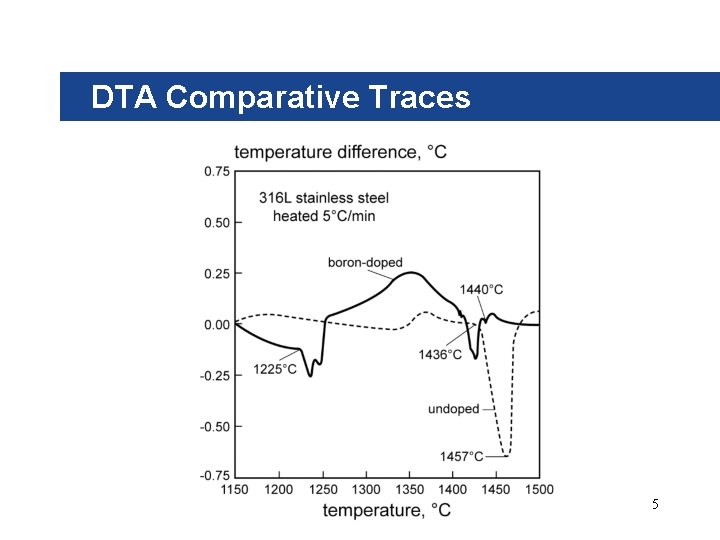
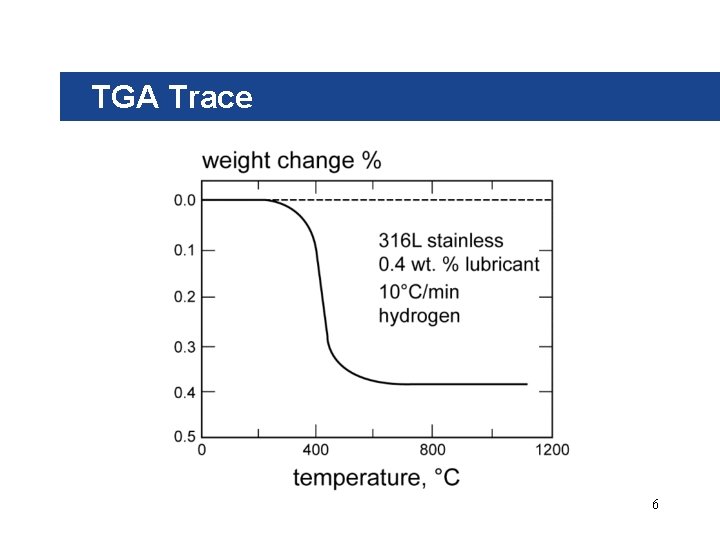
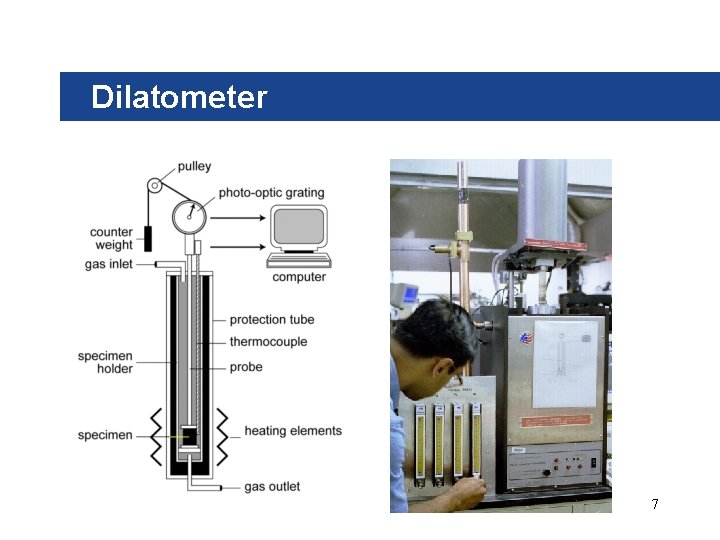
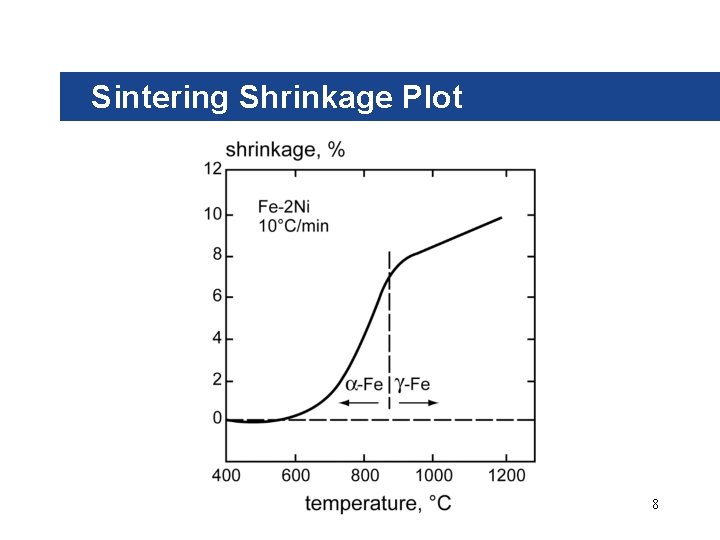
Thermal Properties • • • differential thermal analysis (DTA) differential scanning calorimetry (DSC) dilatometry, thermomechanical analysis (TMA) thermogravimetric analysis (TGA) thermal conductivity analysis (TCA) evolved gas analysis (EGA) – mass spectrometry, gas chromatography, residual gas analysis 2

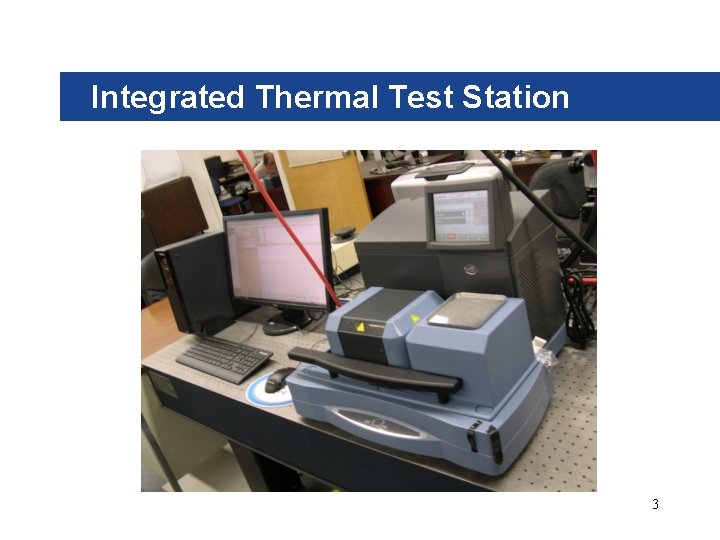
Integrated Thermal Test Station 3

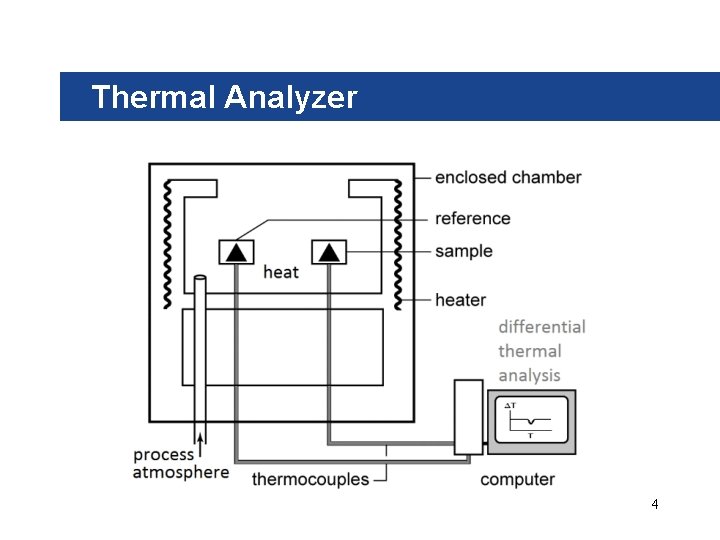
Thermal Analyzer 4

DTA Comparative Traces 5

TGA Trace 6

Dilatometer 7

Sintering Shrinkage Plot 8

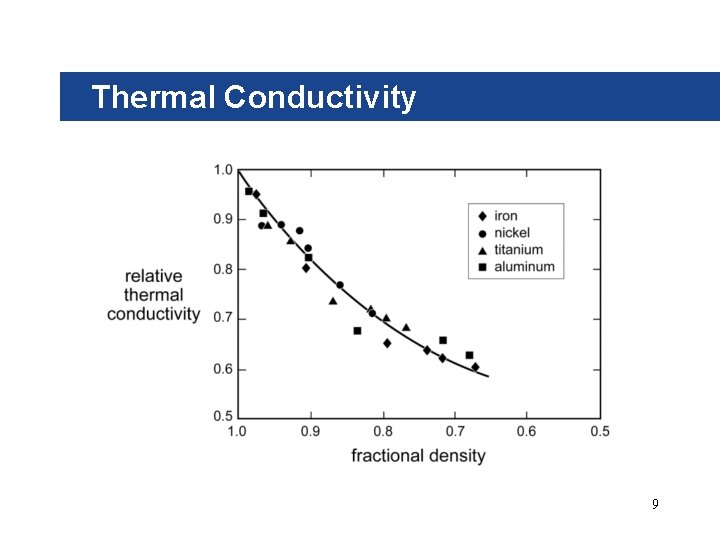
Thermal Conductivity 9

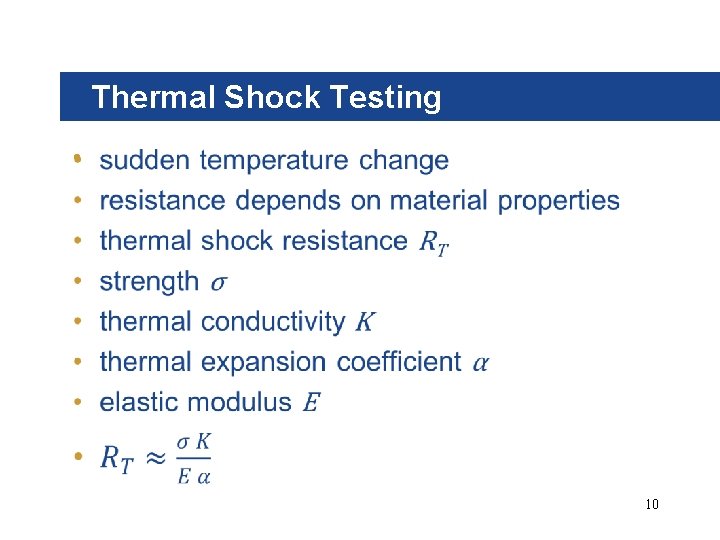
Thermal Shock Testing • 10

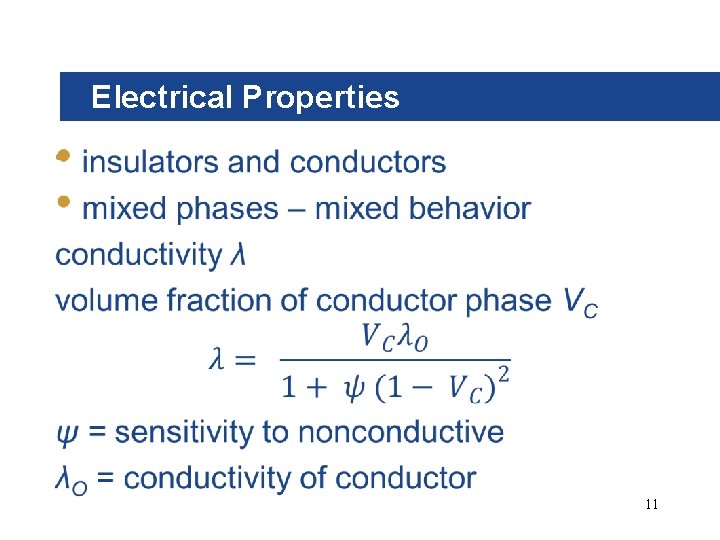
Electrical Properties • 11

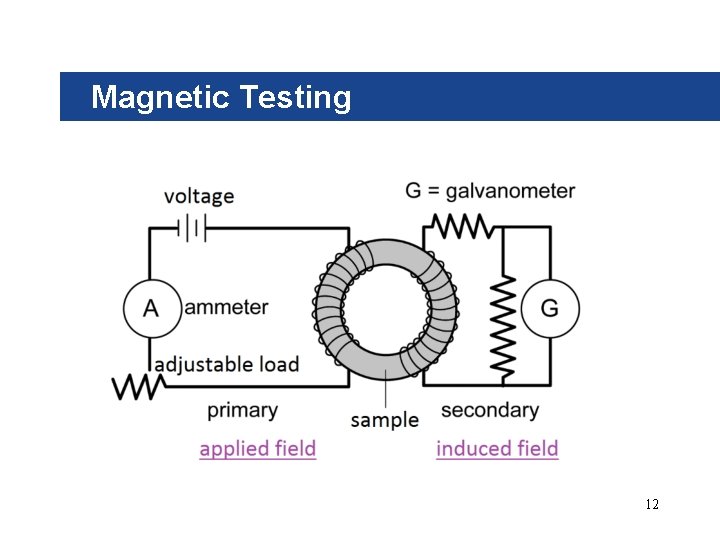
Magnetic Testing 12

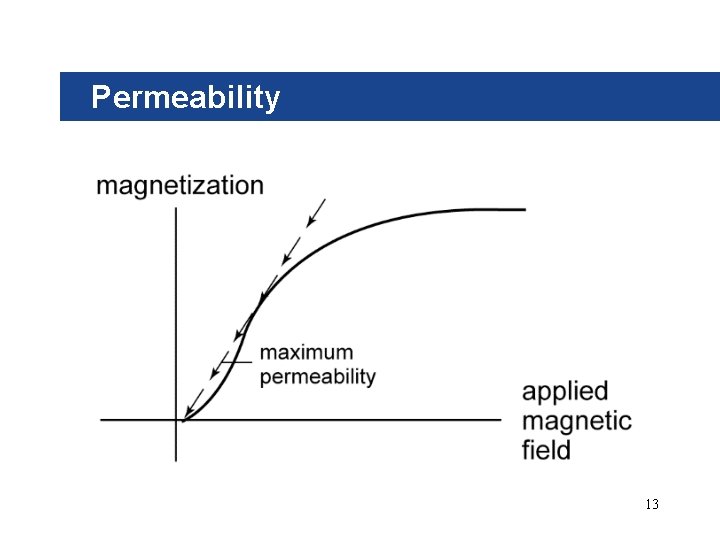
Permeability 13

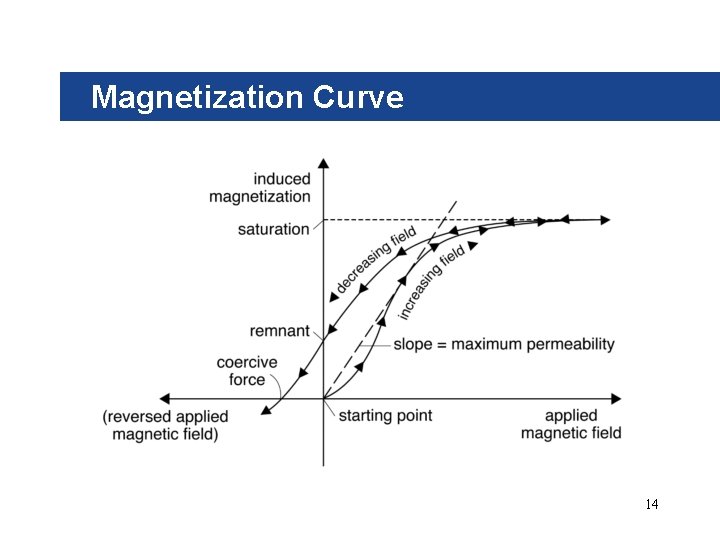
Magnetization Curve 14

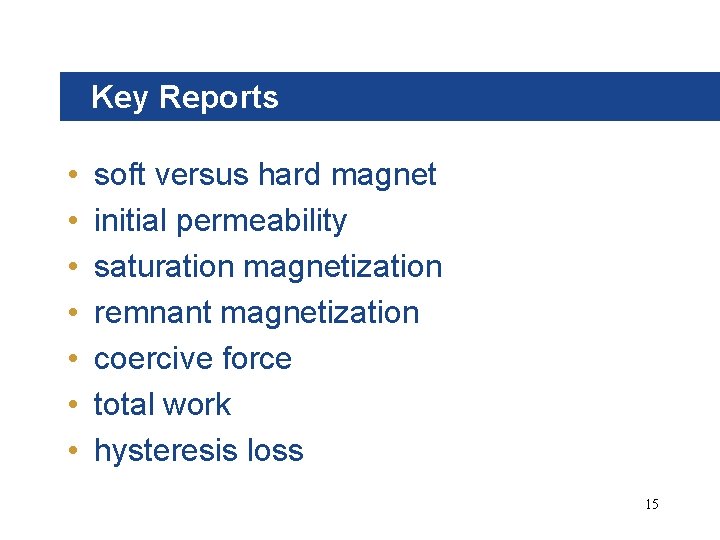
Key Reports • • soft versus hard magnet initial permeability saturation magnetization remnant magnetization coercive force total work hysteresis loss 15

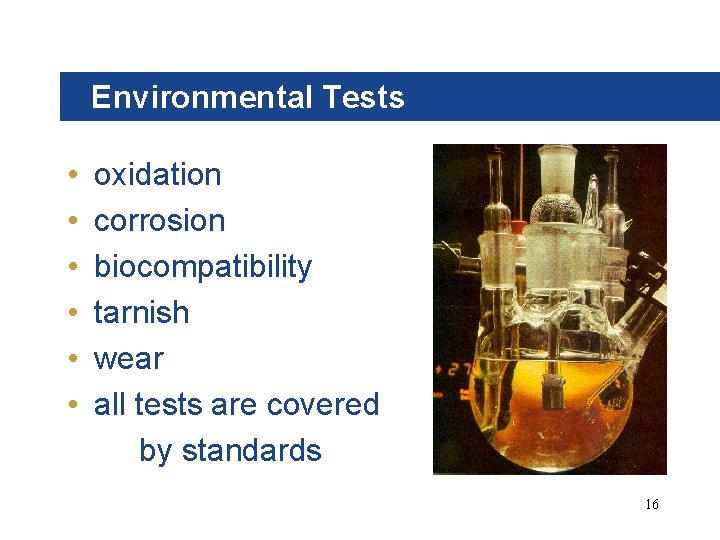
Environmental Tests • • • oxidation corrosion biocompatibility tarnish wear all tests are covered by standards 16

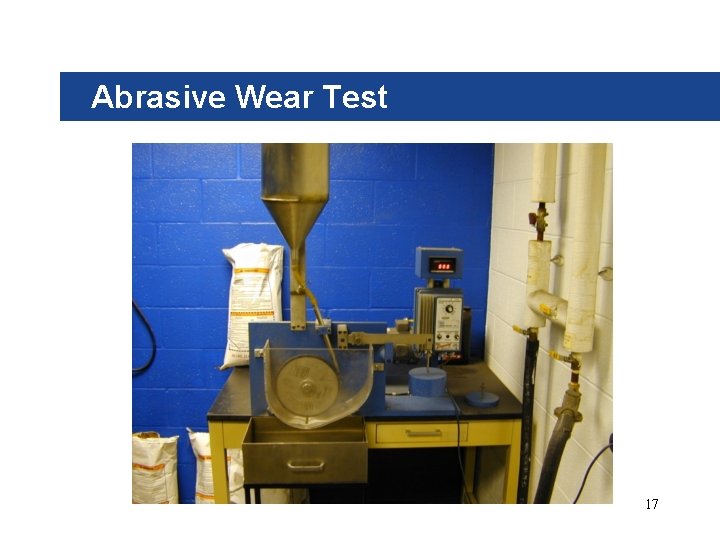
Abrasive Wear Test 17

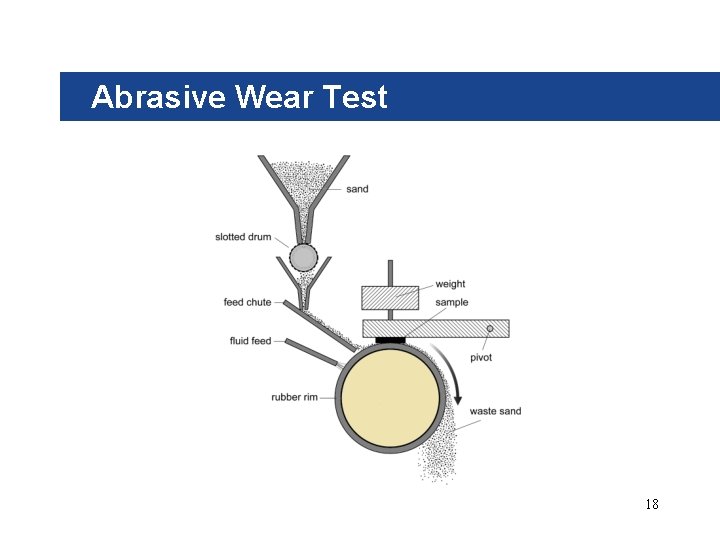
Abrasive Wear Test 18

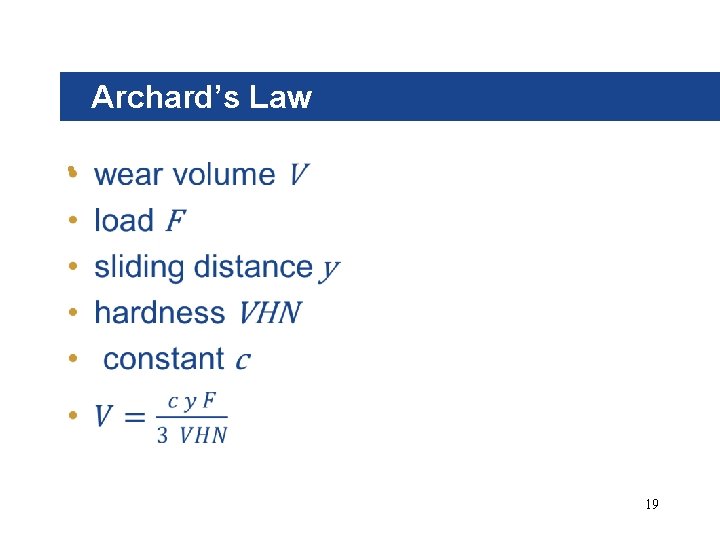
Archard’s Law • 19

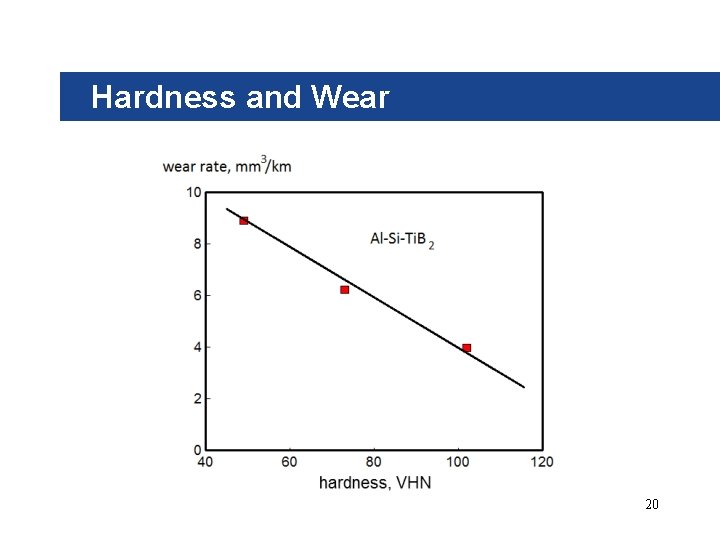
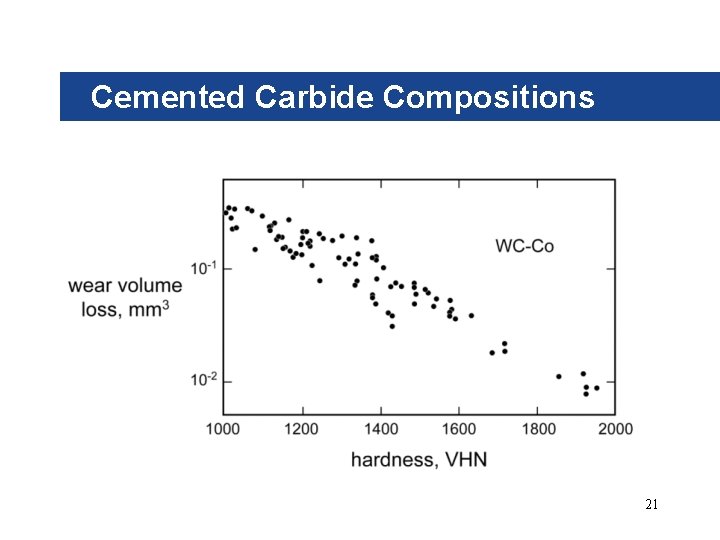
Hardness and Wear 20

Cemented Carbide Compositions 21

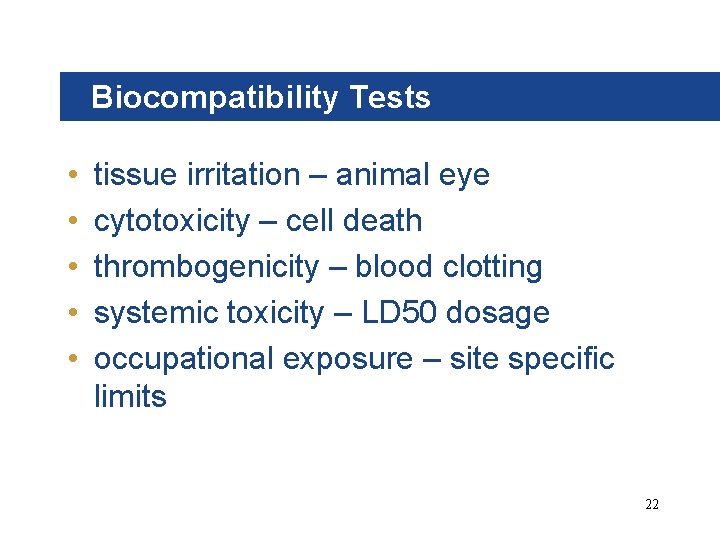
Biocompatibility Tests • • • tissue irritation – animal eye cytotoxicity – cell death thrombogenicity – blood clotting systemic toxicity – LD 50 dosage occupational exposure – site specific limits 22

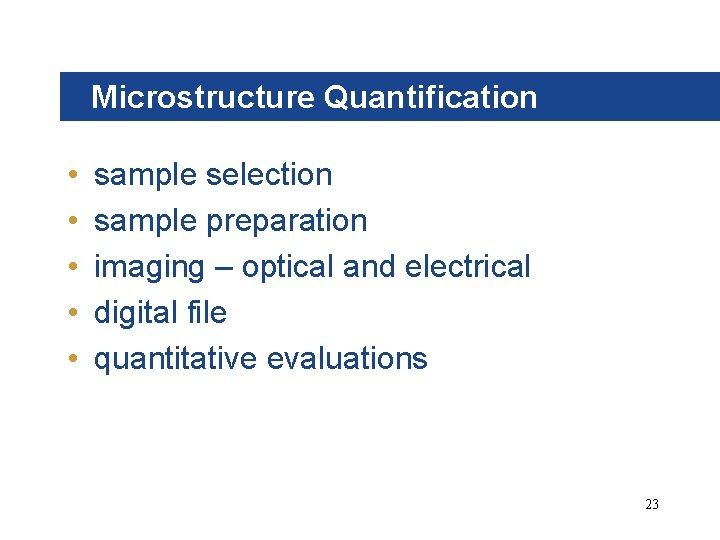
Microstructure Quantification • • • sample selection sample preparation imaging – optical and electrical digital file quantitative evaluations 23

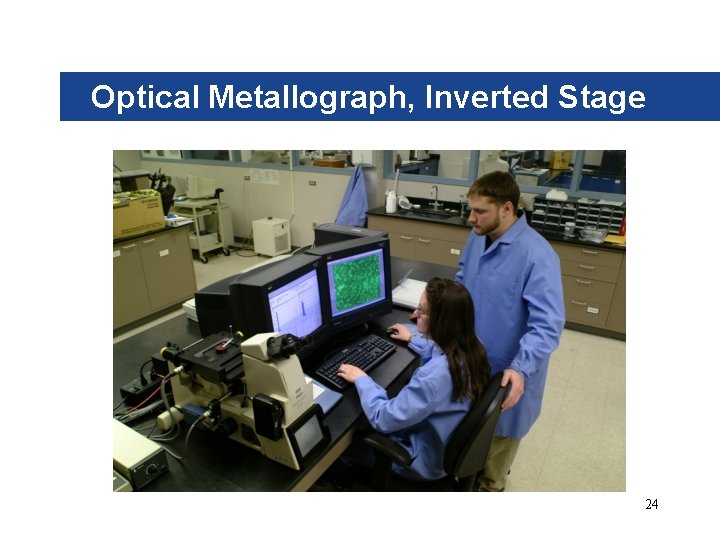
Optical Metallograph, Inverted Stage 24

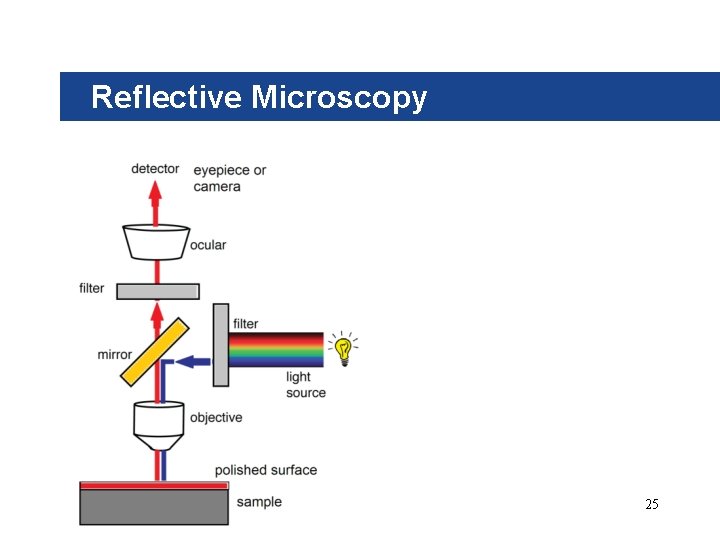
Reflective Microscopy 25

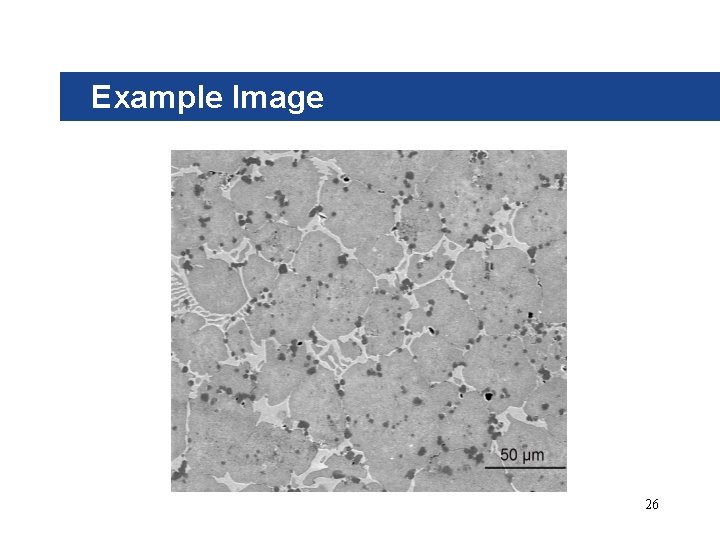
Example Image 26

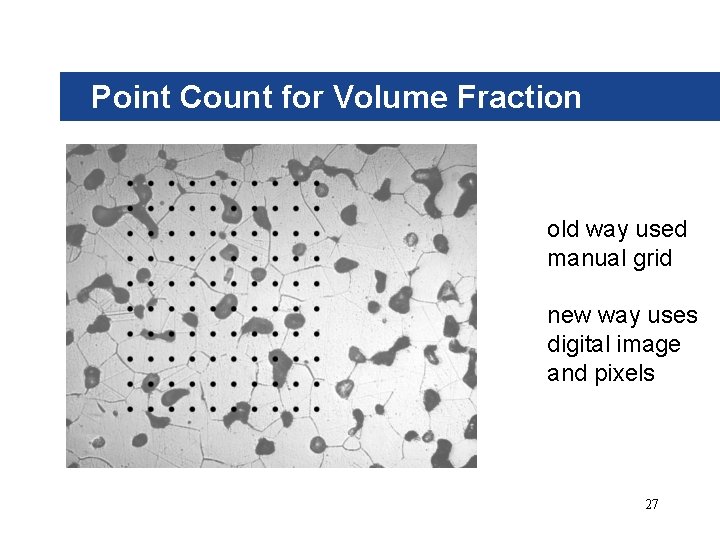
Point Count for Volume Fraction old way used manual grid new way uses digital image and pixels 27

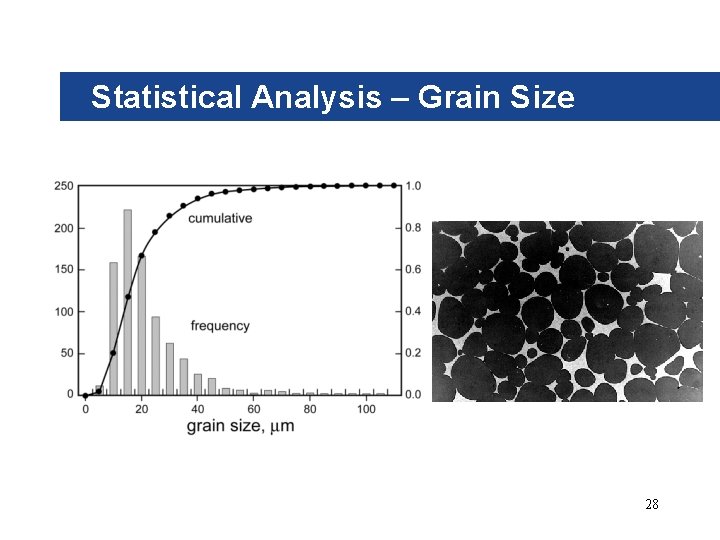
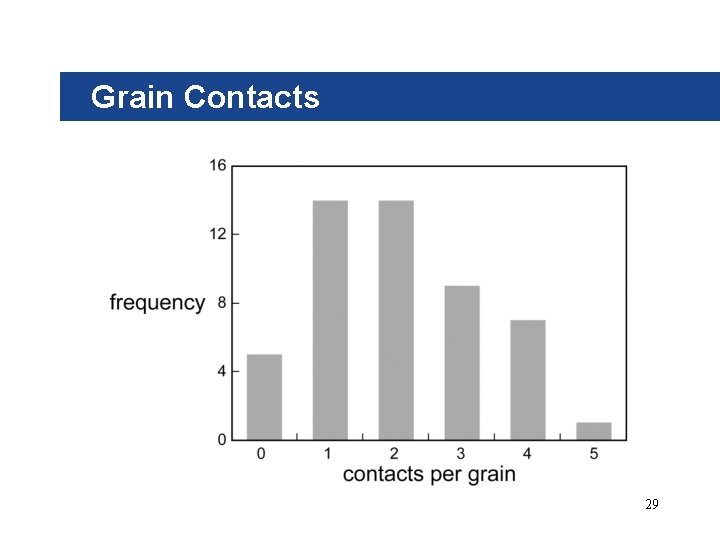
Statistical Analysis – Grain Size 28

Grain Contacts 29

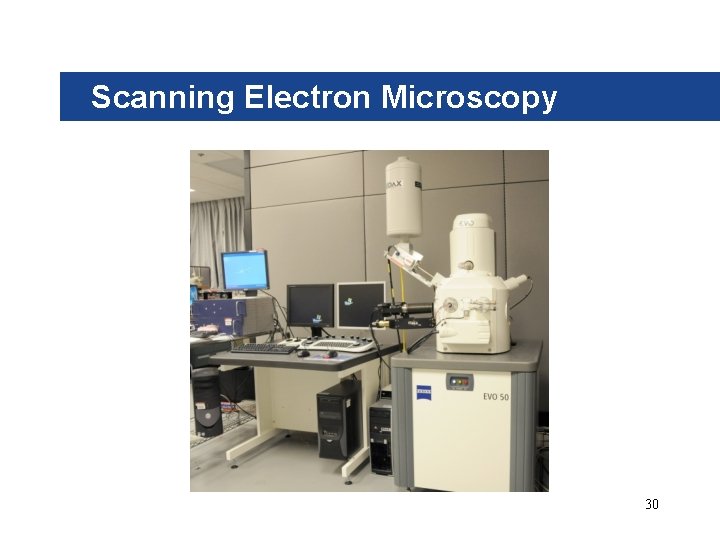
Scanning Electron Microscopy 30

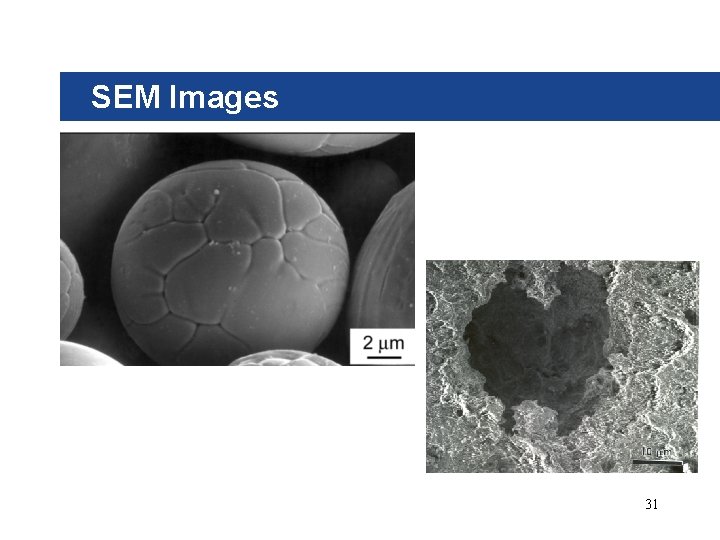
SEM Images 31

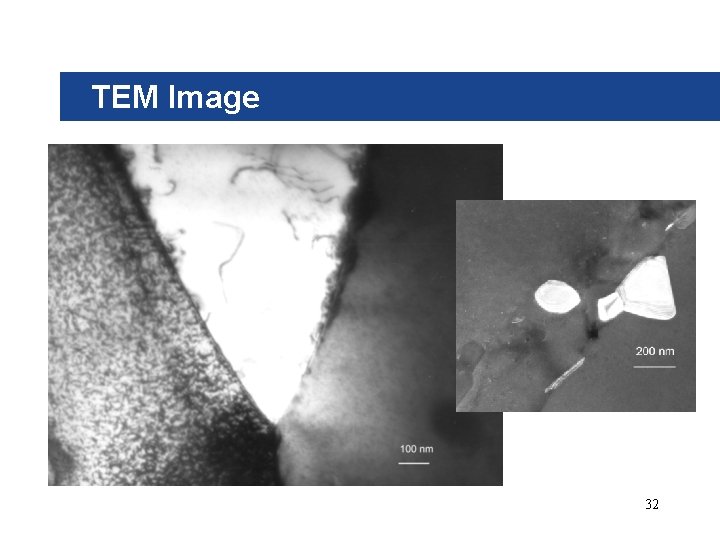
TEM Image 32

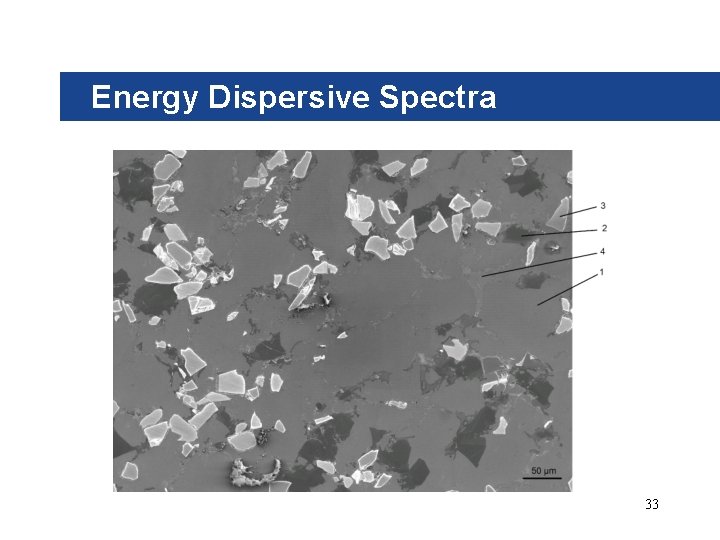
Energy Dispersive Spectra 33

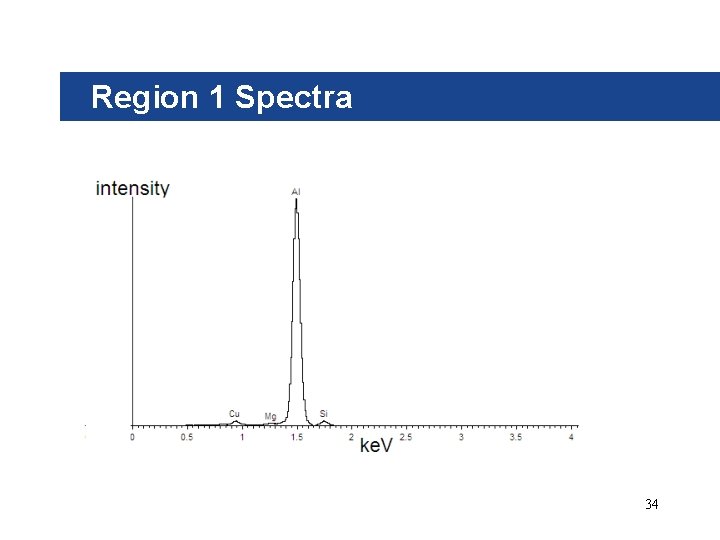
Region 1 Spectra 34

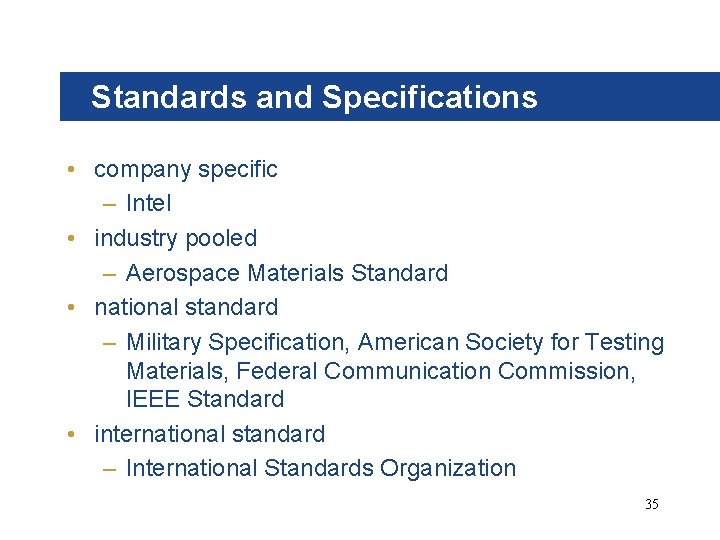
Standards and Specifications • company specific – Intel • industry pooled – Aerospace Materials Standard • national standard – Military Specification, American Society for Testing Materials, Federal Communication Commission, IEEE Standard • international standard – International Standards Organization 35

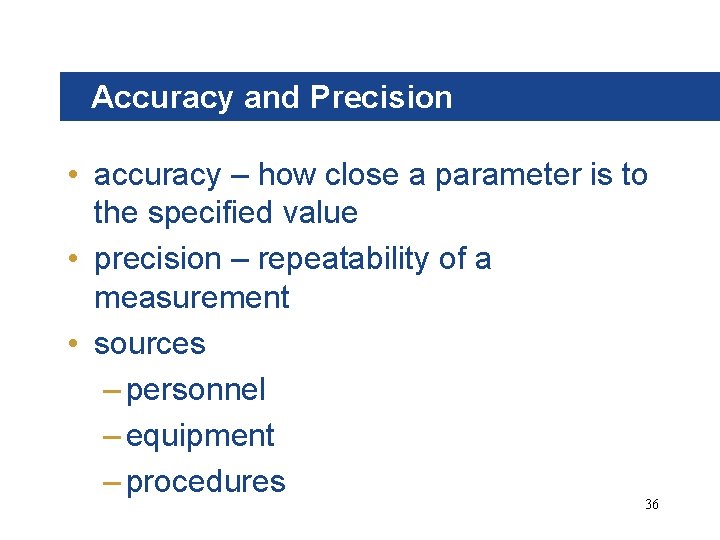
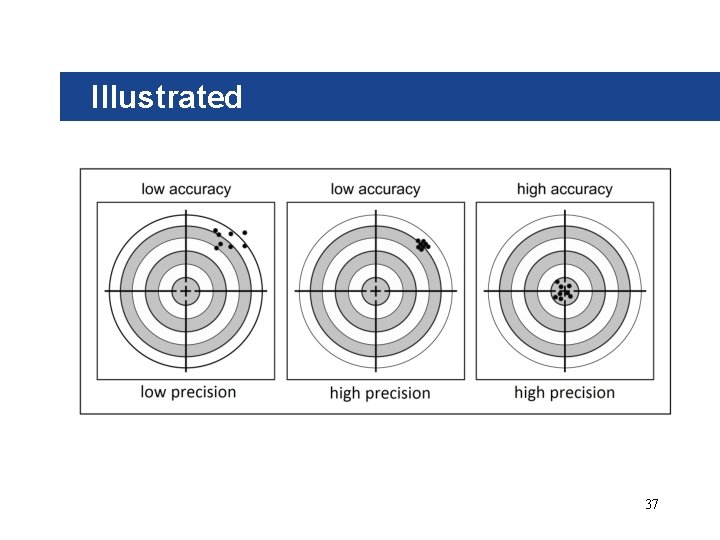
Accuracy and Precision • accuracy – how close a parameter is to the specified value • precision – repeatability of a measurement • sources – personnel – equipment – procedures 36

Illustrated 37

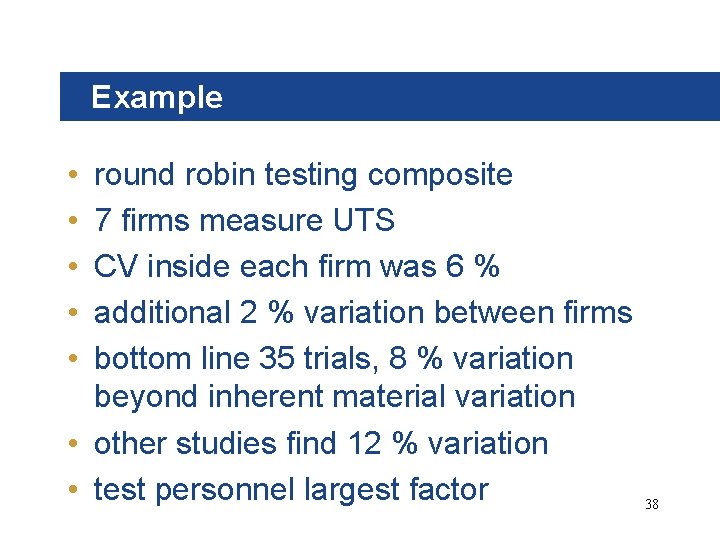
Example • • • round robin testing composite 7 firms measure UTS CV inside each firm was 6 % additional 2 % variation between firms bottom line 35 trials, 8 % variation beyond inherent material variation • other studies find 12 % variation • test personnel largest factor 38

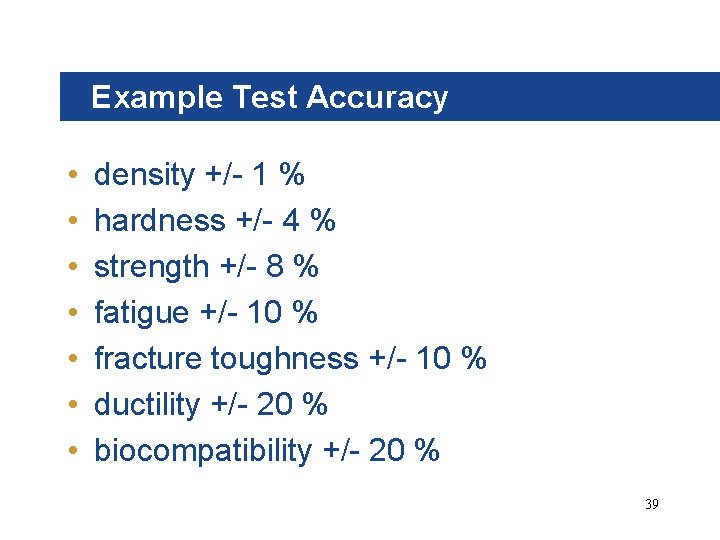
Example Test Accuracy • • density +/- 1 % hardness +/- 4 % strength +/- 8 % fatigue +/- 10 % fracture toughness +/- 10 % ductility +/- 20 % biocompatibility +/- 20 % 39

Industry Protocol • • • round robin testing exchange materials set procedures set devices cross-calibrate possibly ship test samples and exchange personnel 40

Key Points • • several parameters measured introduce main tests accuracy and precision introduced test results can be variable 41