One point perspective painting One point perspective is


 and make an “X” from")


- Slides: 16
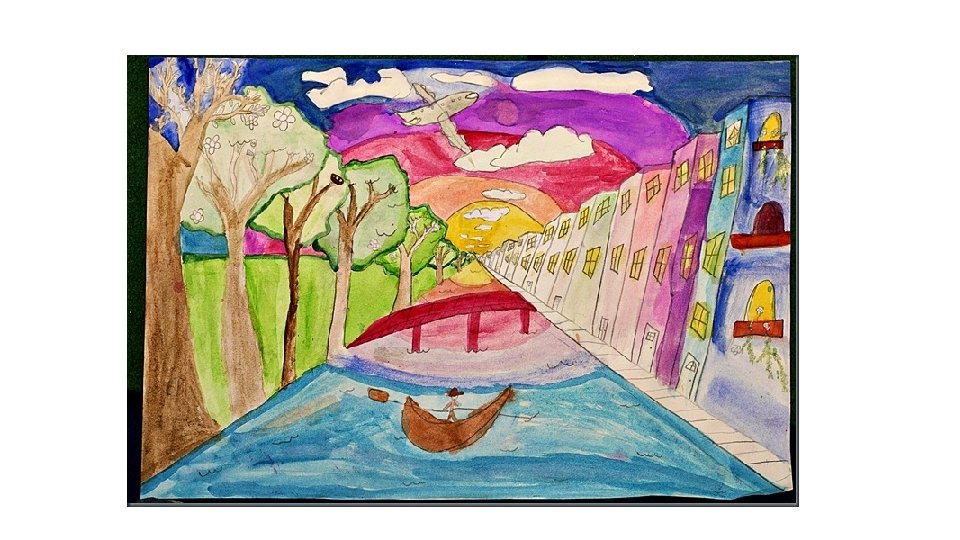
One point perspective painting
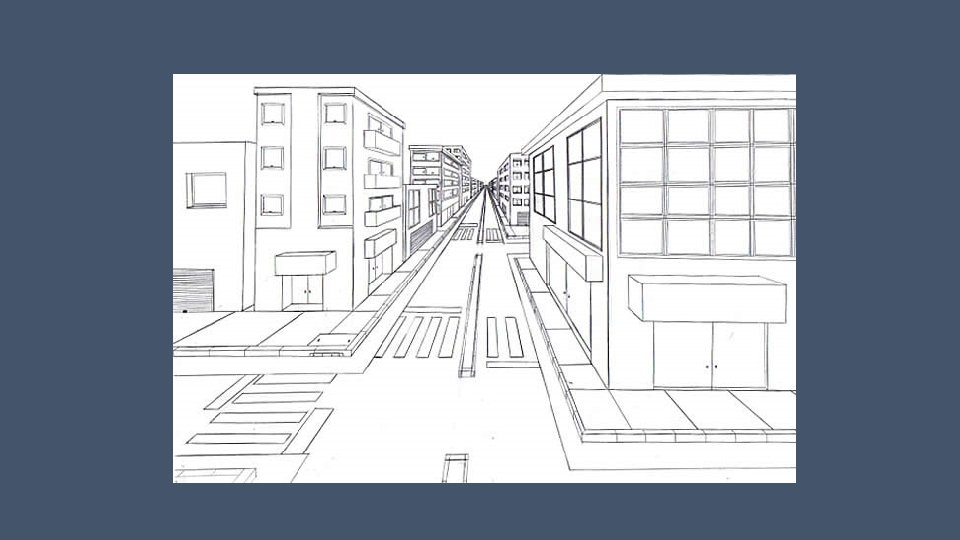
One point perspective is a drawing method that shows how things appear to get smaller as they get further away, converging towards a single 'vanishing point' on the horizon line. It is a way of drawing objects upon a flat piece of paper (or other drawing surface) so that they look three-dimensional and
1. Begin with the horizon line in the middle Use a very light touch with your pencil.
2. Draw a dot in the middle (vanishing point) and make an “X” from corner to corner (or close enough) passing through the dot. Again, keep it light!
3. Draw the footpaths first from the vanishing point Remember to keep your pencil marks light.
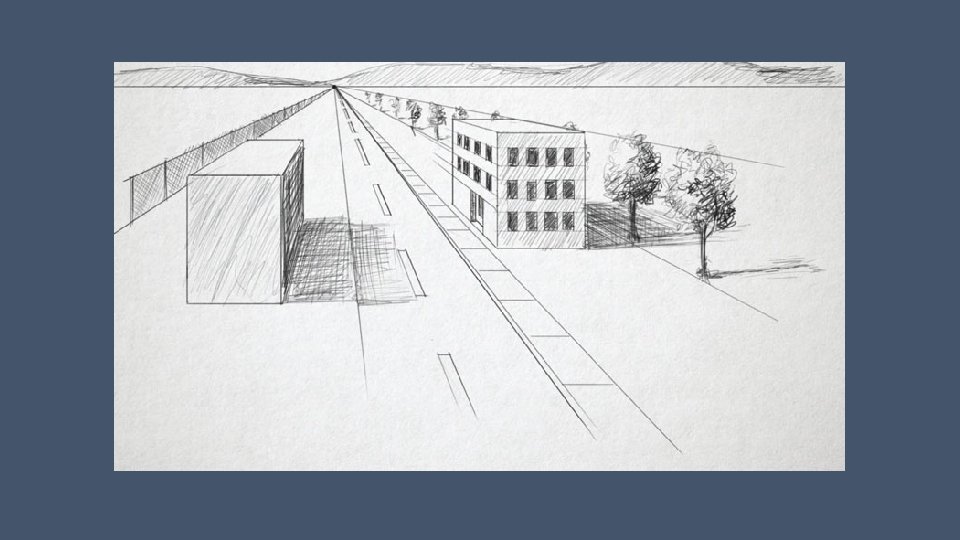
4. Draw the trees starting on the bottom on the “X” all the way to the vanishing point, descending towards the middle. Make sure the trees are straight and parallel to the side of the paper – lightly draw in case you need to rub out!. Also – note the leafy parts are above the horizon line
5. This bit is tricky: “One, straight out, two diagonal down, three, straight down to the ground, four straight down again, and five, bring it in along the side!”
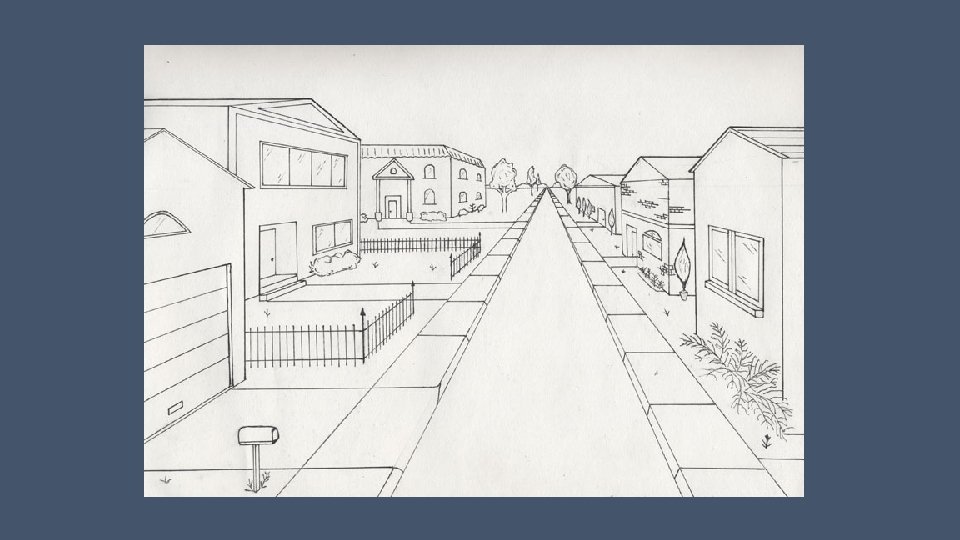
6. For the windows, start with the side with the door facing the street. The lines on the tops and bottoms of the windows ABOVE the horizon line are parallel to the top part of the “X”……. below that, when you PASS the Horizon line, the lines on the tops and bottoms of the windows are parallel to the BOTTOM part of the “X” which is now the footpath. The top of the door is also parallel to the footpath below: RED parallel to RED and BLUE parallel to BLUE The windows on the OTHER side of the house are normal right angle squares or rectangles.
7. Now rub out the “X” and the parts of the horizon line that overlap the trees and buildings
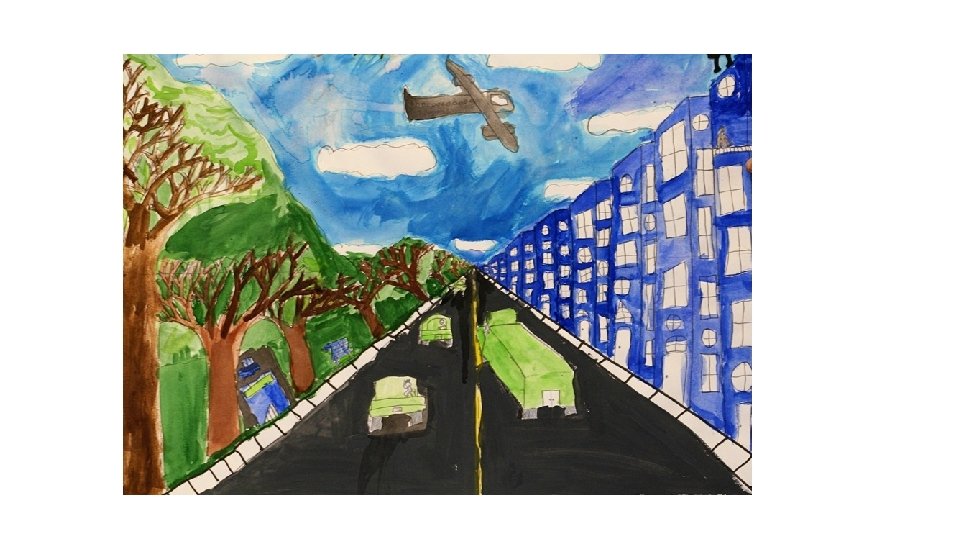
8. Finish windows and add details. Now that the basic foundation is drawn, the possibilities for creativity are ENDLESS!! Cars, trucks, planes, restaurants, people, bridges, parades, parks, pedestrians, lights, etc