ONE POINT Perspective Grade 7 Art ONEPOINT PERSPECTIVE


 Composition & Creative Process = (30%) I carefully")

- Slides: 23
ONE- POINT Perspective Grade 7 Art
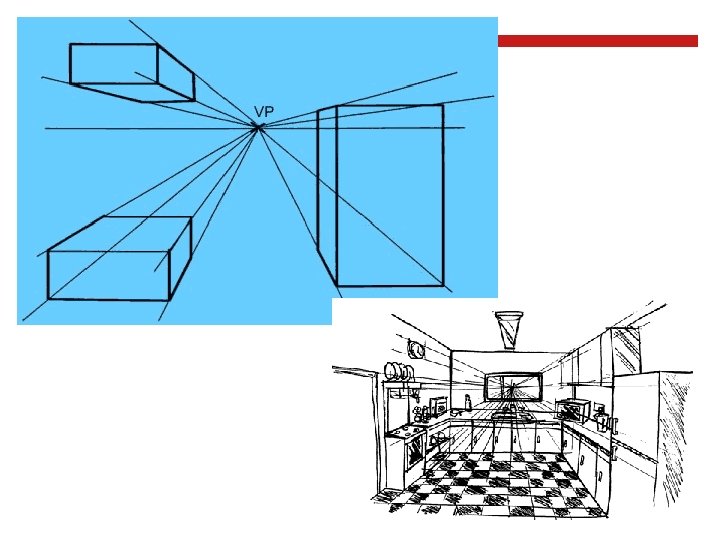
ONE-POINT PERSPECTIVE Perspective- portraying a three-dimensional object /space on a 2 -dimensional surface Vanishing point (VP)- Using two perspective, parallel lines converge to two points somewhere in the distance. This point is called the vanishing point (VP). This gives objects an impression of depth. Orthogonal/Converging Lines- Parallel lines that converge and recede to the vanishing point (VP). Horizon Line – the line in the distance where the earth and sky meet
ONE-POINT PERSPECTIVE When drawing using one point perspective all objects vanish to one common point somewhere on the horizon. The sides of an object diminish towards the vanishing point. All vertical and horizontal lines are drawn with no perspective. i. e. face on.
So when would you use one point perspective? One-point perspective is used when standing in front of an object. It can be useful is for sketching room layouts.
V P
STEP 1 Draw the vanishing point in the center of the horizon line and label it.
STEP 2 Now draw a square or rectangle and label it "front face". Draw it in one of the lower corners so you have plenty of room to add more forms. You can continue to relate the drawing to the physical box model as you work.
STEP 3 Now connect three corners of your rectangle or square to the vanishing point. These are orthogonals. Draw lightly so you can erase!
STEP 4 Draw a horizontal line to end your form.
STEP 5 Draw a vertical line down from the horizontal line to complete the side.
STEP 6 Erase the remaining orthogonals.
REMINDER All perspective drawings start with the basic geometric shapes.
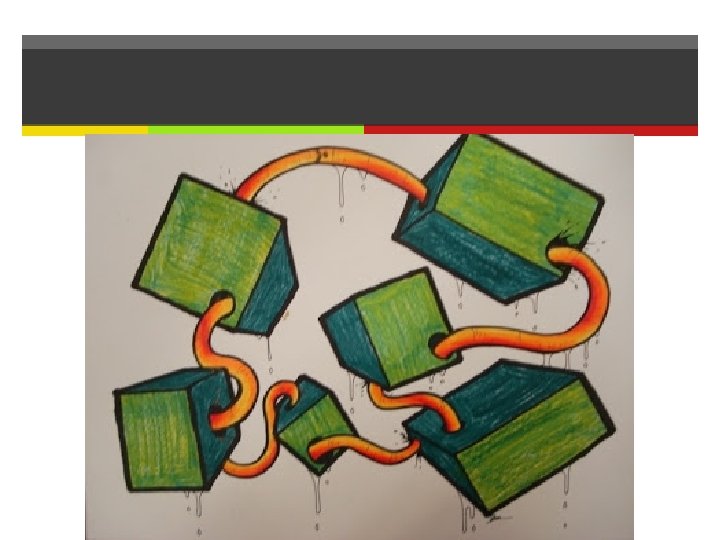
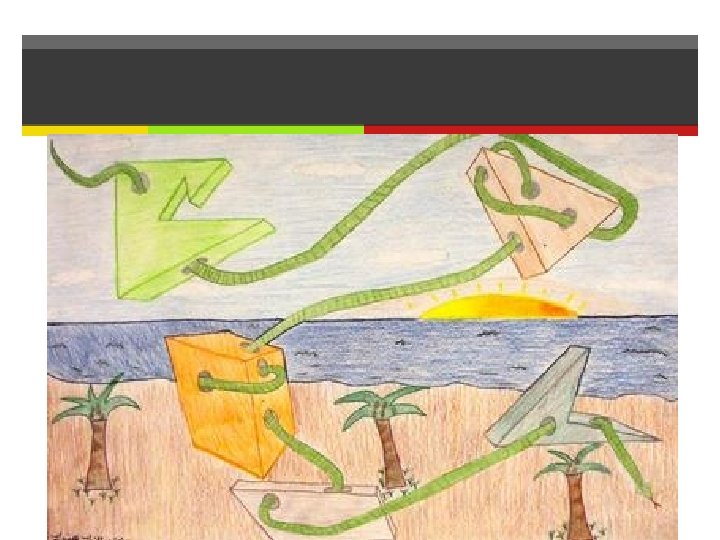
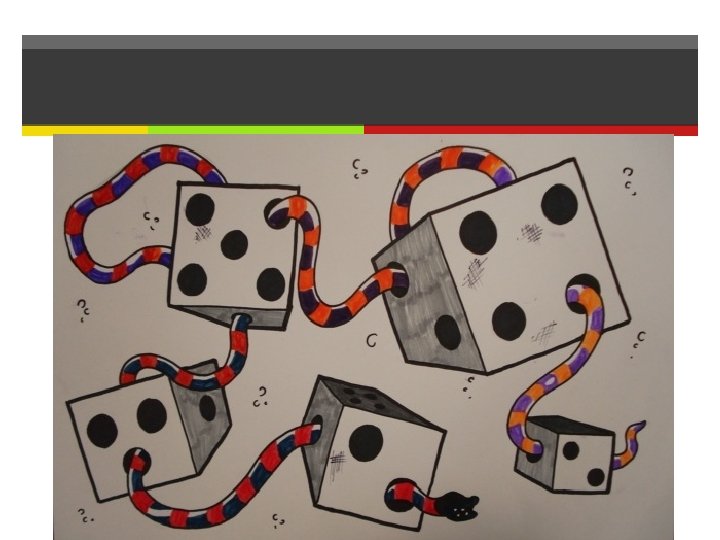
Winding 1 -Pt Perspective Drawing Objectives: Draw geometric forms accurately using 1 -point perspective. Create a ribbon (or something similar) winding through the forms. Use colored pencils to shade evenly and create more depth to drawings.
Vocabulary Perspective Value Vanishing Point Rhythm Orthogonal Movement Space Proportion Form Balance
Grading Objectives & Understanding = (40%) Composition & Creative Process = (30%) I carefully thought about my subject and designed the composition of my project. Material Application (Neatness) = (20%) I successfully understood and completed each objective of this project. I used my materials skillfully to create quality art. Completion = (10%) I used my time wisely to complete my project without having to rush to complete it.