Nonstandard ASCII to net CDF CF Conventions REQUIRE


 ASCII")

 ASCII can readily be")


- Slides: 17
Non-standard ASCII to net. CDF
CF Conventions REQUIRE Latitude Longitude Date/Time …for EVERY observation
Bad ASCII
Better ASCII
Best (conforming) ASCII
Options • Have PI’s submit data in net. CDF • Have PI’s submit data in CF -> net. CDF compliant ASCII • Accept any data in any form
. xls is the most used data format Complete (conforming) ASCII can readily be transformed to net. CDF. Non-standard data formats will likely not be supported by funding agencies in the future.
How to ingest non-standard ASCII data into the IDV for display and export to net. CDF • Step one – Add missing fields to file to become CF net. CDF compliant: via Excel or editor of choice and save as a. txt file (Tab, space, or comma separated) • Latitude • Longitude • Date/Time
Step Two: Import file to IDV from Dashboard “File” -> “Open”. . as “Text Point Data files”, then “Add Source”
A “Point Data” GUI will pop-up. -Select appropriate “Delimiter”
Use the up and down arrow keys to scroll down to where the data begins then enter the variable names and units of the data set as needed. You can use the “pull down” menus for some prepopulated fields. Once entered save off via “Preferences” and name as desired, then this process will not need to be repeated for like datasets.
• The “Dashboard” will display and under “Fields”, select “Point Data” and under “Displays” select “Point Data List”, then “Create Display”
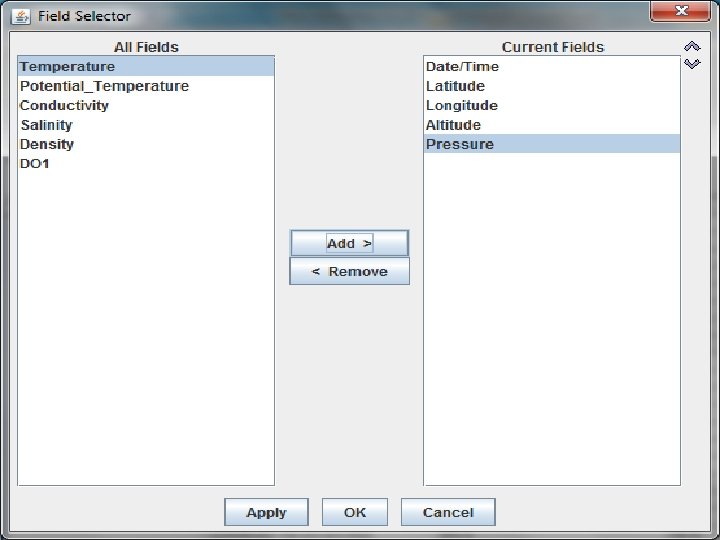
The “Dashboard” will display and you must now enter your desired variables via “Select Fields”. Generally, one will add all.
Then, “File” -> “Save” -> Export all data to Net. CDF
Name *. nc and “Save” as desired
Resources • IDV Users Guide – 7. 5. 1 and others • Net. CDF Users Guide