Navigation Equipment and Methods Lensatic Compass The lensatic


- Slides: 26
Navigation Equipment and Methods
Lensatic Compass The lensatic compass is the most common and simplest instrument for measuring direction
Lensatic Compass Limitations Effects of Metal and Electricity Metal objects and electrical sources affect the performance of the compass Suggested separation distance • High-tension power lines • Field gun, truck, or tank • Telephone wire/barbed wire • Machine gun • Steel helmet or rifle 55 meters 18 meters 10 meters 2 meters ½ meter
Lensatic Compass Limitations Care of compass The compass dial is set at a delicate balance that can be damaged by shock. Close and return the compass to its container when not in use. Attach the compass with a lanyard to your body.
Lensatic Compass Parts of a compass • • Thumb Loop Cover Sighting Wire Eyepiece Sighting Slot Bezel Ring Index Line Compass Dial
Thumb Loop Secures compass in closed position Serves as wire loop to assist in sighting objects
Cover Protects face of glass crystal
Sighting Wire Used to sight objects
Eyepiece Aids in sighting azimuths Locks compass dial in place
Sighting Slot Used in sighting azimuths
Bezel Ring Used in pre-setting a direction in night compass work. Each click represents three degrees
Index Line Stationary black line used as a reference line
Compass Dial Indicates direction in mils and degrees
Techniques of use Two techniques are employed when using the lensatic compass • Center hold technique • Compass to check technique
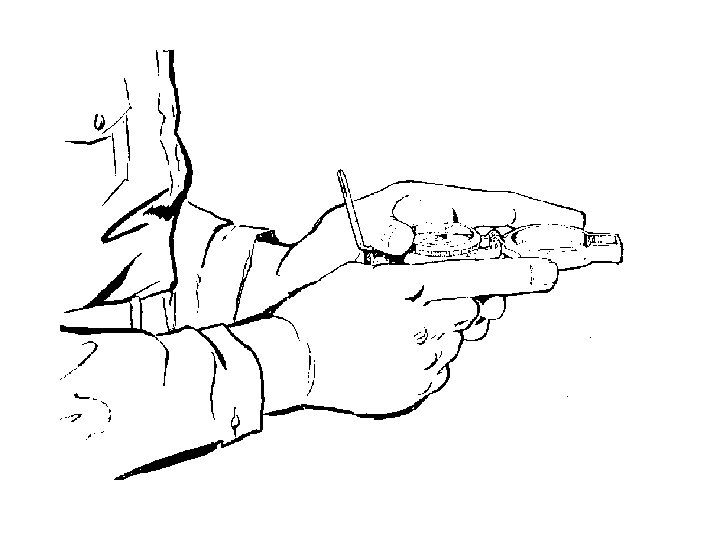
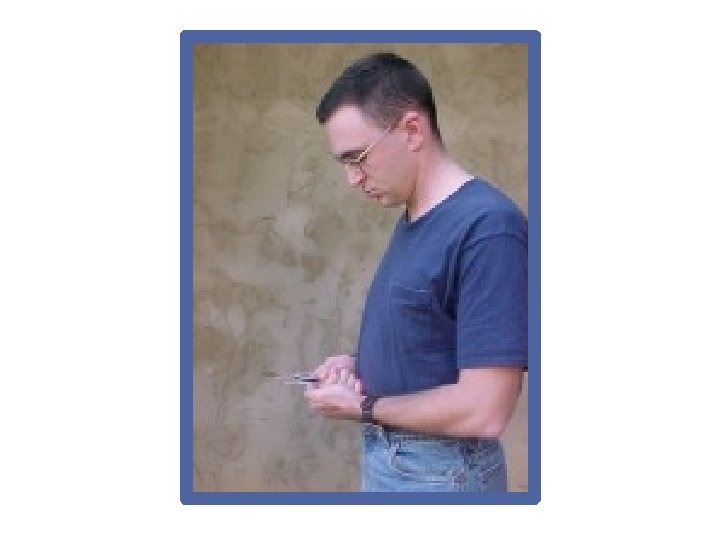
Center Hold Technique Preferred method Advantages • It is faster and easier to use • It can be used under all conditions of visibility • It can be used over any type of terrain • Accurate to within 11 degrees • It can be used w/o removing eyeglasses
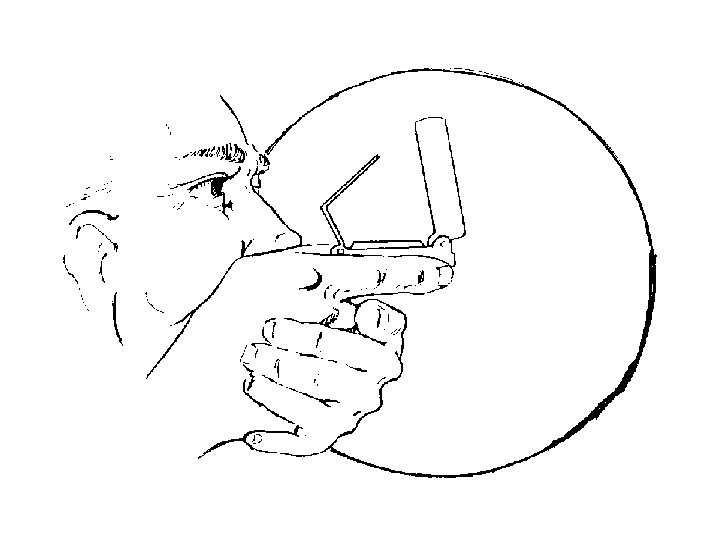
Compass to Check Technique Advantages • Works only with the Lensatic compass • Accurate to within 3 degrees • Used for Intersection and Resection
2 1
4 3
Presetting a compass • Hold the compass level in the palm of the hand • Rotate it until the desired azimuth falls under the fixed black index line • Turn the bezel ring until the luminous line is aligned with the north seeking arrow. The compass is now preset • Assume the centerhold technique and turn until the north seeking arrow is aligned with the luminous line. • Proceed in the direction of the sighting wire.
Field expedient methods
Step 1: Place stick in ground and mark tip of shadow with stone. Step 2: Wait 10 -15 minutes and mark new position of shadow tip. Step 3: Draw a straight line between the 2 marks. Step 4: Stand with the first mark to your left, you are now facing north
Step 1: Point the hour hand toward the sun Step 2: The south line is mid-way between the hour hand 1200* 1300 if DST
North Star • It is not the brightest star • Less than 1 degree off of true north • Use the pointers of the Big Dipper, 5 times the distance • North star is the last star in the handle of the Little Dipper