MUDBOX ADVANCED TUTORIAL BY LEWIS MACGREGOR BEGINNER TUTORIAL
MUDBOX ADVANCED TUTORIAL BY LEWIS MACGREGOR
BEGINNER TUTORIAL • If you haven’t went through my beginner tutorial I suggest you read through that and understand the basics first before attempting to play around with the tools and techniques this tutorial will cover.
DYNAMIC TESSELLATION • By far the most important and revolutionary sculpting tool Mudbox has is used to create and form the best and original structures. • I personally cant stress enough how useful this tool is in sculp modelling form and structure of any organic model.
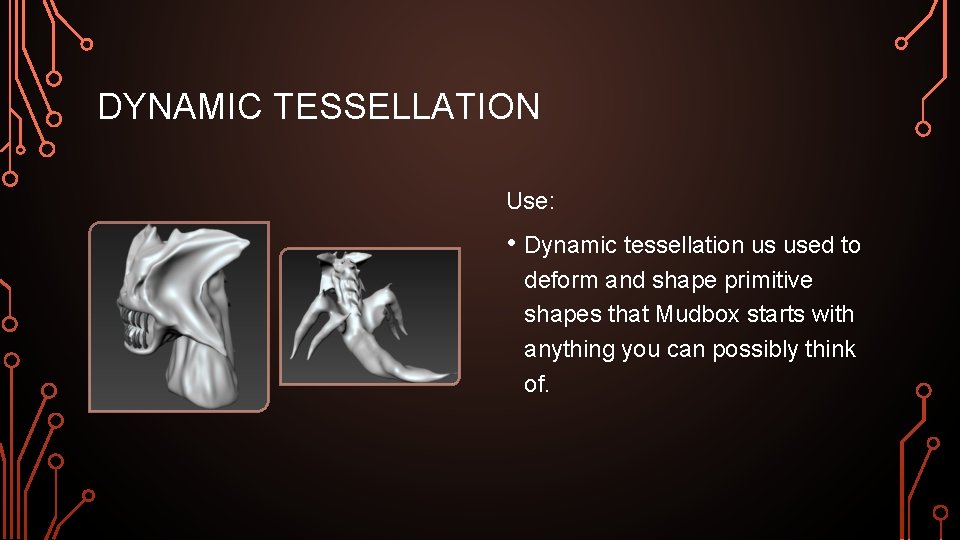
DYNAMIC TESSELLATION Use: • Dynamic tessellation us used to deform and shape primitive shapes that Mudbox starts with anything you can possibly think of.
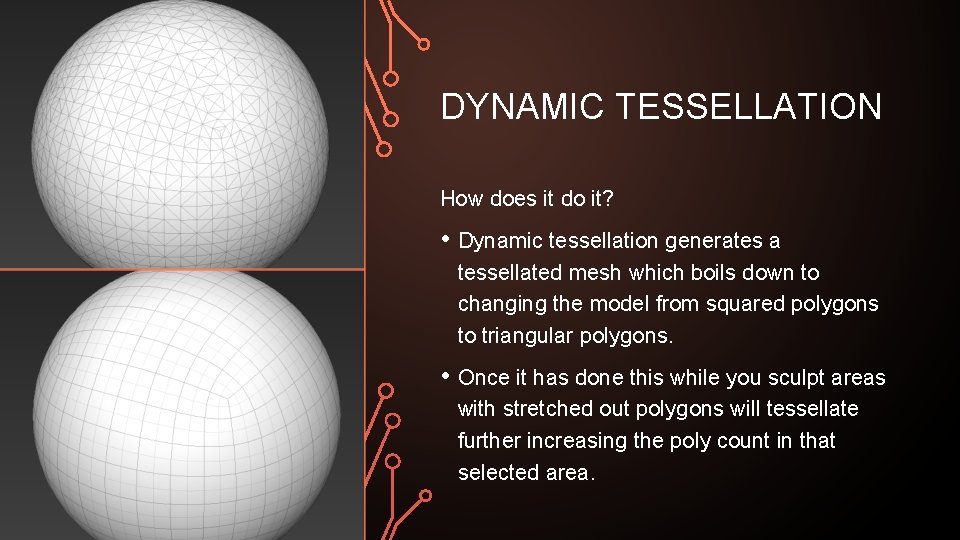
DYNAMIC TESSELLATION How does it do it? • Dynamic tessellation generates a tessellated mesh which boils down to changing the model from squared polygons to triangular polygons. • Once it has done this while you sculpt areas with stretched out polygons will tessellate further increasing the poly count in that selected area.
DYNAMIC TESSELLATION Drawbacks; • Dynamic tessellation erases the UV maps that the primitive shape is generated with or renders them unusable. • Extends the process of texturing and painting your model. • Renders all previous subdivision levels useless.
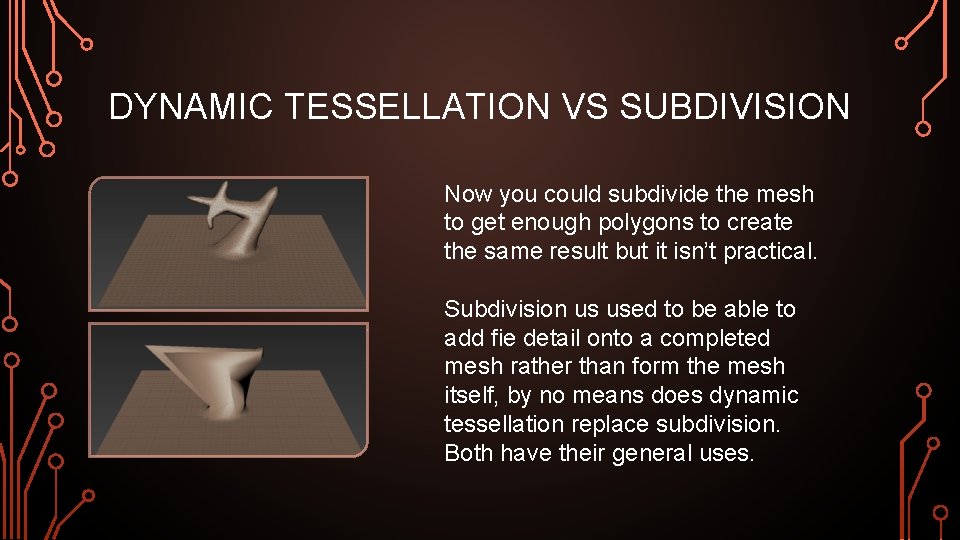
DYNAMIC TESSELLATION VS SUBDIVISION Now you could subdivide the mesh to get enough polygons to create the same result but it isn’t practical. Subdivision us used to be able to add fie detail onto a completed mesh rather than form the mesh itself, by no means does dynamic tessellation replace subdivision. Both have their general uses.
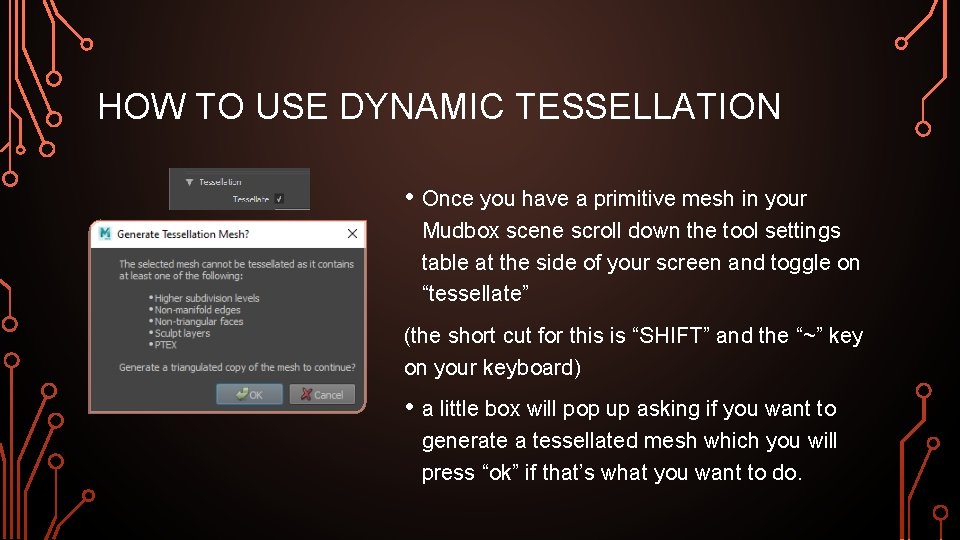
HOW TO USE DYNAMIC TESSELLATION • Once you have a primitive mesh in your Mudbox scene scroll down the tool settings table at the side of your screen and toggle on “tessellate” (the short cut for this is “SHIFT” and the “~” key on your keyboard) • a little box will pop up asking if you want to generate a tessellated mesh which you will press “ok” if that’s what you want to do.
DYNAMIC TESSELLATION PERSONAL ADVICE • For me I find it difficult not going into a lot of detail while I'm sculpting my tessellated model. When it comes to the next steps its best to just use dynamic tessellation to get the rough shape since it becomes easier for the next step in the process called retopology.
INTERMISSION ONE • At this point I would recommend you play around with what we have currently went over this tutorial and create a tessellated model that you wish to take forward onto the next step of sculpt modelling since the next steps require a model to follow along with the tutorial.
RETOPOLOGY • this next step is all about trial and error. If you have a nice basic structure that’s symmetrical then this next step should be rather easy if not however then you will probable need to fiddle around with the settings. Why is retopology important? • Retopology is required to change a tessellated mesh back into a quadified mesh to allow for subdivision and texturing to work.
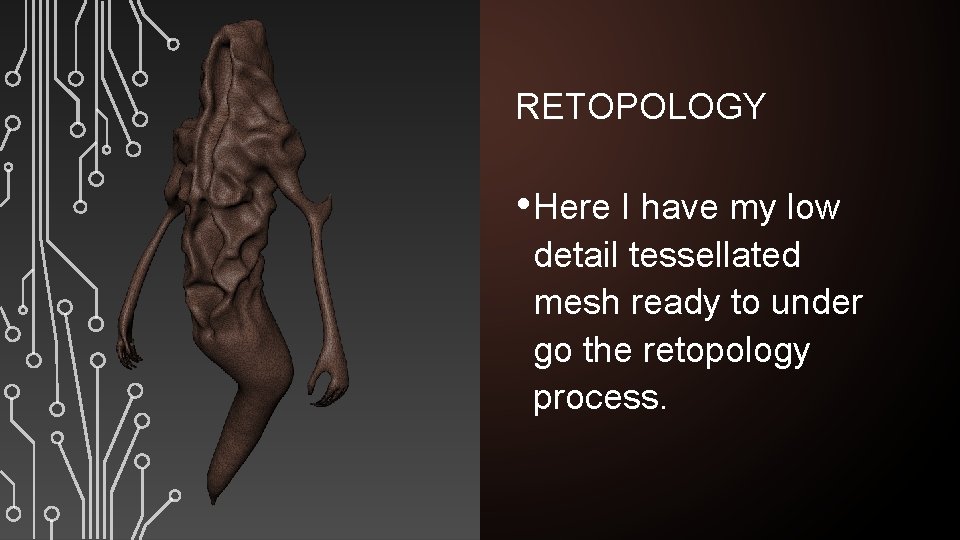
RETOPOLOGY • Here I have my low detail tessellated mesh ready to under go the retopology process.
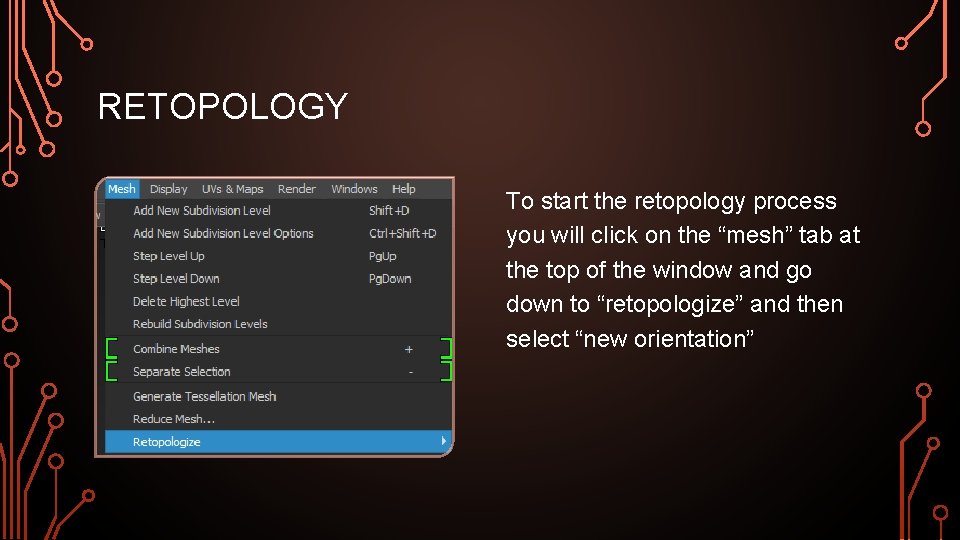
RETOPOLOGY To start the retopology process you will click on the “mesh” tab at the top of the window and go down to “retopologize” and then select “new orientation”
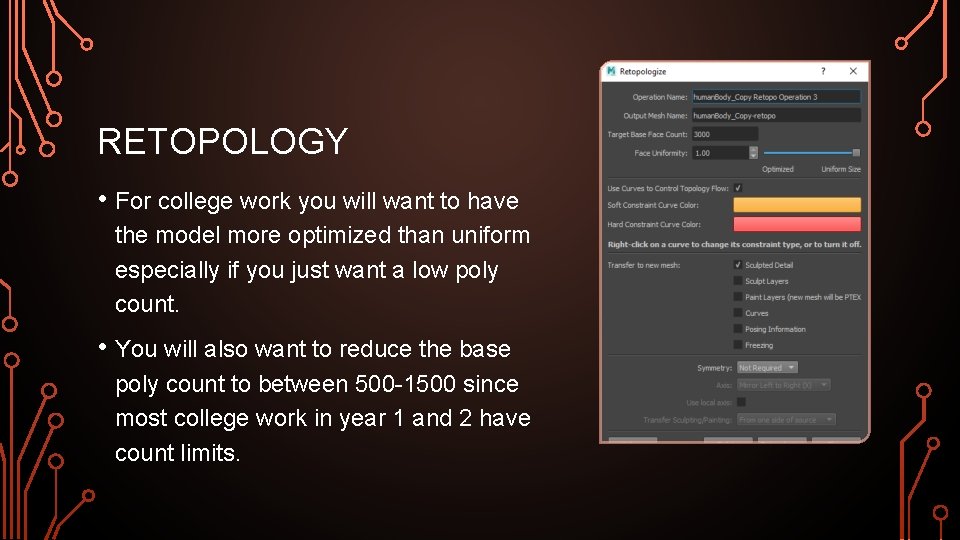
RETOPOLOGY • For college work you will want to have the model more optimized than uniform especially if you just want a low poly count. • You will also want to reduce the base poly count to between 500 -1500 since most college work in year 1 and 2 have count limits.
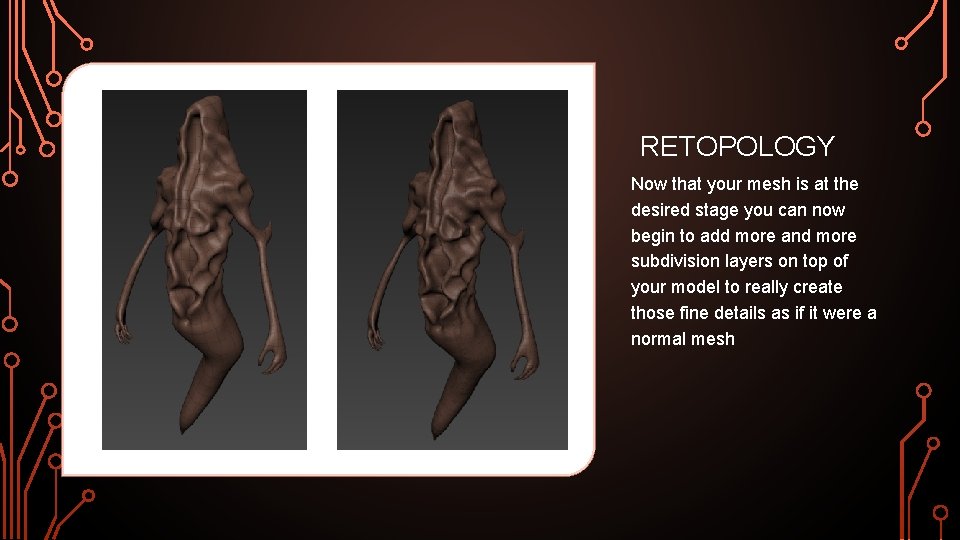
RETOPOLOGY Now that your mesh is at the desired stage you can now begin to add more and more subdivision layers on top of your model to really create those fine details as if it were a normal mesh
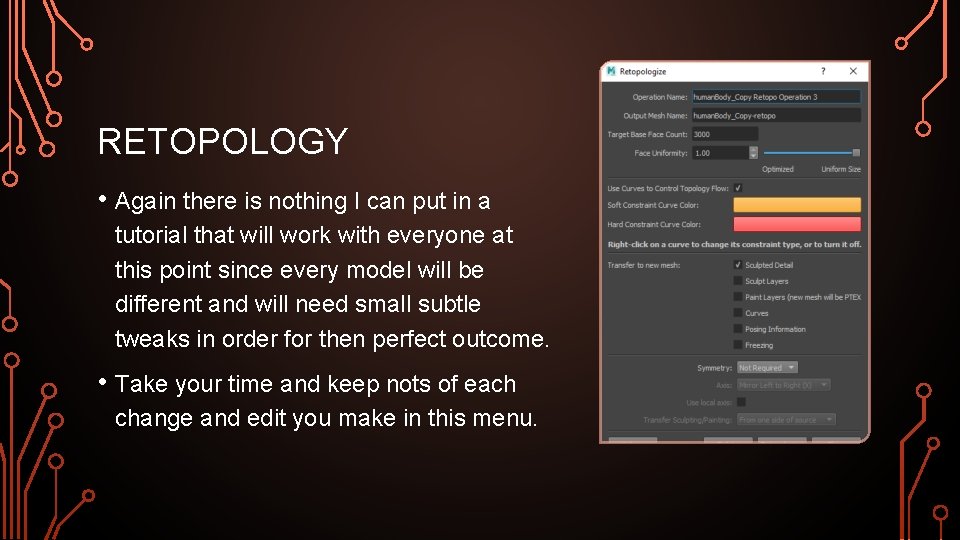
RETOPOLOGY • Again there is nothing I can put in a tutorial that will work with everyone at this point since every model will be different and will need small subtle tweaks in order for then perfect outcome. • Take your time and keep nots of each change and edit you make in this menu.
INTERMISSION TWO If you have gotten the results you are happy with then feel free to continue on with the tutorial, it really is a long process to get a model that you are happy with to a good level however it is defiantly worth it in the long run since it shows you some of the industry steps required to make really detailed characters for games and film CGI.
STAMPS AND STENCILS • Stamps and stencils are ways to create really amazing detail from objects in the real world, it is really the best and efficient way to take any 2 d graphics skills into the 3 d modelling environment. • For the purpose of this tutorial I will be using the stamps and stencils that Mudbox provides but by all means import and try your own since this is for personal preference
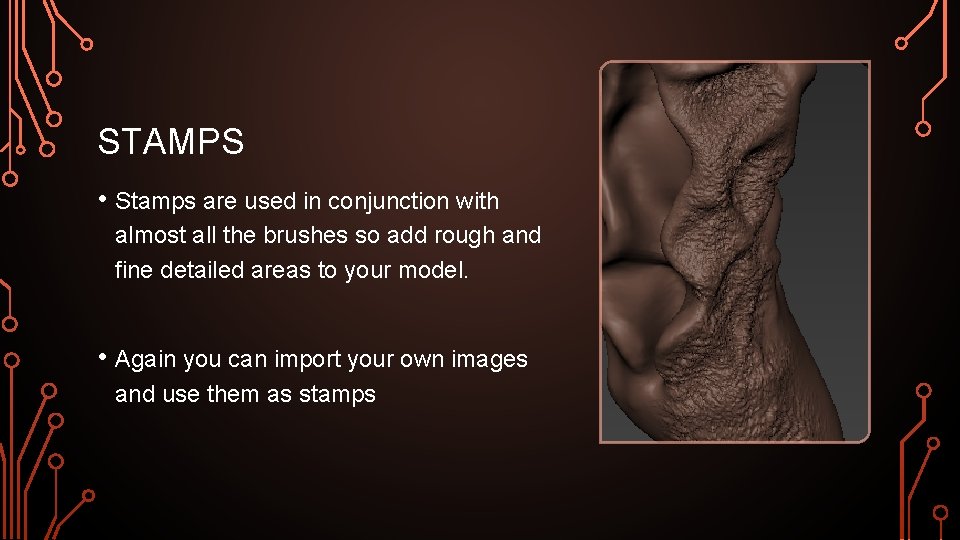
STAMPS • Stamps are used in conjunction with almost all the brushes so add rough and fine detailed areas to your model. • Again you can import your own images and use them as stamps
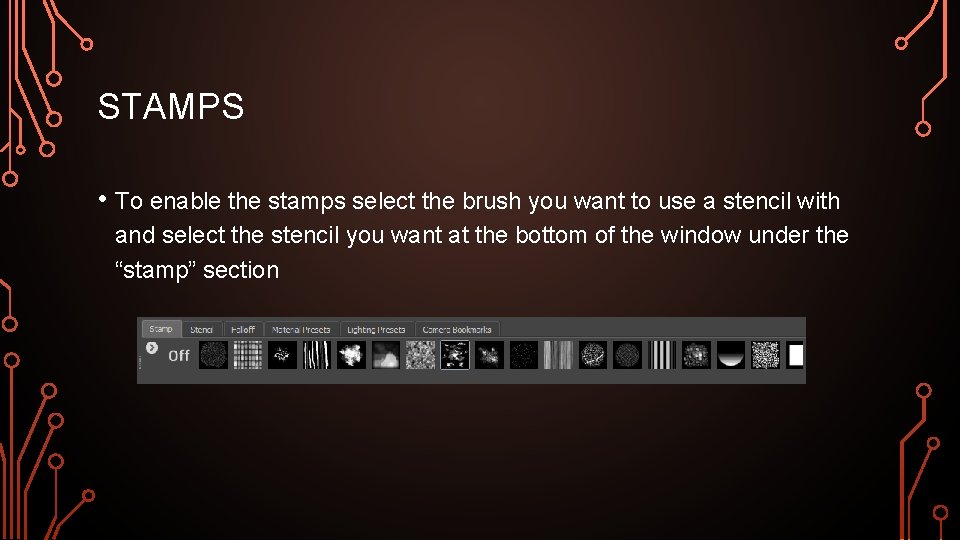
STAMPS • To enable the stamps select the brush you want to use a stencil with and select the stencil you want at the bottom of the window under the “stamp” section
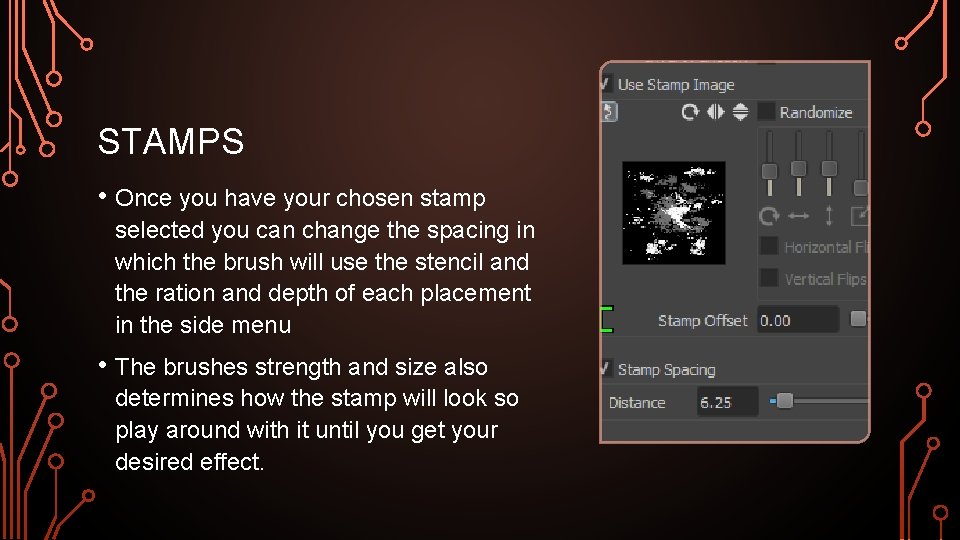
STAMPS • Once you have your chosen stamp selected you can change the spacing in which the brush will use the stencil and the ration and depth of each placement in the side menu • The brushes strength and size also determines how the stamp will look so play around with it until you get your desired effect.
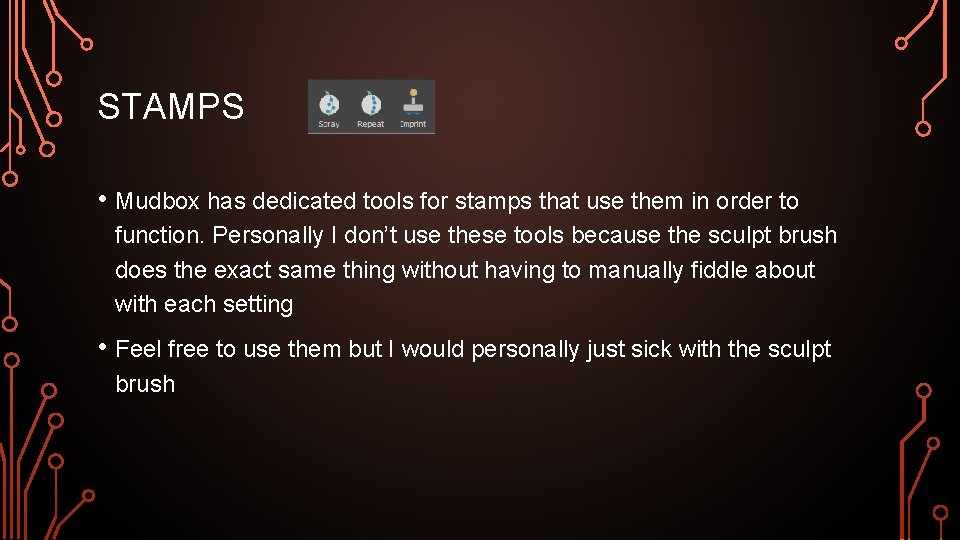
STAMPS • Mudbox has dedicated tools for stamps that use them in order to function. Personally I don’t use these tools because the sculpt brush does the exact same thing without having to manually fiddle about with each setting • Feel free to use them but I would personally just sick with the sculpt brush
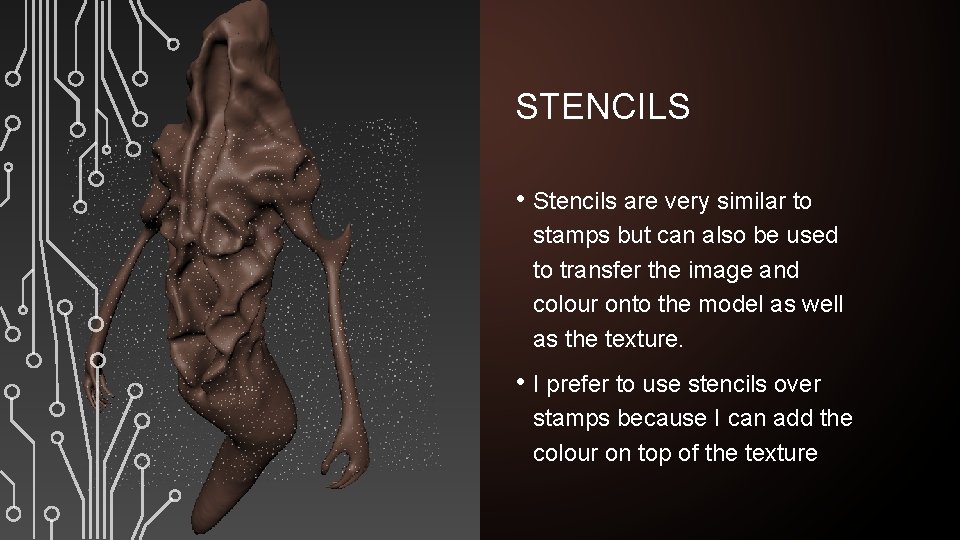
STENCILS • Stencils are very similar to stamps but can also be used to transfer the image and colour onto the model as well as the texture. • I prefer to use stencils over stamps because I can add the colour on top of the texture
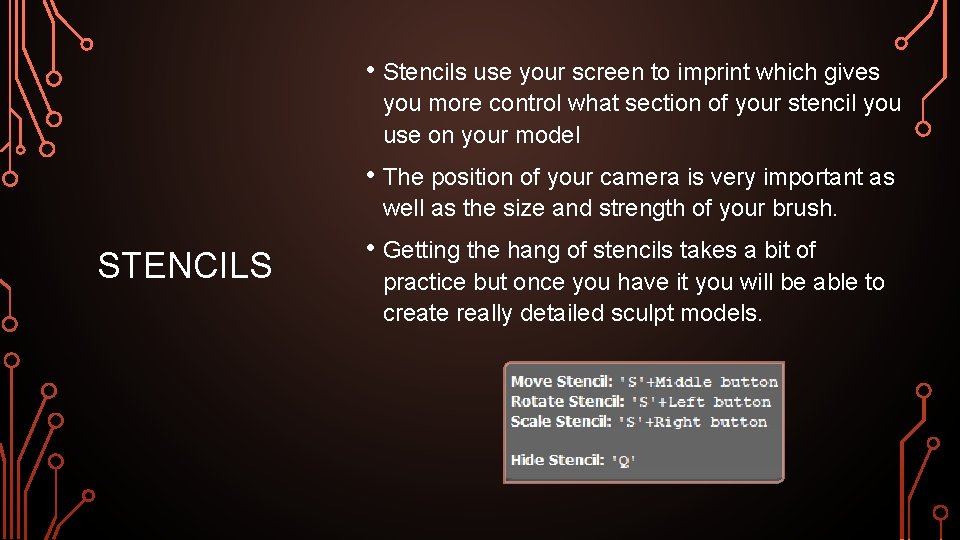
• Stencils use your screen to imprint which gives you more control what section of your stencil you use on your model • The position of your camera is very important as well as the size and strength of your brush. STENCILS • Getting the hang of stencils takes a bit of practice but once you have it you will be able to create really detailed sculpt models.
INTERMISSION 3 Stencils and stamps are very important when you want to create amazingly realistic models that put you a step ahead of other people just using max to create their characters. This next step will require understanding of uvmaps and unwrapping which ill be using Maya for but if you can use max for a better result then stick with that but I personally prefer Maya
UV MAPS • By now in class you should have had a little experience with uv wrapping in class but if not SKIP THIS SECTION AND GO TO INTERMISSION 4 and after the final section come back to this process once you have done and understood that process.
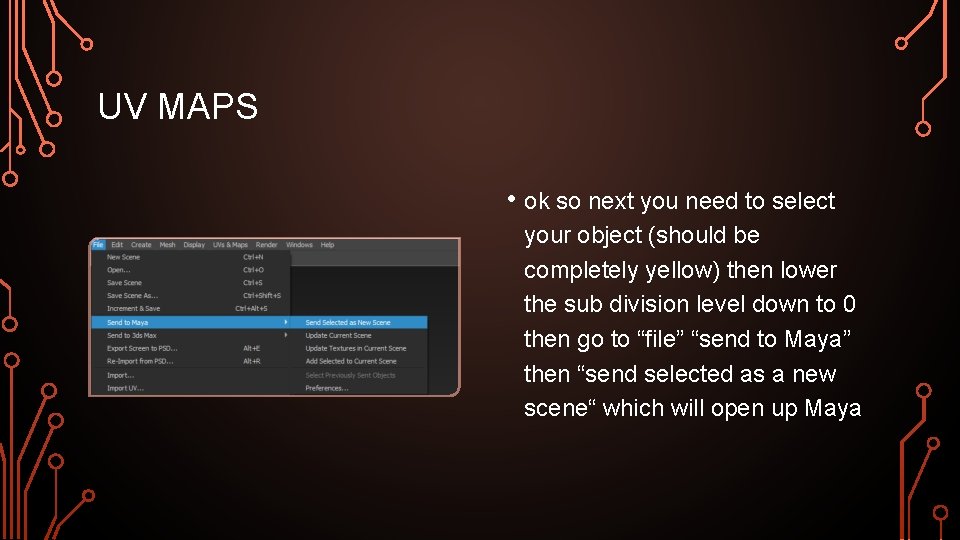
UV MAPS • ok so next you need to select your object (should be completely yellow) then lower the sub division level down to 0 then go to “file” “send to Maya” then “send selected as a new scene“ which will open up Maya
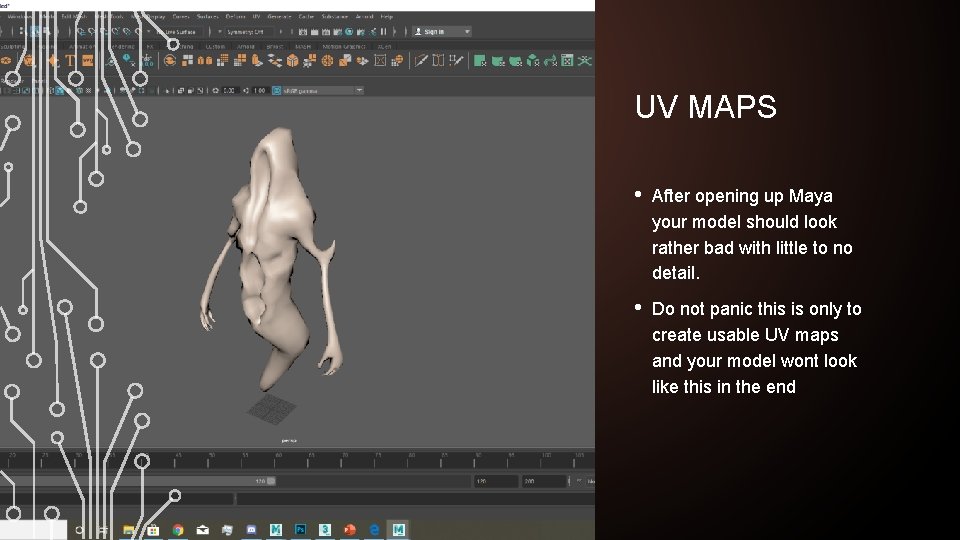
UV MAPS • After opening up Maya your model should look rather bad with little to no detail. • Do not panic this is only to create usable UV maps and your model wont look like this in the end
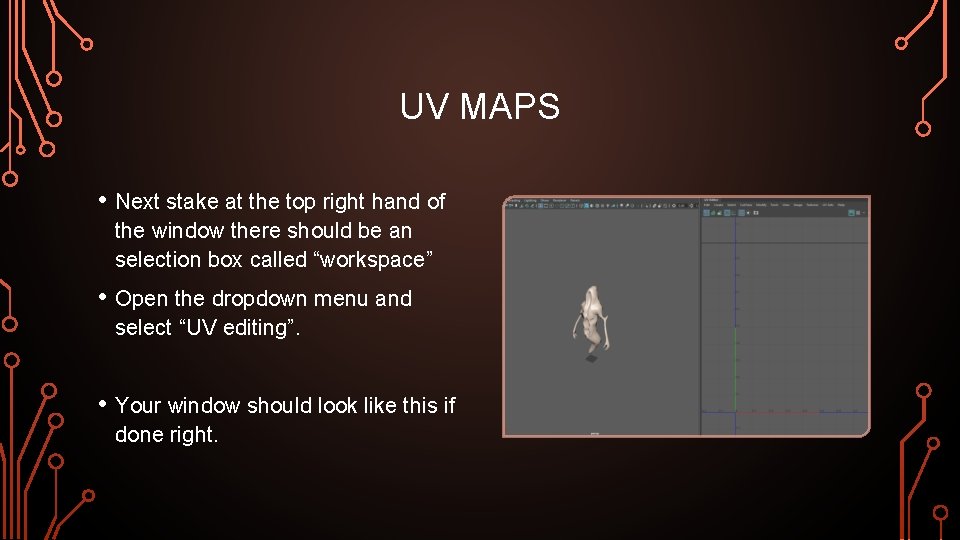
UV MAPS • Next stake at the top right hand of the window there should be an selection box called “workspace” • Open the dropdown menu and select “UV editing”. • Your window should look like this if done right.
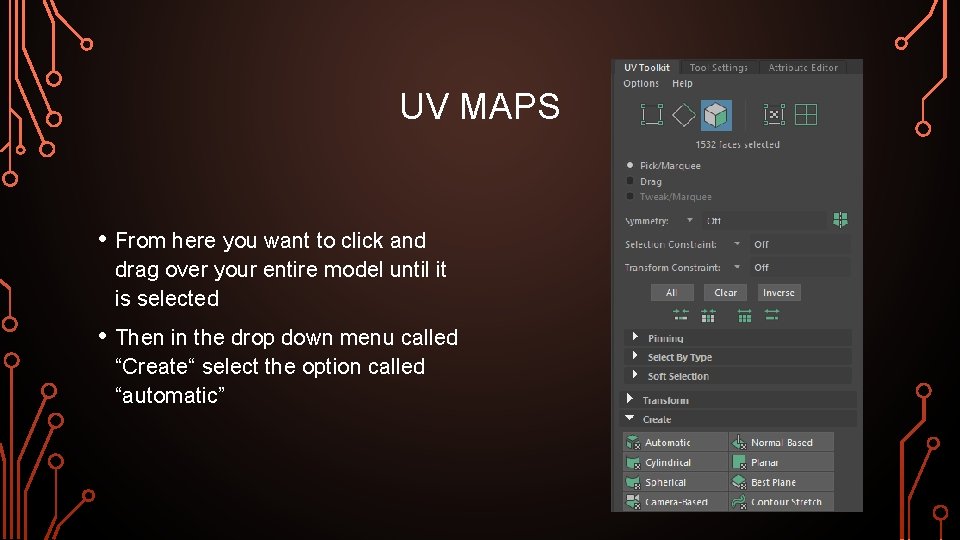
UV MAPS • From here you want to click and drag over your entire model until it is selected • Then in the drop down menu called “Create“ select the option called “automatic”

UV MAPS • Your result will look different but you should get an unwrap that’s really good to work with in Mudbox and 3 ds max. • Here is my result.
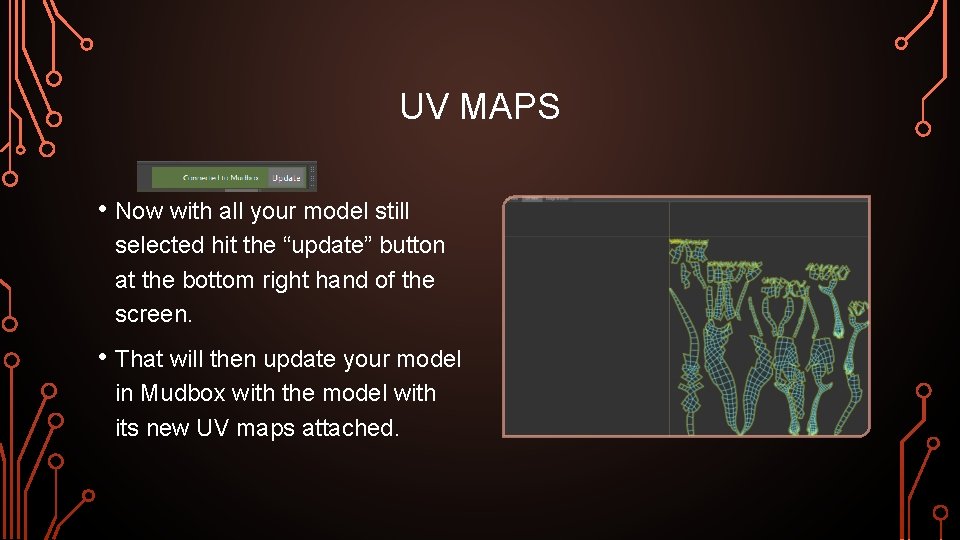
UV MAPS • Now with all your model still selected hit the “update” button at the bottom right hand of the screen. • That will then update your model in Mudbox with the model with its new UV maps attached.
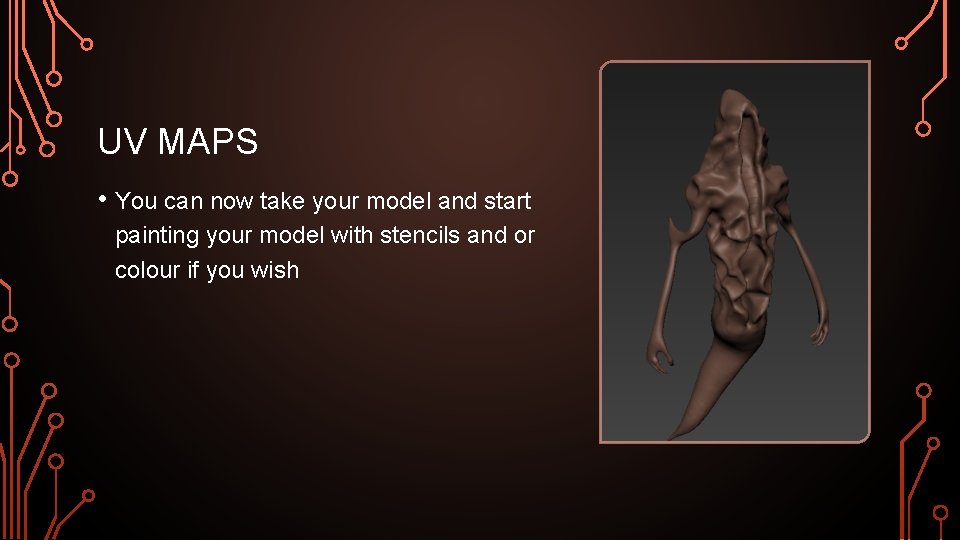
UV MAPS • You can now take your model and start painting your model with stencils and or colour if you wish
INTERMISSION 4 UV maps are a lot more complicated when it comes to industry but I myself am still trying to learn better and efficient ways to create and generate uv maps to better improve my modelling skills This next stage is another step that is trial and error when it comes to your model but its really important in industry and if you want to keep render times down for future projects within college
BAKING • Ok so you have made it to the final stages of my knowledge of Mudbox with one last hurdle to jump over • Baking your models is very important because if you want ro render your animations within a reasonable time you will need to keep the poly counts on your models as low as possible
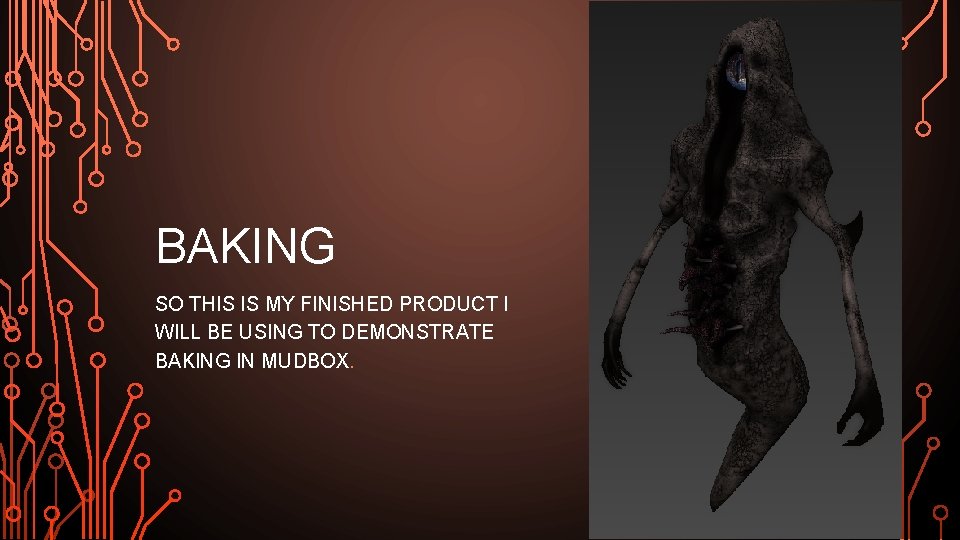
BAKING SO THIS IS MY FINISHED PRODUCT I WILL BE USING TO DEMONSTRATE BAKING IN MUDBOX.
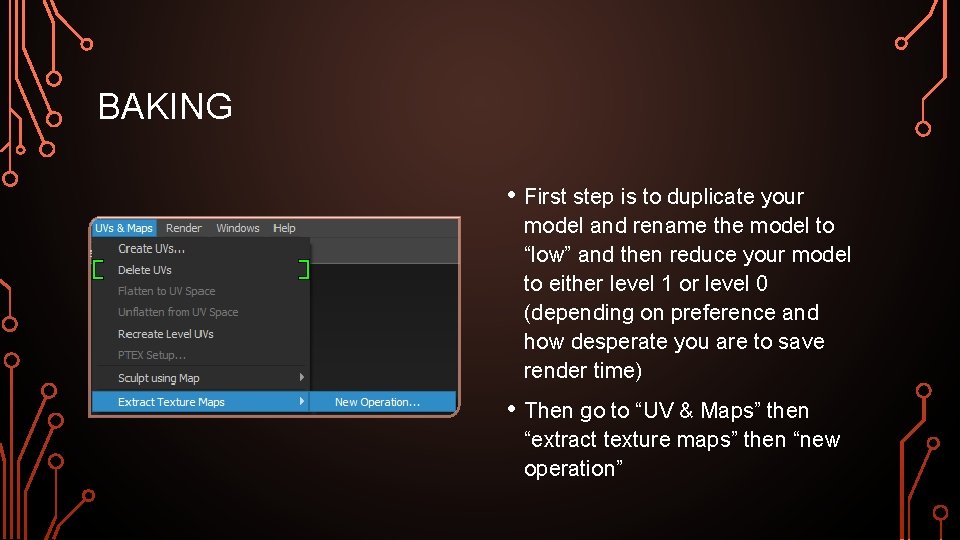
BAKING • First step is to duplicate your model and rename the model to “low” and then reduce your model to either level 1 or level 0 (depending on preference and how desperate you are to save render time) • Then go to “UV & Maps” then “extract texture maps” then “new operation”
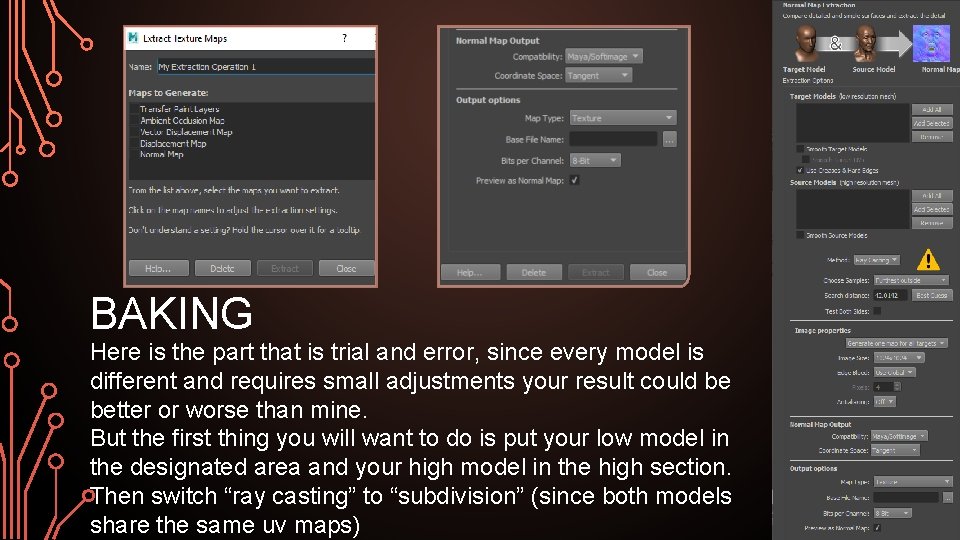
BAKING Here is the part that is trial and error, since every model is different and requires small adjustments your result could be better or worse than mine. But the first thing you will want to do is put your low model in the designated area and your high model in the high section. Then switch “ray casting” to “subdivision” (since both models share the same uv maps)
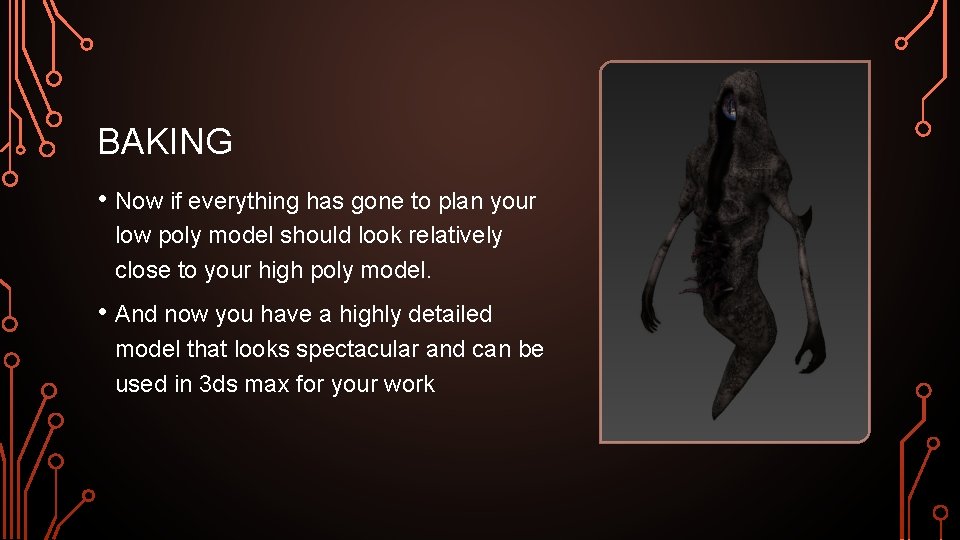
BAKING • Now if everything has gone to plan your low poly model should look relatively close to your high poly model. • And now you have a highly detailed model that looks spectacular and can be used in 3 ds max for your work
INTERMISSION 5 With your model complete and finished you can breathe a sigh of relief knowing that this process is now over for this model And now onto implementing all of this in max
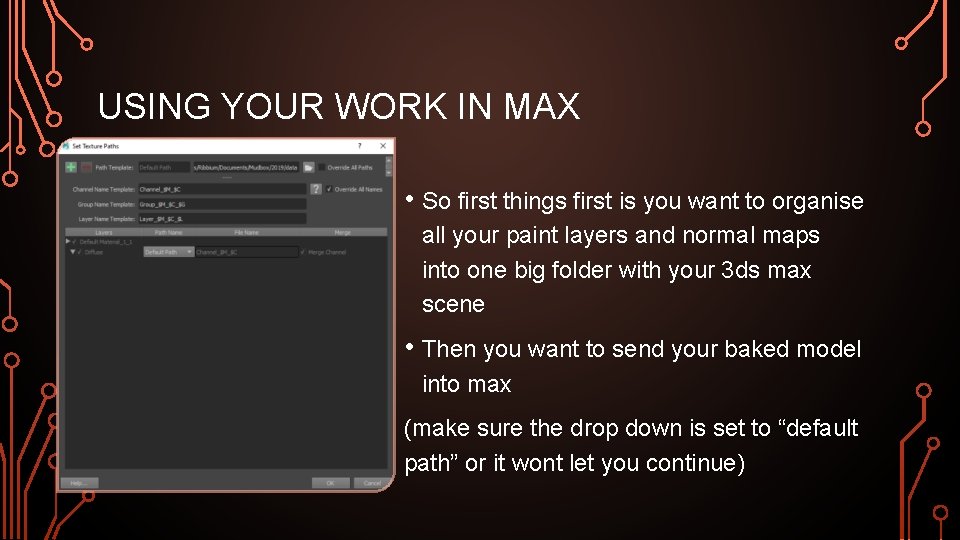
USING YOUR WORK IN MAX • So first things first is you want to organise all your paint layers and normal maps into one big folder with your 3 ds max scene • Then you want to send your baked model into max (make sure the drop down is set to “default path” or it wont let you continue)
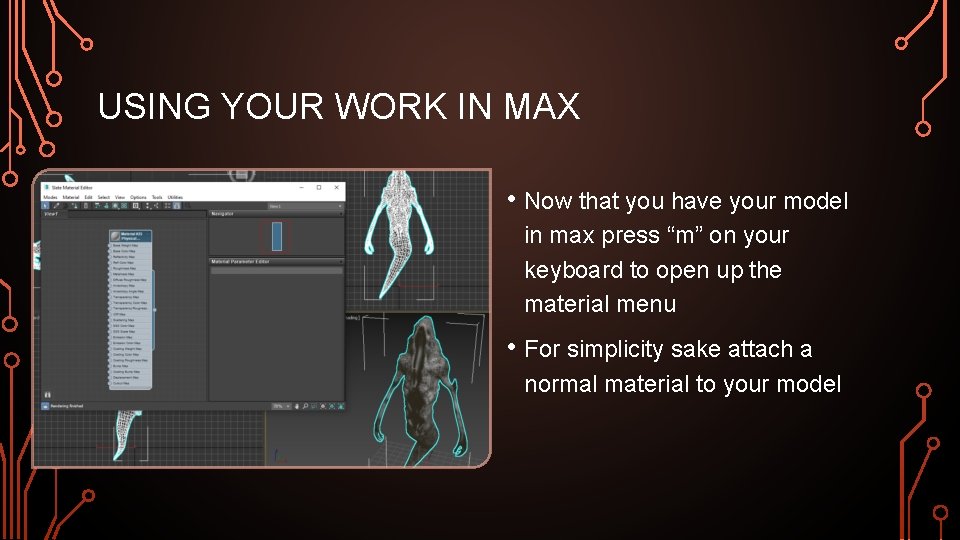
USING YOUR WORK IN MAX • Now that you have your model in max press “m” on your keyboard to open up the material menu • For simplicity sake attach a normal material to your model
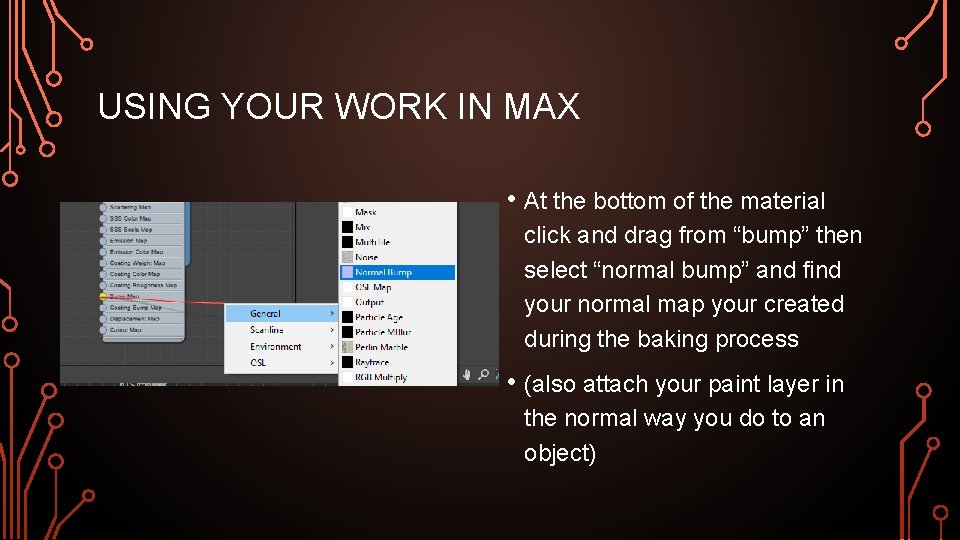
USING YOUR WORK IN MAX • At the bottom of the material click and drag from “bump” then select “normal bump” and find your normal map your created during the baking process • (also attach your paint layer in the normal way you do to an object)
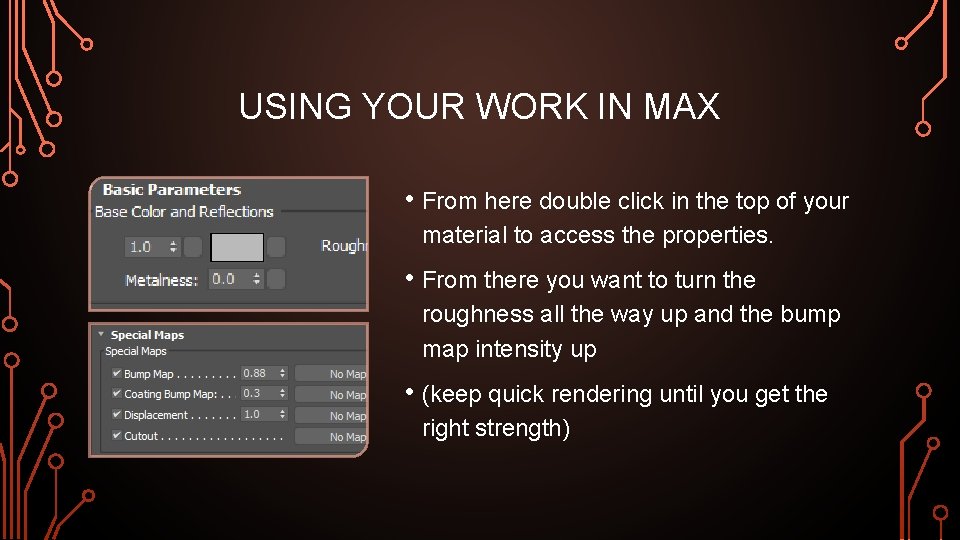
USING YOUR WORK IN MAX • From here double click in the top of your material to access the properties. • From there you want to turn the roughness all the way up and the bump map intensity up • (keep quick rendering until you get the right strength)
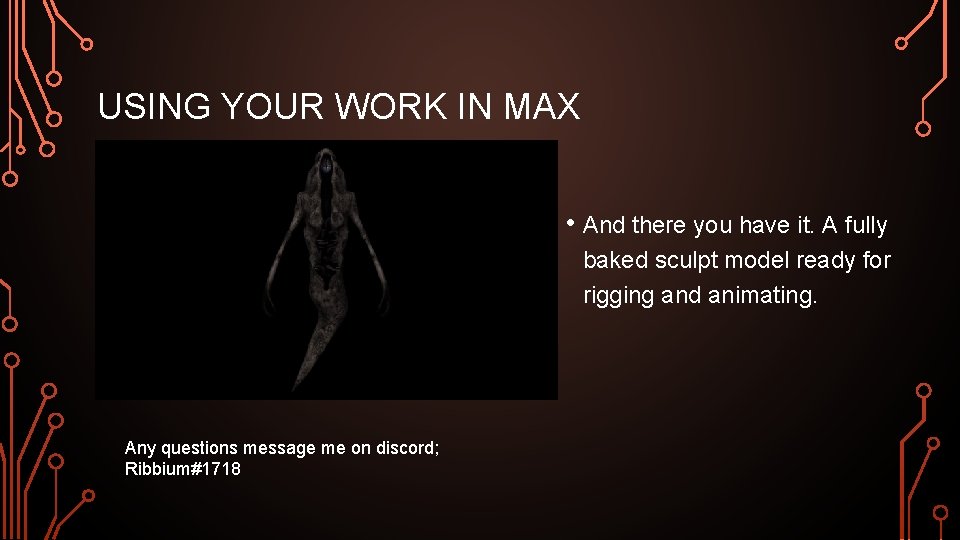
USING YOUR WORK IN MAX • And there you have it. A fully baked sculpt model ready for rigging and animating. Any questions message me on discord; Ribbium#1718
- Slides: 45