Moonroof Levelness Measuring Device Presenters Tyler Adams Walter

- Slides: 1

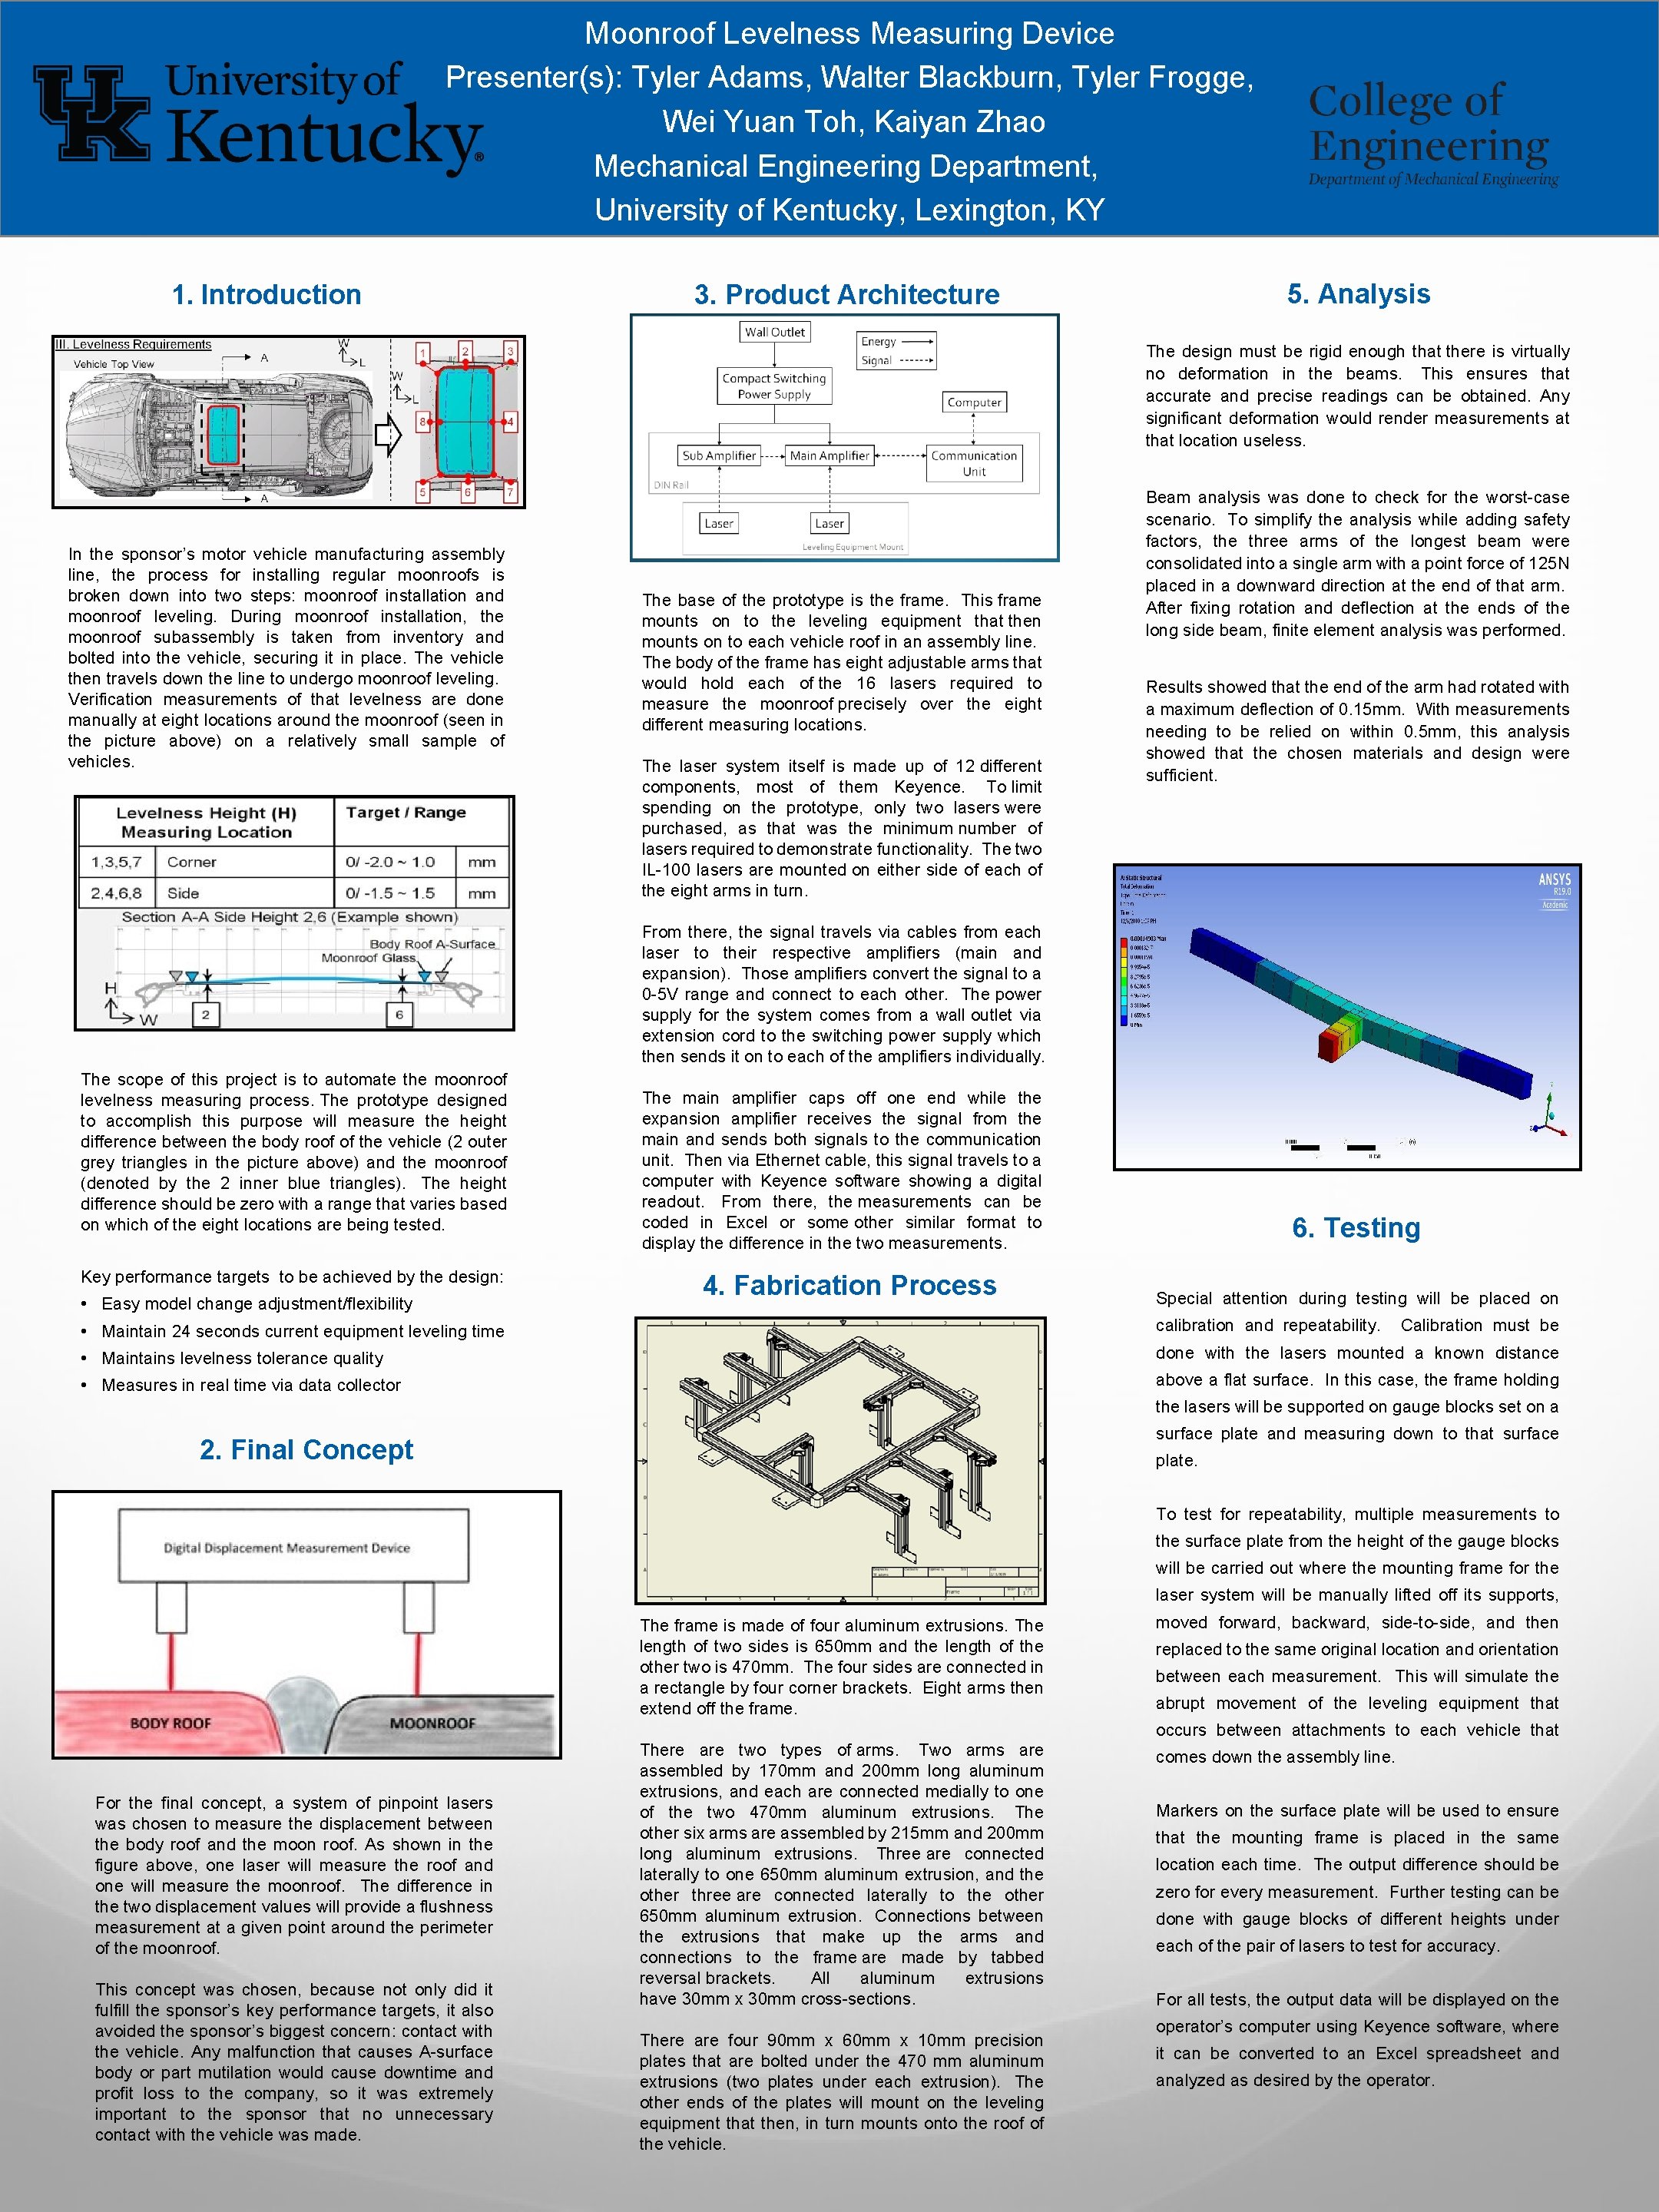
Moonroof Levelness Measuring Device Presenter(s): Tyler Adams, Walter Blackburn, Tyler Frogge, Wei Yuan Toh, Kaiyan Zhao Mechanical Engineering Department, University of Kentucky, Lexington, KY 1. Introduction 5. Analysis 3. Product Architecture The design must be rigid enough that there is virtually no deformation in the beams. This ensures that accurate and precise readings can be obtained. Any significant deformation would render measurements at that location useless. In the sponsor’s motor vehicle manufacturing assembly line, the process for installing regular moonroofs is broken down into two steps: moonroof installation and moonroof leveling. During moonroof installation, the moonroof subassembly is taken from inventory and bolted into the vehicle, securing it in place. The vehicle then travels down the line to undergo moonroof leveling. Verification measurements of that levelness are done manually at eight locations around the moonroof (seen in the picture above) on a relatively small sample of vehicles. The base of the prototype is the frame. This frame mounts on to the leveling equipment that then mounts on to each vehicle roof in an assembly line. The body of the frame has eight adjustable arms that would hold each of the 16 lasers required to measure the moonroof precisely over the eight different measuring locations. The laser system itself is made up of 12 different components, most of them Keyence. To limit spending on the prototype, only two lasers were purchased, as that was the minimum number of lasers required to demonstrate functionality. The two IL-100 lasers are mounted on either side of each of the eight arms in turn. Beam analysis was done to check for the worst-case scenario. To simplify the analysis while adding safety factors, the three arms of the longest beam were consolidated into a single arm with a point force of 125 N placed in a downward direction at the end of that arm. After fixing rotation and deflection at the ends of the long side beam, finite element analysis was performed. Results showed that the end of the arm had rotated with a maximum deflection of 0. 15 mm. With measurements needing to be relied on within 0. 5 mm, this analysis showed that the chosen materials and design were sufficient. From there, the signal travels via cables from each laser to their respective amplifiers (main and expansion). Those amplifiers convert the signal to a 0 -5 V range and connect to each other. The power supply for the system comes from a wall outlet via extension cord to the switching power supply which then sends it on to each of the amplifiers individually. The scope of this project is to automate the moonroof levelness measuring process. The prototype designed to accomplish this purpose will measure the height difference between the body roof of the vehicle (2 outer grey triangles in the picture above) and the moonroof (denoted by the 2 inner blue triangles). The height difference should be zero with a range that varies based on which of the eight locations are being tested. Key performance targets to be achieved by the design: • Easy model change adjustment/flexibility The main amplifier caps off one end while the expansion amplifier receives the signal from the main and sends both signals to the communication unit. Then via Ethernet cable, this signal travels to a computer with Keyence software showing a digital readout. From there, the measurements can be coded in Excel or some other similar format to display the difference in the two measurements. 4. Fabrication Process 6. Testing Special attention during testing will be placed on • Maintain 24 seconds current equipment leveling time calibration and repeatability. Calibration must be • Maintains levelness tolerance quality done with the lasers mounted a known distance • Measures in real time via data collector above a flat surface. In this case, the frame holding the lasers will be supported on gauge blocks set on a surface plate and measuring down to that surface 2. Final Concept plate. To test for repeatability, multiple measurements to the surface plate from the height of the gauge blocks will be carried out where the mounting frame for the laser system will be manually lifted off its supports, The frame is made of four aluminum extrusions. The length of two sides is 650 mm and the length of the other two is 470 mm. The four sides are connected in a rectangle by four corner brackets. Eight arms then extend off the frame. moved forward, backward, side-to-side, and then replaced to the same original location and orientation between each measurement. This will simulate the abrupt movement of the leveling equipment that occurs between attachments to each vehicle that For the final concept, a system of pinpoint lasers was chosen to measure the displacement between the body roof and the moon roof. As shown in the figure above, one laser will measure the roof and one will measure the moonroof. The difference in the two displacement values will provide a flushness measurement at a given point around the perimeter of the moonroof. This concept was chosen, because not only did it fulfill the sponsor’s key performance targets, it also avoided the sponsor’s biggest concern: contact with the vehicle. Any malfunction that causes A-surface body or part mutilation would cause downtime and profit loss to the company, so it was extremely important to the sponsor that no unnecessary contact with the vehicle was made. There are two types of arms. Two arms are assembled by 170 mm and 200 mm long aluminum extrusions, and each are connected medially to one of the two 470 mm aluminum extrusions. The other six arms are assembled by 215 mm and 200 mm long aluminum extrusions. Three are connected laterally to one 650 mm aluminum extrusion, and the other three are connected laterally to the other 650 mm aluminum extrusion. Connections between the extrusions that make up the arms and connections to the frame are made by tabbed reversal brackets. All aluminum extrusions have 30 mm x 30 mm cross-sections. There are four 90 mm x 60 mm x 10 mm precision plates that are bolted under the 470 mm aluminum extrusions (two plates under each extrusion). The other ends of the plates will mount on the leveling equipment that then, in turn mounts onto the roof of the vehicle. comes down the assembly line. Markers on the surface plate will be used to ensure that the mounting frame is placed in the same location each time. The output difference should be zero for every measurement. Further testing can be done with gauge blocks of different heights under each of the pair of lasers to test for accuracy. For all tests, the output data will be displayed on the operator’s computer using Keyence software, where it can be converted to an Excel spreadsheet and analyzed as desired by the operator.