Missing Lines and Views ENGR 1182 Graphics 05

- Slides: 18

Missing Lines and Views ENGR 1182 Graphics 05

Today’s Objectives § Identify • Missing Lines • Missing Views ¡ Orthographic and Isometric § GP 05 In-Class Activity § GP 05 Out-of-Class Homework Assignment

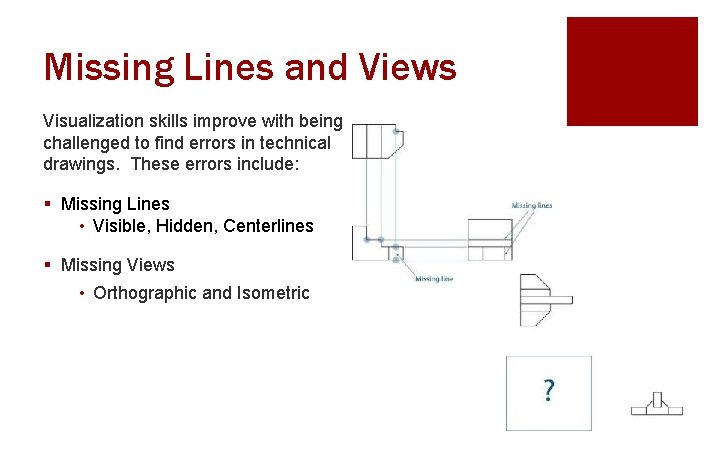
Missing Lines and Views Visualization skills improve with being challenged to find errors in technical drawings. These errors include: § Missing Lines • Visible, Hidden, Centerlines § Missing Views • Orthographic and Isometric

Missing Lines ENGR 1182 Graphics 05

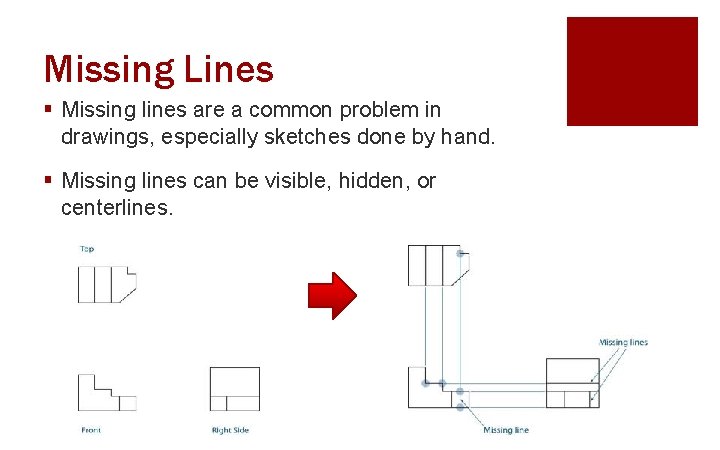
Missing Lines § Missing lines are a common problem in drawings, especially sketches done by hand. § Missing lines can be visible, hidden, or centerlines.

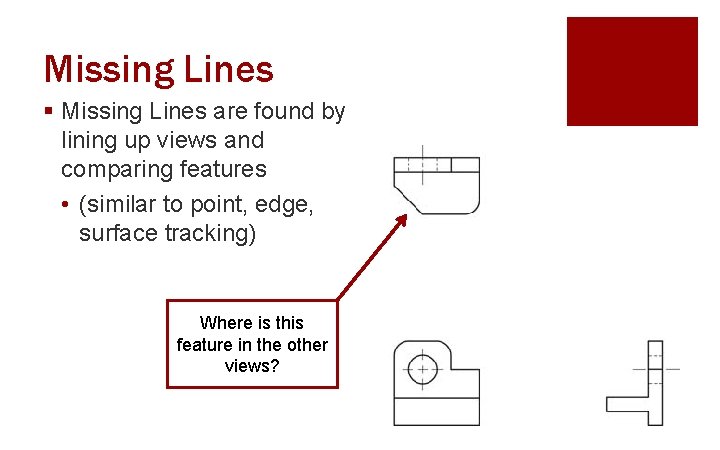
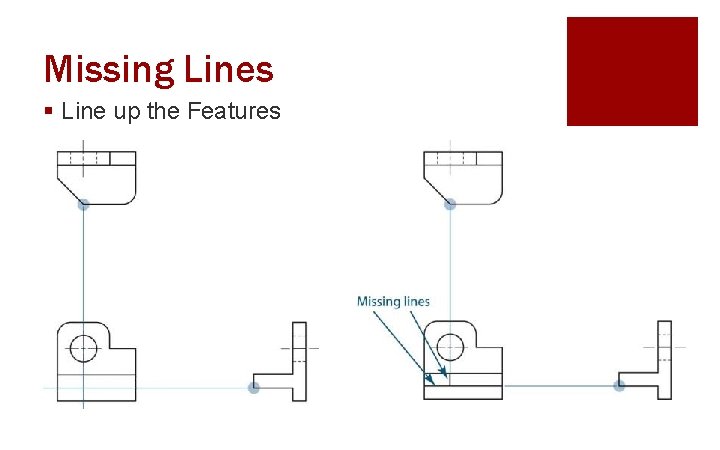
Missing Lines § Missing Lines are found by lining up views and comparing features • (similar to point, edge, surface tracking) Where is this feature in the other views?

Missing Lines § Line up the Features

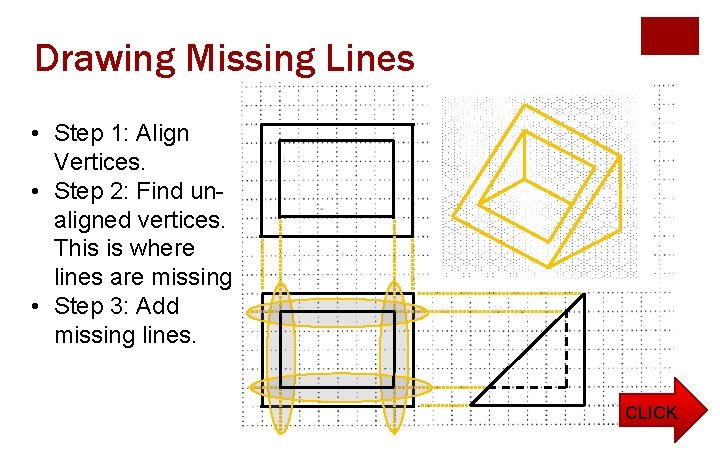
Drawing Missing Lines • Step 1: Align Vertices. • Step 2: Find unaligned vertices. This is where lines are missing! • Step 3: Add missing lines. CLICK

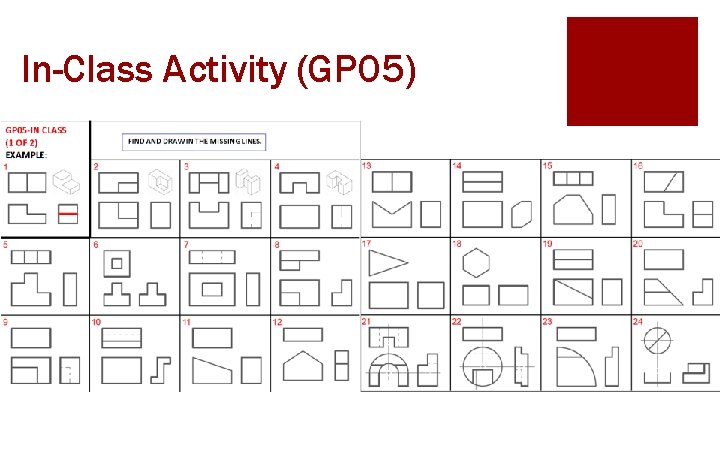
In-Class Activity (GP 05)

Missing Views ENGR 1182 Graphics 05

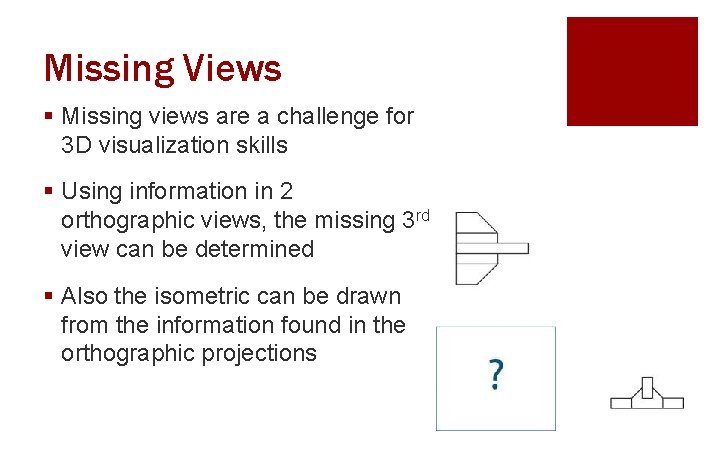
Missing Views § Missing views are a challenge for 3 D visualization skills § Using information in 2 orthographic views, the missing 3 rd view can be determined § Also the isometric can be drawn from the information found in the orthographic projections

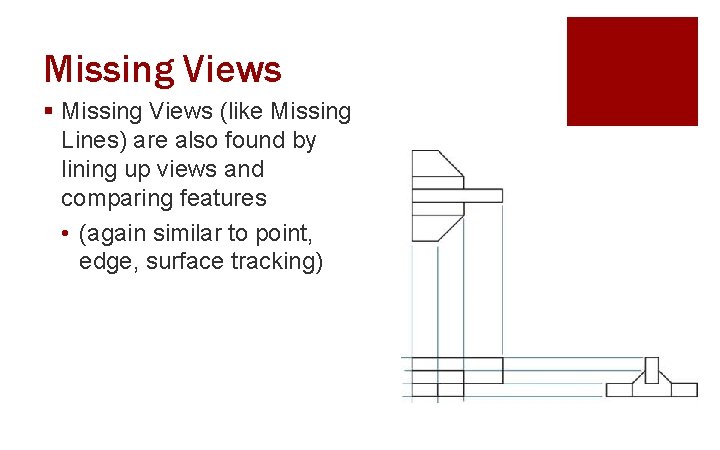
Missing Views § Missing Views (like Missing Lines) are also found by lining up views and comparing features • (again similar to point, edge, surface tracking)

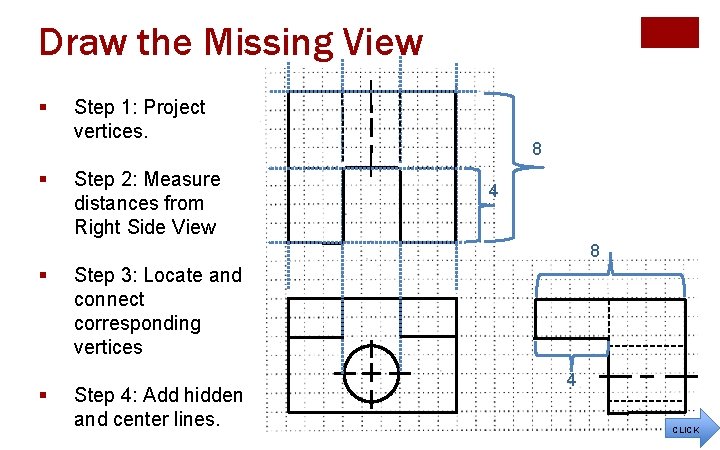
Draw the Missing View § § Step 1: Project vertices. Step 2: Measure distances from Right Side View 8 4 8 § § Step 3: Locate and connect corresponding vertices Step 4: Add hidden and center lines. 4 CLICK

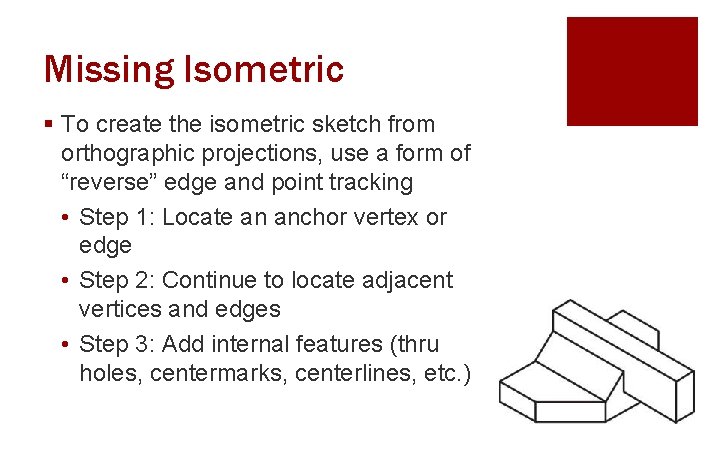
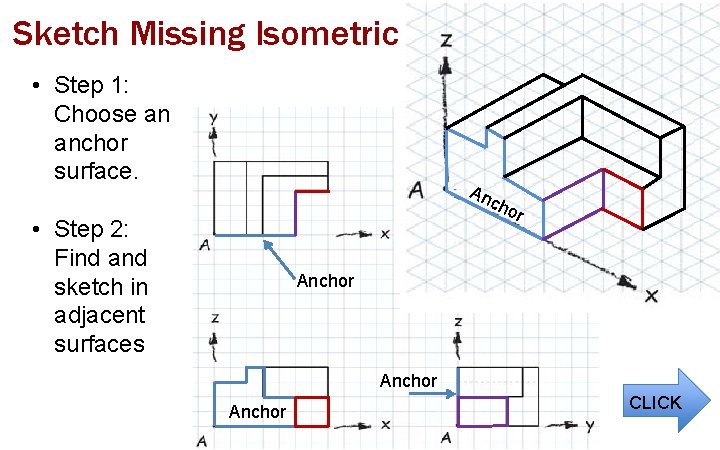
Missing Isometric § To create the isometric sketch from orthographic projections, use a form of “reverse” edge and point tracking • Step 1: Locate an anchor vertex or edge • Step 2: Continue to locate adjacent vertices and edges • Step 3: Add internal features (thru holes, centermarks, centerlines, etc. )

Sketch Missing Isometric • Step 1: Choose an anchor surface. An cho • Step 2: Find and sketch in adjacent surfaces r Anchor CLICK

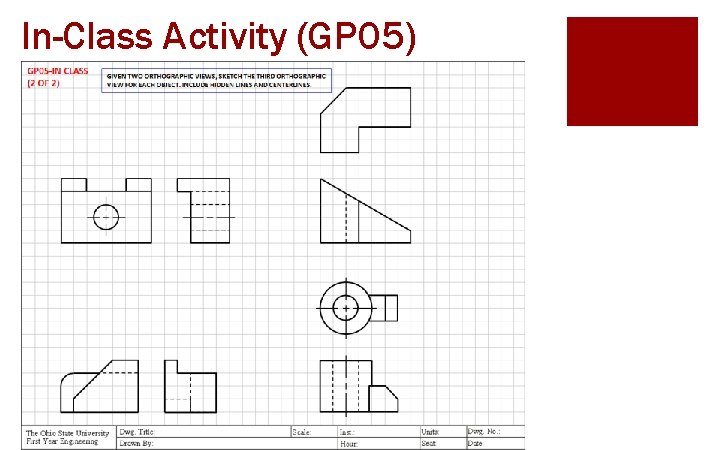
In-Class Activity (GP 05)

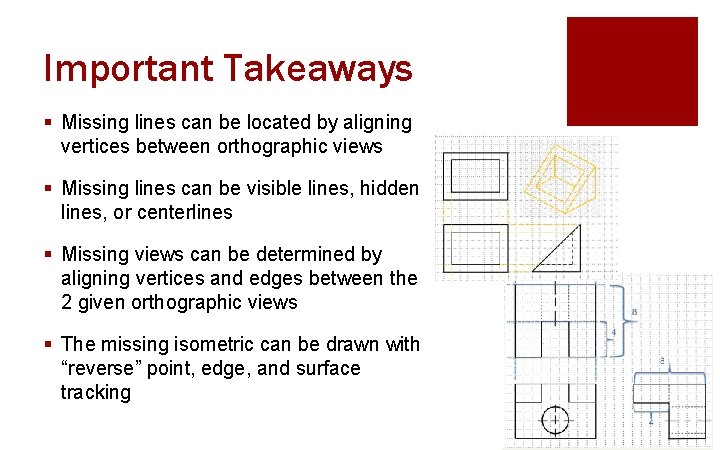
Important Takeaways § Missing lines can be located by aligning vertices between orthographic views § Missing lines can be visible lines, hidden lines, or centerlines § Missing views can be determined by aligning vertices and edges between the 2 given orthographic views § The missing isometric can be drawn with “reverse” point, edge, and surface tracking

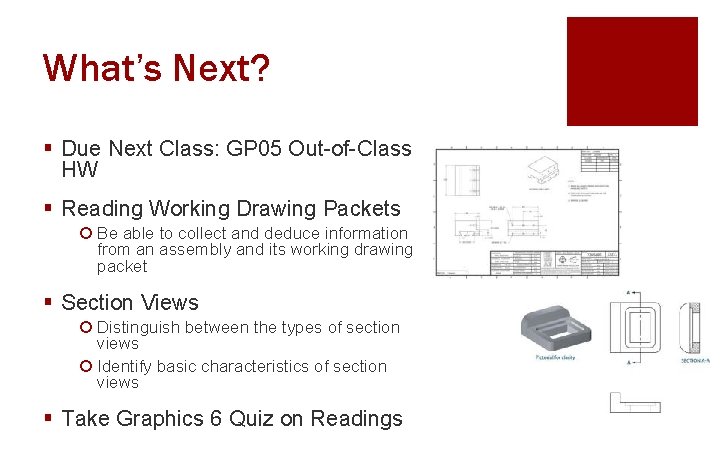
What’s Next? § Due Next Class: GP 05 Out-of-Class HW § Reading Working Drawing Packets ¡ Be able to collect and deduce information from an assembly and its working drawing packet § Section Views ¡ Distinguish between the types of section views ¡ Identify basic characteristics of section views § Take Graphics 6 Quiz on Readings