Milling machine tool qualification Evaluation for prismatic automotive

- Slides: 1

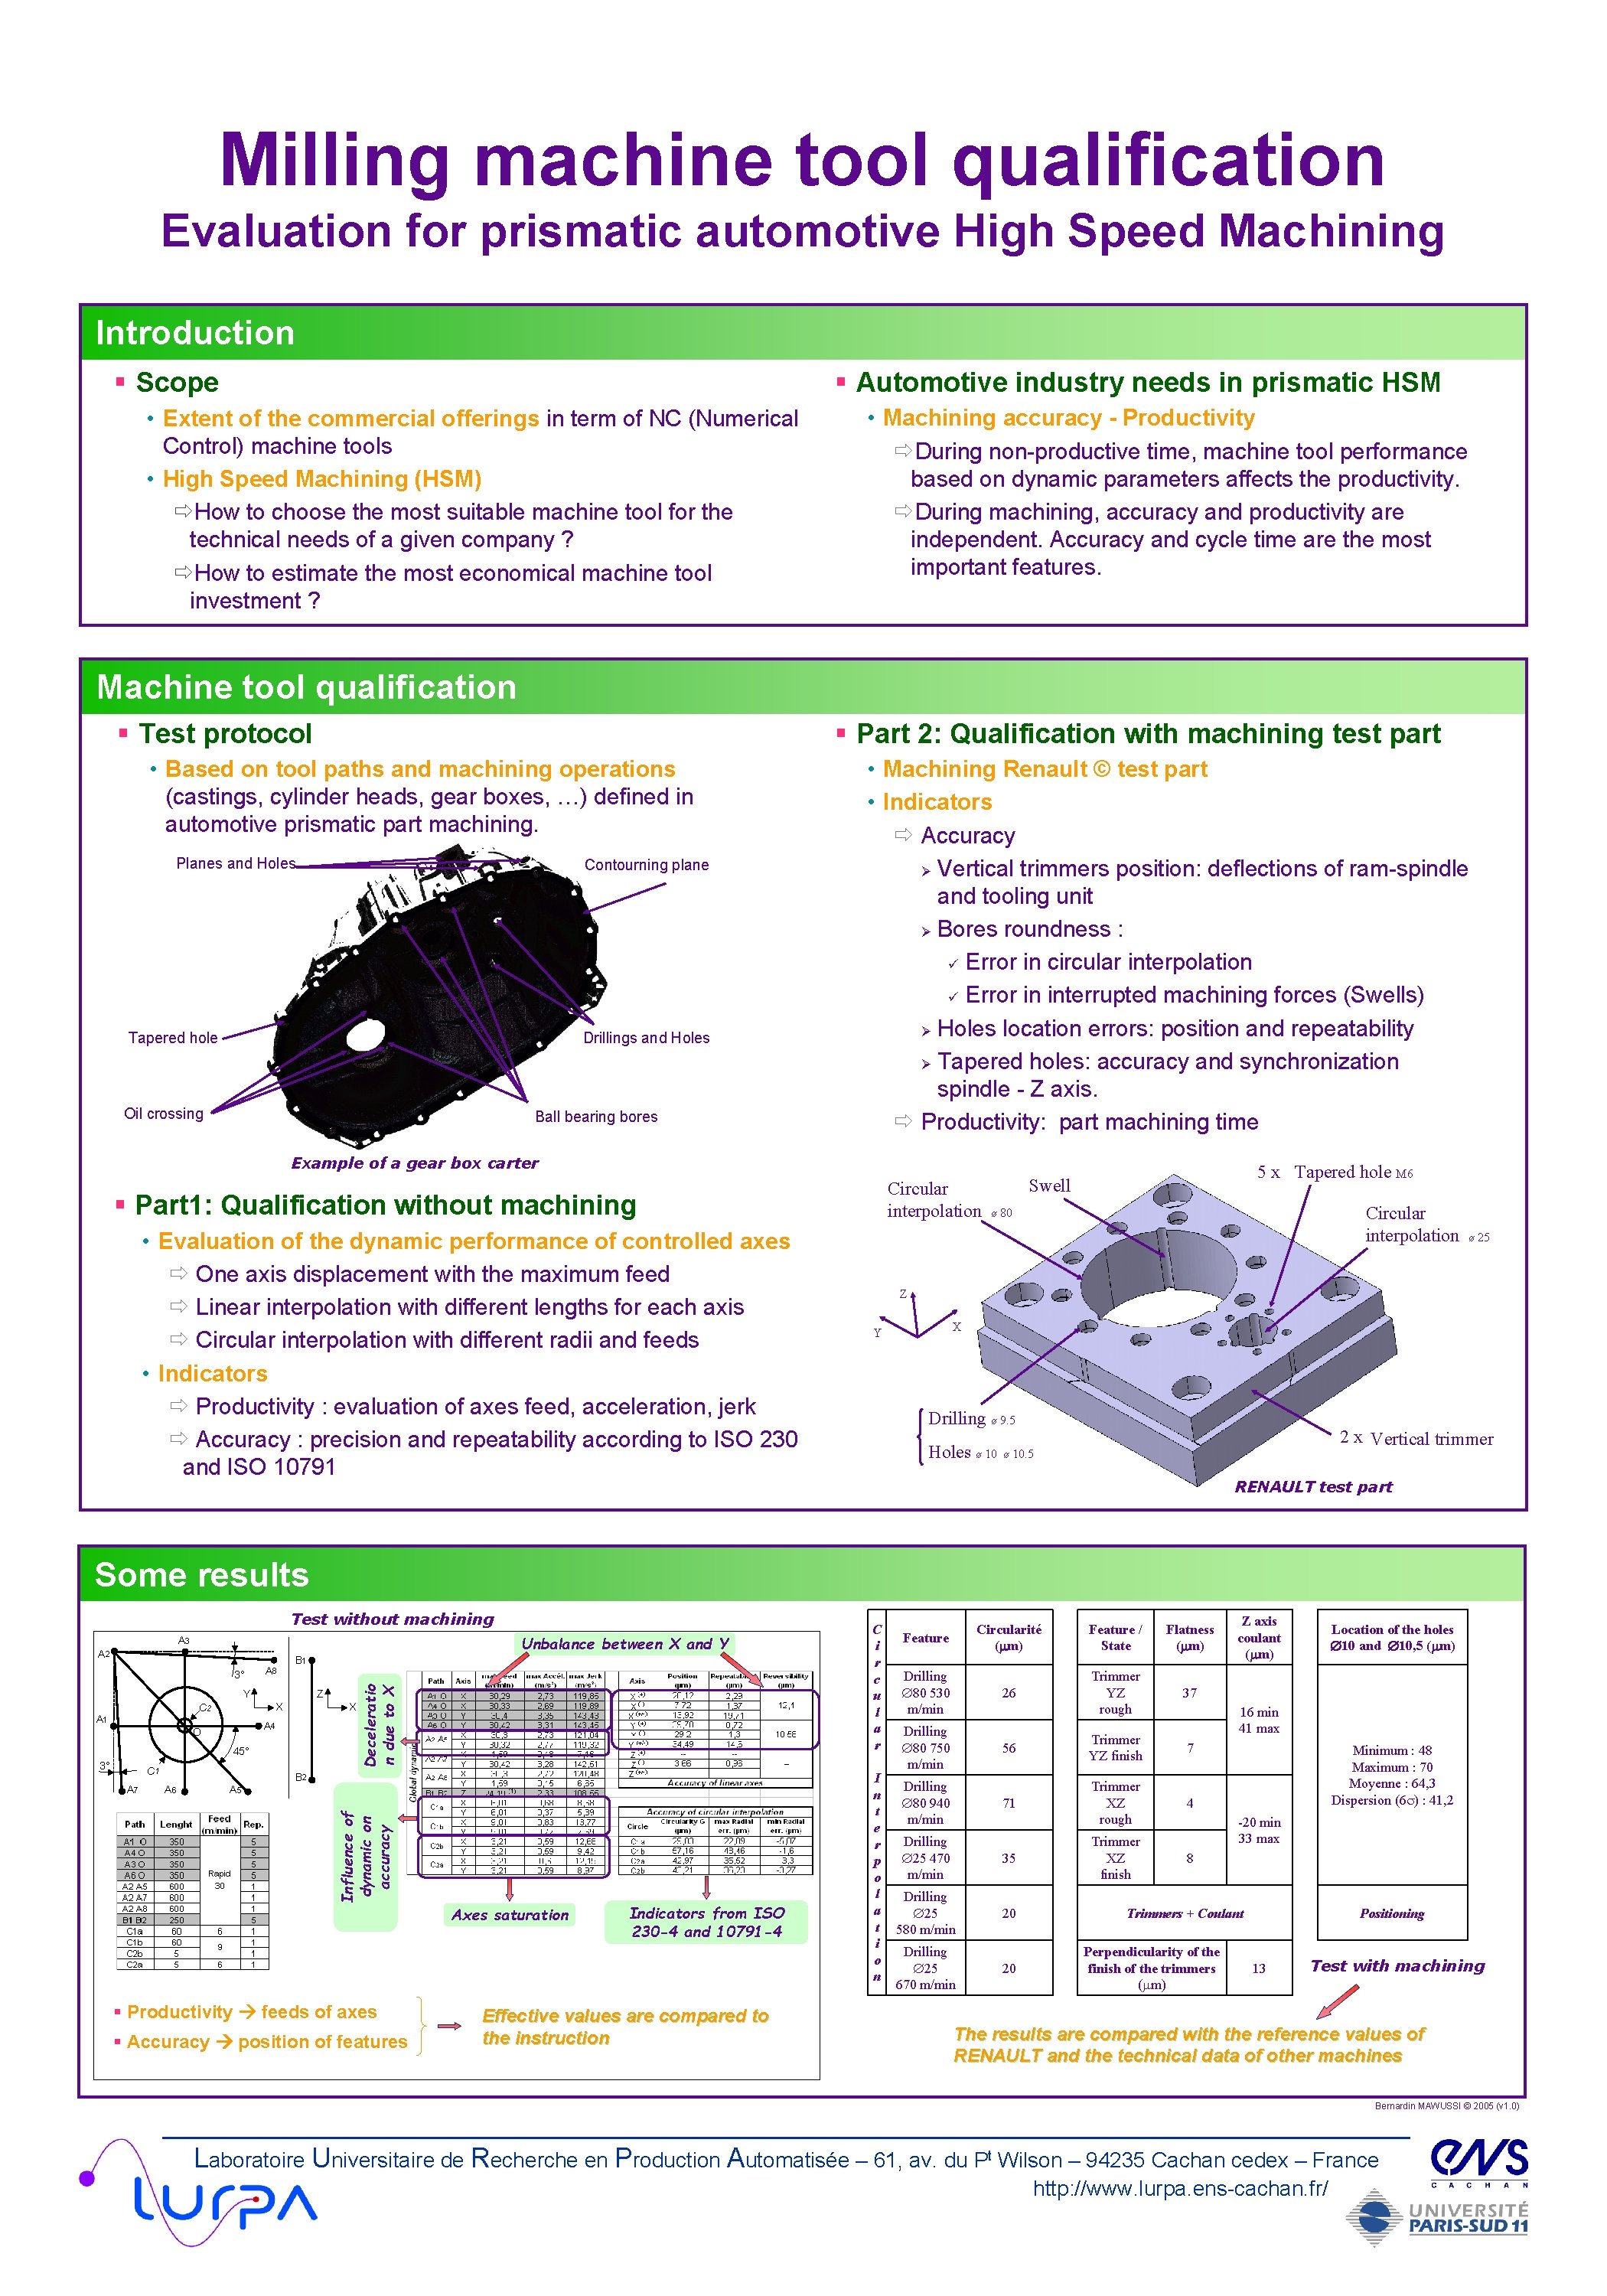
Milling machine tool qualification Evaluation for prismatic automotive High Speed Machining Introduction § Automotive industry needs in prismatic HSM § Scope • Extent of the commercial offerings in term of NC (Numerical Control) machine tools • High Speed Machining (HSM) ðHow to choose the most suitable machine tool for the technical needs of a given company ? ðHow to estimate the most economical machine tool investment ? • Machining accuracy - Productivity ðDuring non-productive time, machine tool performance based on dynamic parameters affects the productivity. ðDuring machining, accuracy and productivity are independent. Accuracy and cycle time are the most important features. Machine tool qualification § Part 2: Qualification with machining test part § Test protocol • Based on tool paths and machining operations (castings, cylinder heads, gear boxes, …) defined in automotive prismatic part machining. Planes and Holes Contourning plane Tapered hole Drillings and Holes Oil crossing Ball bearing bores • Machining Renault © test part • Indicators ð Accuracy Ø Vertical trimmers position: deflections of ram-spindle and tooling unit Ø Bores roundness : ü Error in circular interpolation ü Error in interrupted machining forces (Swells) Ø Holes location errors: position and repeatability Ø Tapered holes: accuracy and synchronization spindle - Z axis. ð Productivity: part machining time Example of a gear box carter Circular interpolation § Part 1: Qualification without machining • Evaluation of the dynamic performance of controlled axes ð One axis displacement with the maximum feed ð Linear interpolation with different lengths for each axis ð Circular interpolation with different radii and feeds • Indicators ð Productivity : evaluation of axes feed, acceleration, jerk ð Accuracy : precision and repeatability according to ISO 230 and ISO 10791 5 x Tapered hole M 6 Swell Circular interpolation ø 80 ø 25 Z X Y Drilling ø 9. 5 Holes ø 10 2 x Vertical trimmer ø 10. 5 RENAULT test part Some results Test without machining Unbalance between X and Y A 3 3° A 8 B 1 Y Z X C 2 A 1 X A 4 O 45° 3° C 1 B 2 A 6 A 5 Influence of dynamic on accuracy A 7 Deceleratio n due to X A 2 Axes saturation § Productivity feeds of axes § Accuracy position of features Indicators from ISO 230 -4 and 10791 -4 Effective values are compared to the instruction C i r c u l a r I n t e r p o l a t i o n Circularité (mm) Feature / State Flatness (mm) Drilling Æ80 530 m/min 26 Trimmer YZ rough 37 Drilling Æ80 750 m/min 56 Trimmer YZ finish 7 71 Trimmer XZ rough 4 Trimmer XZ finish 8 Feature Drilling Æ80 940 m/min Drilling Æ25 470 m/min 35 Drilling Æ25 580 m/min 20 Drilling Æ25 670 m/min 20 Z axis coulant (mm) Location of the holes Æ10 and Æ10, 5 (mm) 16 min 41 max Minimum : 48 Maximum : 70 Moyenne : 64, 3 Dispersion (6 s) : 41, 2 -20 min 33 max Trimmers + Coulant Perpendicularity of the finish of the trimmers (mm) Positioning 13 Test with machining The results are compared with the reference values of RENAULT and the technical data of other machines Bernardin MAWUSSI © 2005 (v 1. 0) Laboratoire Universitaire de Recherche en Production Automatisée – 61, av. du Pt Wilson – 94235 Cachan cedex – France http: //www. lurpa. ens-cachan. fr/