METROLOGY MARKING OUT MARKING OUT INSTRUMENT Definitions Marking


- Slides: 25

METROLOGY & MARKING OUT

MARKING OUT INSTRUMENT

Definitions Marking out is the accurate transference of dimensions from drawings or specifications to a workpiece. Accurate marking out is fundamental to all metal working processes and the methods employed are common to all branches of the craft.

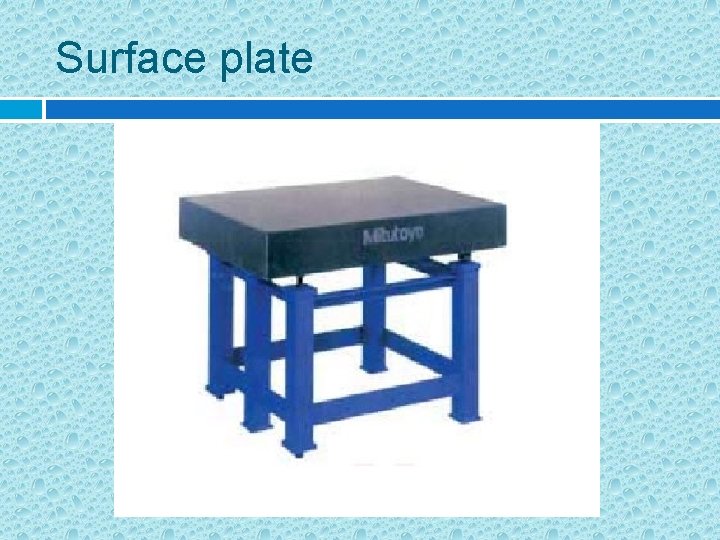
Surface plate These provide a true plane of reference for testing other surfaces. They provide a datum of surface from which measuring and marking out activities of all kinds may be performed. They are either made form fine-grade cast iron, or granite. Their surfaces are very accurately machined and they are often finished by hand to ensure a perfectly true surface. Surfaces plates and tables should be kept scrupulously clean and be protected by a cover

Surface plate

Vernier height gauge This is used in conjunction with a surface table and consists of a heavy base supporting the column on which the main scale is engraved. It is used for accurately measuring the height of components, using the surface table as the datum. It must attached a scriber for marking purposes. Work Technique Set the dimension surface gauge to the correct dimension. Place the workpiece with its reference surface (reference plane) on the marking plate. Draw marking lines by moving the surface gauge smoothly on the marking plate in the direction of stroke.

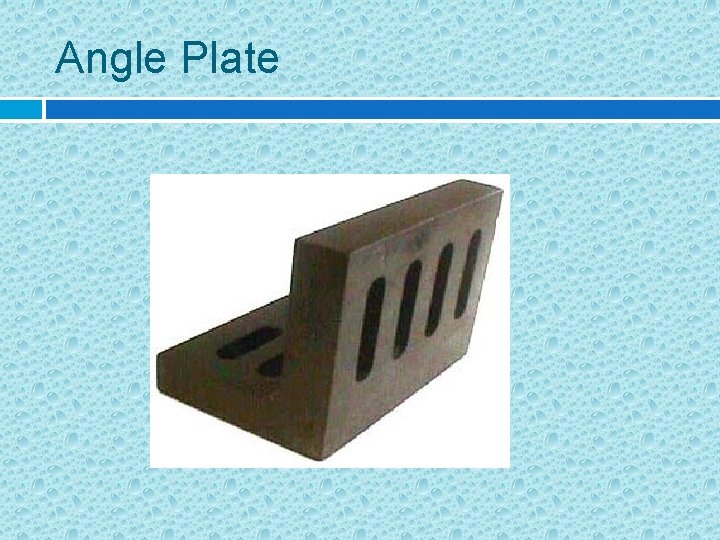
Angle Plate An angle plate are used for supporting or setting up work vertically, and are provided with holes and slots through which securing bolts can be located. It is made of cast iron and ground to a high degree of accuracy. Usually, workpieces are fastened or clamped at plate when marking.

Angle Plate

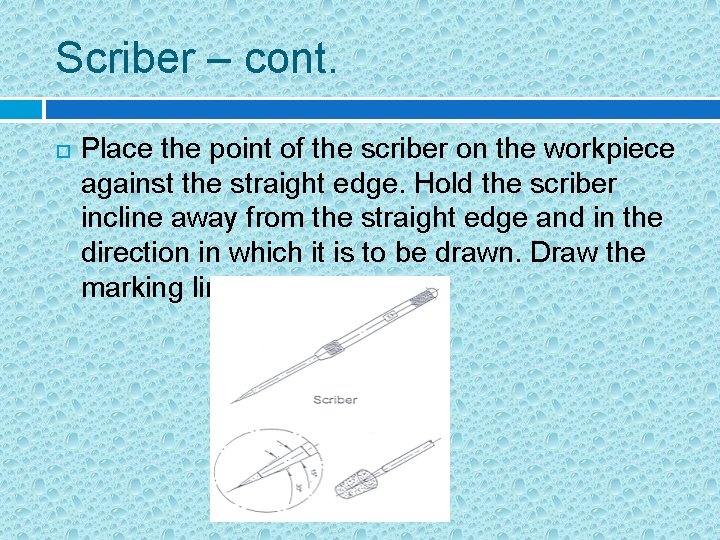
Scriber A scriber is used for marking out by scratching or scribing very fine lines on the workpiece. It is used in conjunction with a square or a straightedge etc. , in the same way that a pencil is used in conjunction with a protractor or a set squares. It is made from tool steel and has a hardened point, which has an included angle of about 30°. A steel needle (hardened point) is used for marking hard material. If possible or necessary, apply layout dye. A brass needle or pencil is used for marking softer

Scriber – cont. Place the point of the scriber on the workpiece against the straight edge. Hold the scriber incline away from the straight edge and in the direction in which it is to be drawn. Draw the marking line once only.

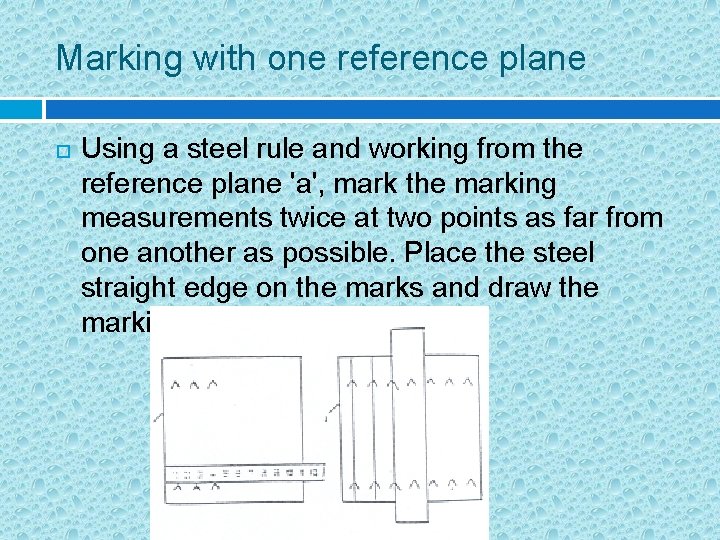
Marking with one reference plane Using a steel rule and working from the reference plane 'a', mark the marking measurements twice at two points as far from one another as possible. Place the steel straight edge on the marks and draw the marking line with the scriber.

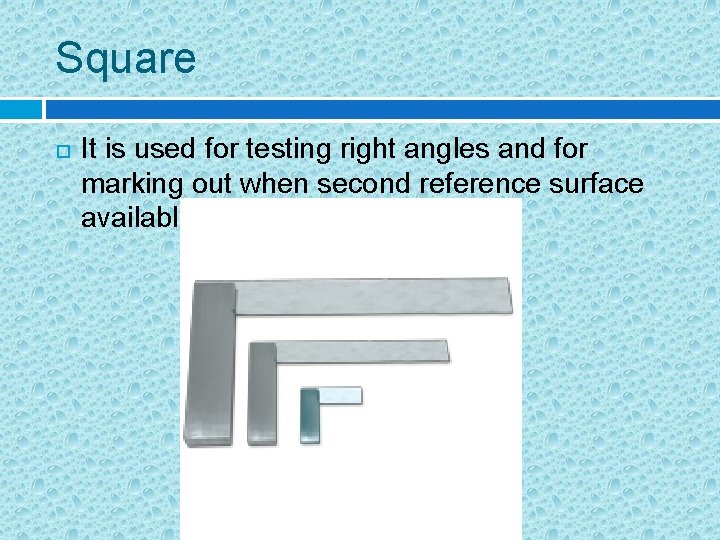
Square It is used for testing right angles and for marking out when second reference surface available.

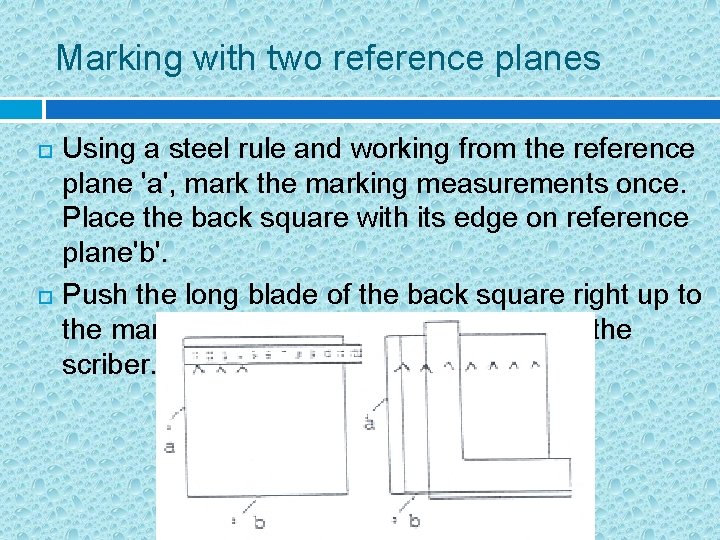
Marking with two reference planes Using a steel rule and working from the reference plane 'a', mark the marking measurements once. Place the back square with its edge on reference plane'b'. Push the long blade of the back square right up to the markings. Draw the marking line with the scriber.

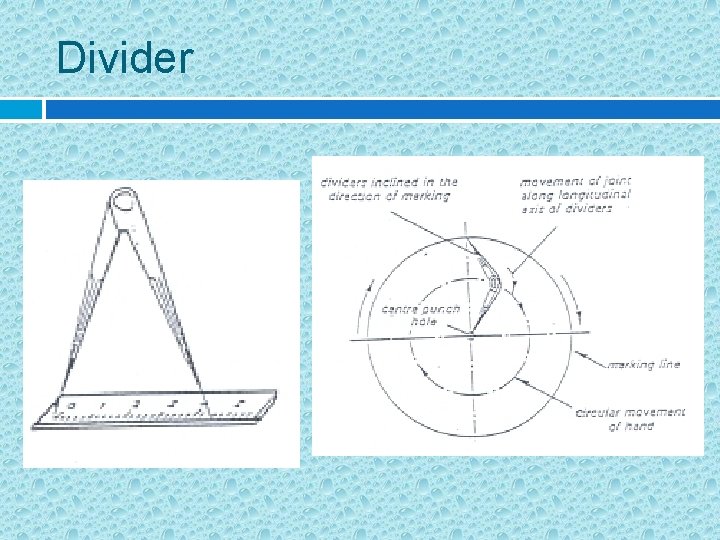
Dividers have two legs with needle points for circular maring. The points are harder than the material which has to be marked. The legs are of equal length. Work technique Set the dividers on the rule. Fine setting is achieved by lightly tapping one leg or by turning the nut. Pick up the dividers by the joint. Put one needle point into the center punch mark. Move the dividers round in a circle keeping the angle of inclination constant. Wrist holding the joint of the dividers must follow the circular movement.

Divider

Layout/prick punch The layout or prick punch and the centre punch differ only in the angle of the point. The prick punch is ground to an angle of 45° (30° to 60°) and is used to mark permanently the location of layout lines. The narrow angle of this punch makes a smaller and neater indentation in the metal surface. For the prick punch use only a 100 -200 gr hammer. One centre hole: one stroke only.

Centre punch The centre punch is ground to an angle of 75° (60°-90°) and is used to mark the location of the centre boles. The wider indentation permits easier and more accurate starting of a drill point. Use a heavier hammer (500 gr). Set the centre punch exactly on the intersection on the two lines. Use a light vertical stroke. Countercheck the position of the centre hole, and if the position is correct, use only one heavier vertical stroke to bring the centre hole to the

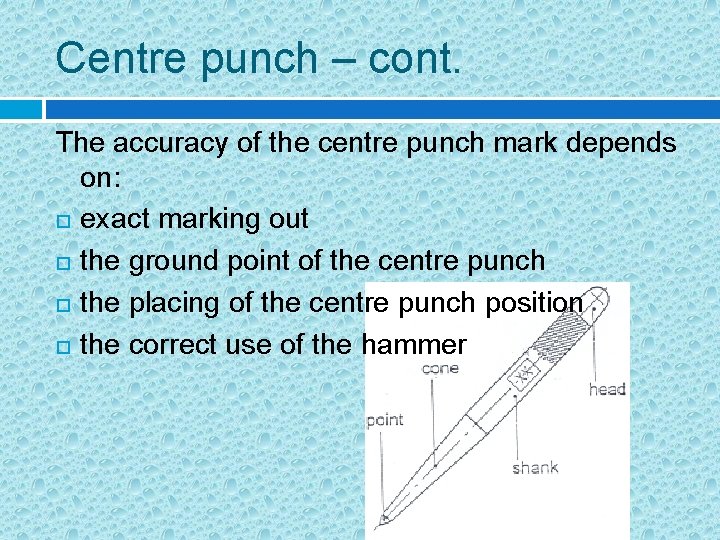
Centre punch – cont. The accuracy of the centre punch mark depends on: exact marking out the ground point of the centre punch the placing of the centre punch position the correct use of the hammer

MEASUREME NT ERRORS Metrology and Marking Out

Factors where become the measurement error There are many factors for measurement error. The factor are: The embodiment of the measure. The measuring device itself Method of measurement Environment factor such as temperature, dust, moisture, air pressures Human factors such as concentration and judgment, attention, practice and activity of vision.

Types of Measurement Errors Systematic errors Random errors

Systematic errors of measurement are those whose extend is constant for a given magnitude of measurement and which can therefore be detected, e. g. a constant temperature variation of the workpiece. This kind of error can be eliminated from the result by calculation.

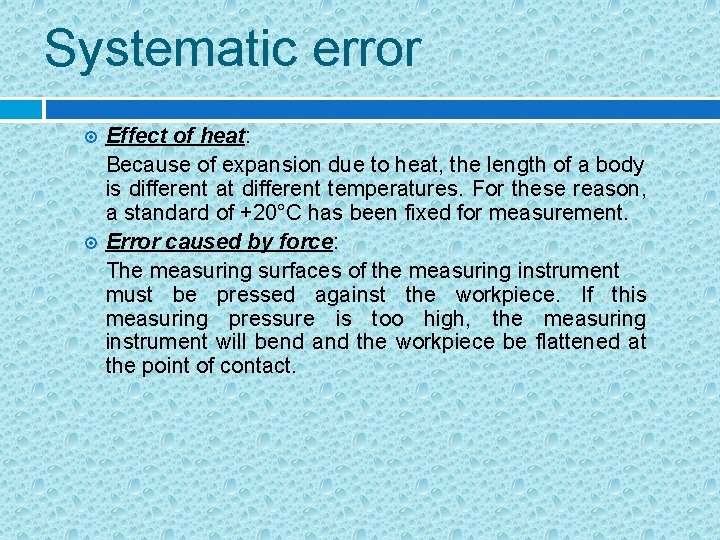
Systematic error Effect of heat: Because of expansion due to heat, the length of a body is different at different temperatures. For these reason, a standard of +20°C has been fixed for measurement. Error caused by force: The measuring surfaces of the measuring instrument must be pressed against the workpiece. If this measuring pressure is too high, the measuring instrument will bend and the workpiece be flattened at the point of contact.

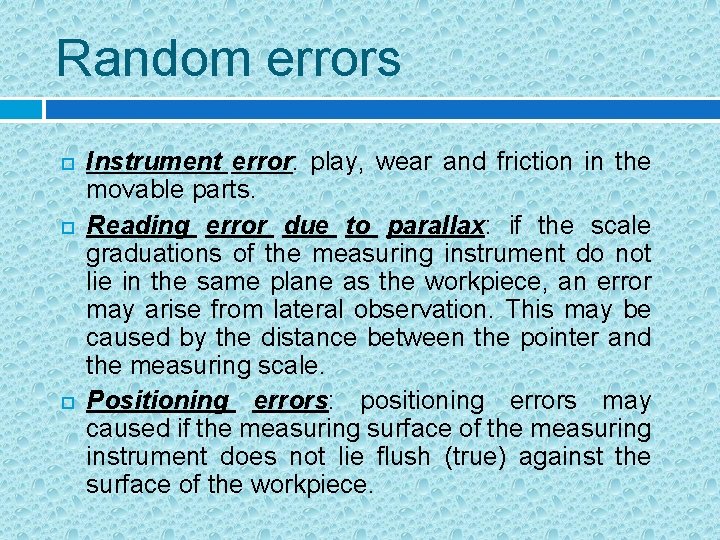
Random errors Instrument error: play, wear and friction in the movable parts. Reading error due to parallax: if the scale graduations of the measuring instrument do not lie in the same plane as the workpiece, an error may arise from lateral observation. This may be caused by the distance between the pointer and the measuring scale. Positioning errors: positioning errors may caused if the measuring surface of the measuring instrument does not lie flush (true) against the surface of the workpiece.

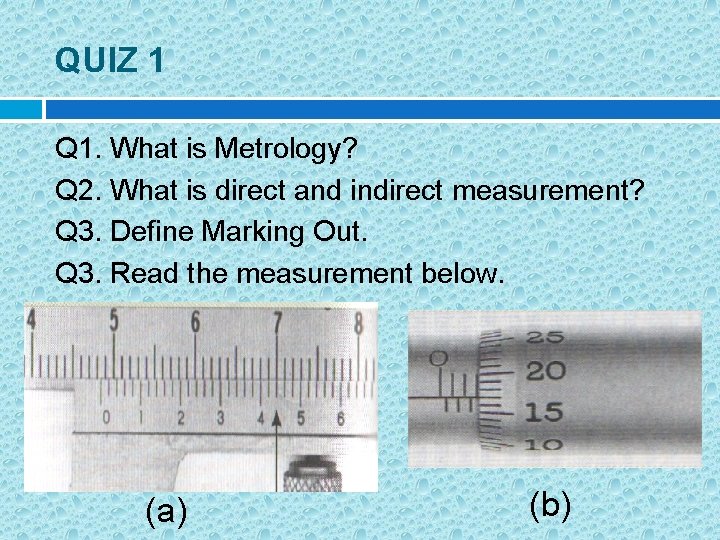
QUIZ 1 Q 1. What is Metrology? Q 2. What is direct and indirect measurement? Q 3. Define Marking Out. Q 3. Read the measurement below. (a) (b)