Measuring tools Modern engines use thinner casting and
- Slides: 24

Measuring tools • Modern engines use thinner casting and require more precise measuring Selectively fit engines • All parts are measured and marked according to size • Then selectively assembled for optimum clearance Copyright 2003 Gary Lewis - Dave Capitolo

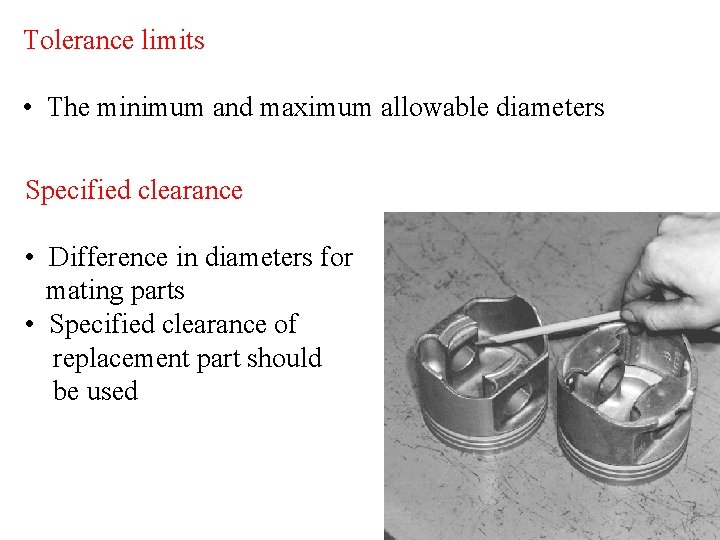
Tolerance limits • The minimum and maximum allowable diameters Specified clearance • Difference in diameters for mating parts • Specified clearance of replacement part should be used

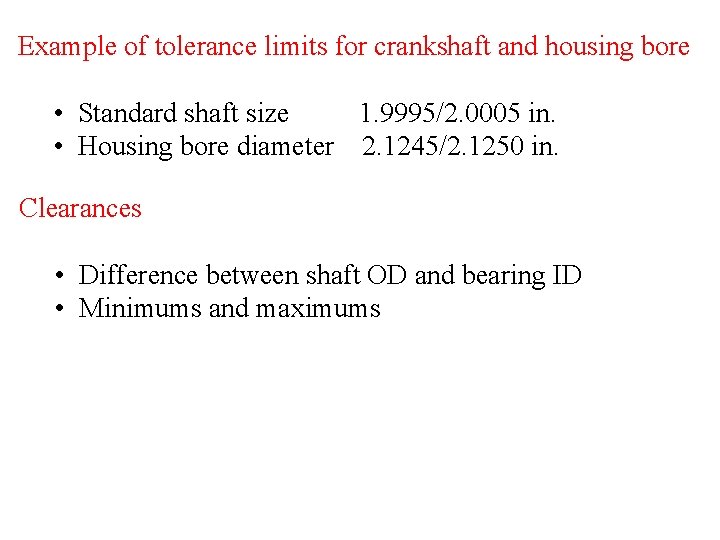
Example of tolerance limits for crankshaft and housing bore • Standard shaft size 1. 9995/2. 0005 in. • Housing bore diameter 2. 1245/2. 1250 in. Clearances • Difference between shaft OD and bearing ID • Minimums and maximums

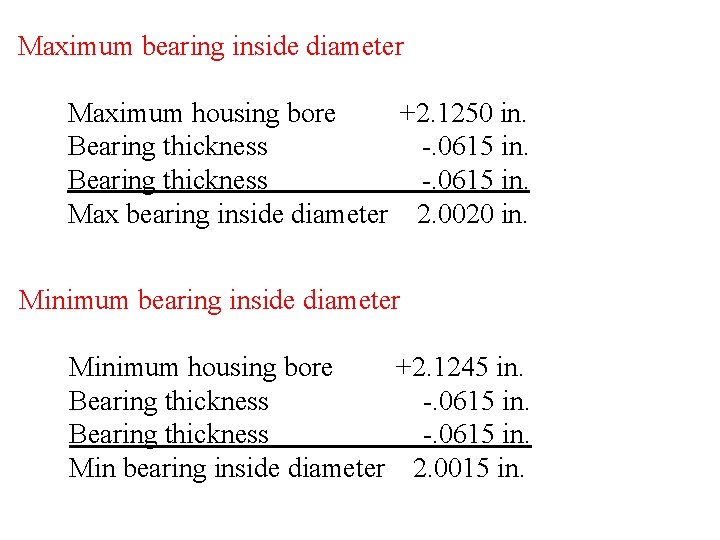
Maximum bearing inside diameter Maximum housing bore +2. 1250 in. Bearing thickness -. 0615 in. Max bearing inside diameter 2. 0020 in. Minimum bearing inside diameter Minimum housing bore +2. 1245 in. Bearing thickness -. 0615 in. Min bearing inside diameter 2. 0015 in.

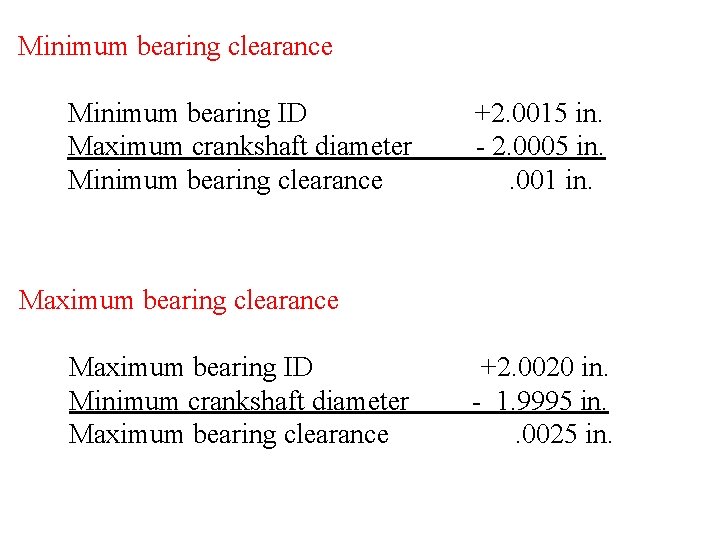
Minimum bearing clearance Minimum bearing ID Maximum crankshaft diameter Minimum bearing clearance +2. 0015 in. - 2. 0005 in. . 001 in. Maximum bearing clearance Maximum bearing ID Minimum crankshaft diameter Maximum bearing clearance +2. 0020 in. - 1. 9995 in. . 0025 in.

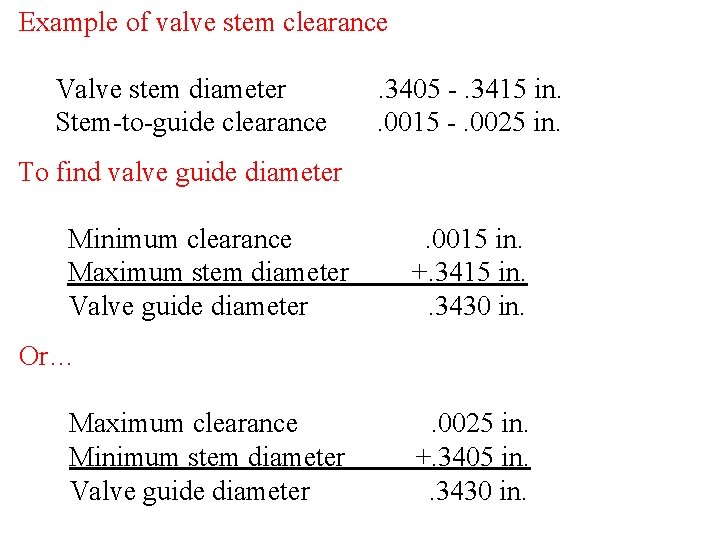
Example of valve stem clearance Valve stem diameter Stem-to-guide clearance . 3405 -. 3415 in. . 0015 -. 0025 in. To find valve guide diameter Minimum clearance Maximum stem diameter Valve guide diameter . 0015 in. +. 3415 in. . 3430 in. Or… Maximum clearance Minimum stem diameter Valve guide diameter . 0025 in. +. 3405 in. . 3430 in.

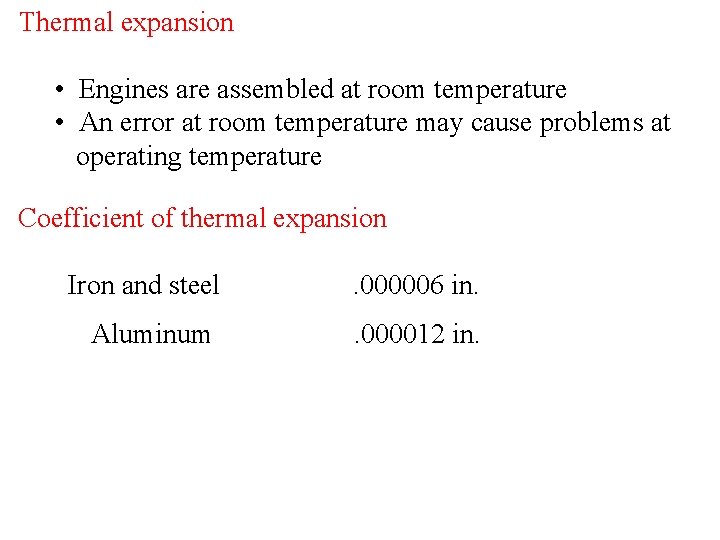
Thermal expansion • Engines are assembled at room temperature • An error at room temperature may cause problems at operating temperature Coefficient of thermal expansion Iron and steel . 000006 in. Aluminum . 000012 in.

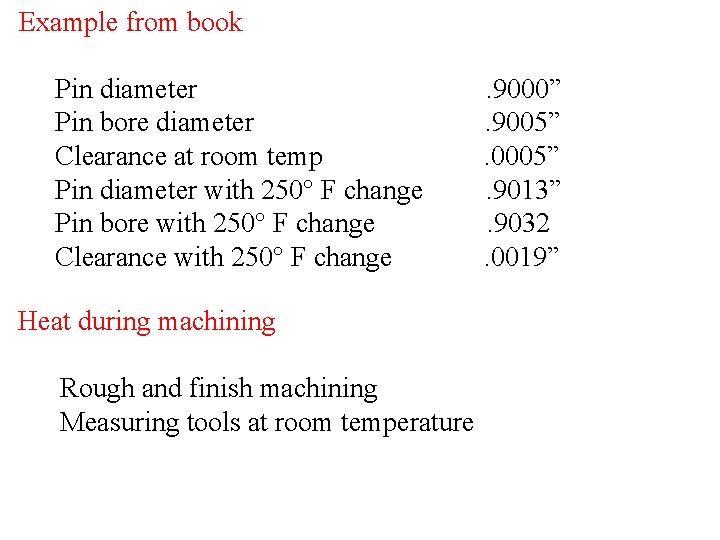
Example from book Pin diameter Pin bore diameter Clearance at room temp Pin diameter with 250° F change Pin bore with 250° F change Clearance with 250° F change Heat during machining Rough and finish machining Measuring tools at room temperature . 9000”. 9005”. 0005”. 9013”. 9032. 0019”

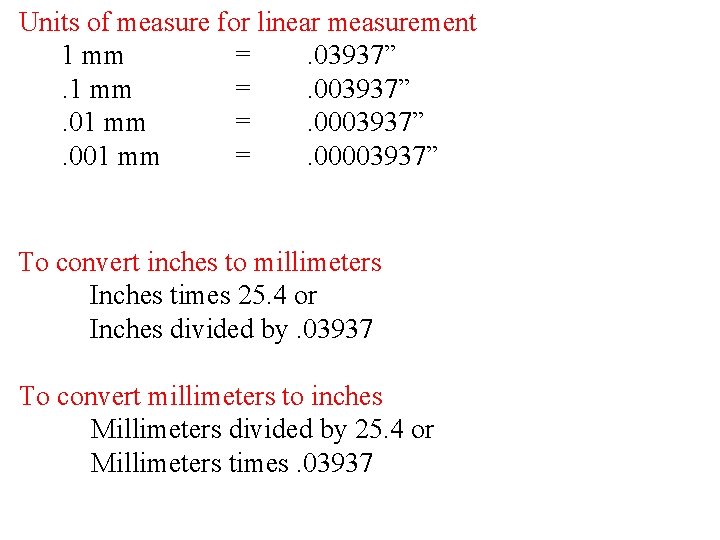
Units of measure for linear measurement 1 mm =. 03937”. 1 mm =. 003937”. 01 mm =. 0003937”. 001 mm =. 00003937” To convert inches to millimeters Inches times 25. 4 or Inches divided by. 03937 To convert millimeters to inches Millimeters divided by 25. 4 or Millimeters times. 03937

Measuring tools • Outside micrometer • • Inside micrometer Depth micrometer Telescoping gauge Split ball gauge Dial indicator Dial bore gauge Calipers

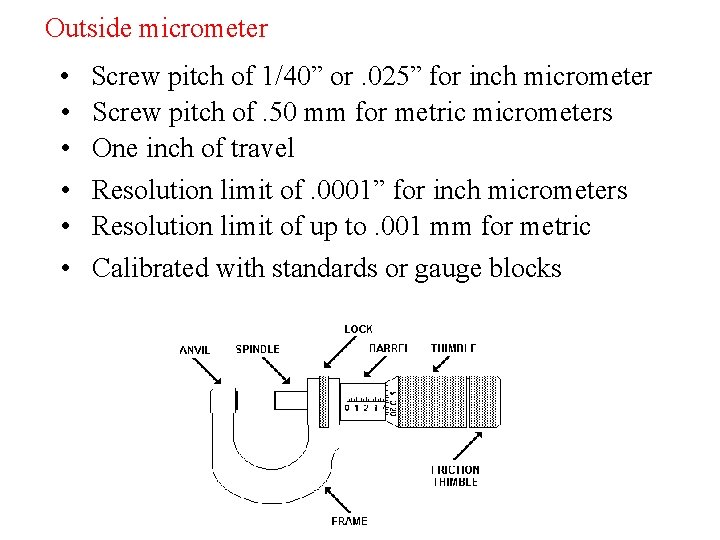
Outside micrometer • • • Screw pitch of 1/40” or. 025” for inch micrometer Screw pitch of. 50 mm for metric micrometers One inch of travel Resolution limit of. 0001” for inch micrometers Resolution limit of up to. 001 mm for metric Calibrated with standards or gauge blocks

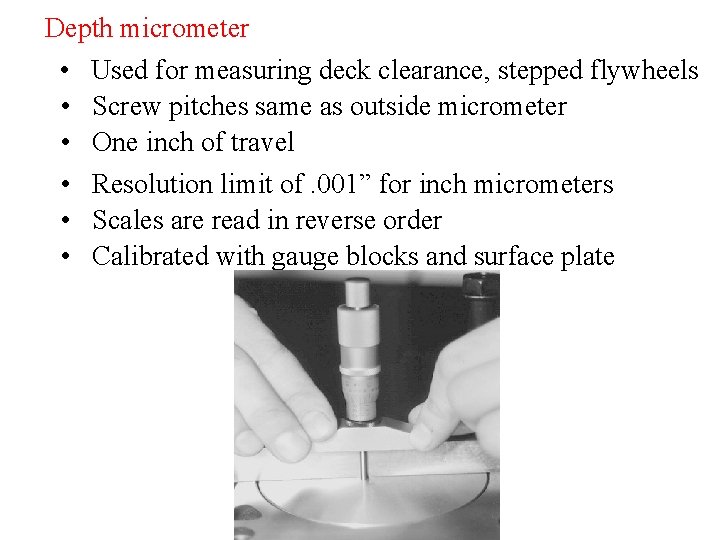
Depth micrometer • Used for measuring deck clearance, stepped flywheels • Screw pitches same as outside micrometer • One inch of travel • Resolution limit of. 001” for inch micrometers • Scales are read in reverse order • Calibrated with gauge blocks and surface plate

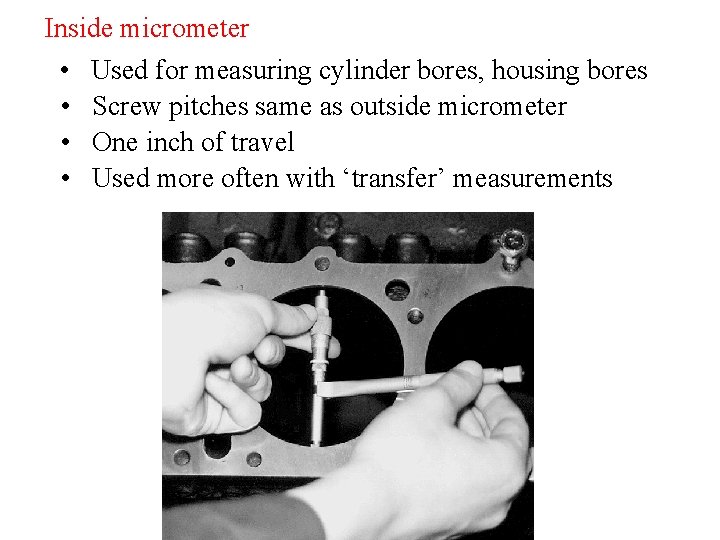
Inside micrometer • Used for measuring cylinder bores, housing bores • Screw pitches same as outside micrometer • One inch of travel • Used more often with ‘transfer’ measurements

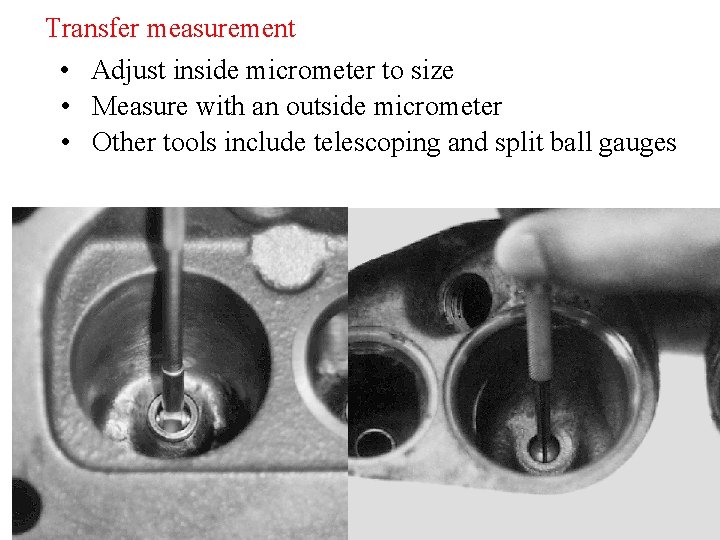
Transfer measurement • Adjust inside micrometer to size • Measure with an outside micrometer • Other tools include telescoping and split ball gauges

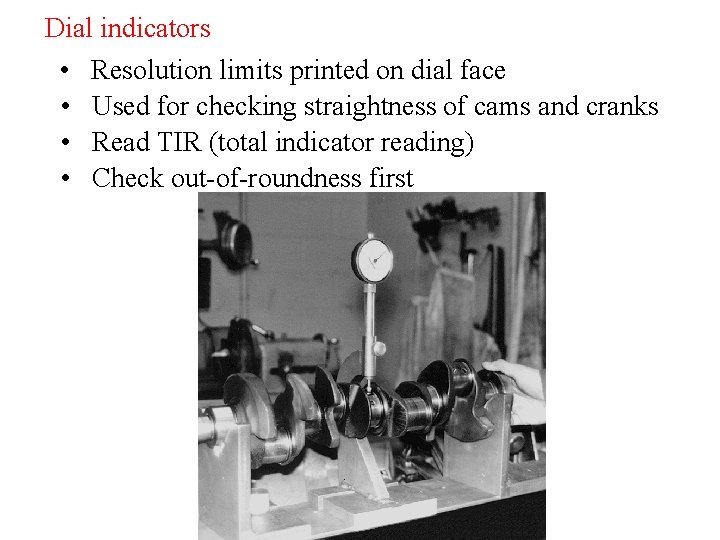
Dial indicators • Resolution limits printed on dial face • Used for checking straightness of cams and cranks • Read TIR (total indicator reading) • Check out-of-roundness first

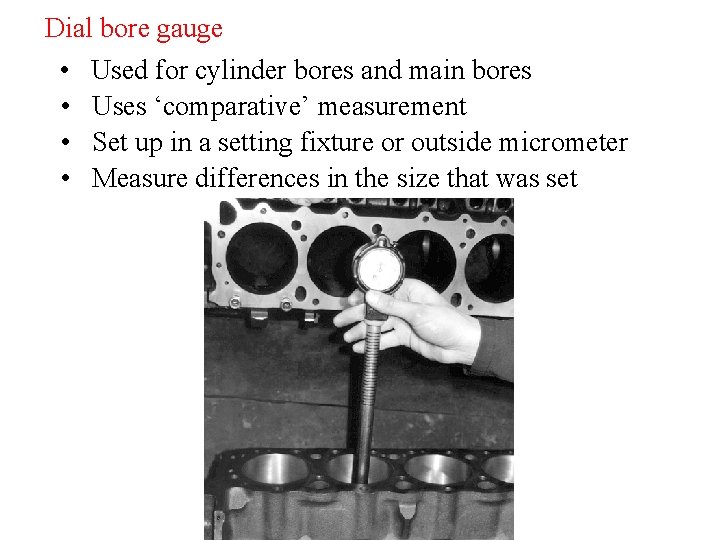
Dial bore gauge • Used for cylinder bores and main bores • Uses ‘comparative’ measurement • Set up in a setting fixture or outside micrometer • Measure differences in the size that was set

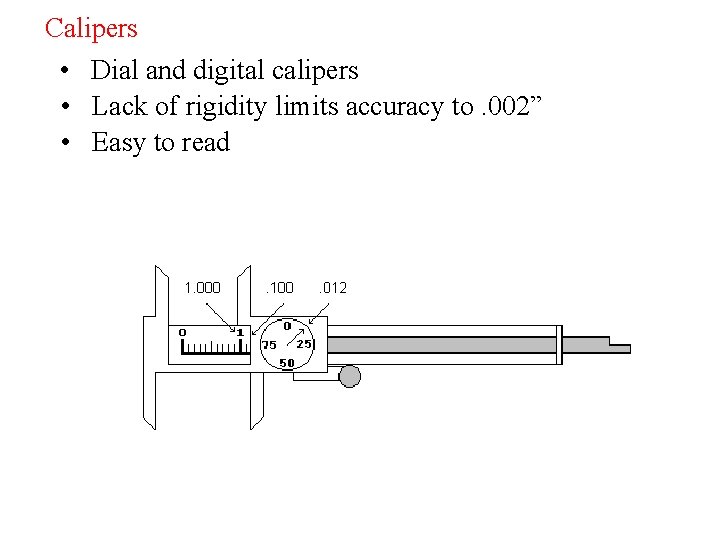
Calipers • Dial and digital calipers • Lack of rigidity limits accuracy to. 002” • Easy to read

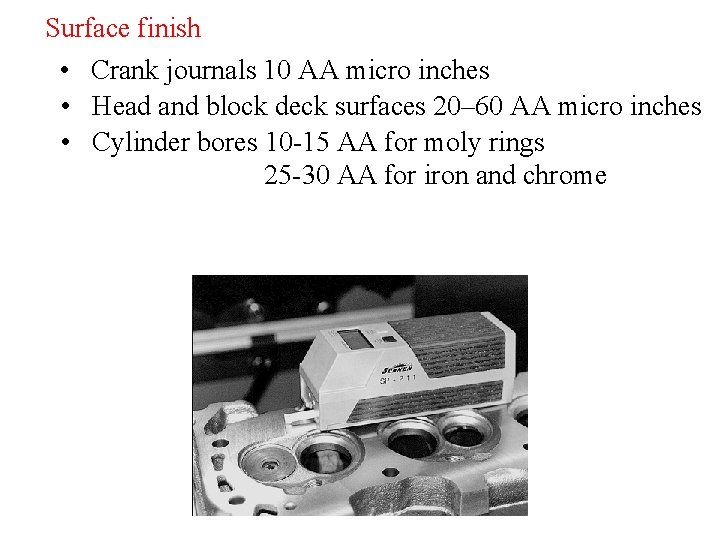
Surface finish • Crank journals 10 AA micro inches • Head and block deck surfaces 20– 60 AA micro inches • Cylinder bores 10 -15 AA for moly rings 25 -30 AA for iron and chrome

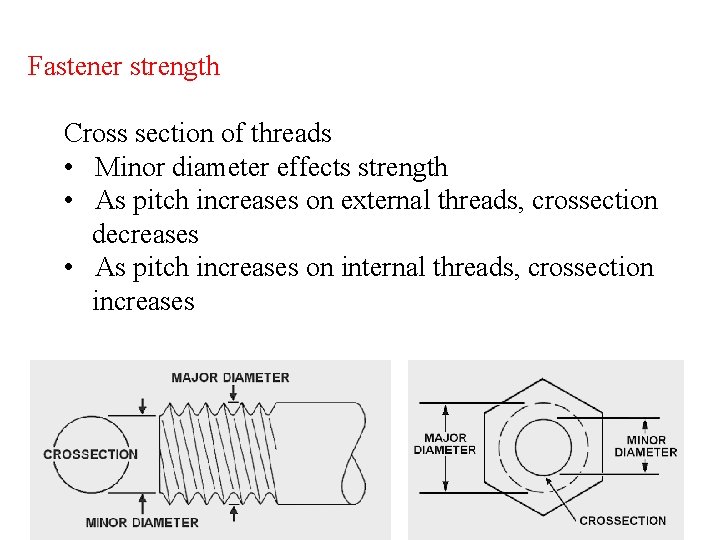
Fastener terminology Major diameter - Largest thread diameter Minor diameter - Smallest thread diameter Pitch - Distance between threads Threads per inch - Number of thread in a linear inch Grade - A system of grading fastener strength

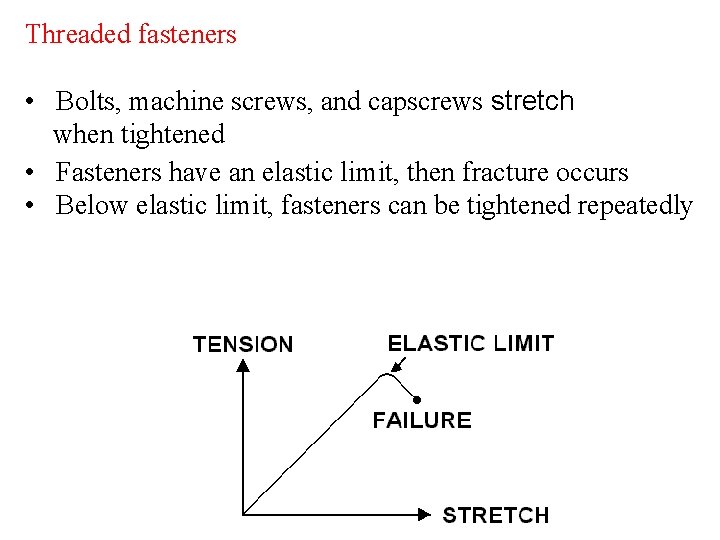
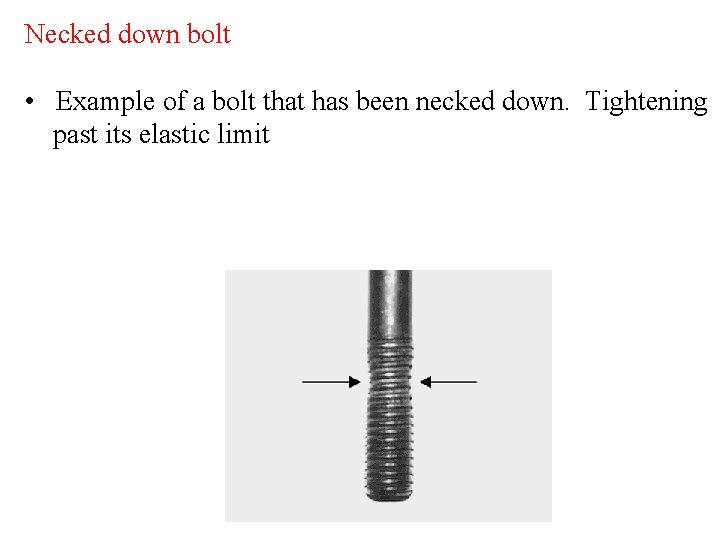
Threaded fasteners • Bolts, machine screws, and capscrews stretch when tightened • Fasteners have an elastic limit, then fracture occurs • Below elastic limit, fasteners can be tightened repeatedly

Necked down bolt • Example of a bolt that has been necked down. Tightening past its elastic limit

Fastener strength Cross section of threads • Minor diameter effects strength • As pitch increases on external threads, crossection decreases • As pitch increases on internal threads, crossection increases

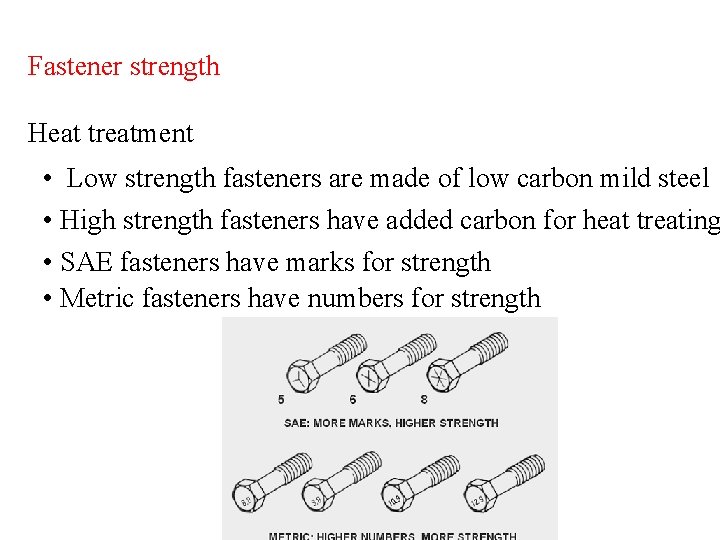
Fastener strength Heat treatment • Low strength fasteners are made of low carbon mild steel • High strength fasteners have added carbon for heat treating • SAE fasteners have marks for strength • Metric fasteners have numbers for strength

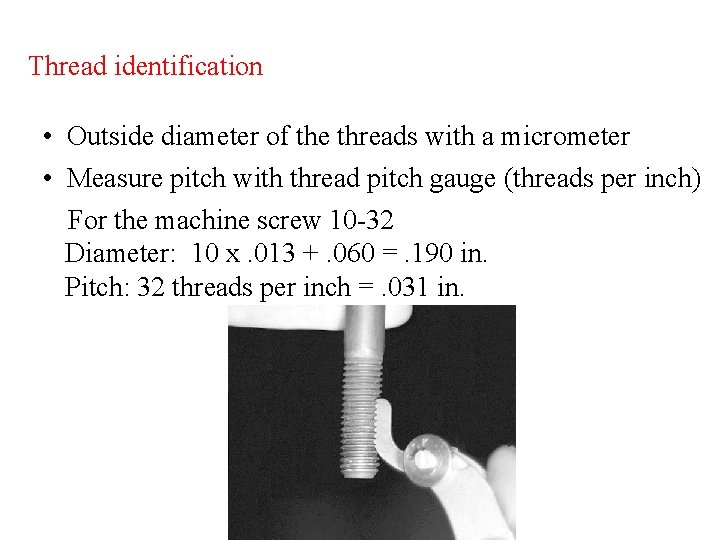
Thread identification • Outside diameter of the threads with a micrometer • Measure pitch with thread pitch gauge (threads per inch) • For the machine screw 10 -32 Diameter: 10 x. 013 +. 060 =. 190 in. Pitch: 32 threads per inch =. 031 in.