Measurement I Measurement A A quantity that has
- Slides: 24

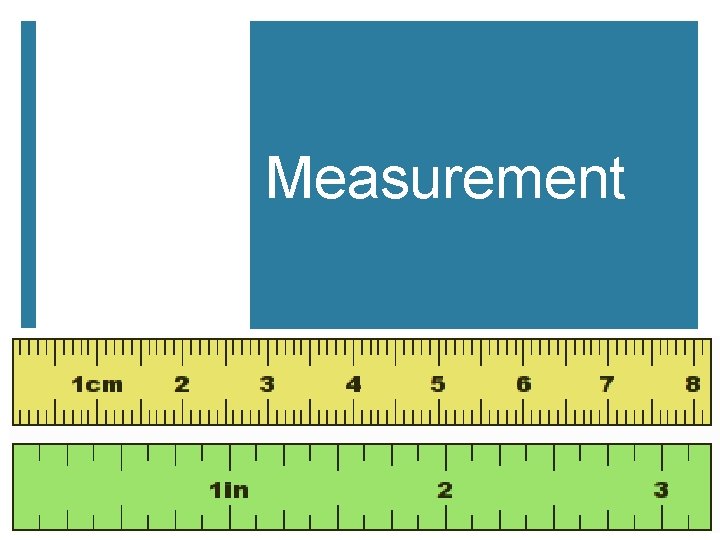
Measurement

I. Measurement A. A quantity that has both a number and a unit 1. Which is a measurement? i. 12 cm ii. 134. 54 iii. 0. 0034

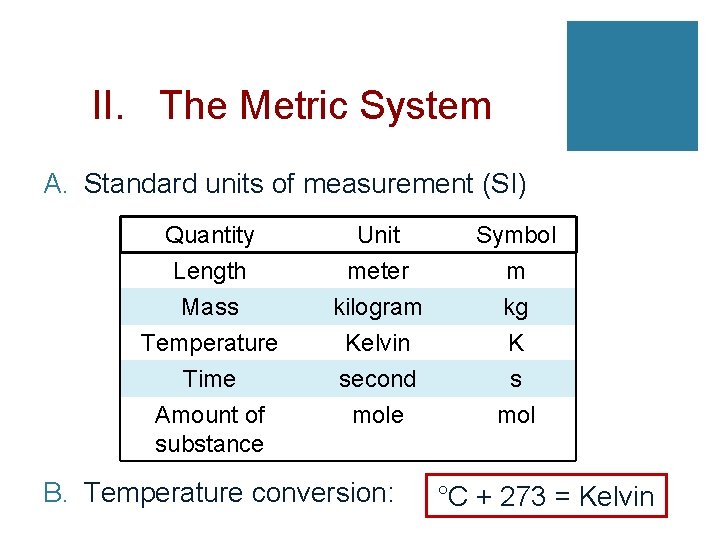
II. The Metric System A. Standard units of measurement (SI) Quantity Length Mass Temperature Unit meter kilogram Kelvin Symbol m kg K Time Amount of substance second mole s mol B. Temperature conversion: °C + 273 = Kelvin

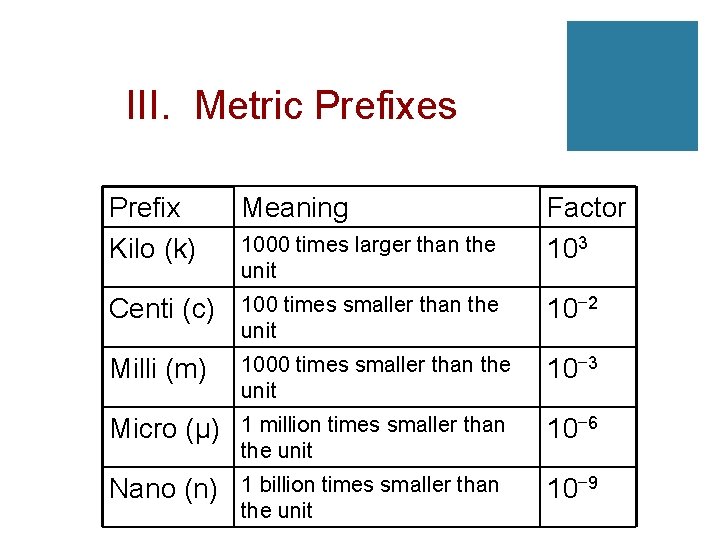
III. Metric Prefixes Prefix Kilo (k) Meaning Centi (c) 100 times smaller than the unit 10− 2 Milli (m) 1000 times smaller than the unit 10− 3 Micro (μ) 1 million times smaller than the unit 10− 6 Nano (n) 1 billion times smaller than the unit 10− 9 1000 times larger than the unit Factor 103

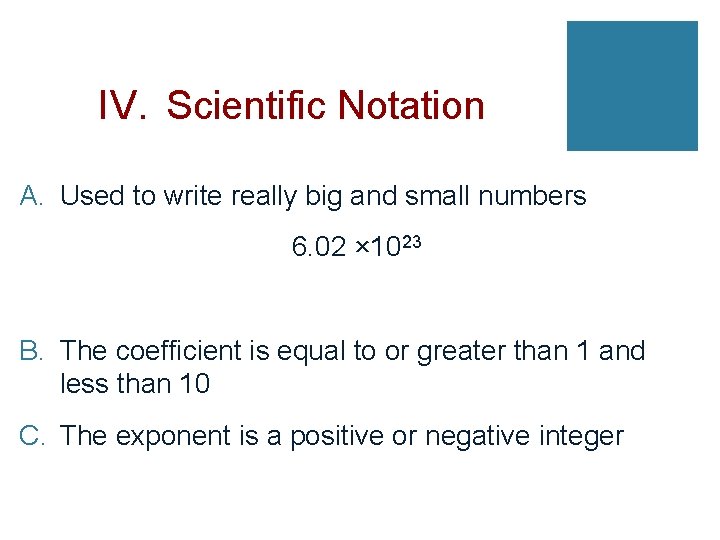
IV. Scientific Notation A. Used to write really big and small numbers 6. 02 × 1023 B. The coefficient is equal to or greater than 1 and less than 10 C. The exponent is a positive or negative integer

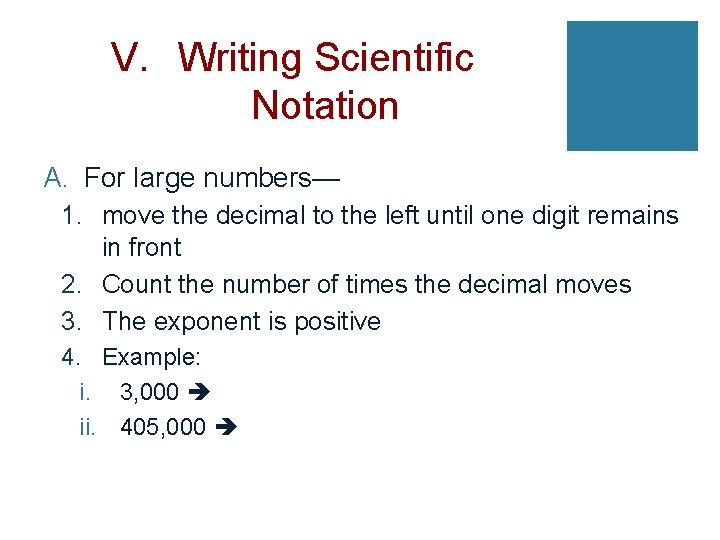
V. Writing Scientific Notation A. For large numbers— 1. move the decimal to the left until one digit remains in front 2. Count the number of times the decimal moves 3. The exponent is positive 4. Example: i. 3, 000 3 x 10³ ii. 405, 000 4. 05 x 105

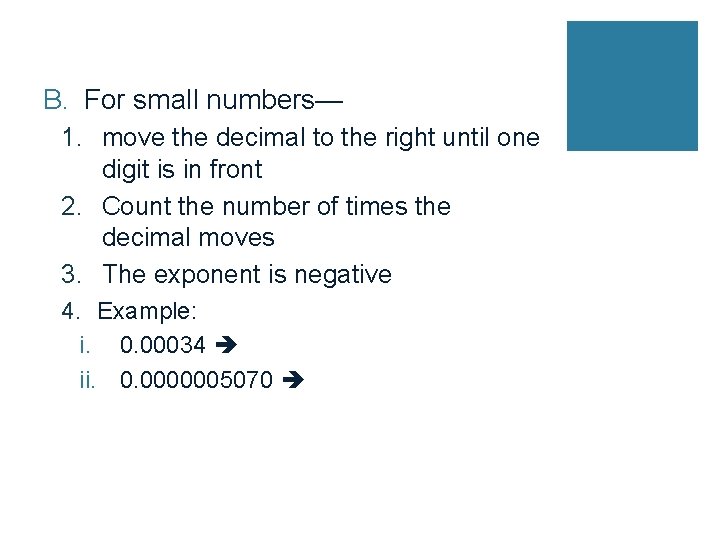
B. For small numbers— 1. move the decimal to the right until one digit is in front 2. Count the number of times the decimal moves 3. The exponent is negative 4. Example: i. 0. 00034 3. 4 x 10− 4 ii. 0. 0000005070 5. 070 x 10− 7

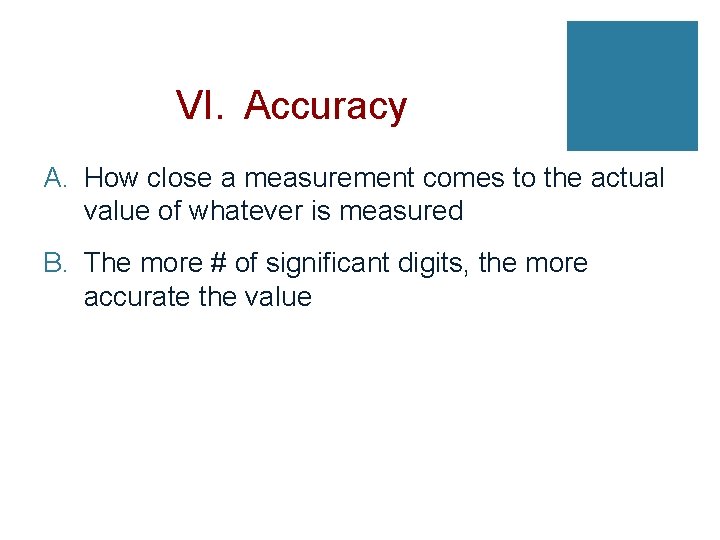
VI. Accuracy A. How close a measurement comes to the actual value of whatever is measured B. The more # of significant digits, the more accurate the value

VII. Precision A. How close a series of measurements are to one another or “repeatability” B. You must compare two or more measurements to each other

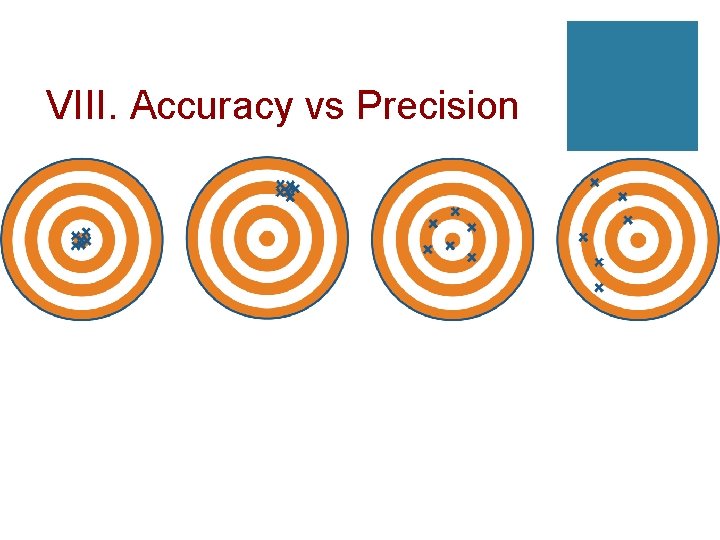
VIII. Accuracy vs Precision

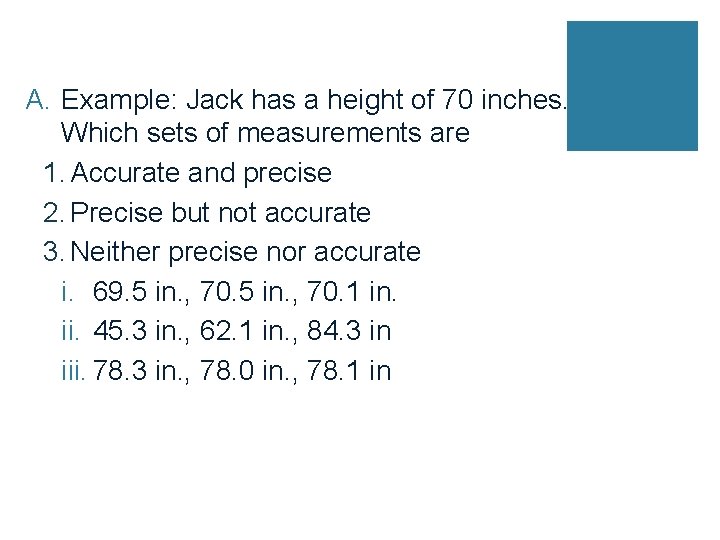
A. Example: Jack has a height of 70 inches. Which sets of measurements are 1. Accurate and precise 2. Precise but not accurate 3. Neither precise nor accurate i. 69. 5 in. , 70. 1 in. ii. 45. 3 in. , 62. 1 in. , 84. 3 in iii. 78. 3 in. , 78. 0 in. , 78. 1 in

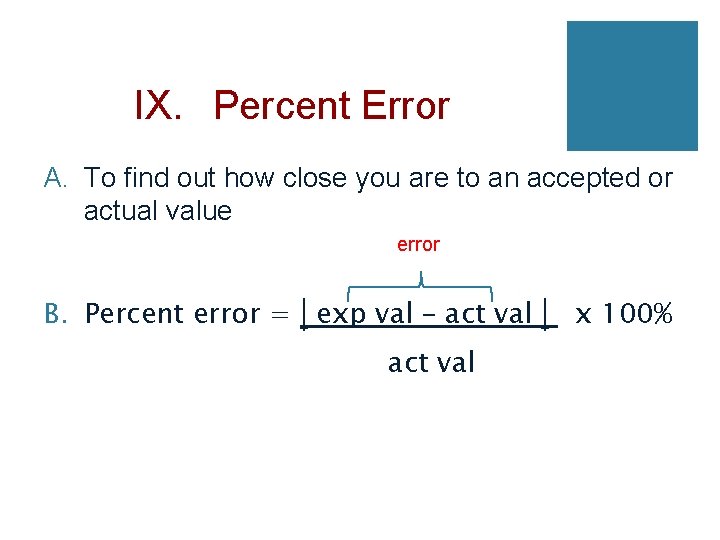
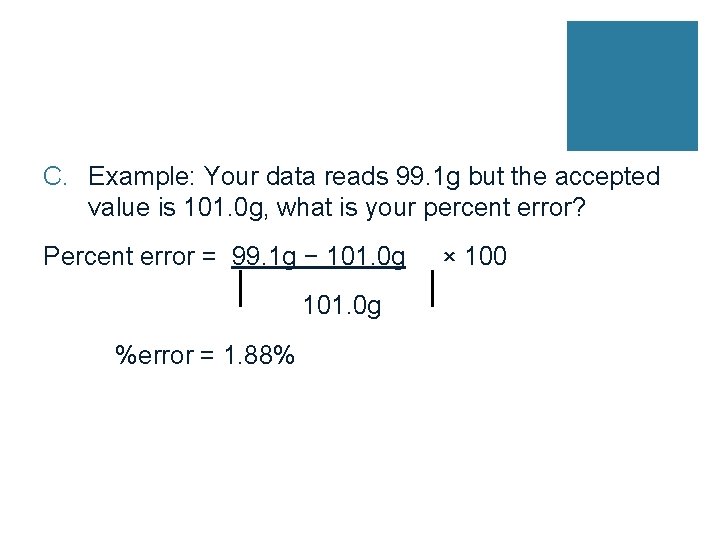
IX. Percent Error A. To find out how close you are to an accepted or actual value error B. Percent error = exp val – act val x 100%

C. Example: Your data reads 99. 1 g but the accepted value is 101. 0 g, what is your percent error? Percent error = 99. 1 g − 101. 0 g %error = 1. 88% × 100

X. Measuring with Accuracy ¡Includes all the digits that are known, plus one that is estimated

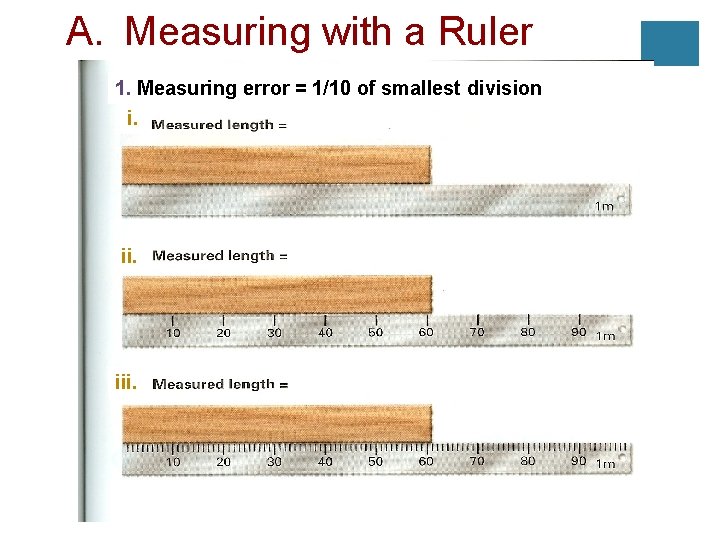
A. Measuring with a Ruler 1. Measuring error = 1/10 of smallest division i. iii.

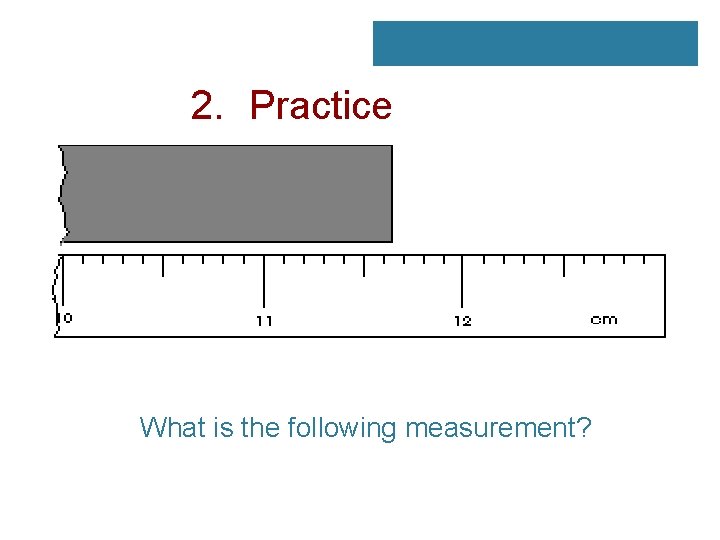
2. Practice What is the following measurement?

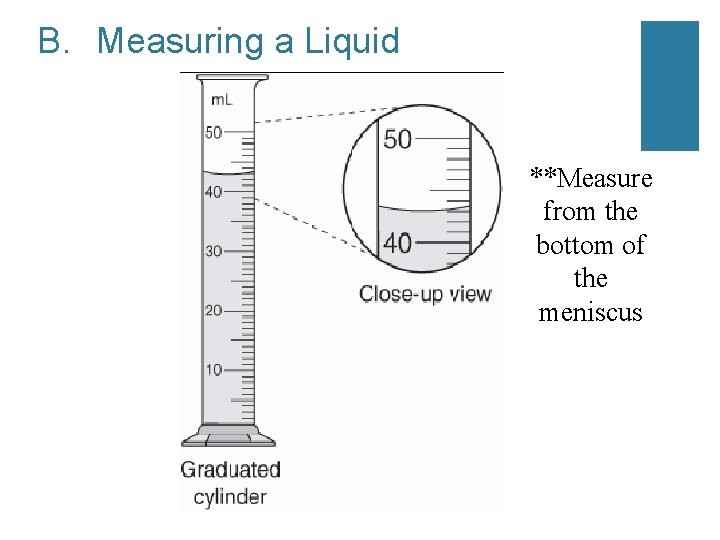
B. Measuring a Liquid **Measure from the bottom of the meniscus

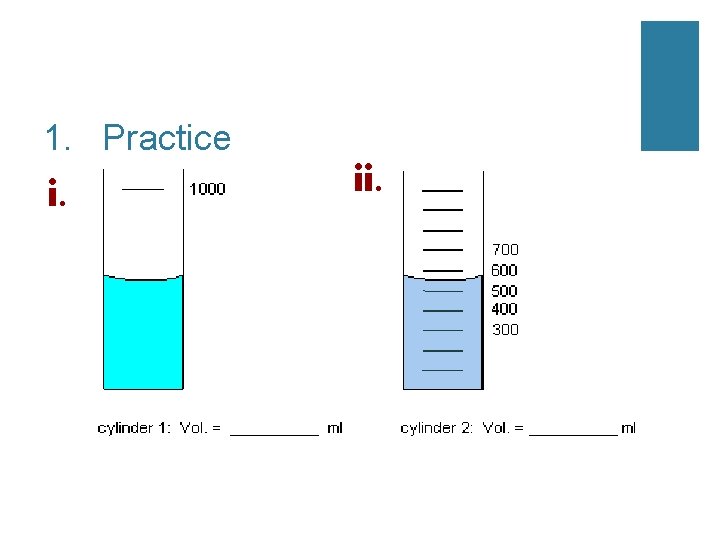
1. Practice i. ii.

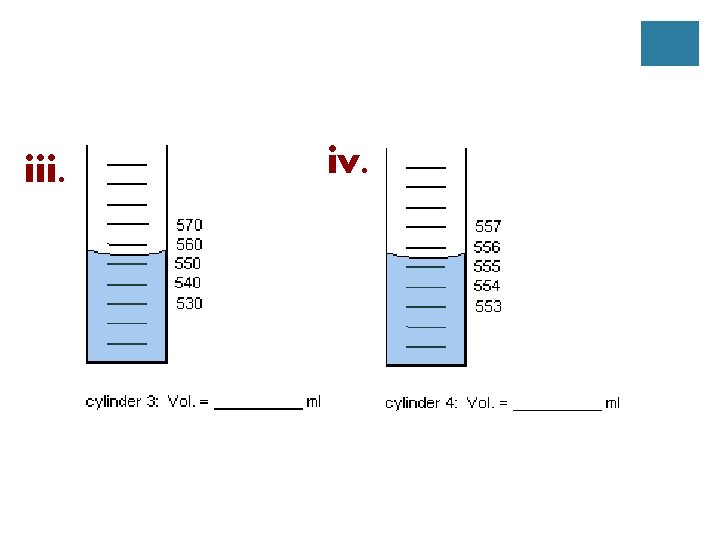
iii. iv.

Still More measurements not on the note takers

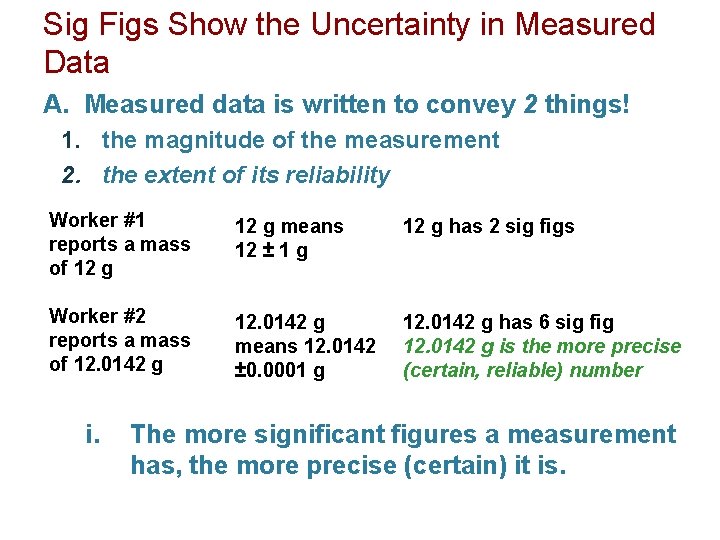
Sig Figs Show the Uncertainty in Measured Data A. Measured data is written to convey 2 things! 1. the magnitude of the measurement 2. the extent of its reliability Worker #1 reports a mass of 12 g means 12 ± 1 g 12 g has 2 sig figs Worker #2 reports a mass of 12. 0142 g means 12. 0142 ± 0. 0001 g 12. 0142 g has 6 sig fig 12. 0142 g is the more precise (certain, reliable) number i. The more significant figures a measurement has, the more precise (certain) it is.

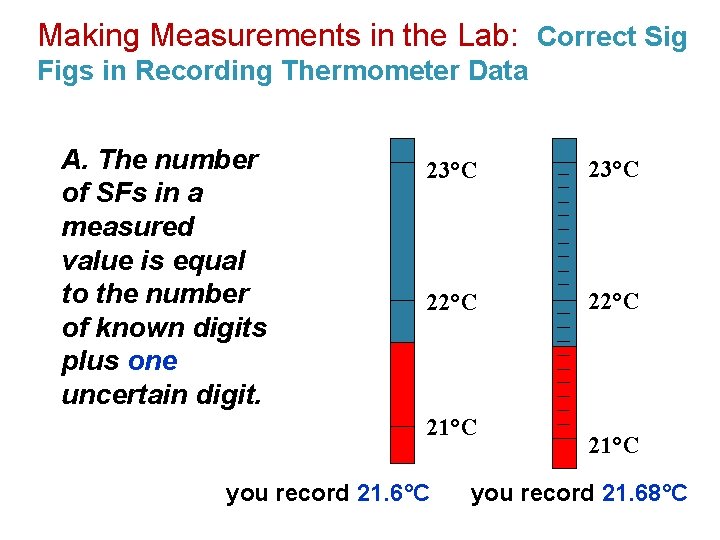
Making Measurements in the Lab: Correct Sig Figs in Recording Thermometer Data A. The number of SFs in a measured value is equal to the number of known digits plus one uncertain digit. 23°C 22°C 21°C you record 21. 6°C 21°C you record 21. 68°C

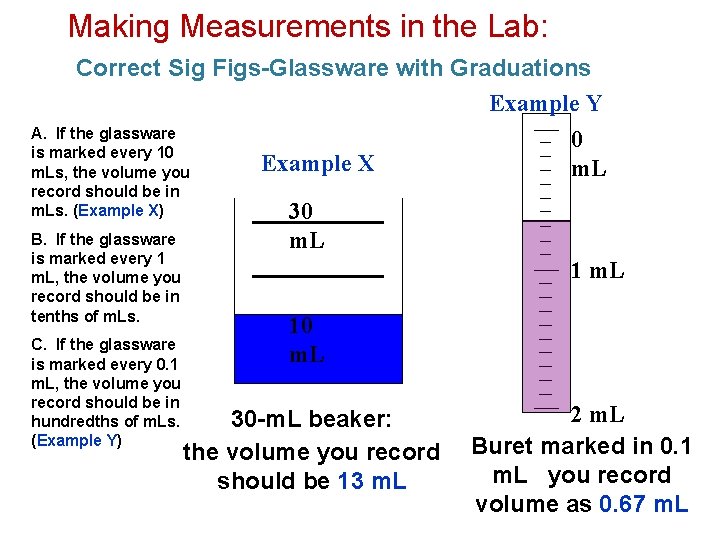
Making Measurements in the Lab: Correct Sig Figs-Glassware with Graduations Example Y A. If the glassware 0 is marked every 10 Example X m. Ls, the volume you record should be in m. Ls. (Example X) B. If the glassware is marked every 1 m. L, the volume you record should be in tenths of m. Ls. C. If the glassware is marked every 0. 1 m. L, the volume you record should be in hundredths of m. Ls. (Example Y) 30 m. L 10 m. L 30 -m. L beaker: the volume you record should be 13 m. L 2 m. L Buret marked in 0. 1 m. L you record volume as 0. 67 m. L

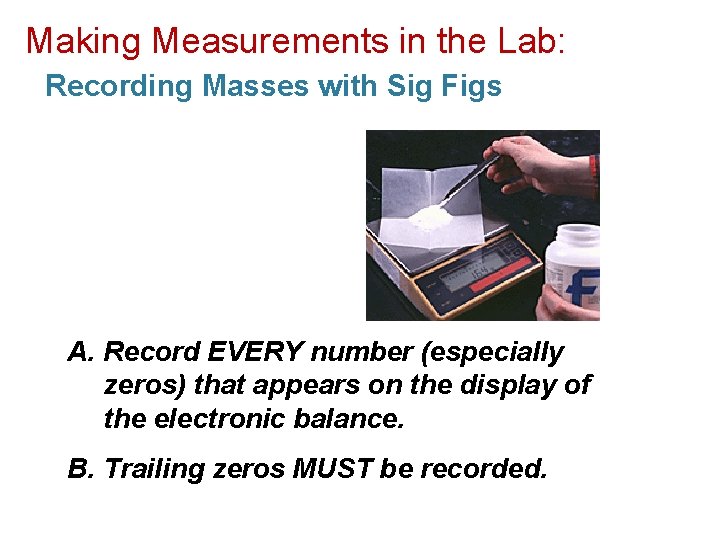
Making Measurements in the Lab: Recording Masses with Sig Figs A. Record EVERY number (especially zeros) that appears on the display of the electronic balance. B. Trailing zeros MUST be recorded.