MEASUREMENT AND EXPERIMENTATION Measurement is the process of


- Slides: 17

MEASUREMENT AND EXPERIMENTATION

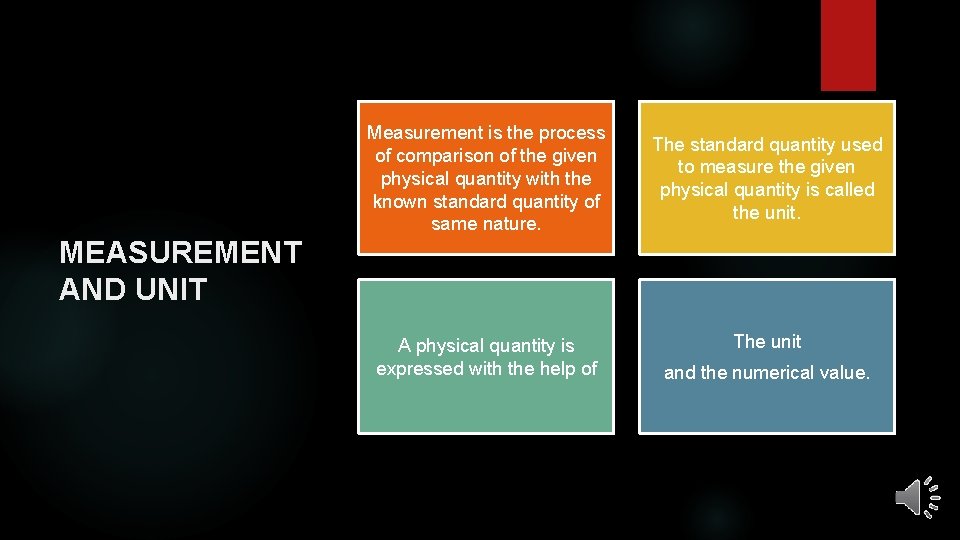
Measurement is the process of comparison of the given physical quantity with the known standard quantity of same nature. The standard quantity used to measure the given physical quantity is called the unit. MEASUREMENT AND UNIT A physical quantity is expressed with the help of The unit and the numerical value.

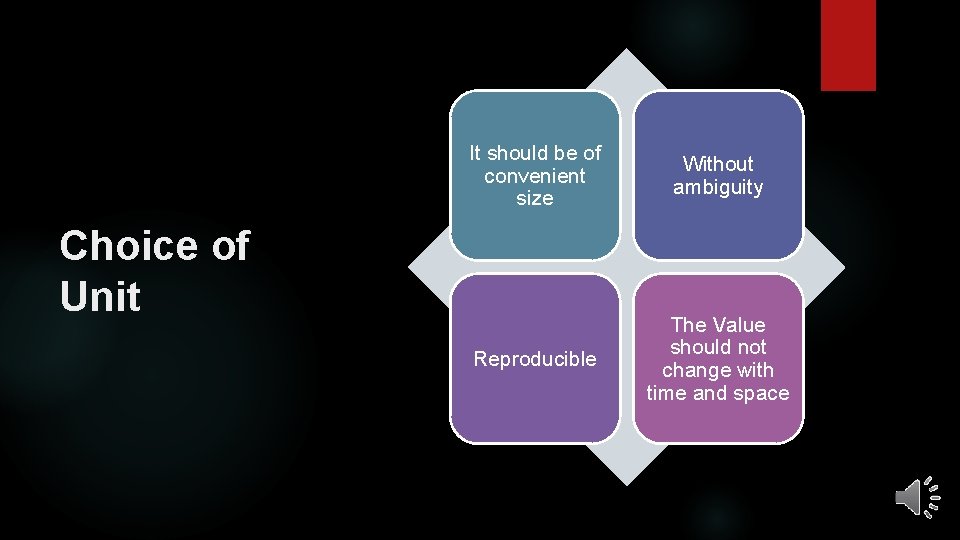
It should be of convenient size Without ambiguity Reproducible The Value should not change with time and space Choice of Unit

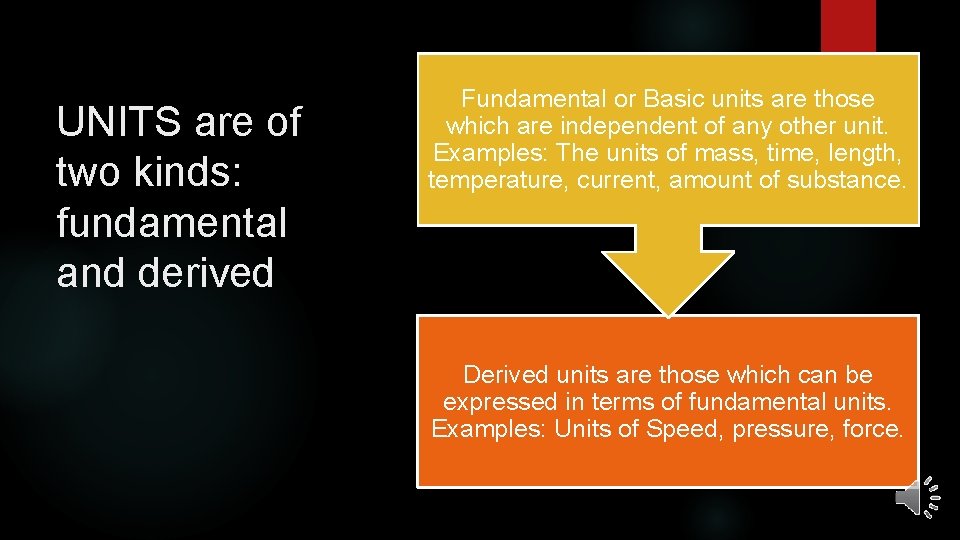
UNITS are of two kinds: fundamental and derived Fundamental or Basic units are those which are independent of any other unit. Examples: The units of mass, time, length, temperature, current, amount of substance. Derived units are those which can be expressed in terms of fundamental units. Examples: Units of Speed, pressure, force.

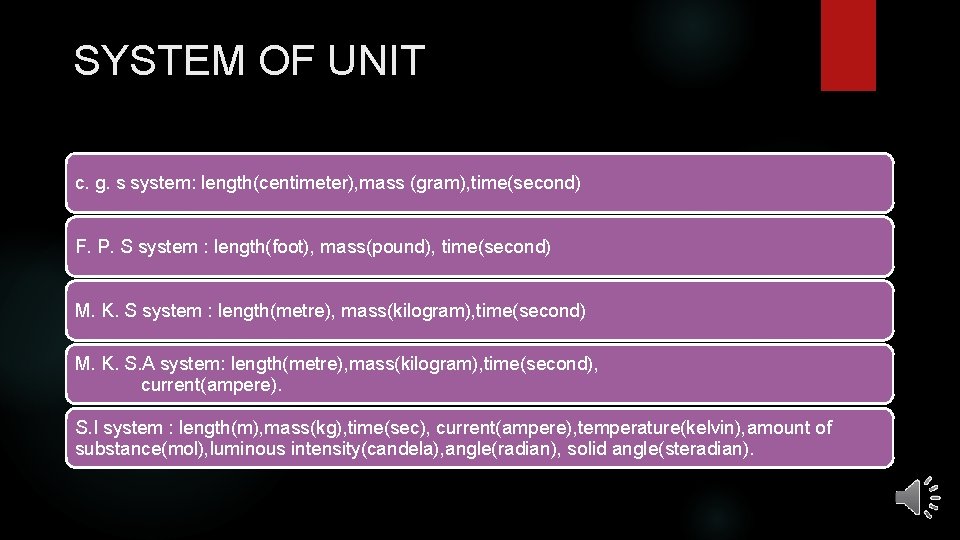
SYSTEM OF UNIT c. g. s system: length(centimeter), mass (gram), time(second) F. P. S system : length(foot), mass(pound), time(second) M. K. S system : length(metre), mass(kilogram), time(second) M. K. S. A system: length(metre), mass(kilogram), time(second), current(ampere). S. I system : length(m), mass(kg), time(sec), current(ampere), temperature(kelvin), amount of substance(mol), luminous intensity(candela), angle(radian), solid angle(steradian).

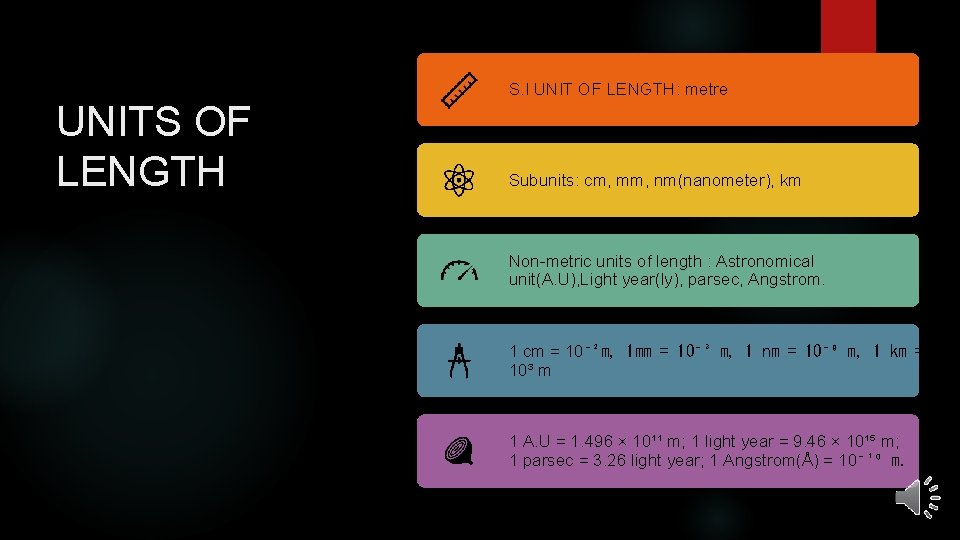
UNITS OF LENGTH S. I UNIT OF LENGTH: metre Subunits: cm, mm, nm(nanometer), km Non-metric units of length : Astronomical unit(A. U), Light year(ly), parsec, Angstrom. 1 cm = 10⁻²m, 1 mm = 10⁻³ m, 1 nm = 10⁻⁹ m, 1 km = 10³ m 1 A. U = 1. 496 × 10¹¹ m; 1 light year = 9. 46 × 10¹⁵ m; 1 parsec = 3. 26 light year; 1 Angstrom(Å) = 10⁻¹⁰ m.

Units of Mass and Time SI unit of mass: Kilogram S. I unit of time : second cgs unit : gram Cgs unit : second Other units : milligrams, quintal, tonnes. Nonmetric unit : atomic mass unit. Other units : minute, hour, day, month, year, decade, century, millennium.

LEAST COUNT OF A MEASURING INSTRUMENT MEASUREMENT OF LENGTH, VOLUME, TIME AND MASS • It is the smallest measurement that can be taken accurately with an instrument. • Smaller the least count more accurate is the instrument. • It is the value of the smallest division on the scale of instrument. MEASUREMENT OF LENGTH WITH A METRE SCALE • A metre scale is a scale with length one metre which is graduated in cm and has subdivisions in mm. There are 10 subdivisions in each cm. • The value of one small division on metre scale is 1 mm. Thus least count is 1 mm. • Limitation of metre scale is that it can measure length correctly up to one decimal place of a cm.

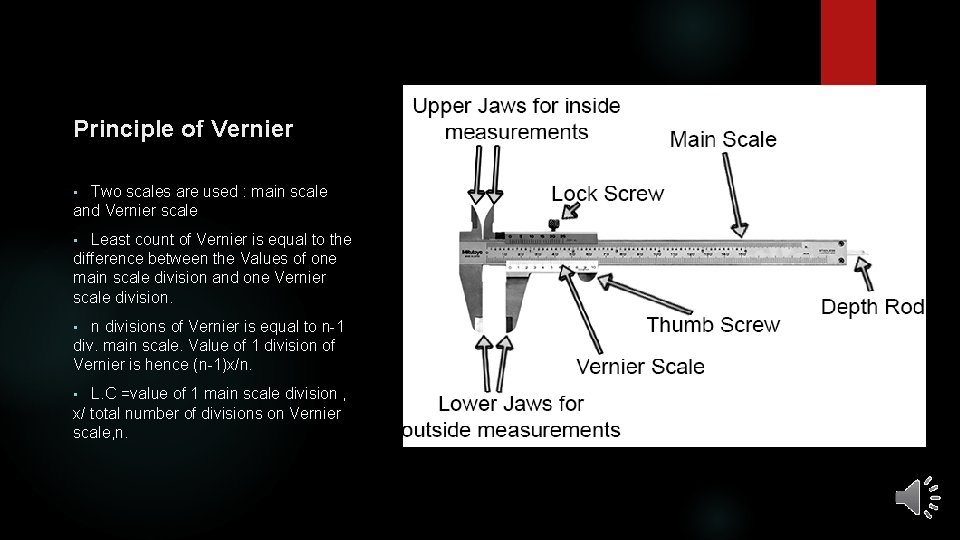
Principle of Vernier Two scales are used : main scale and Vernier scale • Least count of Vernier is equal to the difference between the Values of one main scale division and one Vernier scale division. • n divisions of Vernier is equal to n-1 div. main scale. Value of 1 division of Vernier is hence (n-1)x/n. • L. C =value of 1 main scale division , x/ total number of divisions on Vernier scale, n. •

ZERO ERROR IN VERNIER CALLIPERS: It is equal to the distance between the zero of the main scale and the zero of the Vernier scale. Kinds of Zero error: Two types of Zero error: positive and negative zero error. Positive zero error: The zero mark of the Vernier scale lies on the right side of the zero mark of the main scale. Negative zero error: The zero of the Vernier scale lies on the left side of the zero mark of the main scale. Correction due to zero error: corrected reading = Observed reading – zero error.

PRINCIPLE OF SCREW GAUGE The pitch of the screw is the distance moved by the screw along its axis in one complete rotation of its head. There are graduations along the circumference of the head of the screw gauge. There are 50 to 100 graduations. This is called circular scale or head scale. The pitch of the screw is 1 mm and if there are 100 divisions on the circular scale then the least count of the screw is 1/100 mm = 0. 01 mm= 0. 001 cm.

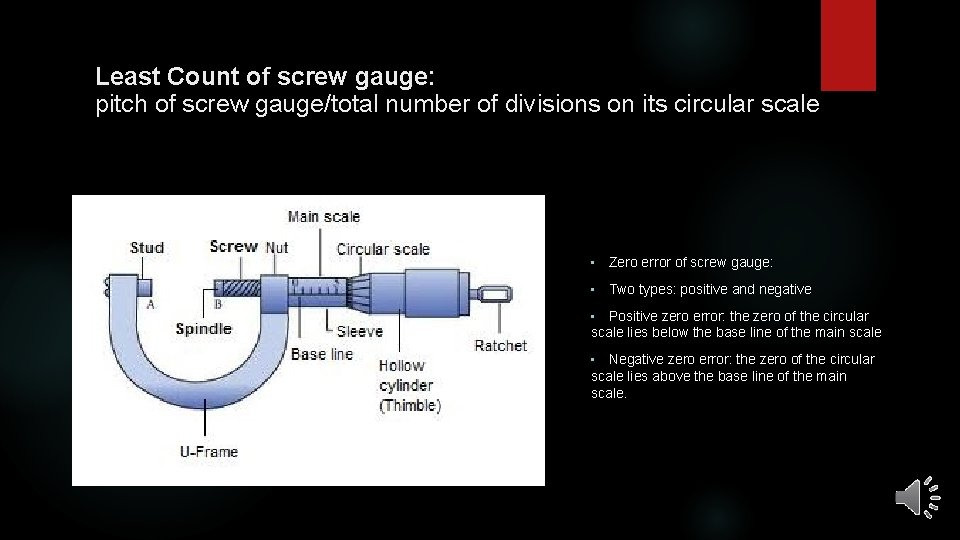
Least Count of screw gauge: pitch of screw gauge/total number of divisions on its circular scale • Zero error of screw gauge: • Two types: positive and negative Positive zero error: the zero of the circular scale lies below the base line of the main scale • Negative zero error: the zero of the circular scale lies above the base line of the main scale. •

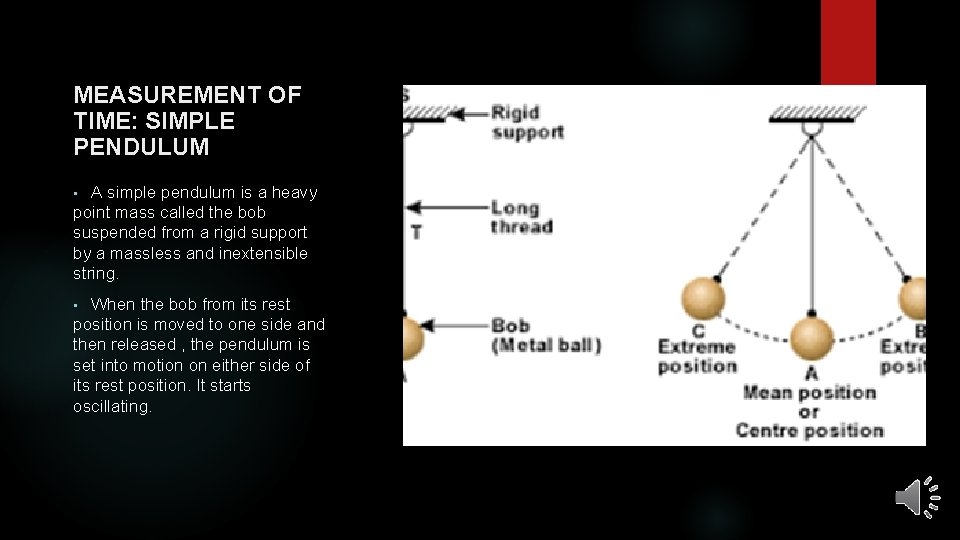
MEASUREMENT OF TIME: SIMPLE PENDULUM A simple pendulum is a heavy point mass called the bob suspended from a rigid support by a massless and inextensible string. • When the bob from its rest position is moved to one side and then released , the pendulum is set into motion on either side of its rest position. It starts oscillating. •

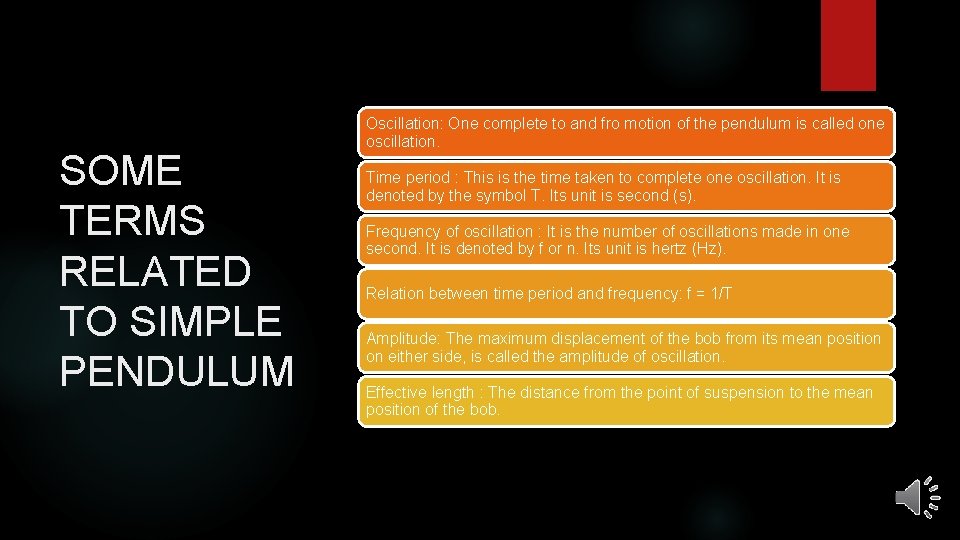
SOME TERMS RELATED TO SIMPLE PENDULUM Oscillation: One complete to and fro motion of the pendulum is called one oscillation. Time period : This is the time taken to complete one oscillation. It is denoted by the symbol T. Its unit is second (s). Frequency of oscillation : It is the number of oscillations made in one second. It is denoted by f or n. Its unit is hertz (Hz). Relation between time period and frequency: f = 1/T Amplitude: The maximum displacement of the bob from its mean position on either side, is called the amplitude of oscillation. Effective length : The distance from the point of suspension to the mean position of the bob.

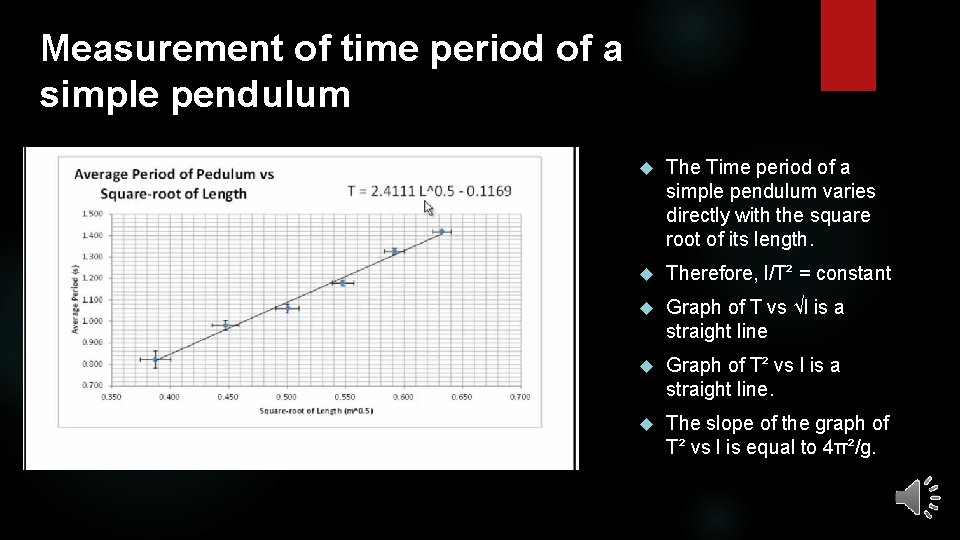
Measurement of time period of a simple pendulum The Time period of a simple pendulum varies directly with the square root of its length. Therefore, l/T² = constant Graph of T vs √l is a straight line Graph of T² vs l is a straight line. The slope of the graph of T² vs l is equal to 4π²/g.

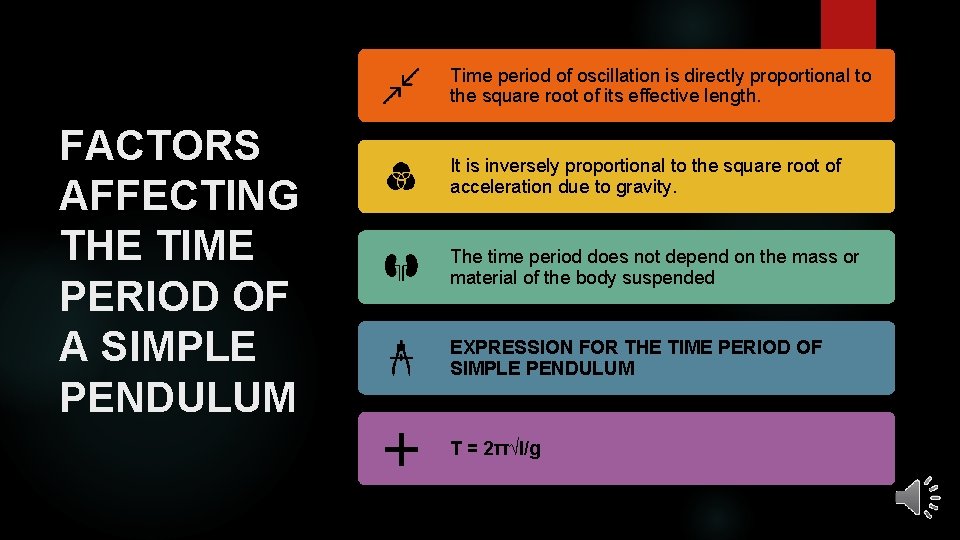
Time period of oscillation is directly proportional to the square root of its effective length. FACTORS AFFECTING THE TIME PERIOD OF A SIMPLE PENDULUM It is inversely proportional to the square root of acceleration due to gravity. The time period does not depend on the mass or material of the body suspended EXPRESSION FOR THE TIME PERIOD OF SIMPLE PENDULUM T = 2π√l/g

THANK YOU