Manual Record Cleaning Instructions Galen Carol Audio Cleaning


 towels on a waterproof work surface,")

 with solution until the fluid")


- Slides: 17
Manual Record Cleaning Instructions Galen Carol Audio
Cleaning records by hand You don’t need a record cleaning machine to enjoy the benefits of the Audio Intelligent cleaning formulas. Although a vacuum record cleaning machine will make the process quicker, easier and provide better fluid pickup, careful cleaning by hand is quite effective.
Everything you need Our Complete Record Cleaning Kit includes everything you need to make your records sparkle! � One quart Audio Intelligent Premium One Step No. 6 cleaning solution � Premium fluid applicator brush � Four high quality microfiber towels
Let’s get Started!
Step #1 Lay out two microfiber (or cotton) towels on a waterproof work surface, such as a kitchen countertop
Step #2 Place the record to be cleaned on one of the towels
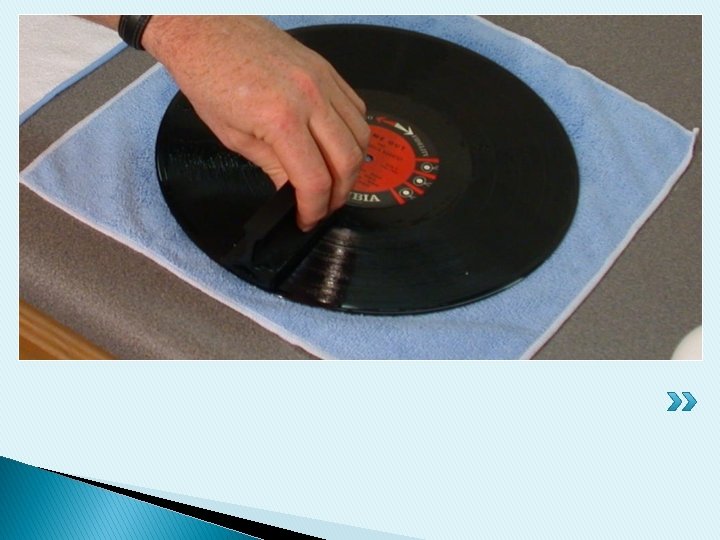
Step #3 Saturate the cleaning brush (not the record) with solution until the fluid just begins to drip
Step #4 Using a circular motion, gently work the fluid into the grooves for about 1 – 3 minutes. Only very light pressure is required
Step #5 Let the solution stand for 1 – 3 minutes. Heavily soiled records may require additional time to loosen stubborn debris, but do not allow the fluid to dry on the record. Reduce soak time if need be.
Step #6 Use your finger like a squeegee to remove excess liquid from the brush
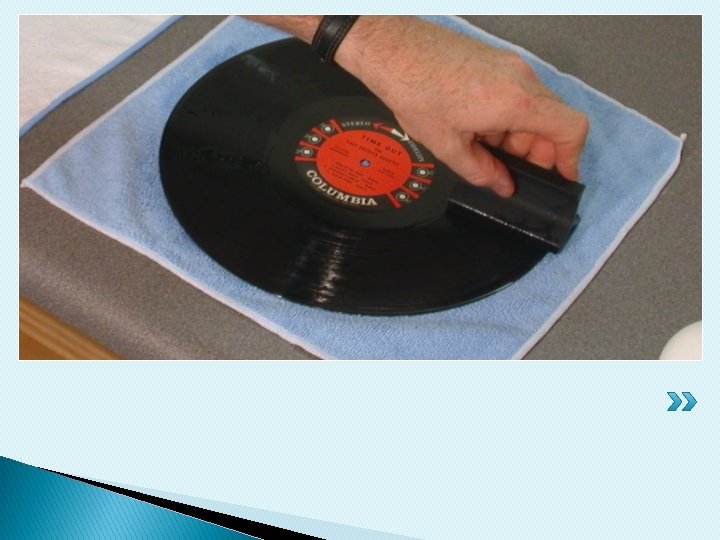
Step #7 With the same circular motion you used when applying the solution, remove excess fluid from the record
Step #8 Dry the record completely with the microfiber towel
Step #9 Flip the record over and place clean side down on the other microfiber towel and repeat the cleaning process
Step #10 Allow the record to air dry before placing it back in the jacket. A dish drainer works well for this
Finished! � We think you’ll be very happy with the results! Your records will sound better, look better and last longer. � Cleaning your records is the best way to preserve your valuable collection. � Galen Carol Audio � www. gcaudio. com