
Manual Drivetrains and Axles 8 th Edition Chapter
- Slides: 28
Manual Drivetrains and Axles 8 th Edition Chapter 16 Four-Wheel Drive Diagnosis and Service Copyright © 2018, 2014, 2012 Pearson Education, Inc. All Rights Reserved
Learning Objectives (1 of 2) 1. 1 Prepare for the ASE certification test for content area “F” (Four-Wheel Drive Component Diagnosis and Repair). 1. 2 Diagnose four-wheel-drive-related problems. 1. 3 Explain the procedure for diagnosing four-wheel drive and transfer case faults. Copyright © 2018, 2014, 2012 Pearson Education, Inc. All Rights Reserved
Learning Objectives (2 of 2) 1. 4 Discuss how to test a four-wheel-drive vehicle using a scan tool. 1. 5 Explain the procedure for front hub removal and replacement. 1. 6 Explain the procedure for transfer case removal and overhaul. Copyright © 2018, 2014, 2012 Pearson Education, Inc. All Rights Reserved
Four-Wheel-Drive Problem Diagnosis (1 of 2) • Verify the customer concern. – What does this entail? • Perform a visual inspection. • Check for any stored diagnostic trouble codes and technical service bulletins. • Check scan tool data for sensor values and bidirectional control operation (if available). Copyright © 2018, 2014, 2012 Pearson Education, Inc. All Rights Reserved
Four-Wheel-Drive Problem Diagnosis (2 of 2) • Check electrical switches and actuators using a digital multi-meter. • Follow service information pinpoint tests to determine the root cause. • Perform the needed repair. • Verify the repair. Copyright © 2018, 2014, 2012 Pearson Education, Inc. All Rights Reserved
Visual Inspection (1 of 2) • Always check that all tires are: – The exact same size. – The same brand (different brands even if the same size can vary in the actual diameter and width of the tire). – The same tread depth within 2/32 inch (1/16 inch). – The same inflation pressure within 2 PSI for best results. Copyright © 2018, 2014, 2012 Pearson Education, Inc. All Rights Reserved
Visual Inspection (2 of 2) • Measuring tire circumference • Visually check driveline • Gear oil level and condition Copyright © 2018, 2014, 2012 Pearson Education, Inc. All Rights Reserved
Figure 16– 1 The measuring tape wrapped around the tire shows the circumference is 90 3/4 inch. The other three tires should measure close to the same, usually within 1/4 inch in circumference Copyright © 2018, 2014, 2012 Pearson Education, Inc. All Rights Reserved
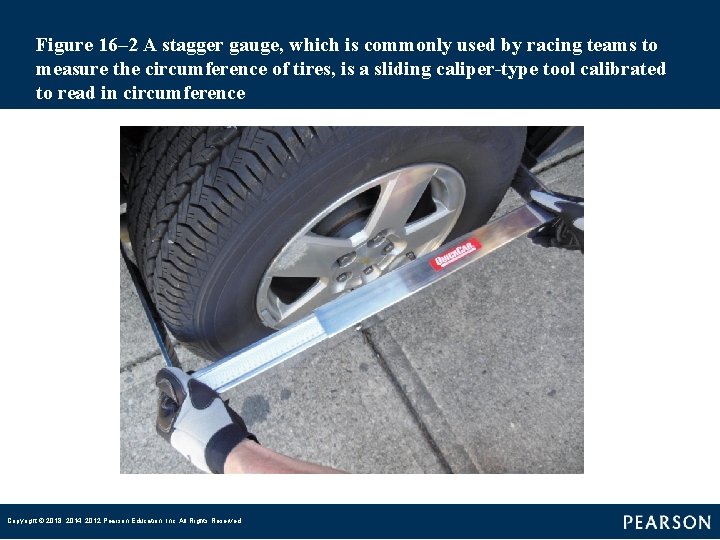
Figure 16– 2 A stagger gauge, which is commonly used by racing teams to measure the circumference of tires, is a sliding caliper-type tool calibrated to read in circumference Copyright © 2018, 2014, 2012 Pearson Education, Inc. All Rights Reserved
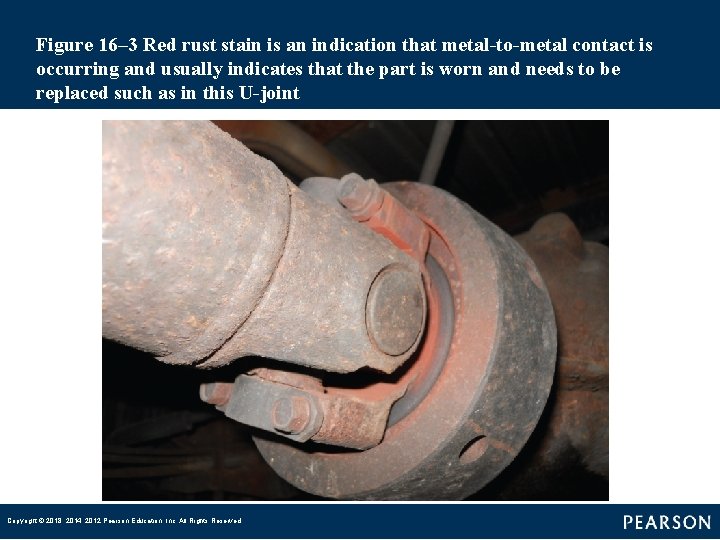
Figure 16– 3 Red rust stain is an indication that metal-to-metal contact is occurring and usually indicates that the part is worn and needs to be replaced such as in this U-joint Copyright © 2018, 2014, 2012 Pearson Education, Inc. All Rights Reserved
Figure 16– 4 Always check the fluid level and condition as one of the first items to check when diagnosing a four wheel-drive customer concern Copyright © 2018, 2014, 2012 Pearson Education, Inc. All Rights Reserved
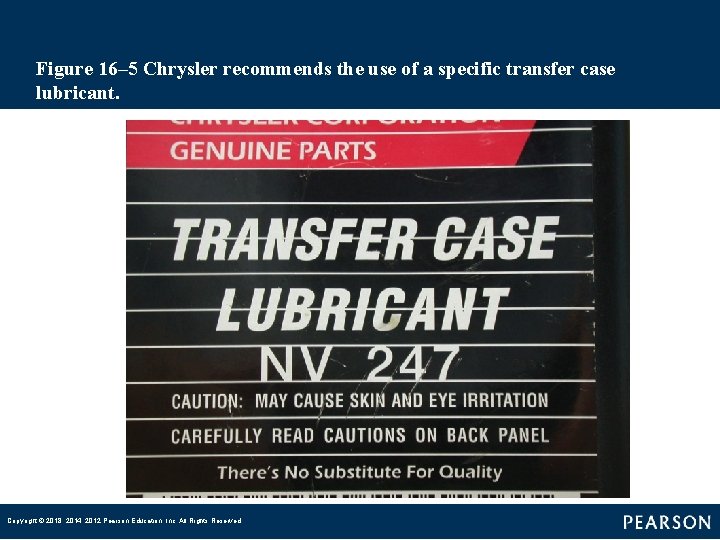
Figure 16– 5 Chrysler recommends the use of a specific transfer case lubricant. Copyright © 2018, 2014, 2012 Pearson Education, Inc. All Rights Reserved
Four-Wheel-Drive Diagnostic Procedures (1 of 2) • Warning lights • Scan tools are the most important tools for any diagnostic work on all vehicles – Factory scan tools – Aftermarket scan tools – Global scan tools • Using a scan tool • Retrieving diagnostic trouble codes Copyright © 2018, 2014, 2012 Pearson Education, Inc. All Rights Reserved
Four-Wheel-Drive Diagnostic Procedures (2 of 2) • Codes • Subcodes • Example of a “C” code • Check technical service bulletins Copyright © 2018, 2014, 2012 Pearson Education, Inc. All Rights Reserved
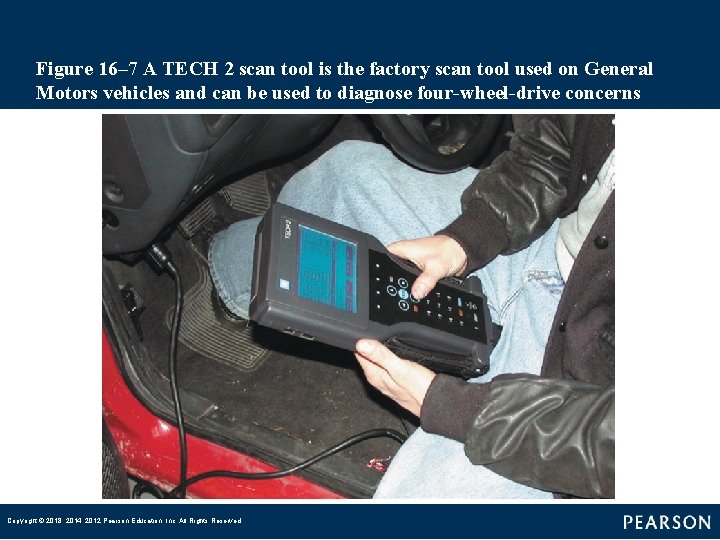
Figure 16– 7 A TECH 2 scan tool is the factory scan tool used on General Motors vehicles and can be used to diagnose four-wheel-drive concerns Copyright © 2018, 2014, 2012 Pearson Education, Inc. All Rights Reserved
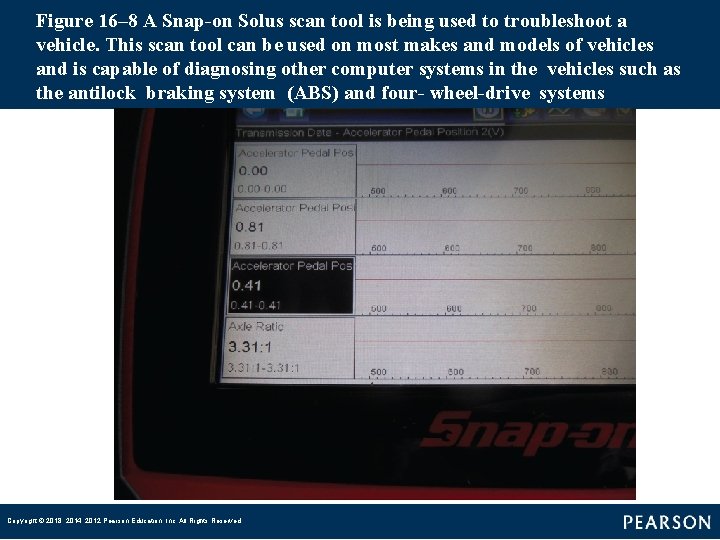
Figure 16– 8 A Snap-on Solus scan tool is being used to troubleshoot a vehicle. This scan tool can be used on most makes and models of vehicles and is capable of diagnosing other computer systems in the vehicles such as the antilock braking system (ABS) and four- wheel-drive systems Copyright © 2018, 2014, 2012 Pearson Education, Inc. All Rights Reserved
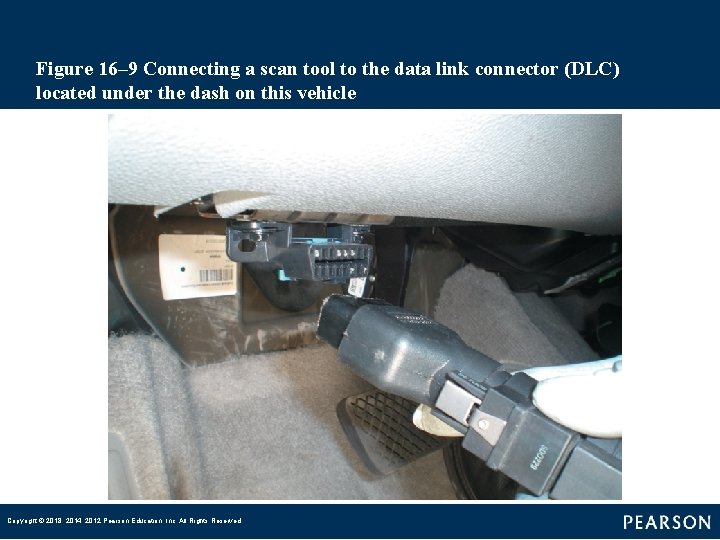
Figure 16– 9 Connecting a scan tool to the data link connector (DLC) located under the dash on this vehicle Copyright © 2018, 2014, 2012 Pearson Education, Inc. All Rights Reserved
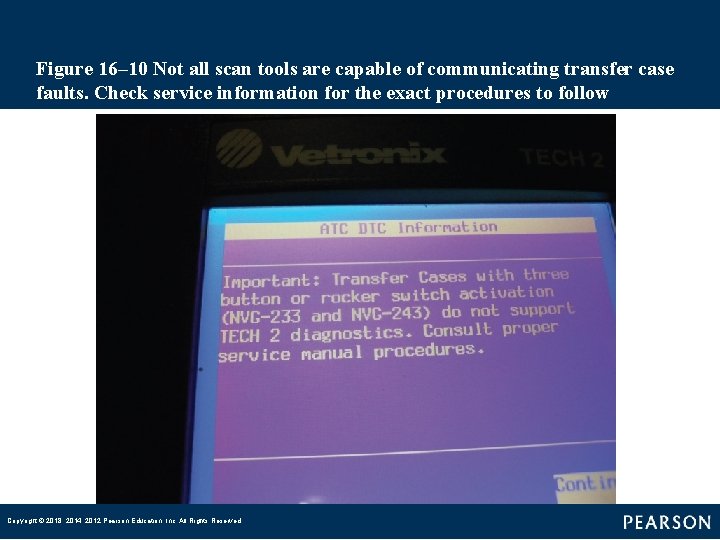
Figure 16– 10 Not all scan tools are capable of communicating transfer case faults. Check service information for the exact procedures to follow Copyright © 2018, 2014, 2012 Pearson Education, Inc. All Rights Reserved
Check Electrical Components • Checking switches and controls • Typical voltage readings • Checking for power and ground at the motor • Transfer case shift linkage adjustment – Remove the shift boot to access the gearshift mechanism. – Place the lever in the correct position. – Disconnect the linkage rod swivel/trunnion from the shift lever to see if it slides freely. Copyright © 2018, 2014, 2012 Pearson Education, Inc. All Rights Reserved
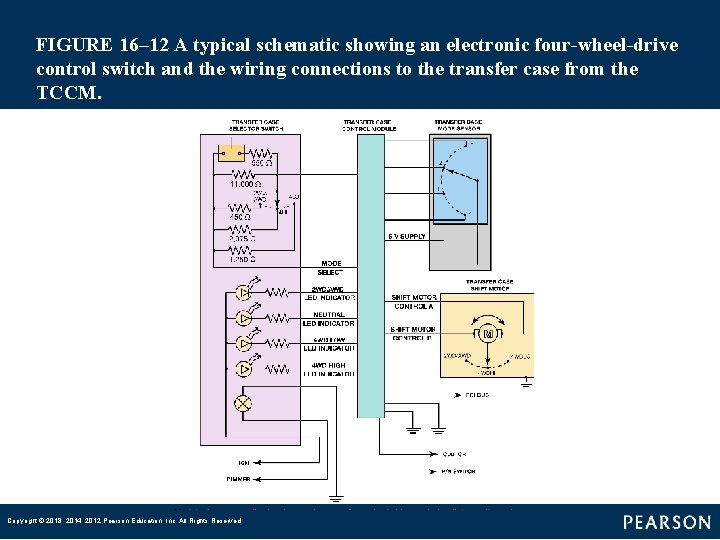
FIGURE 16– 12 A typical schematic showing an electronic four-wheel-drive control switch and the wiring connections to the transfer case from the TCCM. Copyright © 2018, 2014, 2012 Pearson Education, Inc. All Rights Reserved
Front Hub Removal and Replacement (1 of 2) • Some automatic hubs will not disengage under certain conditions. • Locking front hubs should be cleaned periodically. • Some front hubs are removed by removing the bolts at the wheel hubs and sliding them off the axle and hub. – Others have an internal snap ring that secures the splined inner sleeve to the axle. Copyright © 2018, 2014, 2012 Pearson Education, Inc. All Rights Reserved
Front Hub Removal and Replacement (2 of 2) • Why and how should locking hubs be serviced? • What is the typical procedure for removal? Copyright © 2018, 2014, 2012 Pearson Education, Inc. All Rights Reserved
Figure 16– 14 (a) An exploded view of a Dualmatic ® manual locking hub. (b) A Warn ® manual locking hub Copyright © 2018, 2014, 2012 Pearson Education, Inc. All Rights Reserved
Transfer Case/Unit Removal and Replacement (1 of 2) • Removal procedure – Raise and support the vehicle securely on a hoist or jack stands – Remove any skid plates and brace rods that block access to the transfer case – Disconnect the front and rear driveshafts – Disconnect the speed sensors and shift connectors and linkage Copyright © 2018, 2014, 2012 Pearson Education, Inc. All Rights Reserved
Transfer Case/Unit Removal and Replacement (2 of 2) – Support the transfer case using a transmission jack, and remove the bolts that secure the transfer case to the transmission – Slide the transfer case off the rear of the transmission, and remove it from the vehicle • Replacement or repair decision • Transfer case installation Copyright © 2018, 2014, 2012 Pearson Education, Inc. All Rights Reserved
Transfer Case/Unit Overhaul • Overhaul – – – Disassembly Gear and bearing inspection Shift fork clearance and operation Chain wear check, shaft inspection Seal replacement Reassembly with adjustments for gear end float and bearing clearance or preload Copyright © 2018, 2014, 2012 Pearson Education, Inc. All Rights Reserved
Summary (1 of 2) • Transfer cases/gear sets must have clean gear oil at the proper level and of the proper type. • The cause of improper 4 WD/AWD operation is determined using several diagnostic steps. Copyright © 2018, 2014, 2012 Pearson Education, Inc. All Rights Reserved
Summary (2 of 2) • Transfer case/gear set disassembly and reassembly varies between makes and models. • Locking hubs need routine service including cleaning and lubricating to keep them working properly. • Parts must be clean before they can be fully inspected. Copyright © 2018, 2014, 2012 Pearson Education, Inc. All Rights Reserved