
MAKING INK FROM WALNUTS For Colonial Era Letter




- Slides: 41
MAKING INK FROM WALNUTS For Colonial Era Letter Writing Presented by BOB VAN CLEEF of the North River Railway
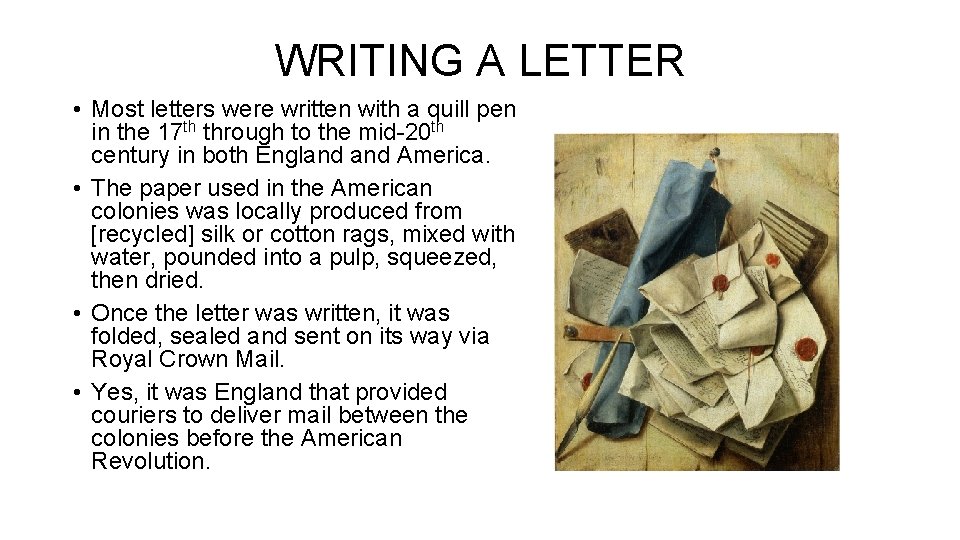
WRITING A LETTER • Most letters were written with a quill pen in the 17 th through to the mid-20 th century in both England America. • The paper used in the American colonies was locally produced from [recycled] silk or cotton rags, mixed with water, pounded into a pulp, squeezed, then dried. • Once the letter was written, it was folded, sealed and sent on its way via Royal Crown Mail. • Yes, it was England that provided couriers to deliver mail between the colonies before the American Revolution.
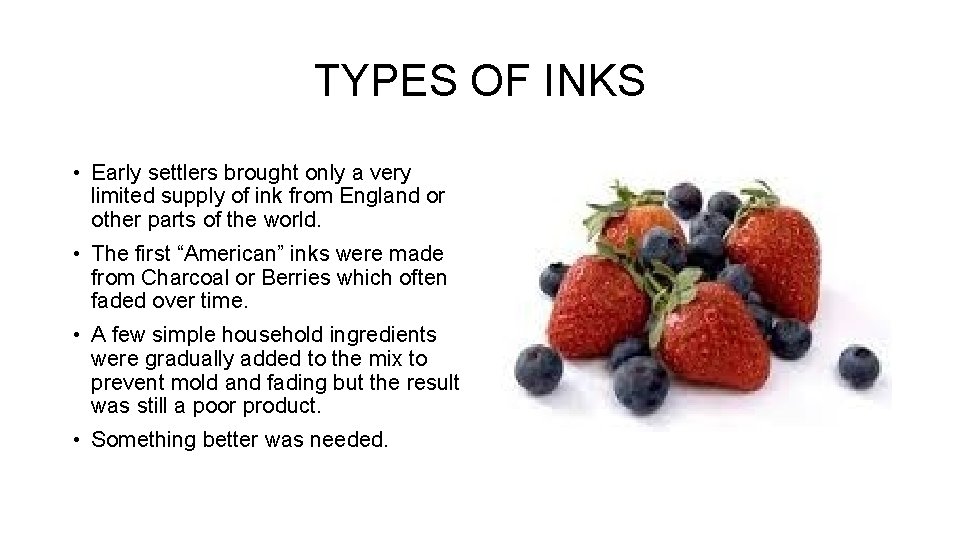
TYPES OF INKS • Early settlers brought only a very limited supply of ink from England or other parts of the world. • The first “American” inks were made from Charcoal or Berries which often faded over time. • A few simple household ingredients were gradually added to the mix to prevent mold and fading but the result was still a poor product. • Something better was needed.
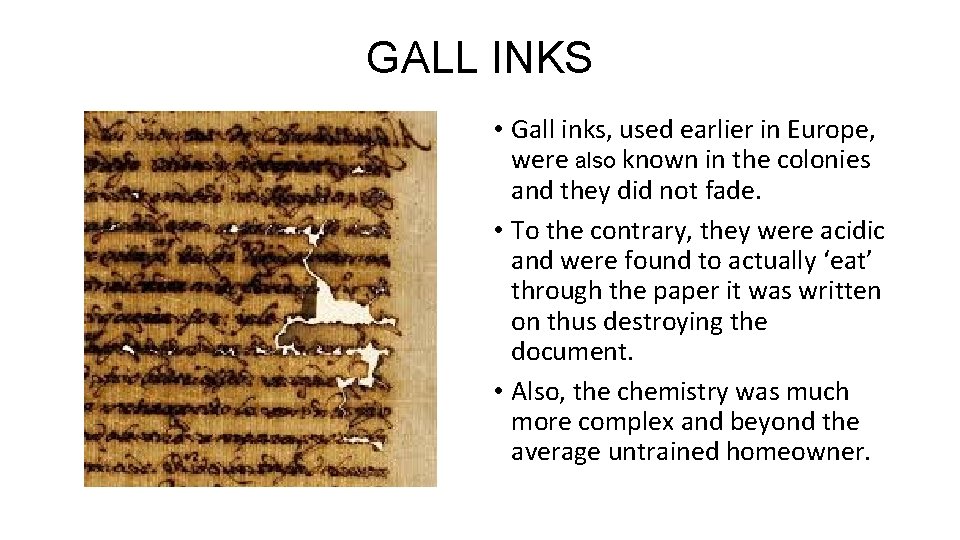
GALL INKS • Gall inks, used earlier in Europe, were also known in the colonies and they did not fade. • To the contrary, they were acidic and were found to actually ‘eat’ through the paper it was written on thus destroying the document. • Also, the chemistry was much more complex and beyond the average untrained homeowner.
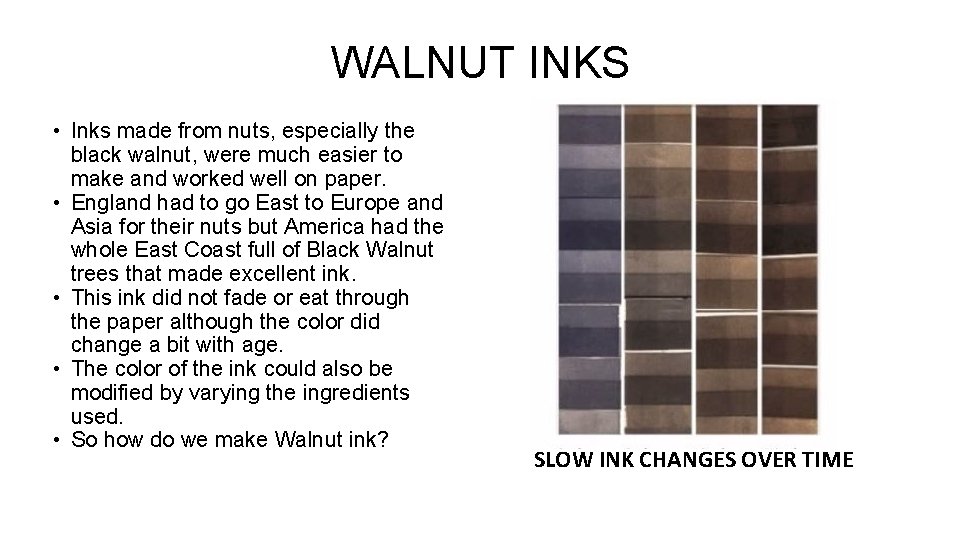
WALNUT INKS • Inks made from nuts, especially the black walnut, were much easier to make and worked well on paper. • England had to go East to Europe and Asia for their nuts but America had the whole East Coast full of Black Walnut trees that made excellent ink. • This ink did not fade or eat through the paper although the color did change a bit with age. • The color of the ink could also be modified by varying the ingredients used. • So how do we make Walnut ink? SLOW INK CHANGES OVER TIME
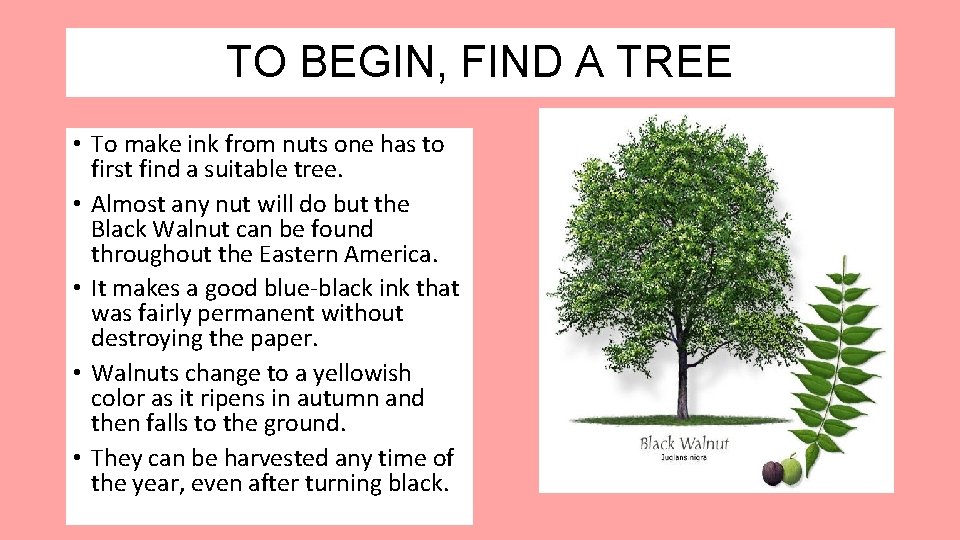
TO BEGIN, FIND A TREE • To make ink from nuts one has to first find a suitable tree. • Almost any nut will do but the Black Walnut can be found throughout the Eastern America. • It makes a good blue-black ink that was fairly permanent without destroying the paper. • Walnuts change to a yellowish color as it ripens in autumn and then falls to the ground. • They can be harvested any time of the year, even after turning black.
ANATOMY OF A WALNUT
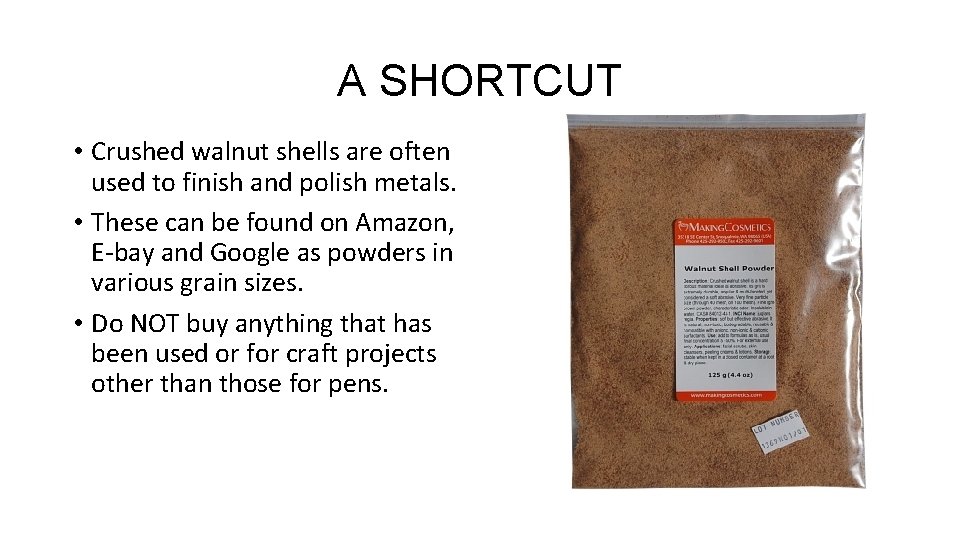
A SHORTCUT • Crushed walnut shells are often used to finish and polish metals. • These can be found on Amazon, E-bay and Google as powders in various grain sizes. • Do NOT buy anything that has been used or for craft projects other than those for pens.
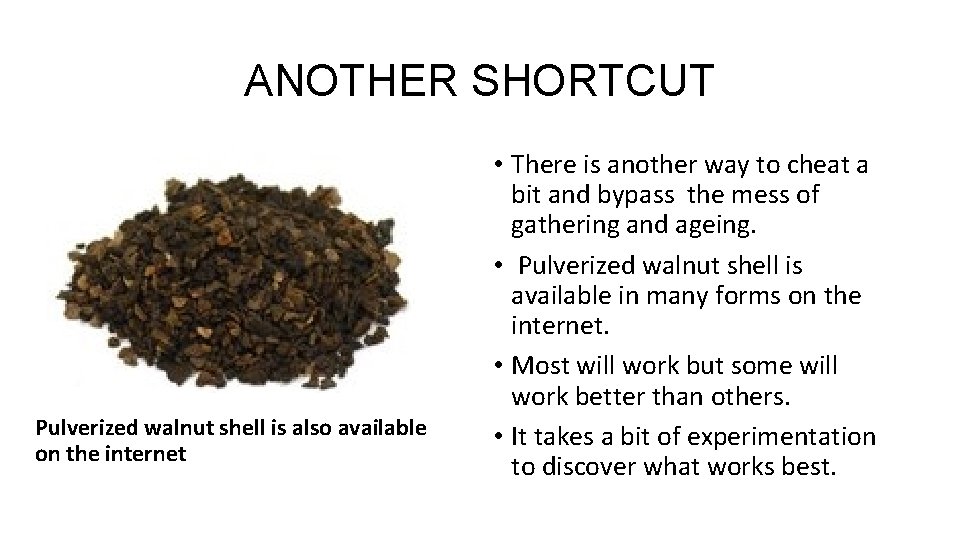
ANOTHER SHORTCUT Pulverized walnut shell is also available on the internet • There is another way to cheat a bit and bypass the mess of gathering and ageing. • Pulverized walnut shell is available in many forms on the internet. • Most will work but some will work better than others. • It takes a bit of experimentation to discover what works best.
TOOLS and MATERIALS • The following is a list of tools and materials that might be helpful in making black walnut ink • No two individuals from the colonial period on make ink the same exact way. • One tool that everyone should start with is a clear work area.
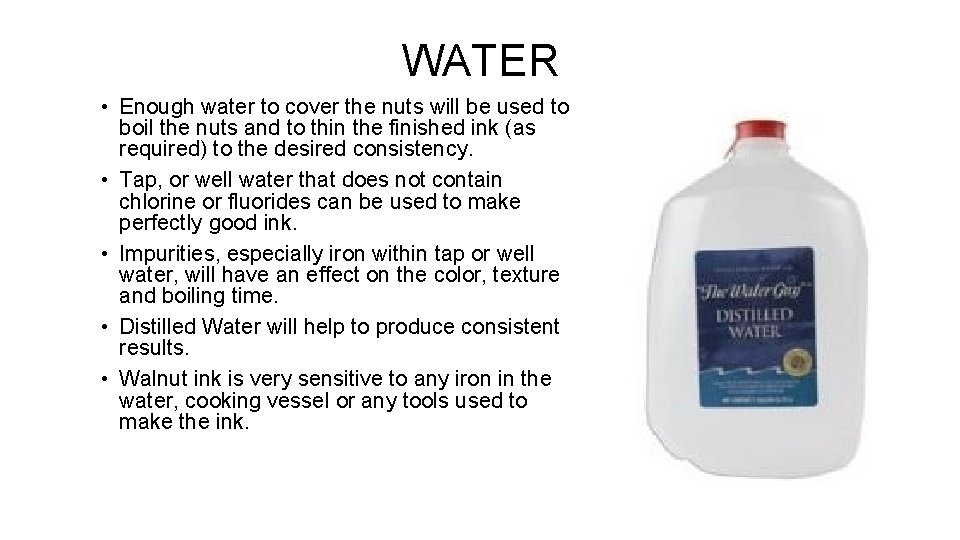
WATER • Enough water to cover the nuts will be used to boil the nuts and to thin the finished ink (as required) to the desired consistency. • Tap, or well water that does not contain chlorine or fluorides can be used to make perfectly good ink. • Impurities, especially iron within tap or well water, will have an effect on the color, texture and boiling time. • Distilled Water will help to produce consistent results. • Walnut ink is very sensitive to any iron in the water, cooking vessel or any tools used to make the ink.
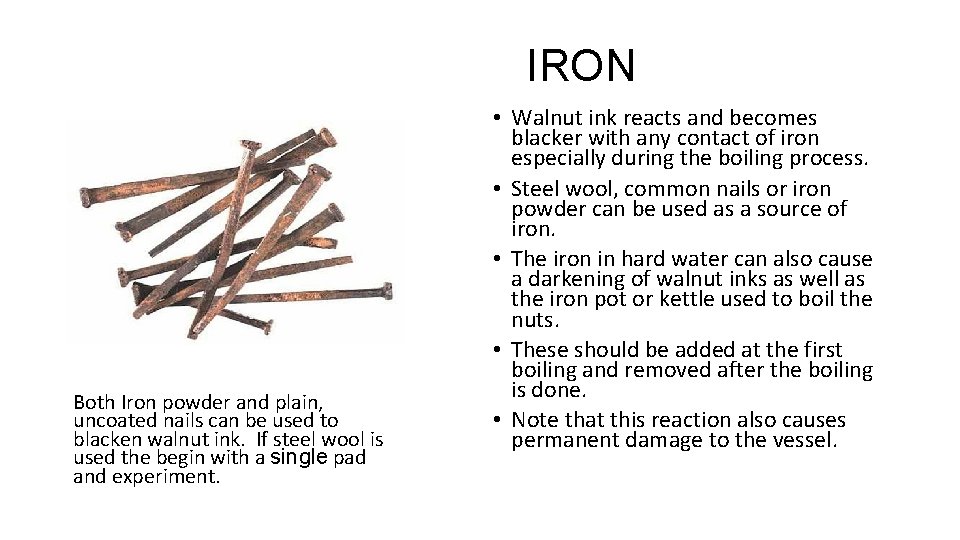
IRON Both Iron powder and plain, uncoated nails can be used to blacken walnut ink. If steel wool is used the begin with a single pad and experiment. • Walnut ink reacts and becomes blacker with any contact of iron especially during the boiling process. • Steel wool, common nails or iron powder can be used as a source of iron. • The iron in hard water can also cause a darkening of walnut inks as well as the iron pot or kettle used to boil the nuts. • These should be added at the first boiling and removed after the boiling is done. • Note that this reaction also causes permanent damage to the vessel.
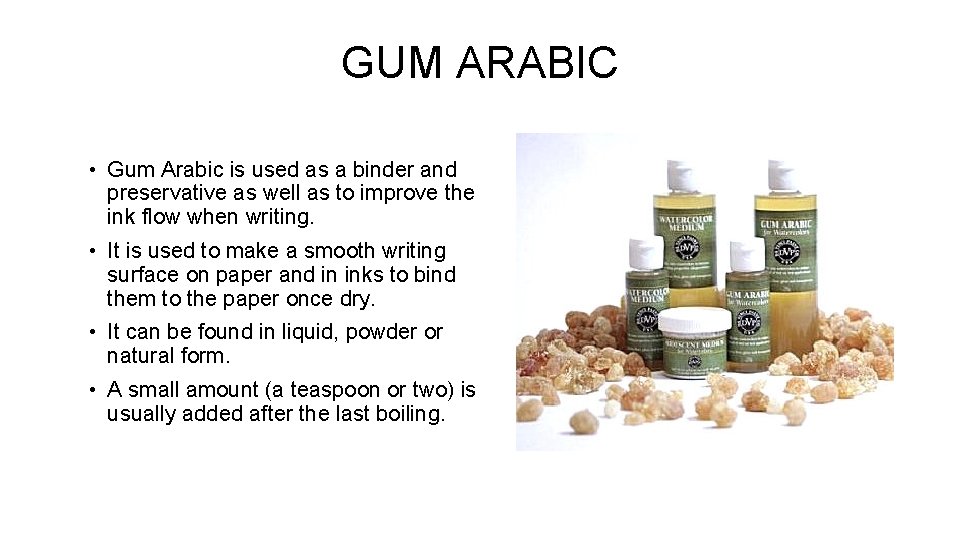
GUM ARABIC • Gum Arabic is used as a binder and preservative as well as to improve the ink flow when writing. • It is used to make a smooth writing surface on paper and in inks to bind them to the paper once dry. • It can be found in liquid, powder or natural form. • A small amount (a teaspoon or two) is usually added after the last boiling.
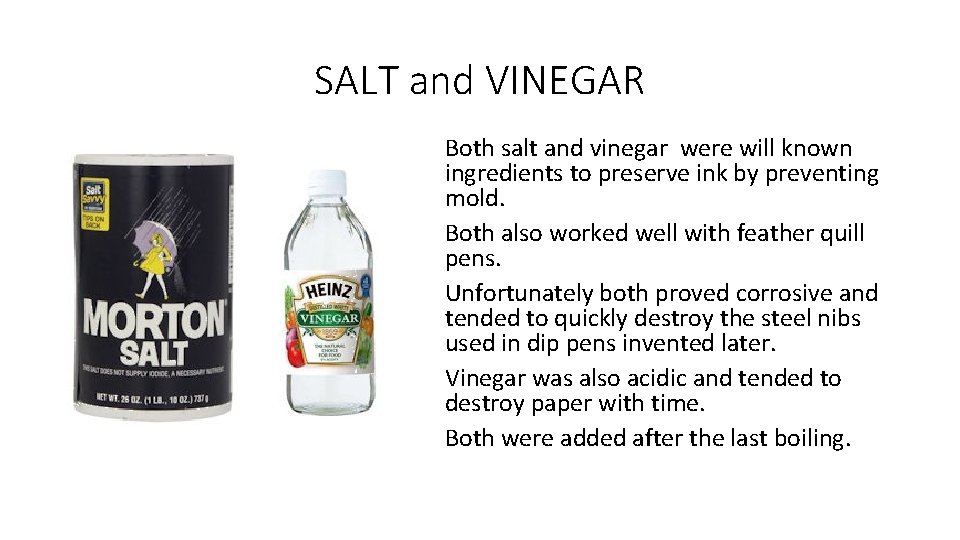
SALT and VINEGAR Both salt and vinegar were will known ingredients to preserve ink by preventing mold. Both also worked well with feather quill pens. Unfortunately both proved corrosive and tended to quickly destroy the steel nibs used in dip pens invented later. Vinegar was also acidic and tended to destroy paper with time. Both were added after the last boiling.
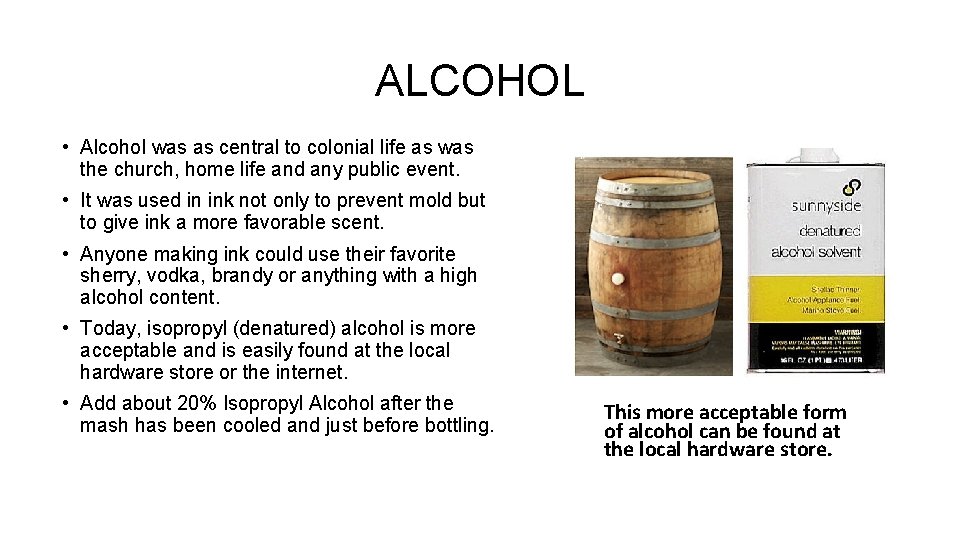
ALCOHOL • Alcohol was as central to colonial life as was the church, home life and any public event. • It was used in ink not only to prevent mold but to give ink a more favorable scent. • Anyone making ink could use their favorite sherry, vodka, brandy or anything with a high alcohol content. • Today, isopropyl (denatured) alcohol is more acceptable and is easily found at the local hardware store or the internet. • Add about 20% Isopropyl Alcohol after the mash has been cooled and just before bottling. This more acceptable form of alcohol can be found at the local hardware store.
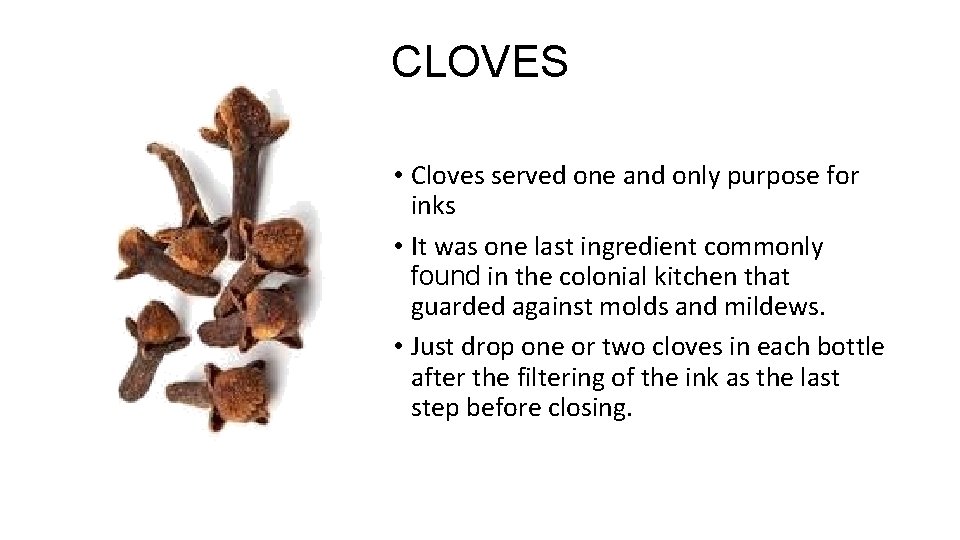
CLOVES • Cloves served one and only purpose for inks • It was one last ingredient commonly found in the colonial kitchen that guarded against molds and mildews. • Just drop one or two cloves in each bottle after the filtering of the ink as the last step before closing.
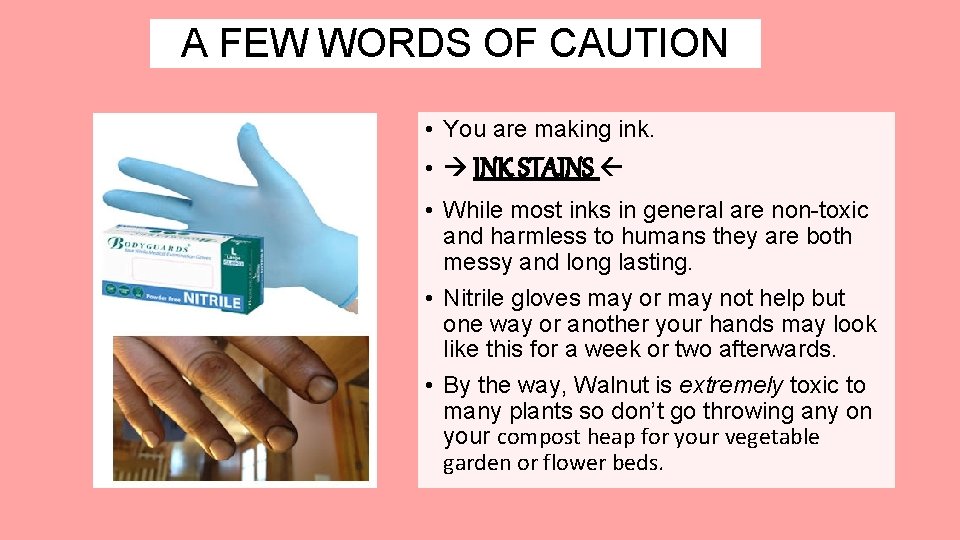
A FEW WORDS OF CAUTION • You are making ink. • INK STAINS • While most inks in general are non-toxic and harmless to humans they are both messy and long lasting. • Nitrile gloves may or may not help but one way or another your hands may look like this for a week or two afterwards. • By the way, Walnut is extremely toxic to many plants so don’t go throwing any on your compost heap for your vegetable garden or flower beds.
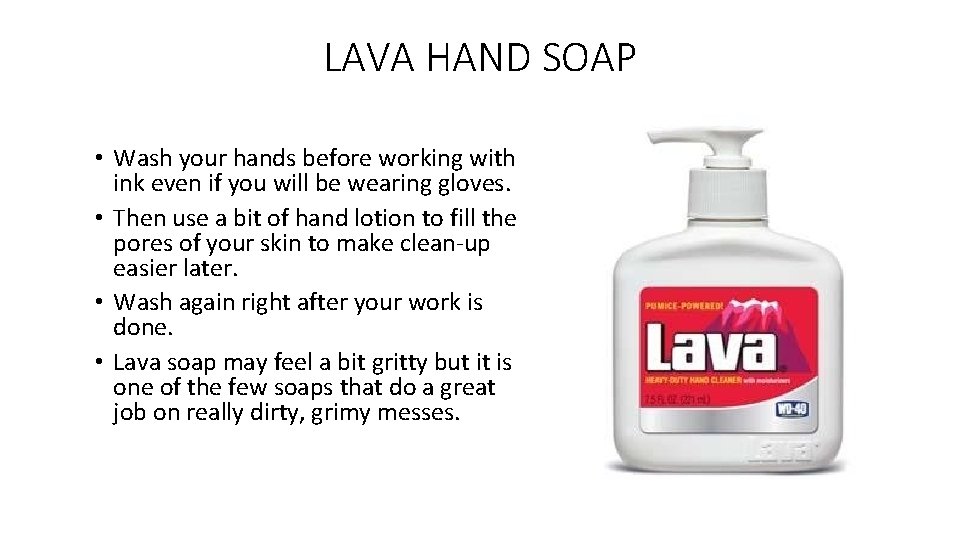
LAVA HAND SOAP • Wash your hands before working with ink even if you will be wearing gloves. • Then use a bit of hand lotion to fill the pores of your skin to make clean-up easier later. • Wash again right after your work is done. • Lava soap may feel a bit gritty but it is one of the few soaps that do a great job on really dirty, grimy messes.
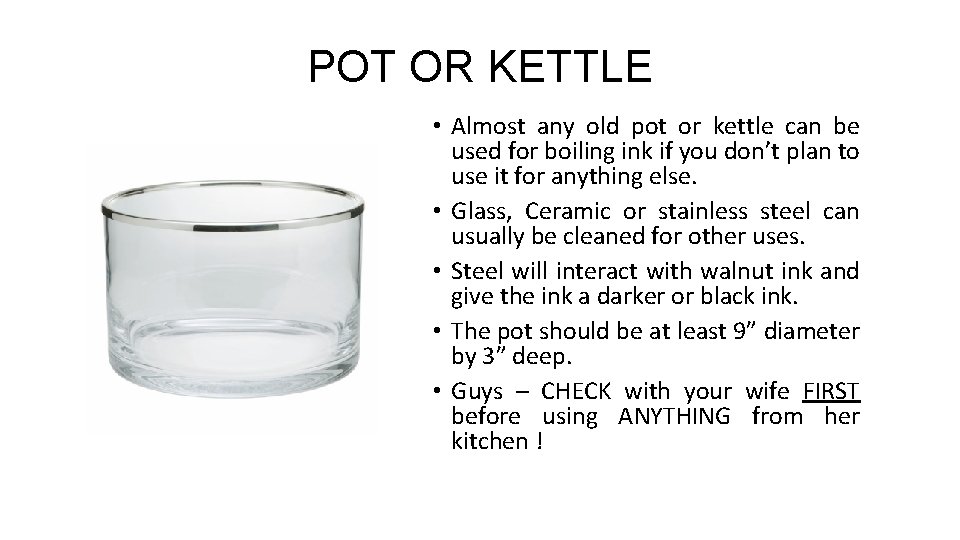
POT OR KETTLE • Almost any old pot or kettle can be used for boiling ink if you don’t plan to use it for anything else. • Glass, Ceramic or stainless steel can usually be cleaned for other uses. • Steel will interact with walnut ink and give the ink a darker or black ink. • The pot should be at least 9” diameter by 3” deep. • Guys – CHECK with your wife FIRST before using ANYTHING from her kitchen !
QUILL OR STEEL NIB PEN • You will need some sort of writing implement to test your ink from time. • Since you are probably making this ink for a quill pen to begin with it is only logical to have a few pens handy to test this ink.
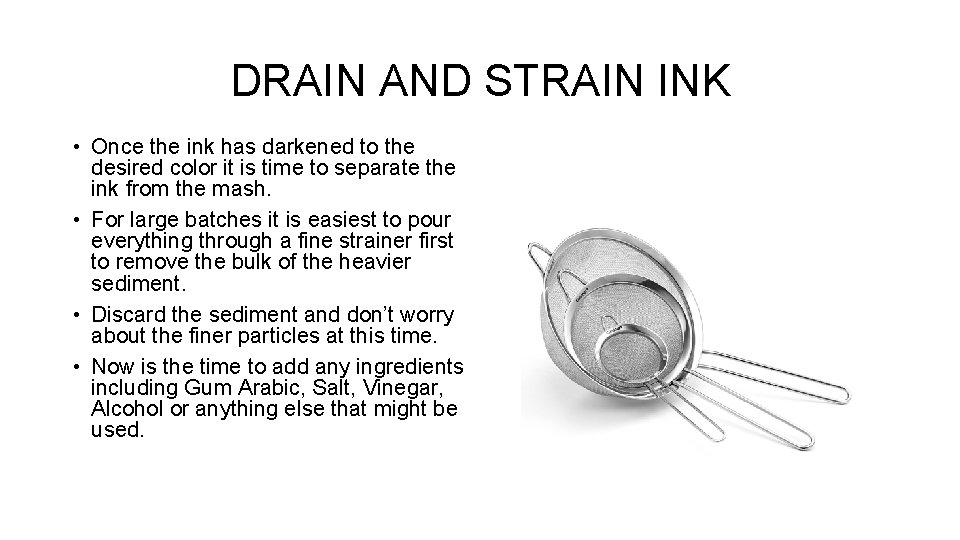
DRAIN AND STRAIN INK • Once the ink has darkened to the desired color it is time to separate the ink from the mash. • For large batches it is easiest to pour everything through a fine strainer first to remove the bulk of the heavier sediment. • Discard the sediment and don’t worry about the finer particles at this time. • Now is the time to add any ingredients including Gum Arabic, Salt, Vinegar, Alcohol or anything else that might be used.
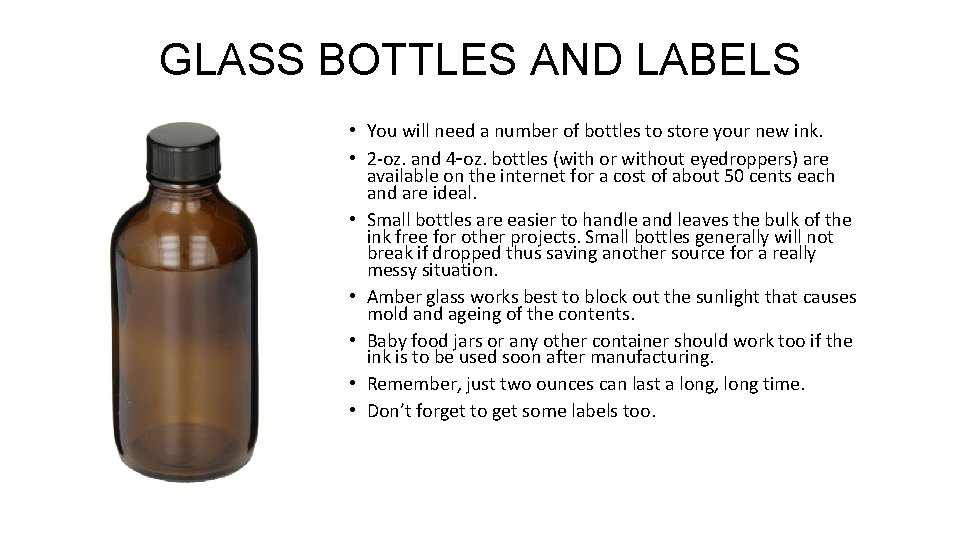
GLASS BOTTLES AND LABELS • You will need a number of bottles to store your new ink. • 2 -oz. and 4 -oz. bottles (with or without eyedroppers) are available on the internet for a cost of about 50 cents each and are ideal. • Small bottles are easier to handle and leaves the bulk of the ink free for other projects. Small bottles generally will not break if dropped thus saving another source for a really messy situation. • Amber glass works best to block out the sunlight that causes mold and ageing of the contents. • Baby food jars or any other container should work too if the ink is to be used soon after manufacturing. • Remember, just two ounces can last a long, long time. • Don’t forget to get some labels too.
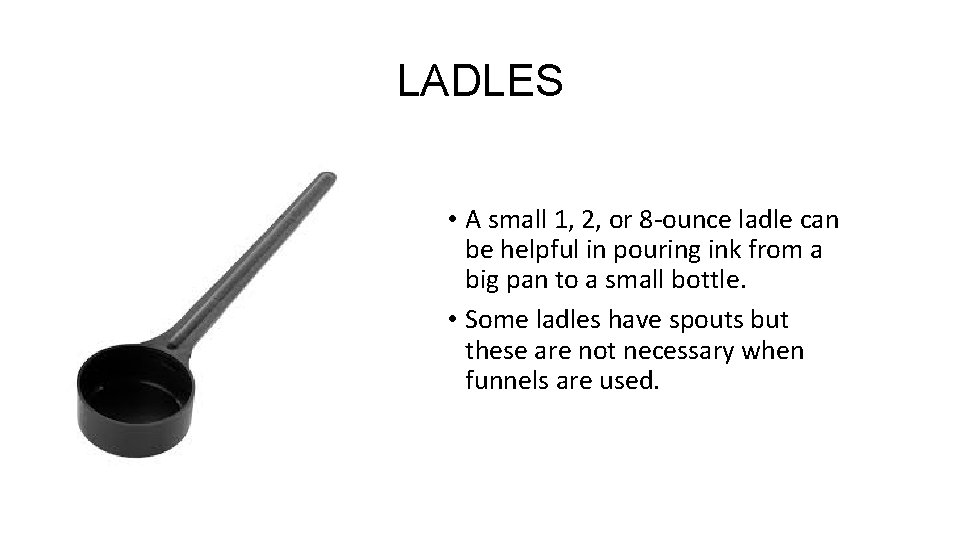
LADLES • A small 1, 2, or 8 -ounce ladle can be helpful in pouring ink from a big pan to a small bottle. • Some ladles have spouts but these are not necessary when funnels are used.
FUNNELS • Small funnels can make the bottling process easier and less messy. • This compact set “nests” together thus saving a lot of space. • The small end of the smallest funnel in this set is only 3/8” which will fit the smallest bottles. • Even smaller funnels are available for the perfume industry.
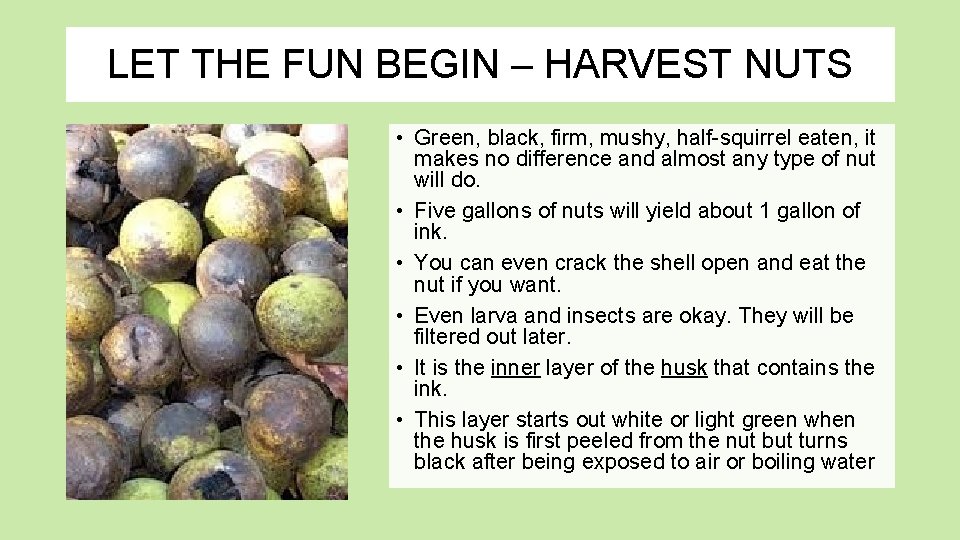
LET THE FUN BEGIN – HARVEST NUTS • Green, black, firm, mushy, half-squirrel eaten, it makes no difference and almost any type of nut will do. • Five gallons of nuts will yield about 1 gallon of ink. • You can even crack the shell open and eat the nut if you want. • Even larva and insects are okay. They will be filtered out later. • It is the inner layer of the husk that contains the ink. • This layer starts out white or light green when the husk is first peeled from the nut but turns black after being exposed to air or boiling water
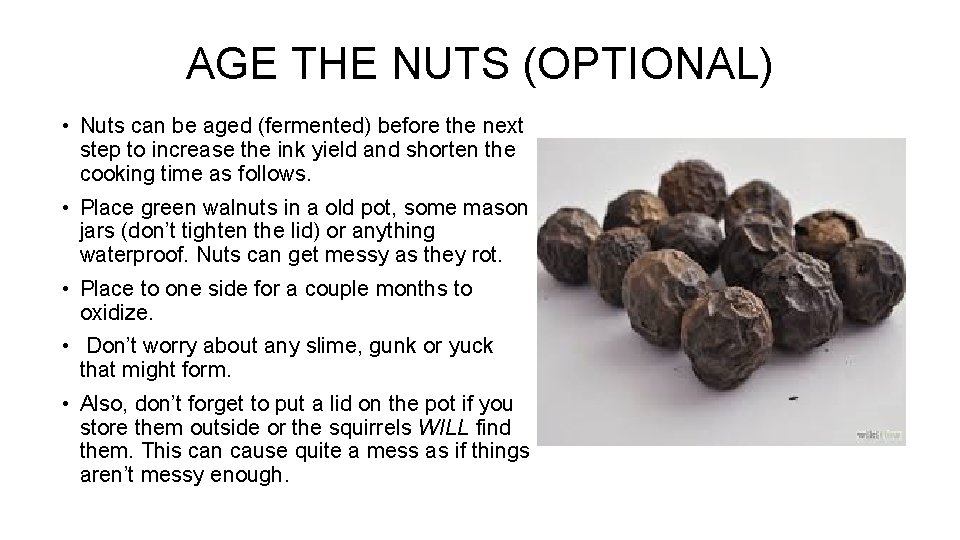
AGE THE NUTS (OPTIONAL) • Nuts can be aged (fermented) before the next step to increase the ink yield and shorten the cooking time as follows. • Place green walnuts in a old pot, some mason jars (don’t tighten the lid) or anything waterproof. Nuts can get messy as they rot. • Place to one side for a couple months to oxidize. • Don’t worry about any slime, gunk or yuck that might form. • Also, don’t forget to put a lid on the pot if you store them outside or the squirrels WILL find them. This can cause quite a mess as if things aren’t messy enough.
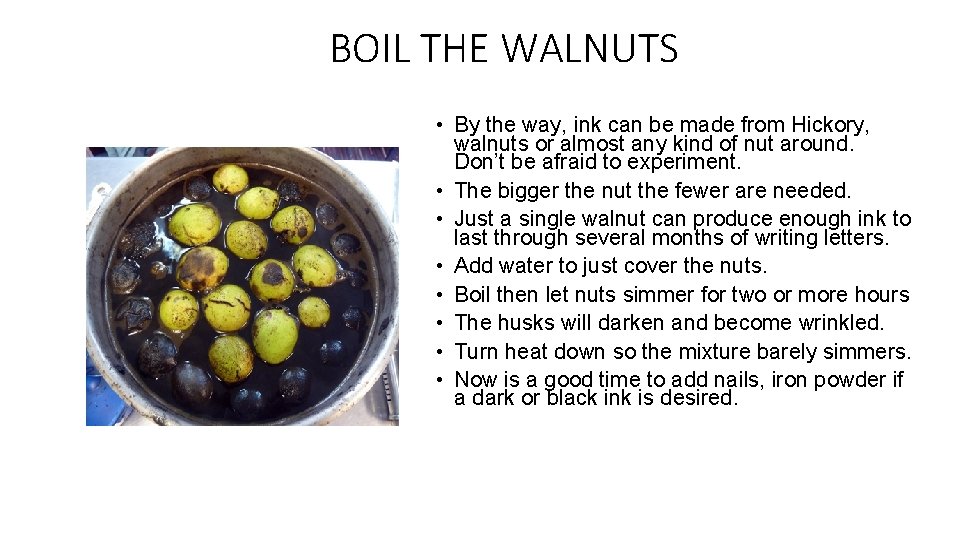
BOIL THE WALNUTS • By the way, ink can be made from Hickory, walnuts or almost any kind of nut around. Don’t be afraid to experiment. • The bigger the nut the fewer are needed. • Just a single walnut can produce enough ink to last through several months of writing letters. • Add water to just cover the nuts. • Boil then let nuts simmer for two or more hours • The husks will darken and become wrinkled. • Turn heat down so the mixture barely simmers. • Now is a good time to add nails, iron powder if a dark or black ink is desired.
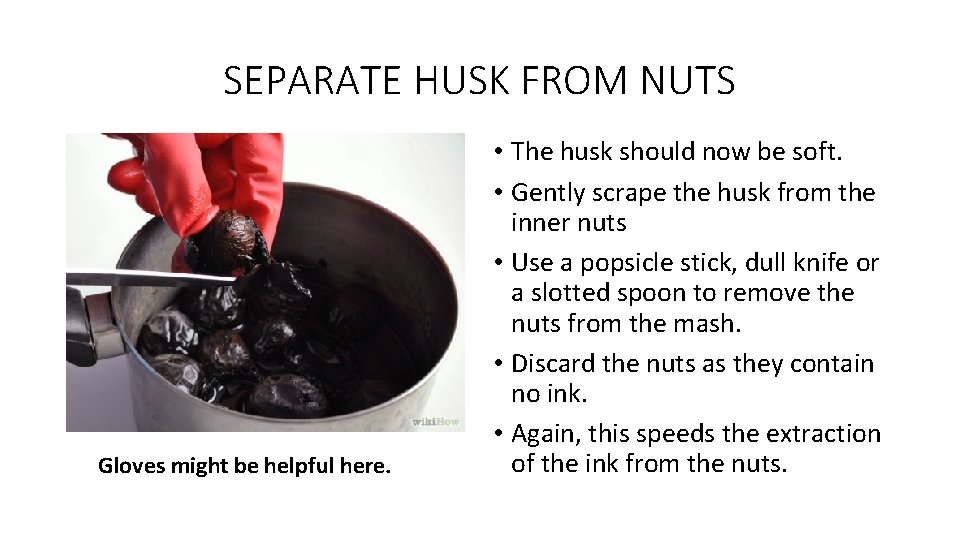
SEPARATE HUSK FROM NUTS Gloves might be helpful here. • The husk should now be soft. • Gently scrape the husk from the inner nuts • Use a popsicle stick, dull knife or a slotted spoon to remove the nuts from the mash. • Discard the nuts as they contain no ink. • Again, this speeds the extraction of the ink from the nuts.
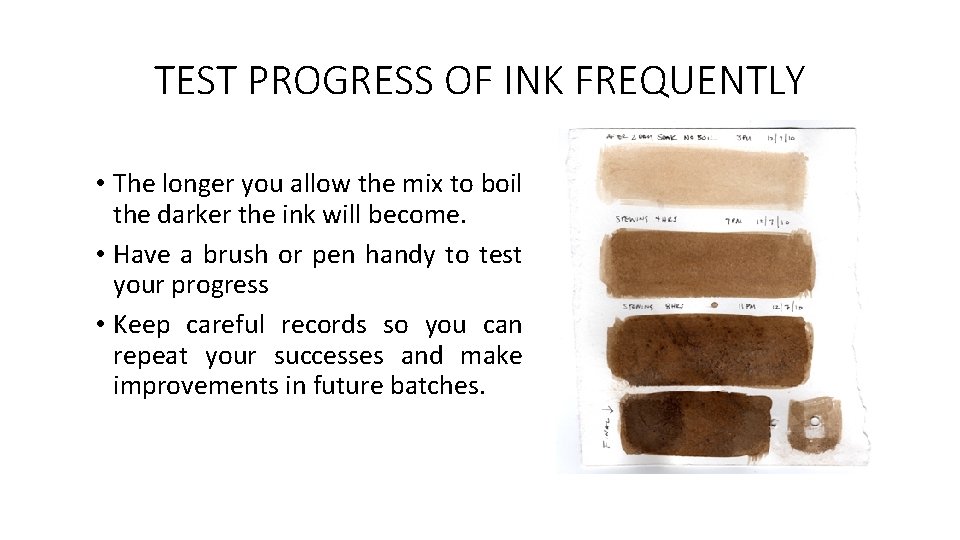
TEST PROGRESS OF INK FREQUENTLY • The longer you allow the mix to boil the darker the ink will become. • Have a brush or pen handy to test your progress • Keep careful records so you can repeat your successes and make improvements in future batches.
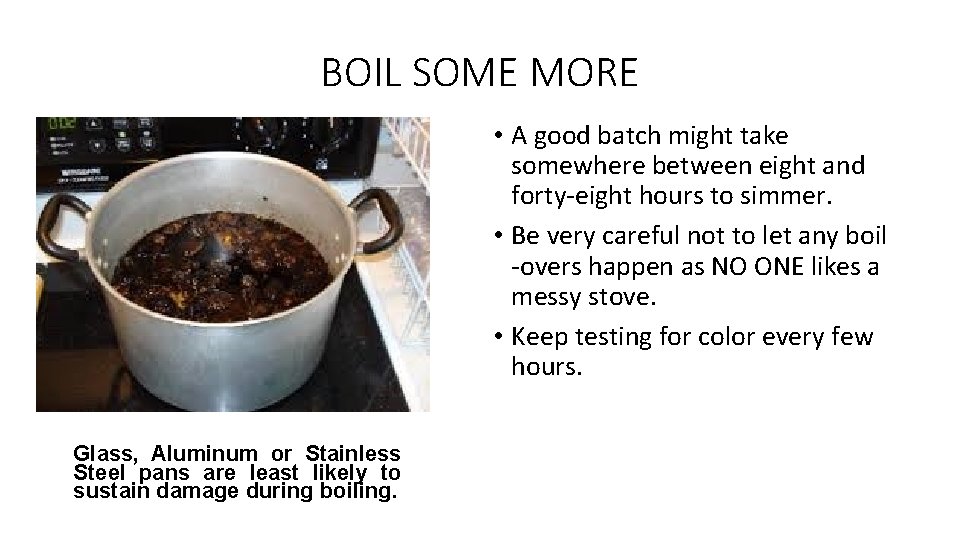
BOIL SOME MORE • A good batch might take somewhere between eight and forty-eight hours to simmer. • Be very careful not to let any boil -overs happen as NO ONE likes a messy stove. • Keep testing for color every few hours. Glass, Aluminum or Stainless Steel pans are least likely to sustain damage during boiling.
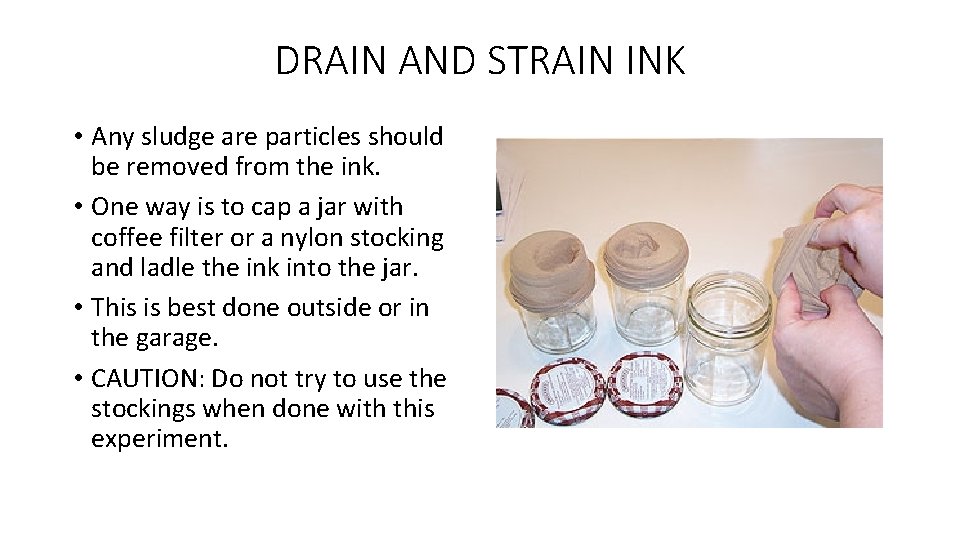
DRAIN AND STRAIN INK • Any sludge are particles should be removed from the ink. • One way is to cap a jar with coffee filter or a nylon stocking and ladle the ink into the jar. • This is best done outside or in the garage. • CAUTION: Do not try to use the stockings when done with this experiment.
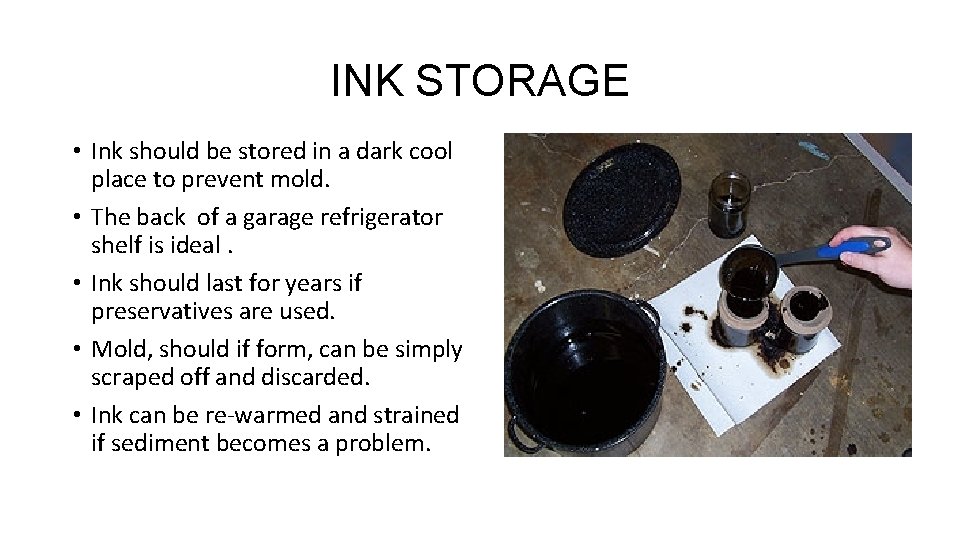
INK STORAGE • Ink should be stored in a dark cool place to prevent mold. • The back of a garage refrigerator shelf is ideal. • Ink should last for years if preservatives are used. • Mold, should if form, can be simply scraped off and discarded. • Ink can be re-warmed and strained if sediment becomes a problem.
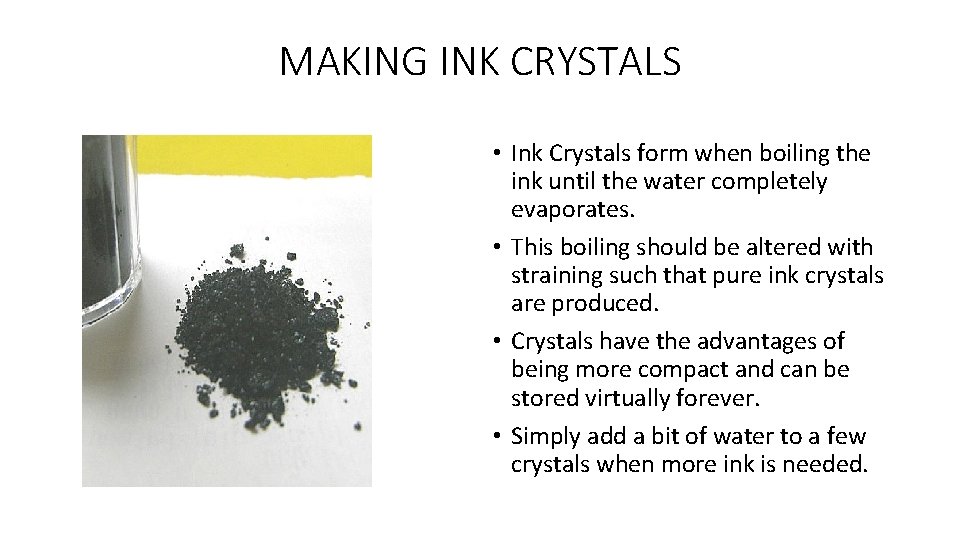
MAKING INK CRYSTALS • Ink Crystals form when boiling the ink until the water completely evaporates. • This boiling should be altered with straining such that pure ink crystals are produced. • Crystals have the advantages of being more compact and can be stored virtually forever. • Simply add a bit of water to a few crystals when more ink is needed.
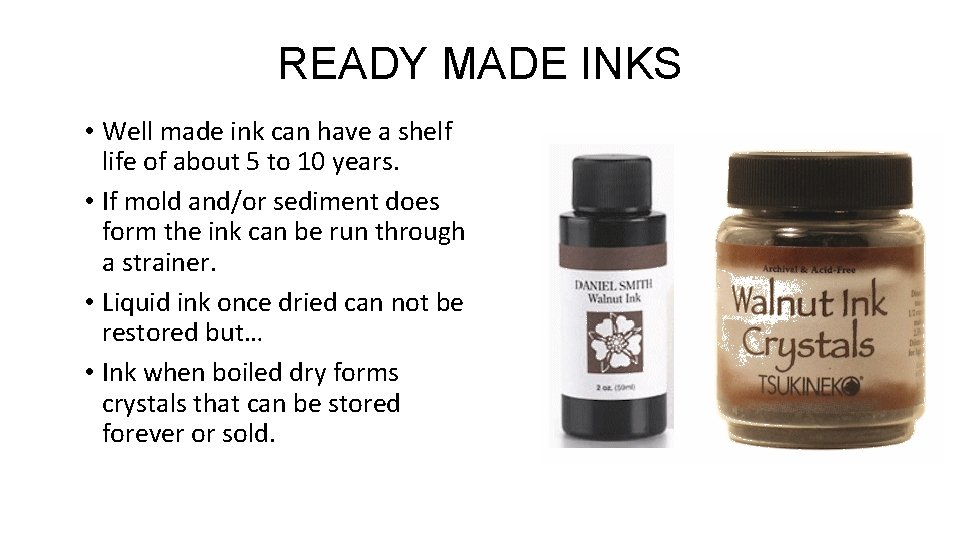
READY MADE INKS • Well made ink can have a shelf life of about 5 to 10 years. • If mold and/or sediment does form the ink can be run through a strainer. • Liquid ink once dried can not be restored but… • Ink when boiled dry forms crystals that can be stored forever or sold.
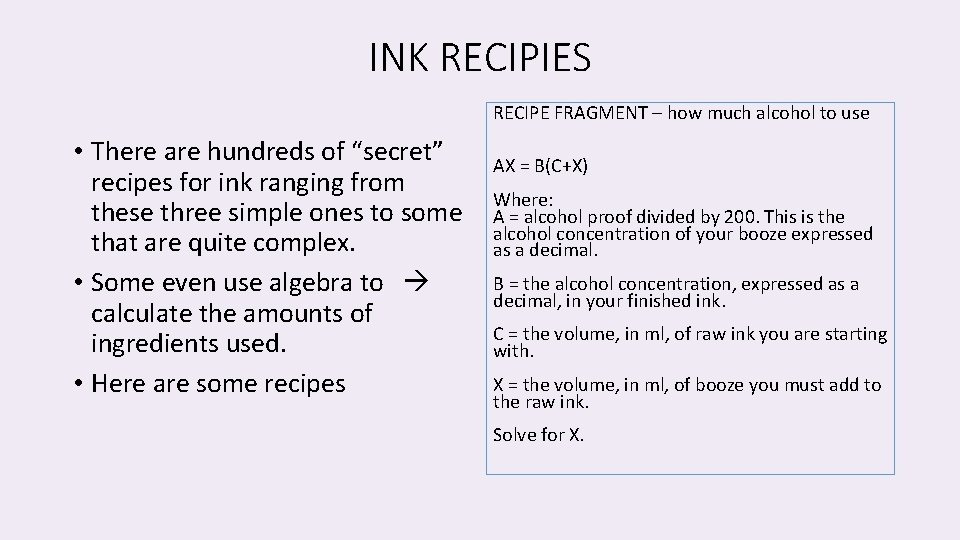
INK RECIPIES RECIPE FRAGMENT – how much alcohol to use • There are hundreds of “secret” recipes for ink ranging from these three simple ones to some that are quite complex. • Some even use algebra to calculate the amounts of ingredients used. • Here are some recipes AX = B(C+X) Where: A = alcohol proof divided by 200. This is the alcohol concentration of your booze expressed as a decimal. B = the alcohol concentration, expressed as a decimal, in your finished ink. C = the volume, in ml, of raw ink you are starting with. X = the volume, in ml, of booze you must add to the raw ink. Solve for X.
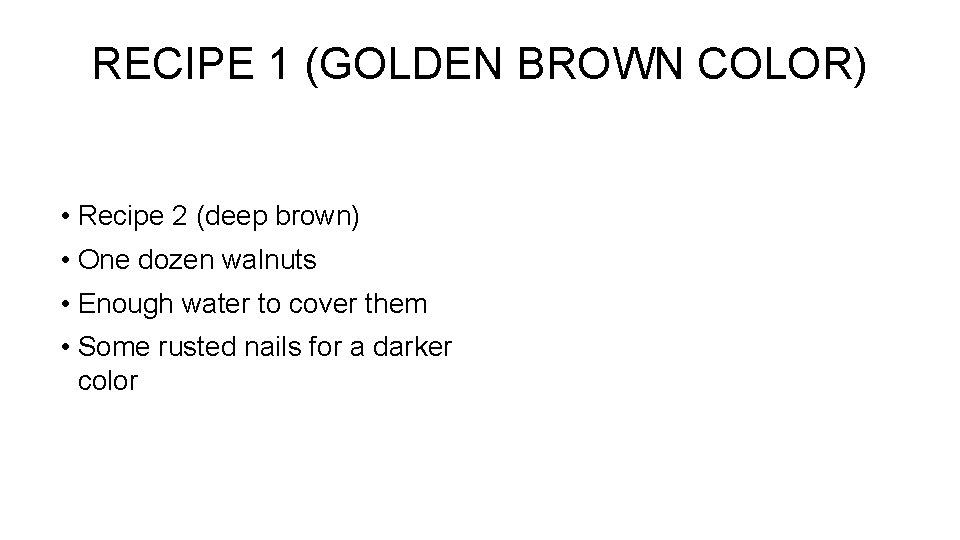
RECIPE 1 (GOLDEN BROWN COLOR) • Recipe 2 (deep brown) • One dozen walnuts • Enough water to cover them • Some rusted nails for a darker color
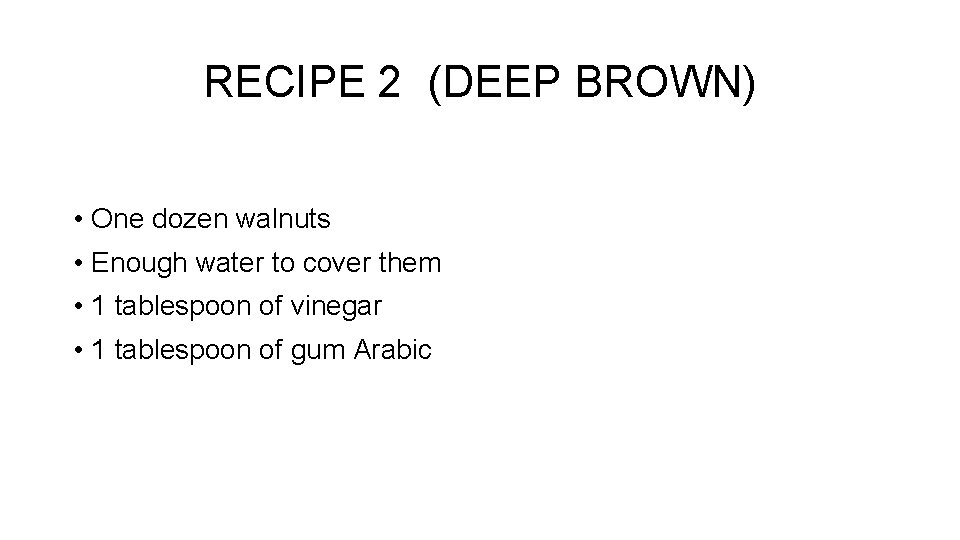
RECIPE 2 (DEEP BROWN) • One dozen walnuts • Enough water to cover them • 1 tablespoon of vinegar • 1 tablespoon of gum Arabic
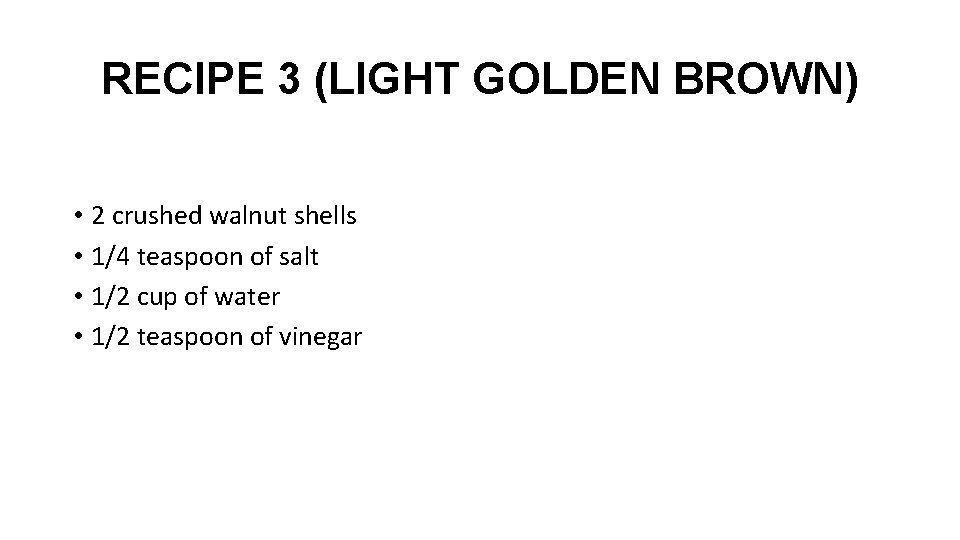
RECIPE 3 (LIGHT GOLDEN BROWN) • 2 crushed walnut shells • 1/4 teaspoon of salt • 1/2 cup of water • 1/2 teaspoon of vinegar
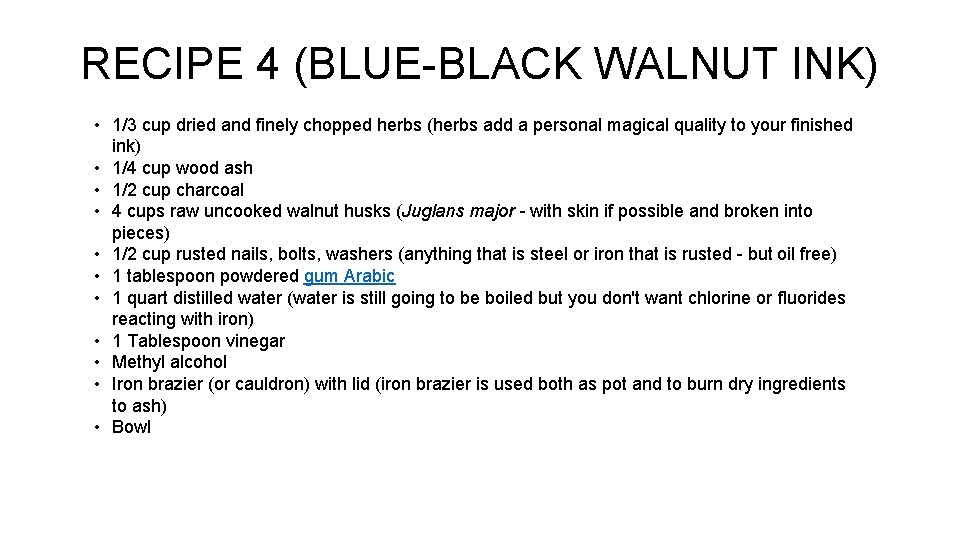
RECIPE 4 (BLUE-BLACK WALNUT INK) • 1/3 cup dried and finely chopped herbs (herbs add a personal magical quality to your finished ink) • 1/4 cup wood ash • 1/2 cup charcoal • 4 cups raw uncooked walnut husks (Juglans major - with skin if possible and broken into pieces) • 1/2 cup rusted nails, bolts, washers (anything that is steel or iron that is rusted - but oil free) • 1 tablespoon powdered gum Arabic • 1 quart distilled water (water is still going to be boiled but you don't want chlorine or fluorides reacting with iron) • 1 Tablespoon vinegar • Methyl alcohol • Iron brazier (or cauldron) with lid (iron brazier is used both as pot and to burn dry ingredients to ash) • Bowl
For More Information… • All about medieval period writing. Good background for Colonial writing. • Home Made Black Ink - http: //www. marktablerart. com/5. html Seven steps to make walnut ink on a home stove. • Ink Recipes - http: //elkinvanaeon. net/Alchemy_II/Herbs/Ink. htm various ink recipes for colored ink plus a list of hazardous materials might find. you • Fountain Pen Network - http: //www. fountainpennetwork. com/ forum/topic/232797 -homemade-black-walnut-ink/ This site for fountain pens also has some very detailed instructions making ink and for quill [dip] pens. It includes complex formulas quantities of ingredients. for computing
This presentation has been brought to you by the North River Railway Bob Van Cleef 46 Broadway Coventry, CT 06238 http: //www. northriverrailway. net THE END