Locating Editing Using Diagrams in Your Science Lesson


 • 3 -5")


 or Object” • • Click on “INSERT” tab Select “Shapes” Drop-down")


- Slides: 40
Locating, Editing, & Using Diagrams in Your Science Lesson Gary Carlin, CFN 603 gcarlin@schools. nyc. gov 917 -714 -7448
Use of Diagrams on Regents • +50% of the Living Environment • +70% of the Earth Science • +30% of the Chemistry • +40% of the Physics
Every Lesson – “Visual” • Prop (Everyday Object of “Created Model”) • 3 -5 Regents Diagrams (B&W) Minimum • 2 -3 “Color Pictures” • Optional: Demo, Video Clip, Online Site …
B&W Regents Diagrams • From previous Regents Examinations • Must Identify “Type of Diagram” • Type of Diagram determines the Processing • Processing: specific series of STEPS
Color Pictures/Diagrams • Color Pictures come after B&W • Tell a “Story” • Fill-in Details and Provide Greater Depth • Make Real World Connections (Modeling)
Finding Your B&W Diagrams • WWW. NYSED. GOV • Click “Index A-Z” select Click on “[R]” • Click on “Regents Examinations and Tests” • Click on “Regents and RCTs” • Click on “Past Regents Examinations” (gray box) • Select: “Chemistry, ES, LE, or Physics”
WWW. NYSED. GOV • http: //www. nysedregents. org/ • Open Regents Exam then “Save As” onto your drive (. pdf file so you will have the camera)
Working With Images • Enlarge to 150 -300% to avoid pixilation • “Copy” image (camera) • “Paste” image • Scale Image Size (bottom, right-hand corner, circle) • Position on slide (click and drag) • Add Text (Text Box)
Scaling an Image
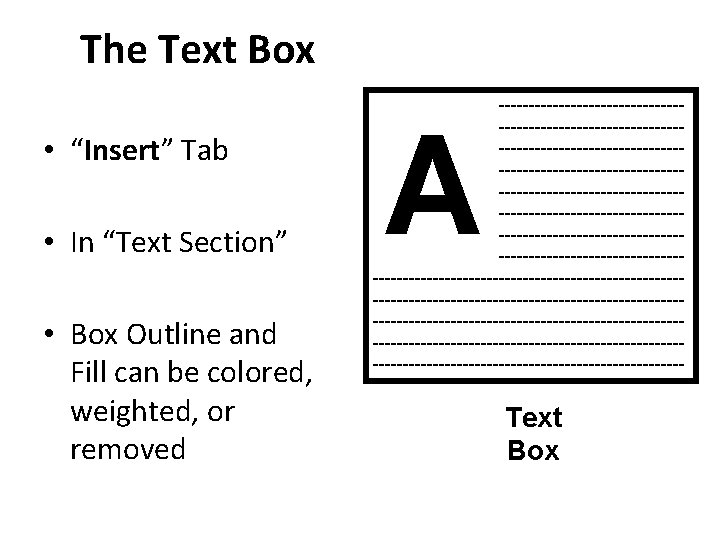
Use PPT Pre-Set Text Boxes Title Box Larger Text Box
Or Insert a Text Box • In Drawing Section • Upper-Left Hand Corner • Click on icon • Click anywhere in document
Add Arrows/Shapes
“Circling a Word(s) or Object” • • Click on “INSERT” tab Select “Shapes” Drop-down Menu Select a Shape: ie. Circle or Square Click, Hold and Drag over area wanted Under Drawing Tools click on “Format” Click on Shape Fill: Select “No Fill” Click on “Shape Outline”: Select Color and Weight of line for the shape
Hyperlink • Allow us to connect to online resources • “Insert” Tab • Hyperlink a word(s) or an object
Hyperlink to “Jump”: Link to: • Existing File or Web page • Place in This Document • Create New Document • Email Address
Jumping in a Power. Point • Select a “Place in this Document”: – Slide Title – Slide Number with Heading Name • “Slide Preview”: – Shows you the picture of the slide you want to Jump (back or ahead) to in your presentation.
Diagram Progression • Simple to Complex --- “Up the Ladder” • Allows for easy entry – Start with diagrams that all students to discuss “General, Nonscientific” Observations/Inferences. • Develop consistent Science and non-content vocabulary (description, process, explanation)
Start Simple • Basic “Skeleton Pictures” • Less Text/Labeling is Better • Look to separate and enlarge parts of Complex (ie. “ 1 -Picture Story”) Diagrams • Represent in a simpler form?
Build Slowly • Connect to something known or previous information • Identifying specific parts or areas allows for a “focus”
Add Complexity • Allows us to focus a specific detail, usually related to a scientific process • Structure allows us to understand function, yet, we can do this conceptually first.
Most Detailed/Complex • Apply to very specific information, substructures, or examples • Connect to previous diagrams and language
Analysis “Content” Graphically
Summarize/Access in the “Abstract” • Look at the “content” in a new and different format --- Complete and EXPLAIN this diagram!
One & Only One Answer • 1. Explain Task • 3. ADD Information 2. Justify Answer 4. Ask a Question?
Test Page for “JUMPING” • Hopefully we “JUMPED” here!!! • If not I’m turning RED with Embarrassment • Now I want to Jump BACK!!!
DNA Related Diagrams
Cell, Nucleus, and Chromosomes
Watson and Crick
Spiral Staircase
Pairs and Joining
DNA Base Pairs
Gel Electrophoresis
Gene Splicing
Bacterial Plasmid
Hemoglobin Amino Acid Sequences Five Different Species
Lobster Species ?
DNA Extraction
Paternity Testing
***Extra***