LINE A line is Examples of lines Line


- Slides: 41
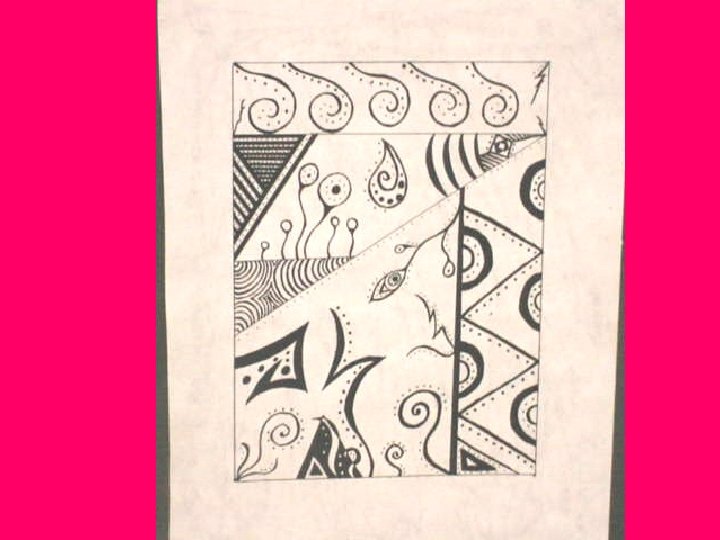
LINE A line is… Examples of lines: Line techniques: Line Objective: You will identify various types of lines in order to combine them in a design. DRILL: Turn to page 1 in book. 1. Make the page 1 layout match the image to the left (or the example at your table. )
A line is… long narrow mark: a long narrow mark or stroke made on a surface.
Lines: • All lines have a beginning, middle, and end. If you start with a dot, then make a mark across a surface and end with another dot, you have a line.
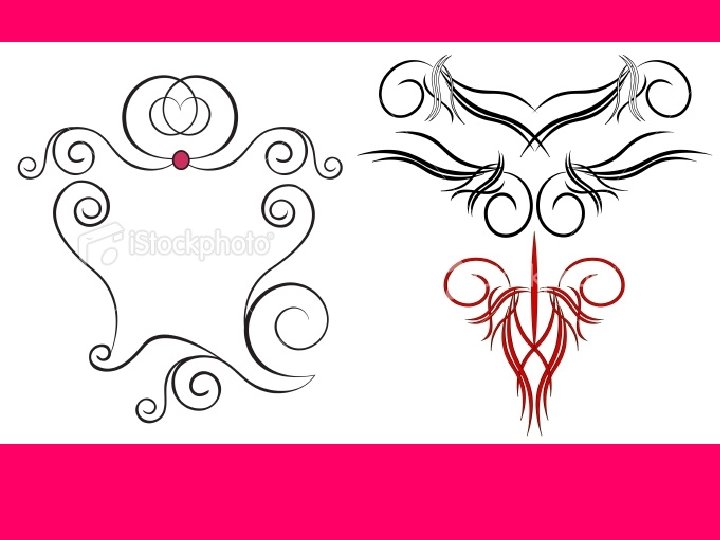
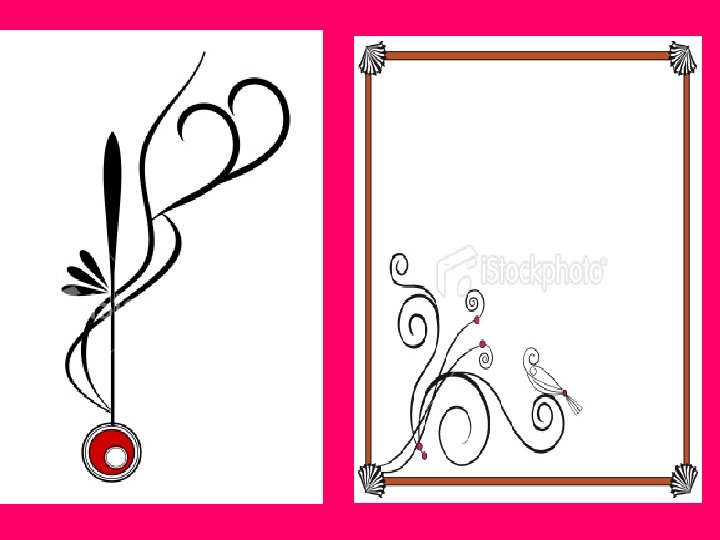
Types of Lines:
Line techniques: Hatching Cross- hatching Scribbling Designs + Thick/ thin LOOK AT EXAMPLES.
Page 2: Scratch-Art 1. 2. 3. 4. Title page: Line Artwork Trace the pink rectangle. Background technique- Scratch Art Color with thick crayon stripes (can be designs) 5. DO NOT LET WHITE PAPER SHOW! 6. Go to back table and paint with one coat of black paint (tempera and soap)
Line Artwork Objective: You will apply yesterday’s knowledge in order to create a line design. DRILL: 1. Take a piece of rectangle paper from the corner of the table. (Trace pink rectangle on it. ) 2. Use the line examples and line techniques, design images to create a line artwork.
Order of lesson: 1. Start line design for 5 minutes. 2. Finish Crayon stripes. 3. Paint it Black. 4. While paint is drying, finish line artwork plan. 5. Transfer design onto your scratch board. 6. Etch your lines.
TODAY’S ASSIGNMENT * While scratch art is drying work on design. DO NOT PUT SCRATCH ART UNDER THE COVER!
Scratch Art Objective: You will define scratch art terms in order to apply them and utilize the process well. YOU WILL NEED A SKETCHBOOK PAGE OR PIECE OF PAPER. DRILL: 1. How to make scratch art: 2. How to transfer the template: 3. A stylus is… 4. Etching is…
To make a scratch board: 1. Create a simple striped line design. 2. Use crayon to add color. 3. Press hard, so that no white of the paper shows through. 4. Paint it black with one layer of scratch art paint = tempera and hand soap.
How to transfer a template: 1. 2. 3. 4. Draw a picture Paper clip it to scratch board. Draw over lines with ball point pen. (There should be an impression of all of your lines. )
Vocab 1. Stylus- is a writing utensil. Can be used to draw and etch. 2. Etching is scratching a surface using marks.
Scratch Art • Crayon under black paint, etched off.
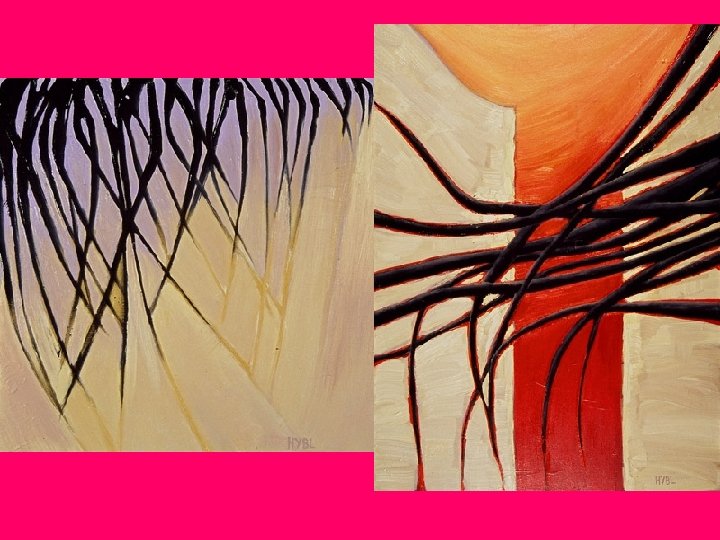
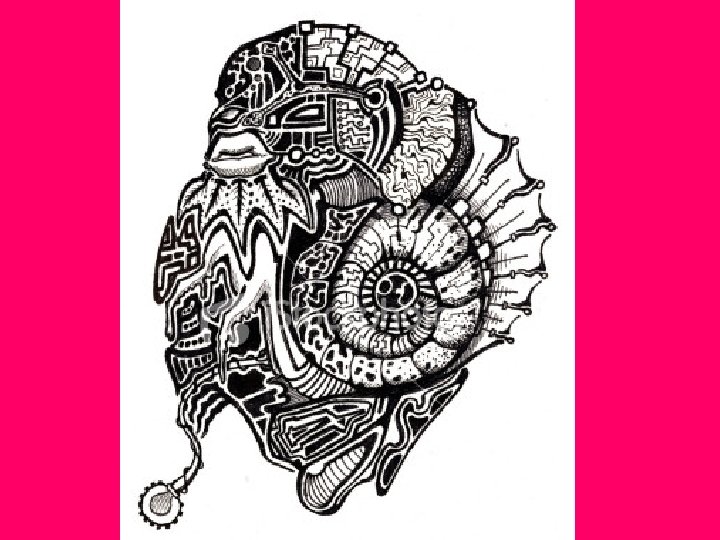
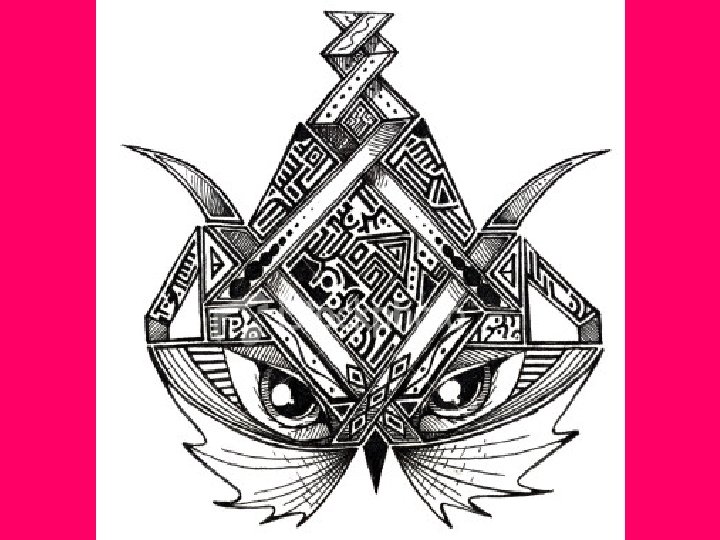
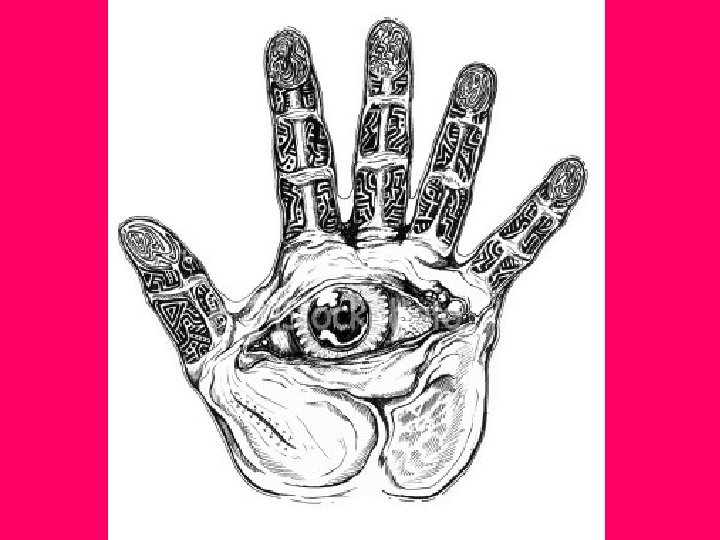
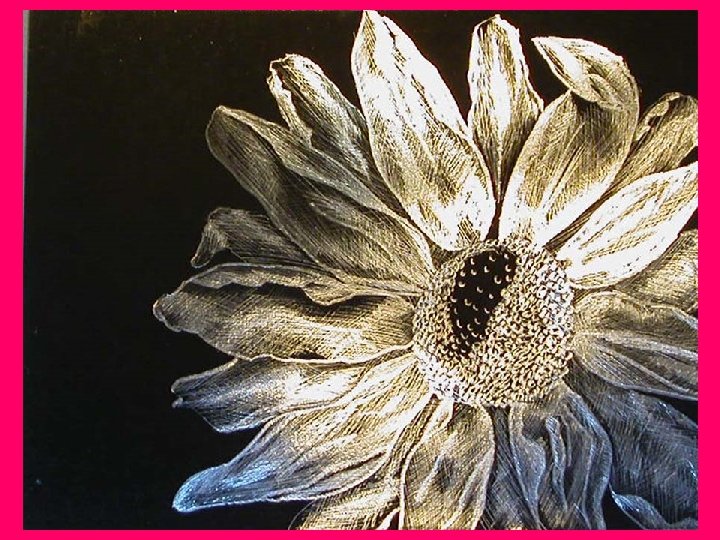
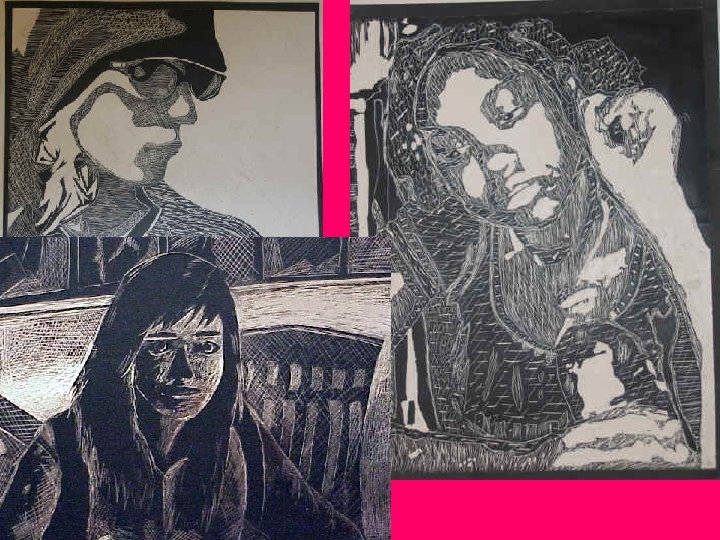
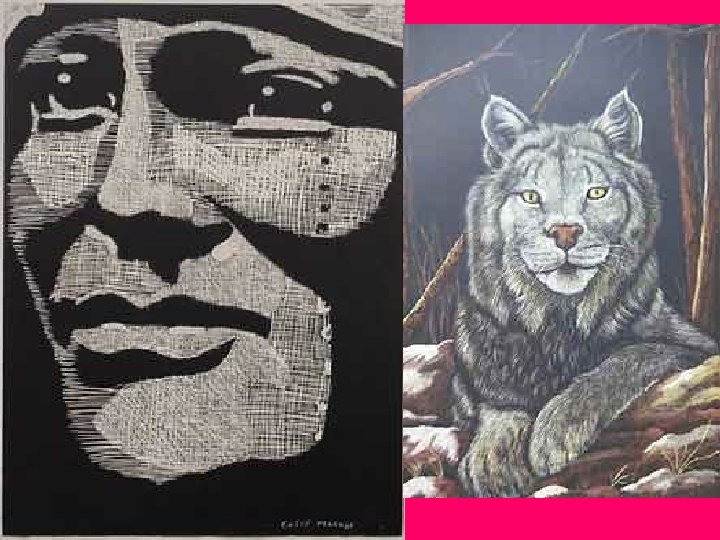
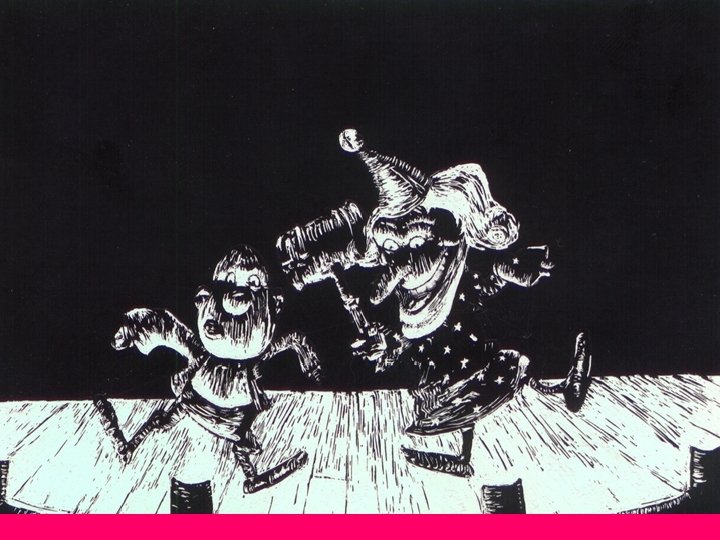
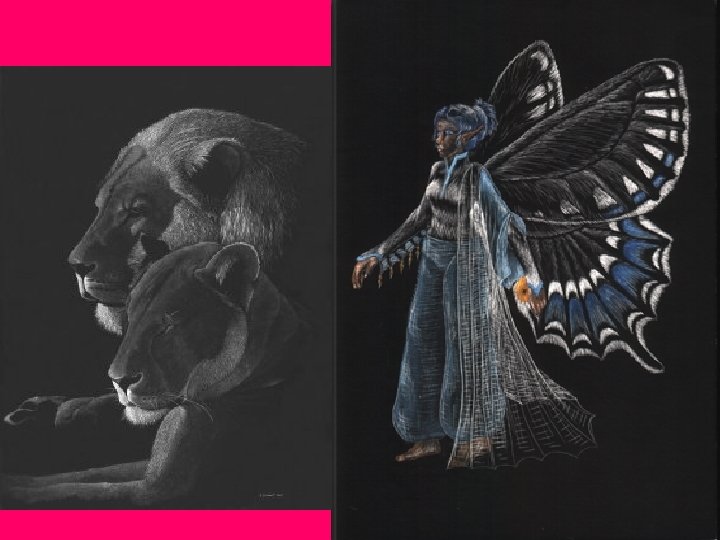
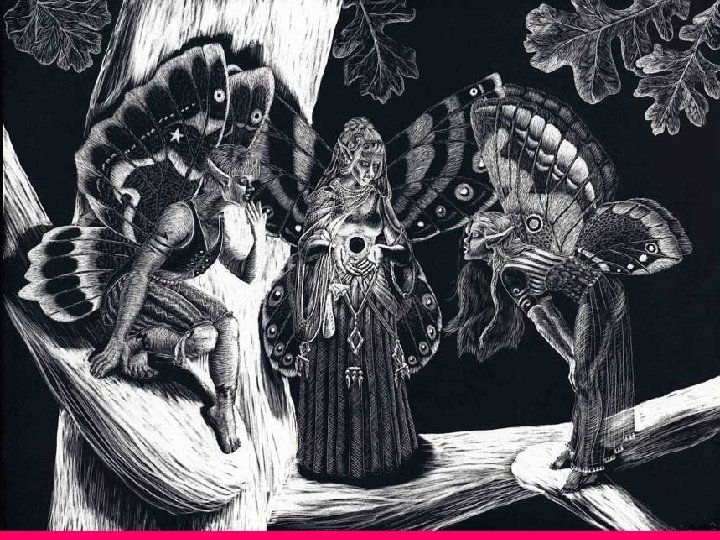
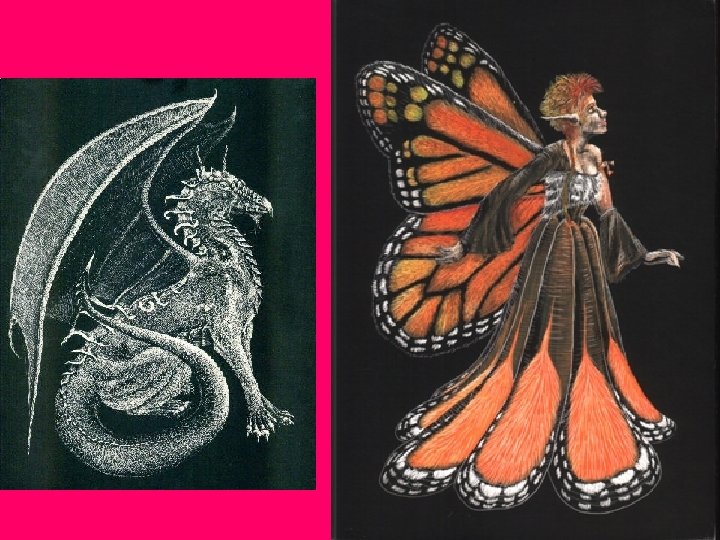
Examples of Scratch Art
Ancient Greek Artists used etching on their vases.
Greek Geometric Designs
Geometric Designs
* ** When you work on your cover again, open your book up…DO NOT PUT SCRATCH ART UNDER THE COVER!***
Today’s Goals 1. 2. 3. 4. 5. Finish crayon Paint it black Finish line design drawing Transfer design Etch the line design. Make some lines thicker, using hatching. 6. If you finish, work on cover. 7. Totally finished, do a scratch board in your sketchbook or on a new sheet of paper.
Page 2: Scratch-Art 1. 2. 3. 4. Title page: Line Artwork Trace the pink rectangle. Background technique- Scratch Art Color with thick crayon stripes (can be designs) 5. DO NOT LET WHITE PAPER SHOW! 6. Go to back table and paint with one coat of black paint (tempera and soap)
Line Artwork for scratch art Objective: You will apply yesterday’s knowledge in order to create a line design. DRILL: 1. Take a piece of rectangle paper from the corner of the table. (Trace pink rectangle on it. ) 2. Use the line examples and line techniques, design images to create a line artwork.
Scratch Art Objective: You will define scratch art terms in order to apply them and utilize the process well. YOU WILL NEED A SKETCHBOOK PAGE OR PIECE OF PAPER. DRILL: 1. How to make scratch art: 2. How to transfer the template: 3. A stylus is… 4. Etching is…
To make a scratch board: 1. Create a simple striped line design. 2. Use crayon to add color. 3. Press hard, so that no white of the paper shows through. 4. Paint it black with one layer of scratch art paint = tempera and hand soap.
How to transfer a template: 1. 2. 3. 4. Draw a picture Paper clip it to scratch board. Draw over lines with ball point pen. (There should be an impression of all of your lines. )
Vocab 1. Stylus- is a writing utensil. Can be used to draw and etch. 2. Etching is scratching a surface using marks.