
LED Display Prof Betty Lise Anderson Heres what

LED Display Prof. Betty Lise Anderson
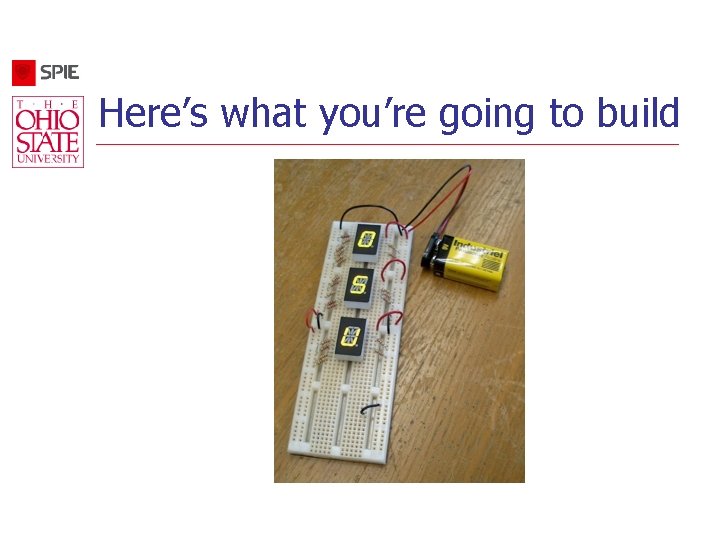
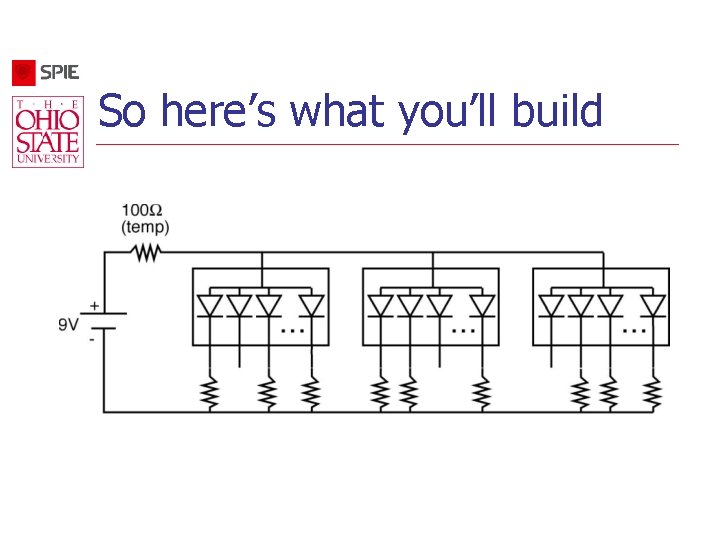
Here’s what you’re going to build
Need to learn some things n n How to read an electrical schematic What parts we’re using How design the display How to build the display
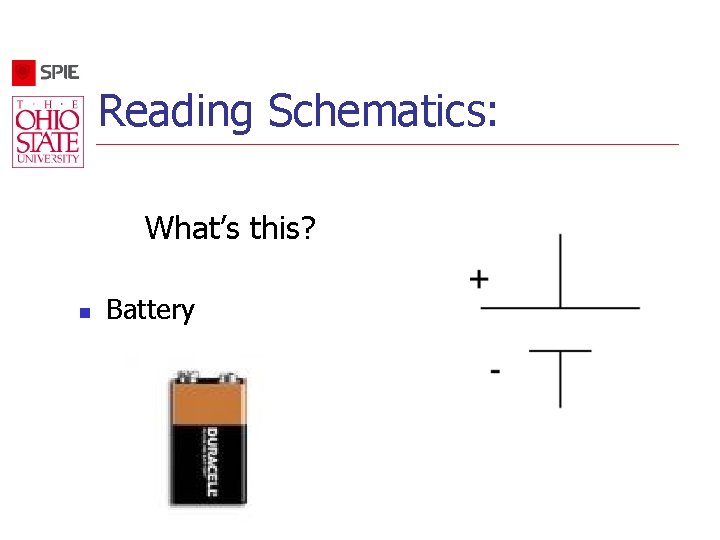
Reading Schematics: What’s this? n Battery
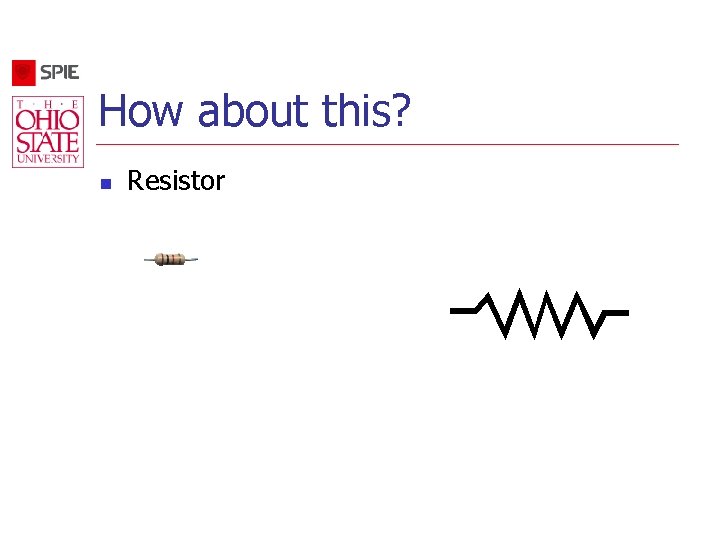
How about this? n Resistor
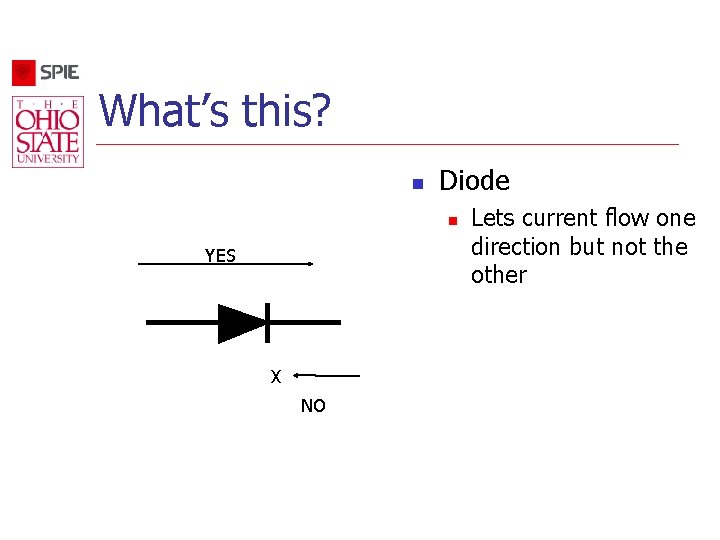
What’s this? n Diode n YES X NO Lets current flow one direction but not the other

Will current flow?
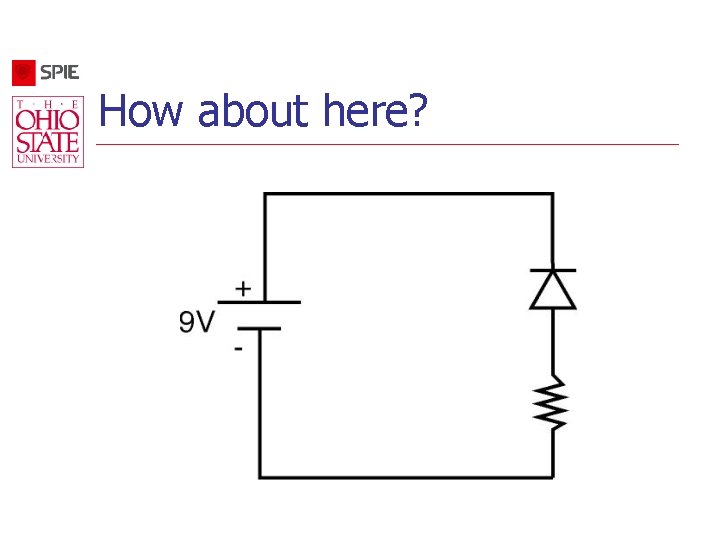
How about here?
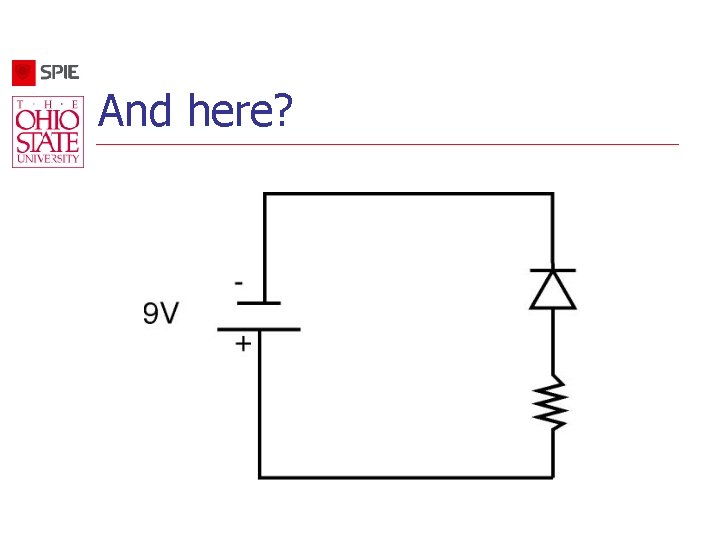
And here?
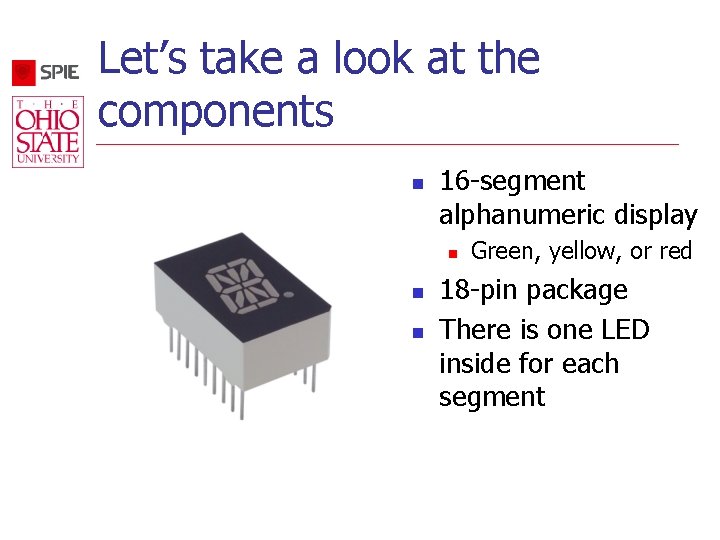
Let’s take a look at the components n 16 -segment alphanumeric display n n n Green, yellow, or red 18 -pin package There is one LED inside for each segment
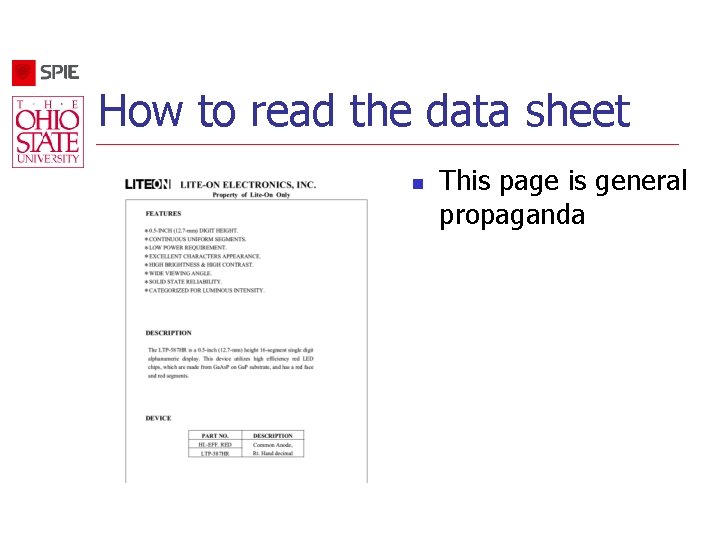
How to read the data sheet n This page is general propaganda
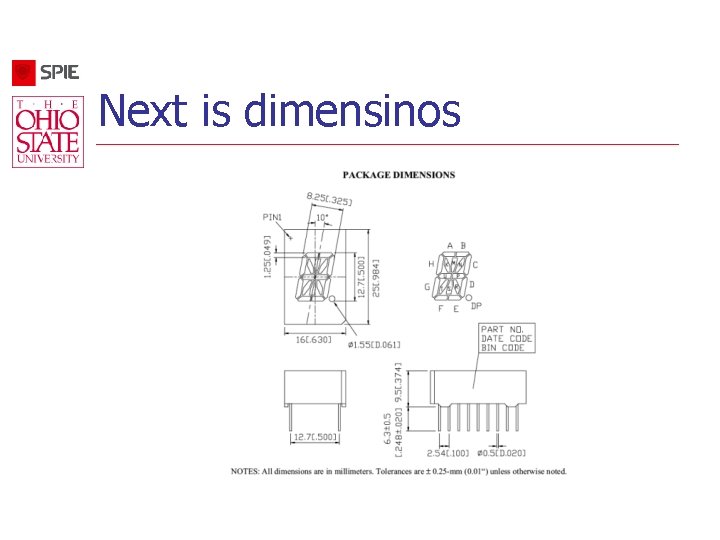
Next is dimensinos
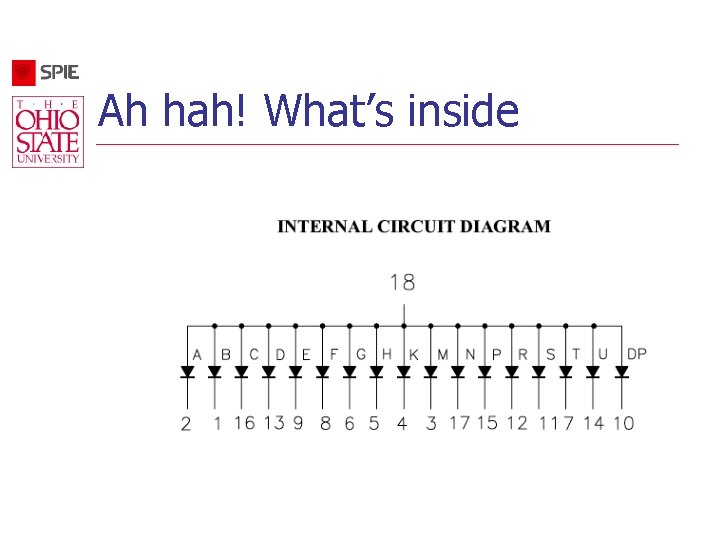
Ah hah! What’s inside
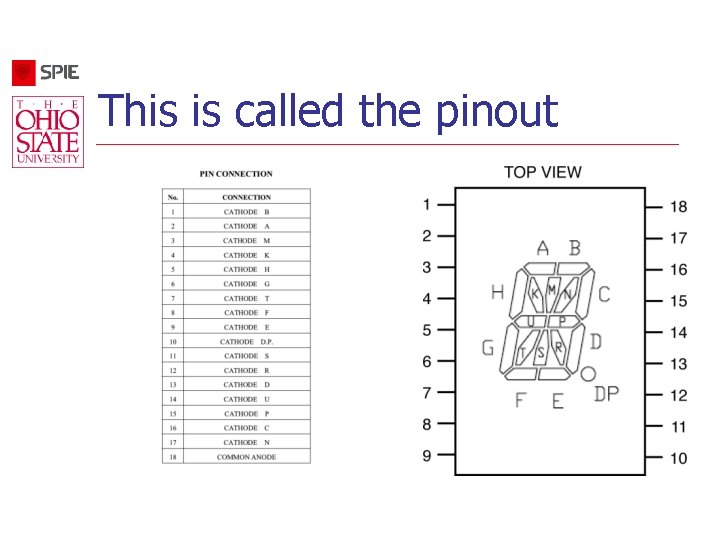
This is called the pinout
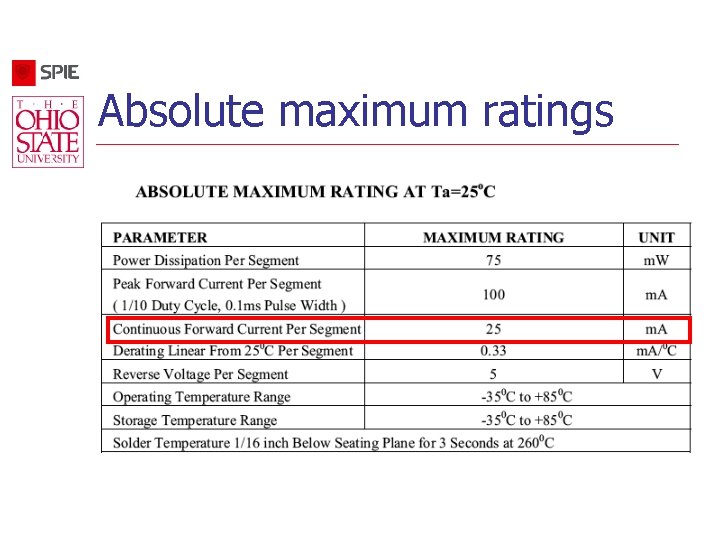
Absolute maximum ratings
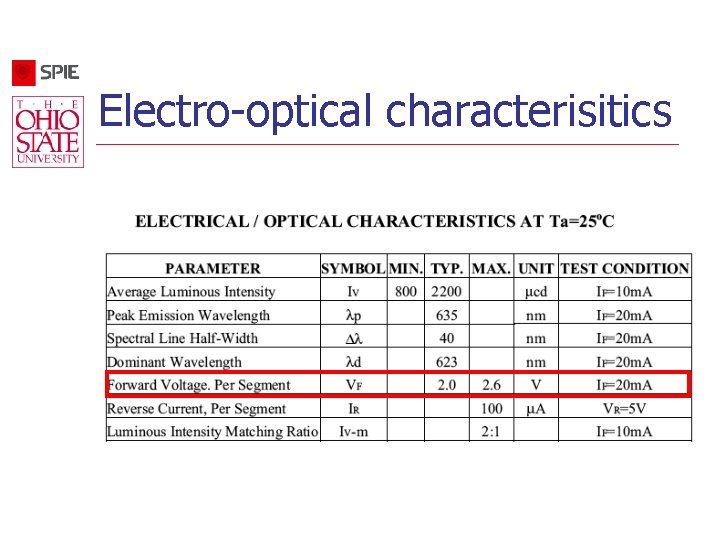
Electro-optical characterisitics
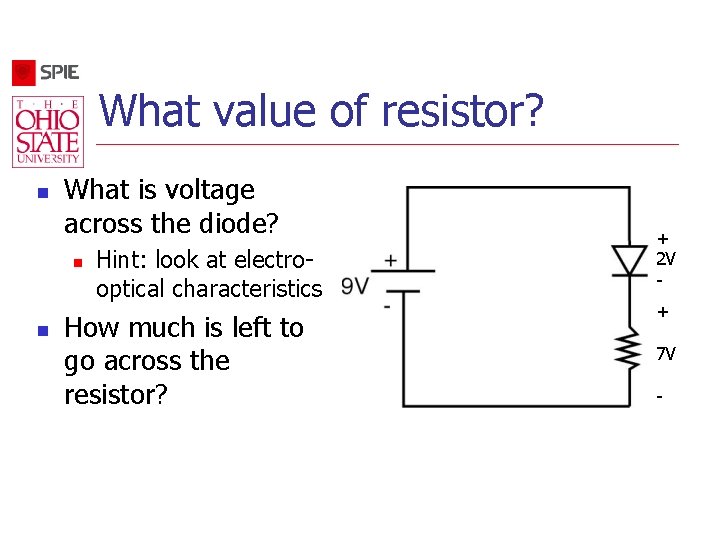
What value of resistor? n What is voltage across the diode? n n Hint: look at electrooptical characteristics How much is left to go across the resistor? + 2 V + 7 V -
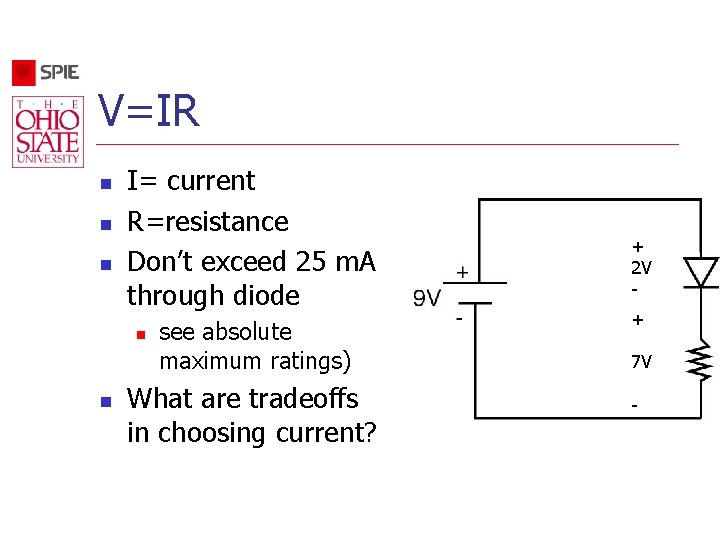
V=IR n n n I= current R=resistance Don’t exceed 25 m. A through diode n n see absolute maximum ratings) What are tradeoffs in choosing current? + 2 V + 7 V -
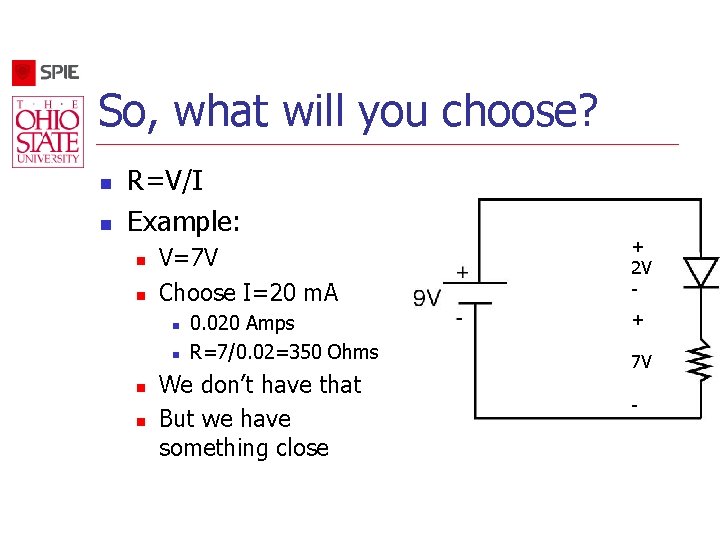
So, what will you choose? n n R=V/I Example: n n V=7 V Choose I=20 m. A n n 0. 020 Amps R=7/0. 02=350 Ohms We don’t have that But we have something close + 2 V + 7 V -
So here’s what you’ll build
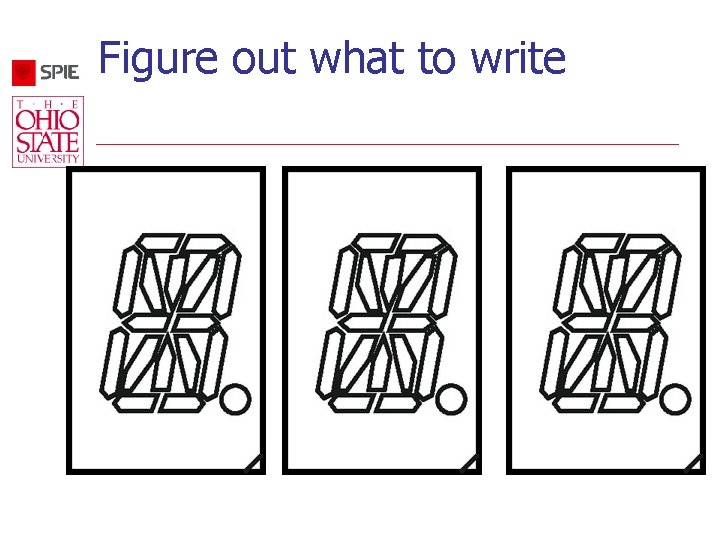
Figure out what to write
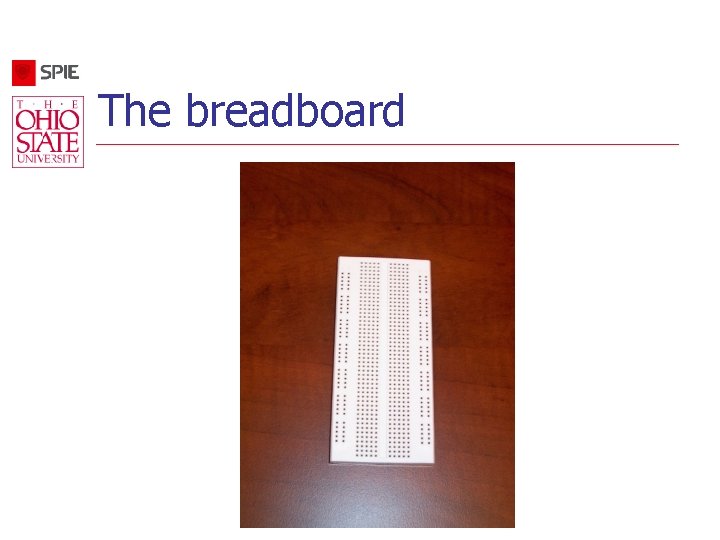
The breadboard
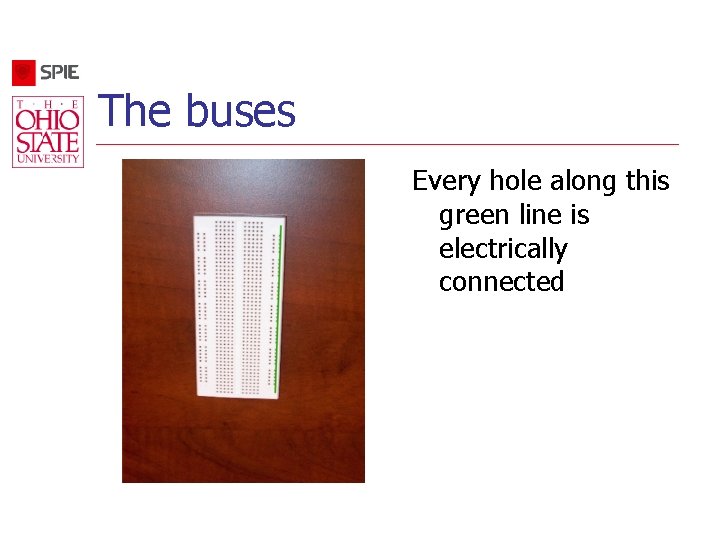
The buses Every hole along this green line is electrically connected
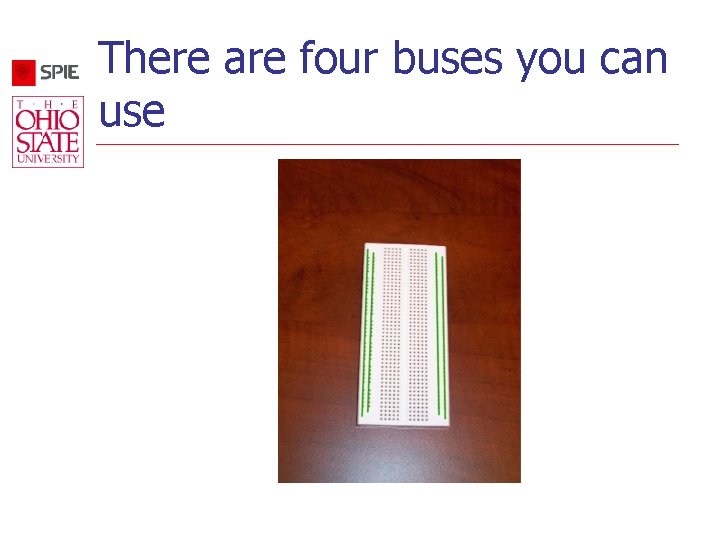
There are four buses you can use
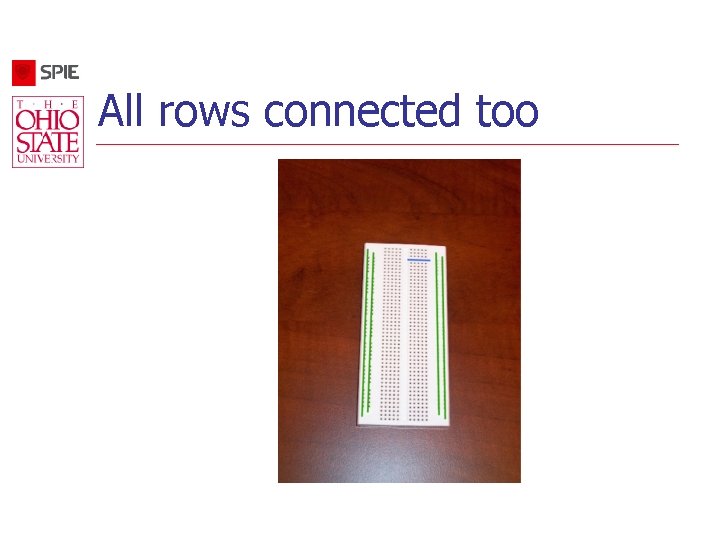
All rows connected too
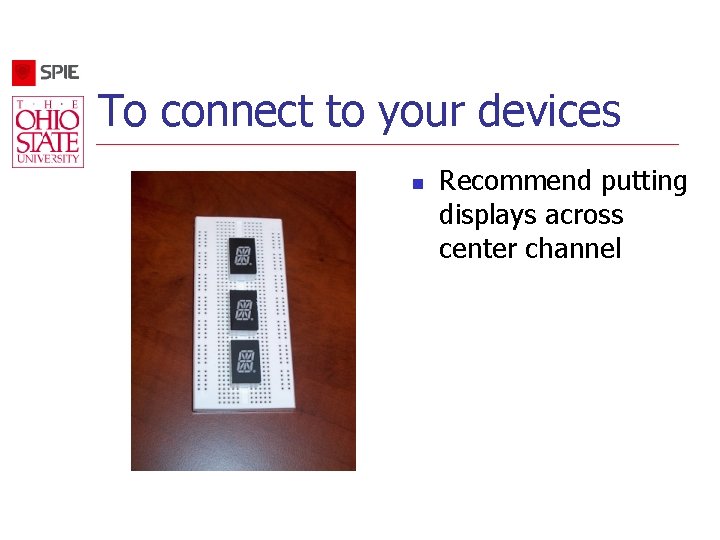
To connect to your devices n Recommend putting displays across center channel
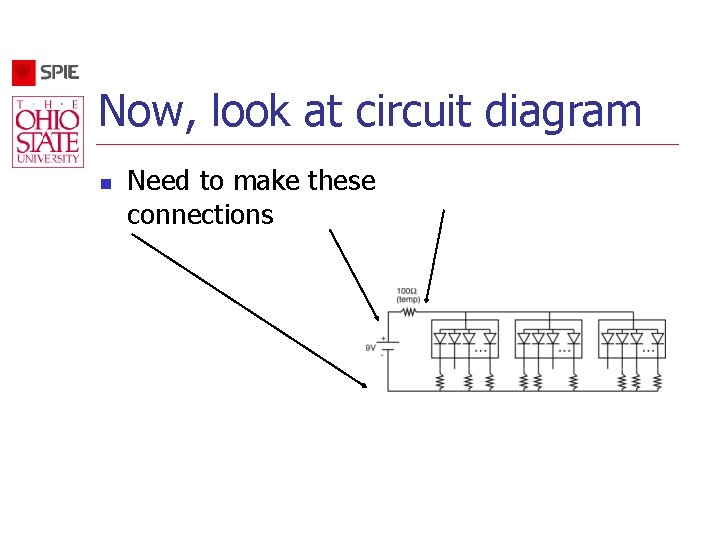
Now, look at circuit diagram n Need to make these connections
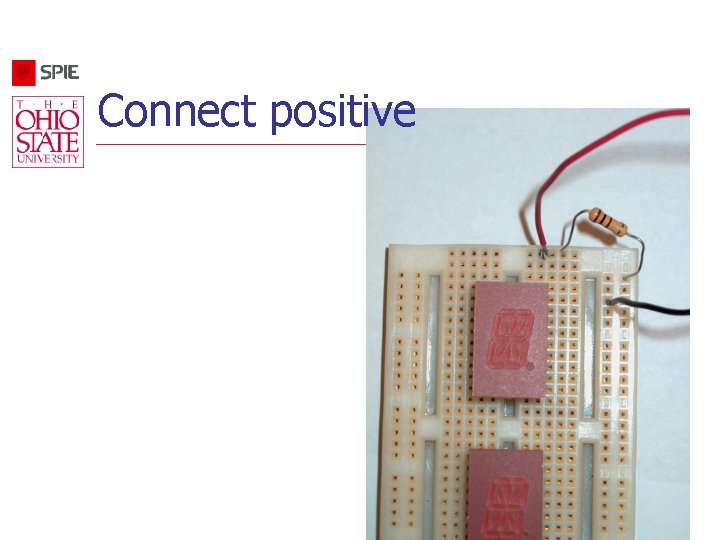
Connect positive
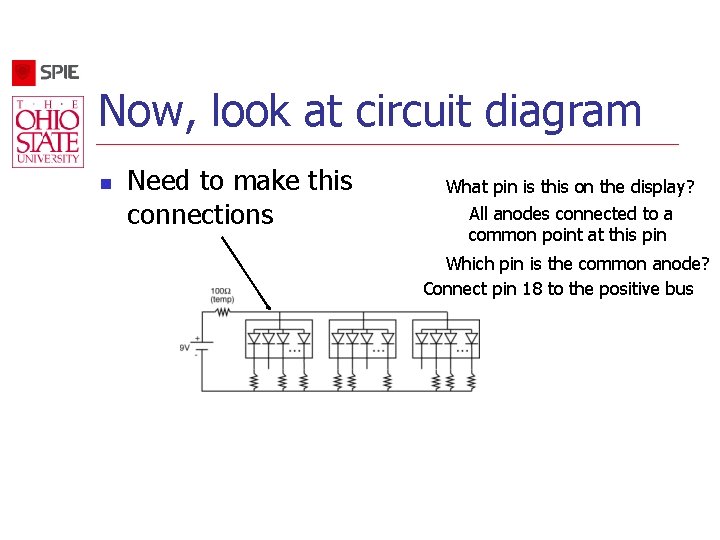
Now, look at circuit diagram n Need to make this connections What pin is this on the display? All anodes connected to a common point at this pin Which pin is the common anode? Connect pin 18 to the positive bus

Locate Pin 18
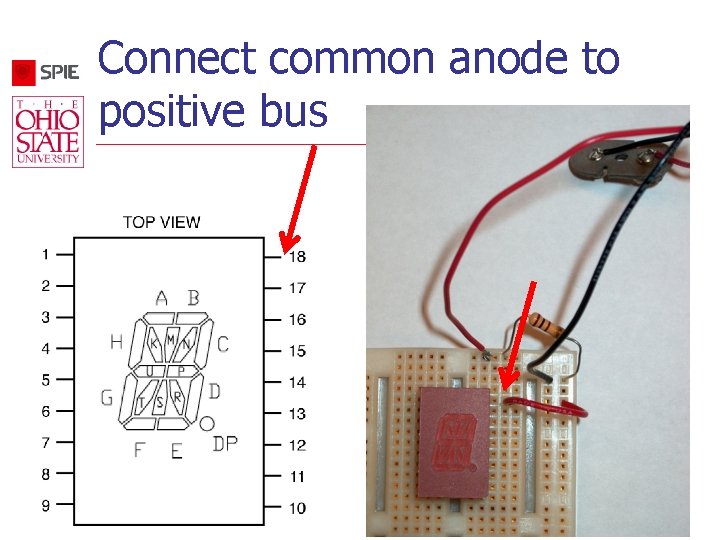
Connect common anode to positive bus
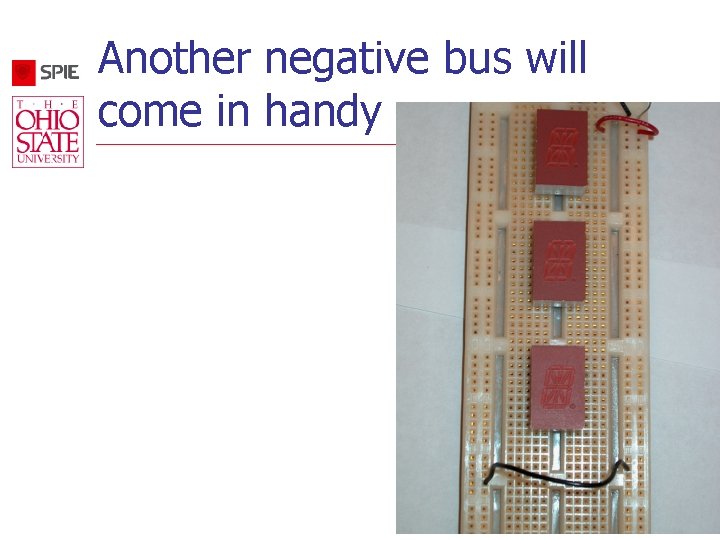
Another negative bus will come in handy
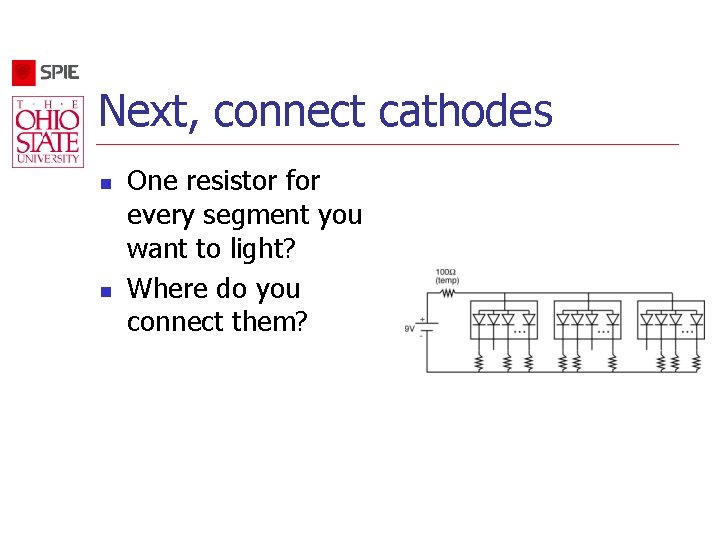
Next, connect cathodes n n One resistor for every segment you want to light? Where do you connect them?
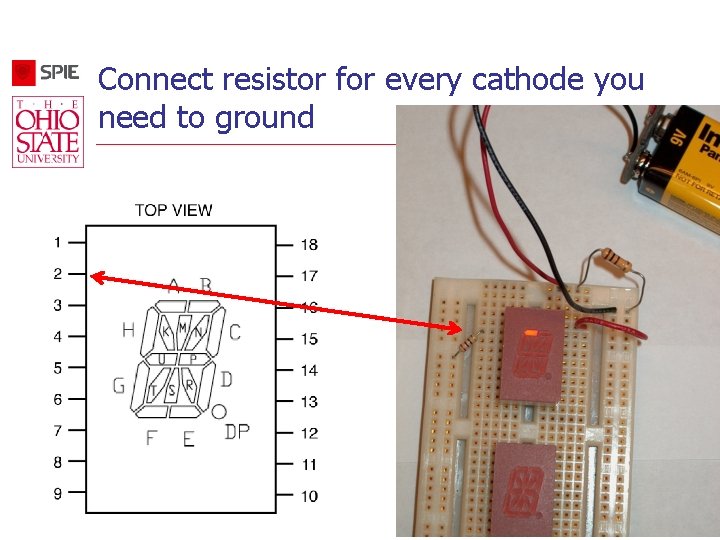
Connect resistor for every cathode you need to ground
OK, once it’s working n n n Repeat for every other segment Once done, remove safety resistor Connect positive (red) battery lead to positive bus (the one with the red wires) It should be brighter now! Take a picture!
- Slides: 35