Leaving Certificate Agricultural Science Grass Conservation Introduction Grass


 Factors Affecting 4 Procedures")


- Slides: 40
Leaving Certificate Agricultural Science Grass Conservation
Introduction • Grass conservation involves the restricting of bacterial growth and other organisms, which would otherwise cause spoilage. • This can be achieved by two contrasting methods: 1. Controlled Fermentation – reducing the p. H (acidity) of the grass to a level where growth of bacteria is inhibited. 2. Dehydration – removing the level of water to inhibit microbial activity.
Introduction - 2 • Silage is produced by controlled fermentation above while hay involves dehydration. • Silage is much more independent of the weather, so this makes it a better system for Irish farmers. • Grass can be cut for silage in May, when the grass is at its most digestible (highest DMD). • Hay cannot, however, as long periods of good weather cannot be expected.
Introduction - 3 Hay is allowed to grow to a more mature stage and is generally cut in June where the weather is warmer. Therefore hay has less food value than silage. Silage making is more expensive though but the product is of a higher quality. Silage accounts for nearly 70% of conserved grassland now (45% in the 1970’s).
Silage Making Biochemical Processes • When grass is cut and placed in a heap, respiration continues to occur. • Respiration is the burning of Carbohydrates in Oxygen to CO 2 and Water. • This means that food value is being removed. • Therefore if grass is to be conserved after cutting, all air should be removed as to conserve the food value – this is an anaerobic environment
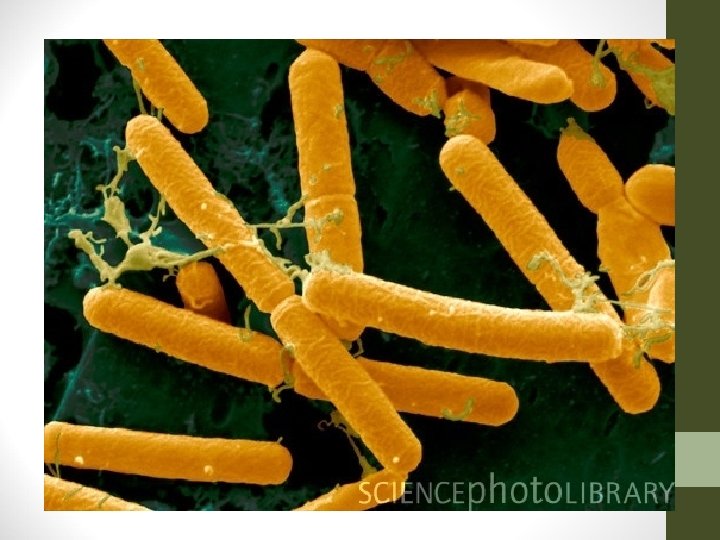
Silage Making - 2 In anaerobic conditions, bacteria present cause fermentation to occur. Fermentation is the natural conversion of Carbohydrates to Organic Acids by bacteria. The presence of acids lower the p. H of the environment, to a level where the bacterial growth and actions cease. At this stage the environment is said to be “pickled” or preserved. The bacteria that is involved depends on the amount of Carbohydrates present.
Silage Making - 3 The bacteria that is involved depends on the amount of Carbohydrates present. High levels of Carbohydrates allow Lactobacillus and Streptococcus to produce Lactic Acid in the silage. Low levels of carbohydrates allow Clostridium to produce Butyric Acid. Lactic acid silage is palatable, highly nutritious and can be stored safely for years. Butyric acid silage is unpalatable to stock, less nutritious and may only last a couple of months.
Comparing lactic acid silage and butyric acid silage Carbohydrate concentration High Low Bacteria present Acid produced Silage quality Nutritional value Palatability Storage durations Lactobacillus Lactic acid Good Palatable to stock A number of years Clostridium Butyric acid Poor Unpalatable to stock A few months
Silage Making - 4 1. 2. 3. 4. Therefore to encourage good quality silage i. e. High Levels of Carbohydrates and the production of Lactic Acid the farmer should: Do not cut the crop immediately after rain – wet grass reduces carbohydrate concentration. Allow the crop wilt for a period of time after cutting (1 – 2 days) – increases Carbohydrate concentration. Using precision chop harvesting equipment – makes the crop more accessible to bacterial activity. Using a Carbohydrate rich additive (e. g. Molasses) - to increase the chance of lactic acid production.
Wilting • This is to cut the grass & leave it on the ground for 24 – 48 hours before gathering up & ensiling it • To remove some water from the crop • Increases conc. Of sugars • Reduces level of effluent • Raises DM content • Reduces the activity of undesirable bacteria • Reduces the size of clamp required • Saves on additives
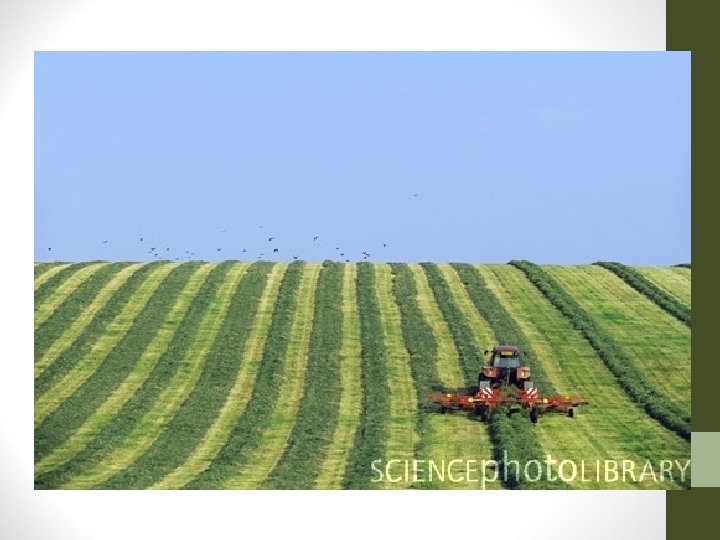
How to Make Silage • Most silage is cut from fields of permanent grassland. • Two cuts are normal, the first in Mid – May, and the second around July 1 st. • The grass should be cut when the sward is at its height of digestibility. • This is at the “heading out” stage, where the DMD is 75 – 80%. • The Heading Out stage is the stage where half of the crop are showing their seed-heads
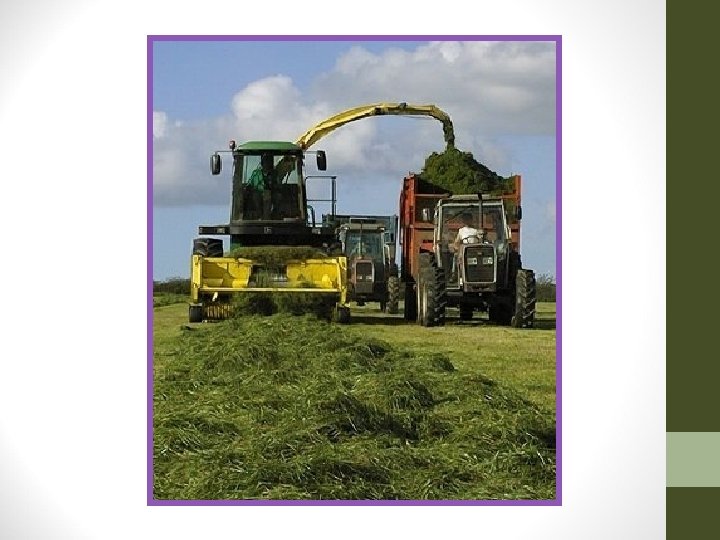
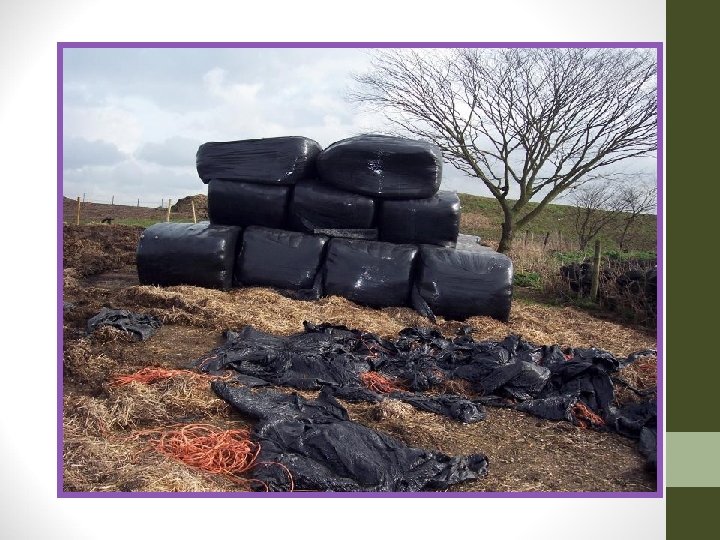
How to Make Silage - 2 • 1. 2. 3. 4. Silage may be stored in Round bales or in Silage Pits. The procedures for cutting and storage of silage for pits are shown below: The Grass is cut, macerated and blow into a silage trailer using a forage harvester. The silage is transported to the pit and heaped out. An additive is used either at the pit or at harvesting (If necessary) Matted lumps of grass are removed and the surface levelled to remove air pockets.
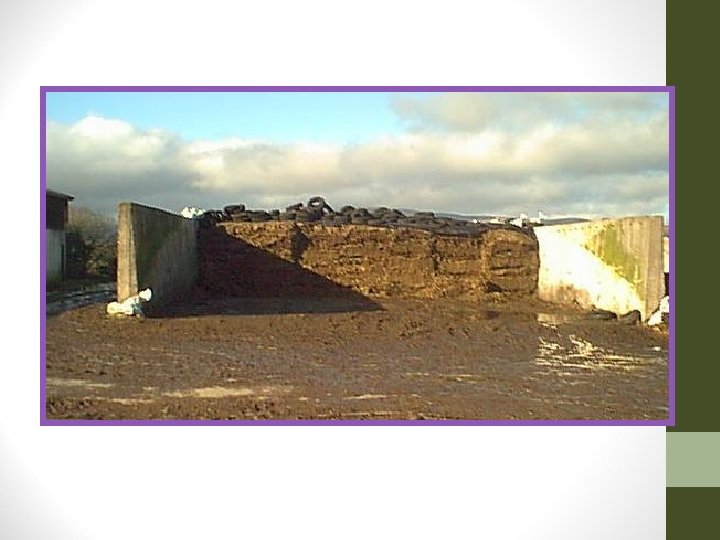
How to Make Silage - 3 5. The grass is rolled repeatedly with the tractor to remove trapped air. 6. When sufficiently rolled the pit is covered with at least two layers of heavy-duty polythene. 7. This should be further covered with tyres, manure or ground limestone, to further seal the pit. 8. The edges of the plastic sheets are pulled tightly and further sealed. 9. This should be repeated 2 -3 times as the silage subsides over the coming weeks.
Summary on how to Make silage 1. Close the field in time. 2. Fertilize adequately 3. Cut at the correct stage of growth- precision chopper 4. Allow to wilt for 1 -2 days 5. Pick up the grass 6. Transport to pit/bale 7. Fill pit quickly 8. Use an additive 9. Spread grass and compact evenly 10. Cover & seal the pit
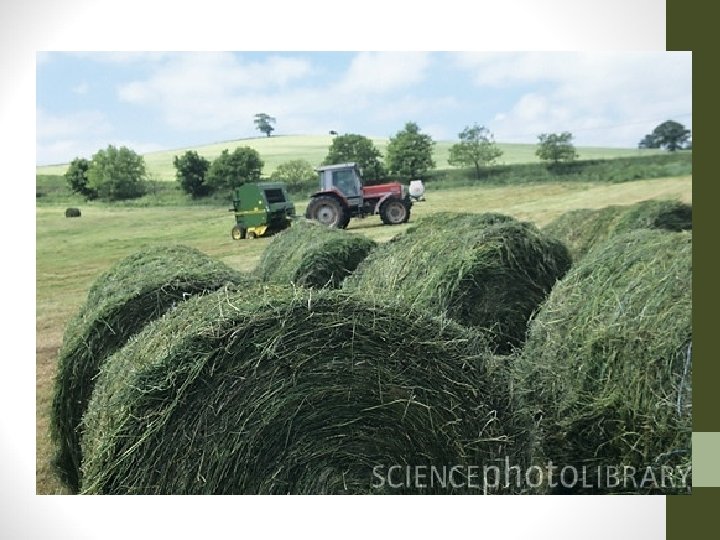
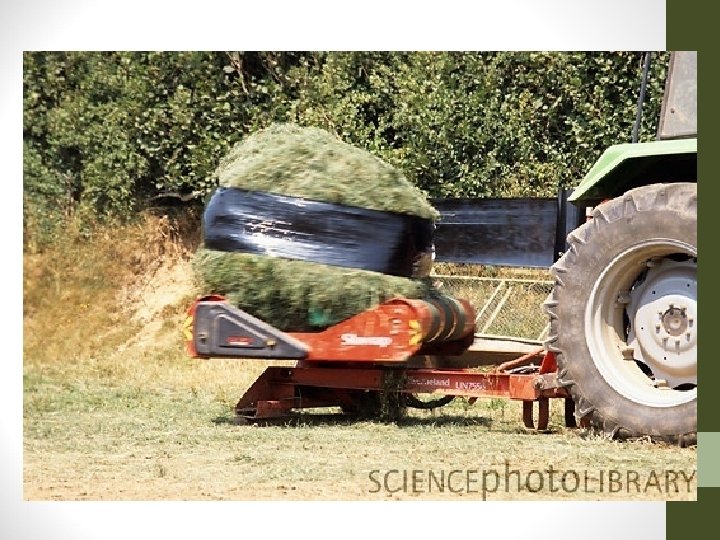
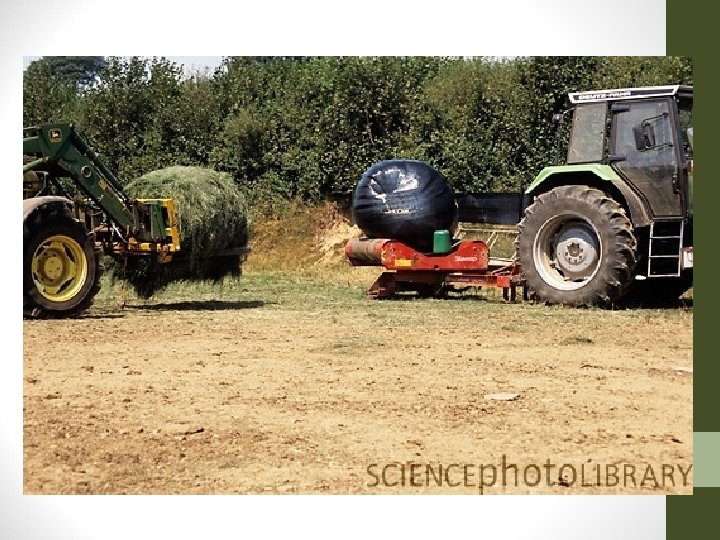
Round Bale Silage • 1. 2. 3. 4. For round bale silage, the steps are similar but the following is required. The grass is cut and allowed to wilt for 1 -2 days. An additive is added if required. A specialised machine is used to collect the grass and make it into round bales by covering it with plastic to remove any air. The plastic may be a wrap or a large bag.
Advantages of Round Bales • • 1. 2. 3. 4. 5. The use of round bales in Ireland has advantages but is generally more expensive than clamp silage. Round bale silage is used in the following situations: Silage can be made on soft, wet land where conventional equipment would be unsuitable. Round bales can be made on rented land or land far away from the farm. It can be used where the silage is to be sold. Ideal for the conservation of surplus grasses and of grass harvested in Autumn If bales wrapped properly, no effluent released
Disadvantages of round bales • High cost • Unsuitable for very wet silage • Prone to damage if not properly handled • Plastic waste disposal cost and compliance with waste regulations
Silage Additives • Additives are used when the level of carbohydrates is expected to be low. • There are two types of additive for silage: • Stimulants – are sources of sugars, which ensure lactic acid production. Molasses is a stimulant. • Inhibitors – These are acids which are used to lower the p. H more quickly than is natural. E. g. Sulphuric Acid. • Molasses is used commonly by farmers on a small scale, while acids are used by contractors and large farmers.
Silage Storage • Silage is more commonly stored in pits or clamps. • These may be wedge clamps or run over clamps. • These should be located on concrete as to aid in the collection of effluent. • Clamps / pits are most effective with sidewalls. • Without walls there is a risk of tractor accidents and of the escape of effluent
Silage Effluent Silage effluent is a by-product of the fermentation process. It is acidic, rich in nutrients and appears about 2 -3 weeks after the silage is sealed. Effluent has a high BOD (Biological Oxygen Demand), which means it can be a serious pollutant. Effluent should be collected and stored in underground pits, before being diluted and disposed of safely. The amount of effluent depends on the moisture content of the silage.
Silage Effluent - 2 After rain, huge amounts of effluent are produced. After wilting, very little effluent is produced. Therefore, wilting not only ensures high carbohydrate levels but also reduces the level of effluent. % Moisture at ensiling Amount of Effluent Produced per tonne of Silage, L 85 – 90 80 – 84 75 – 79 < 75 400 150 60 0
Good Silage Quality Correct Parameter Value p. H DM (%) Factors Affecting 4 Procedures at ensiling (e. g. additive etc) 20 Stage of growth at cutting, wetness DMD (%) Stage of growth, wetness and 70 – 75 procedures at ensiling. Protein 14 - 16 Stage of growth at cutting.
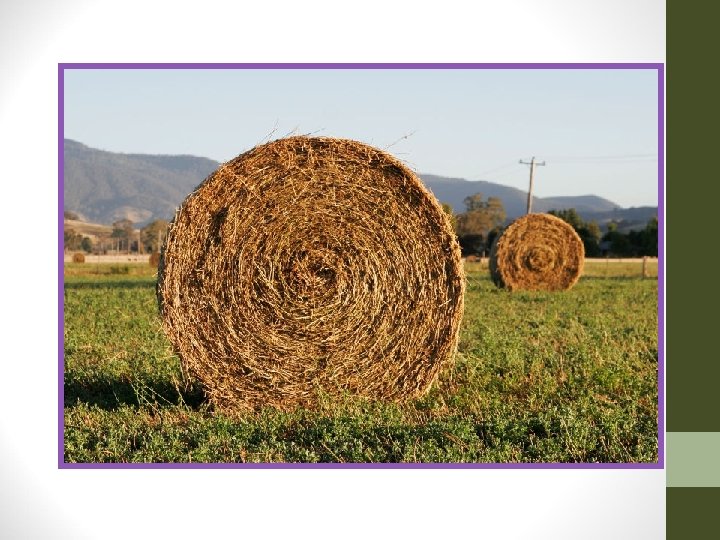
Hay Making • Baled hay is a clean, conveniently handled winter feed with very little waste. • It is very useful for farmers who wish to feed out-wintered animals, which are far away from the farmyard. • It does however have very little feeding value and can prove difficult to harvest correctly. • The following are the principles for “Good hay making”:
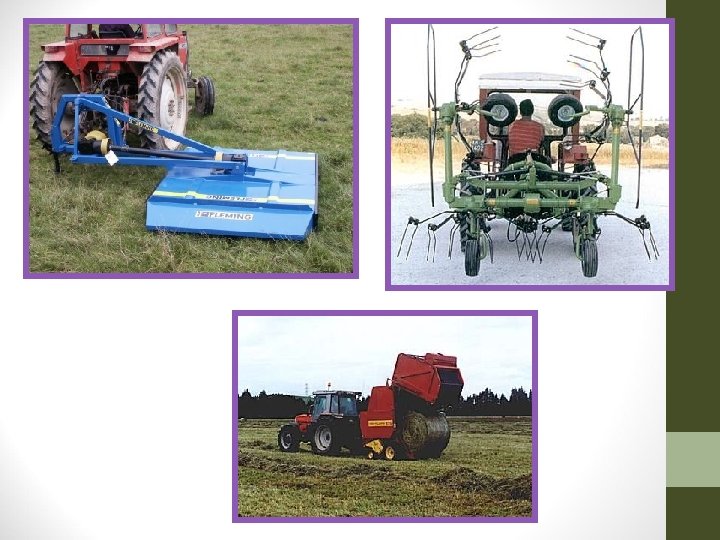
• Hay Making Good hay making principles Cut as close to June 1 as possible to ensure suitable drying conditions – the field should be closed to grazing from mid – April. • Cut when dry weather is expected – a hot dry (and windy) spell is required to bring the moisture content to 20%. • Use the correct machinery – Unrestricted access to these 3 pieces of machinery are essential:
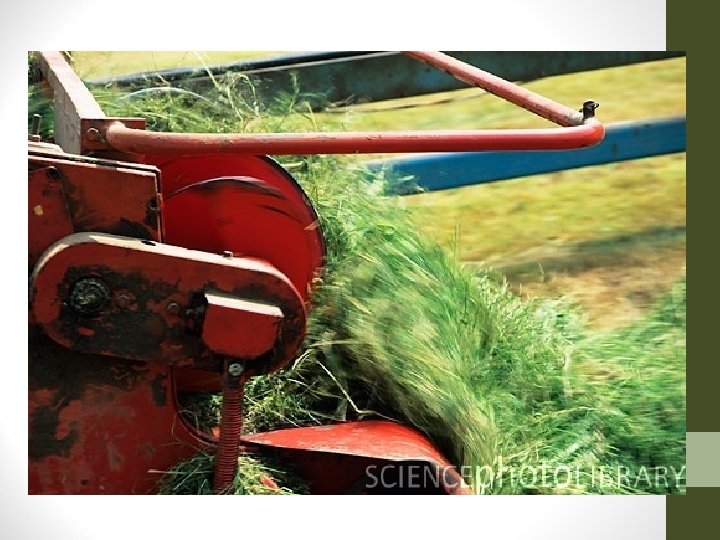
Hay Making - 2 1. Rotary Mower – can cut 1. 2 – 1. 5 Ha / hour. 2. Power Driven Rotary Tedder – Can work at high speeds to separate and shake out the grass – leaves a “fluffed up” swath of grass which dries quickly. 3. Baler – essential as the dried hay must be baled and stored as quickly as possible (from
Hay Making - 3 • • • Cut the crop in manageable amounts – only cut enough that can a) be tedded twice in a day and b) baled in a day. Ted frequently to ensure fast drying – This reduces risk of weather damage and also maintains high Carbo levels – reduce roughness of tedding, as the grass gets drier. Bale and remove to storage without delay – Tedder is used to align into rows before baling – bales should be removed as soon as possible.
Advantages of Hay • Hay is clean, odourless and a convenient method of conserving grass • Very suitable feed for sheep and calves • No problem with effluent and run-off • Very suitable for selling
Comparing Silage and Hay Silage Less dependent on the weather More expensive and requires expensive machinery Requires earlier closing of fields Can be stored outdoors Second cut can be harvested Cut at leafy stage Higher in DMD Hay More dependent on the weather (sun needed) Needs less machinery and is less expensive Requires later closing Needs sheds for storage Not suitable for second crop Cut at the stemmy stage Lower in DMD