Leave only footprints Leave only footprints 1 landscape


")


")


- Slides: 57
Leave only footprints
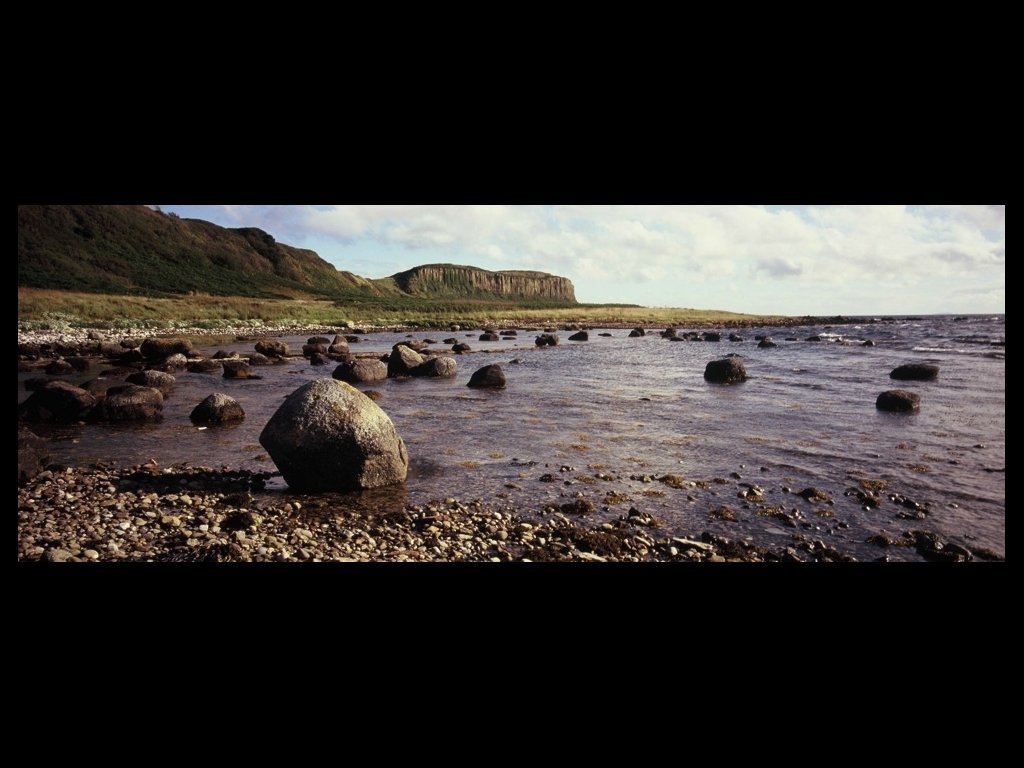
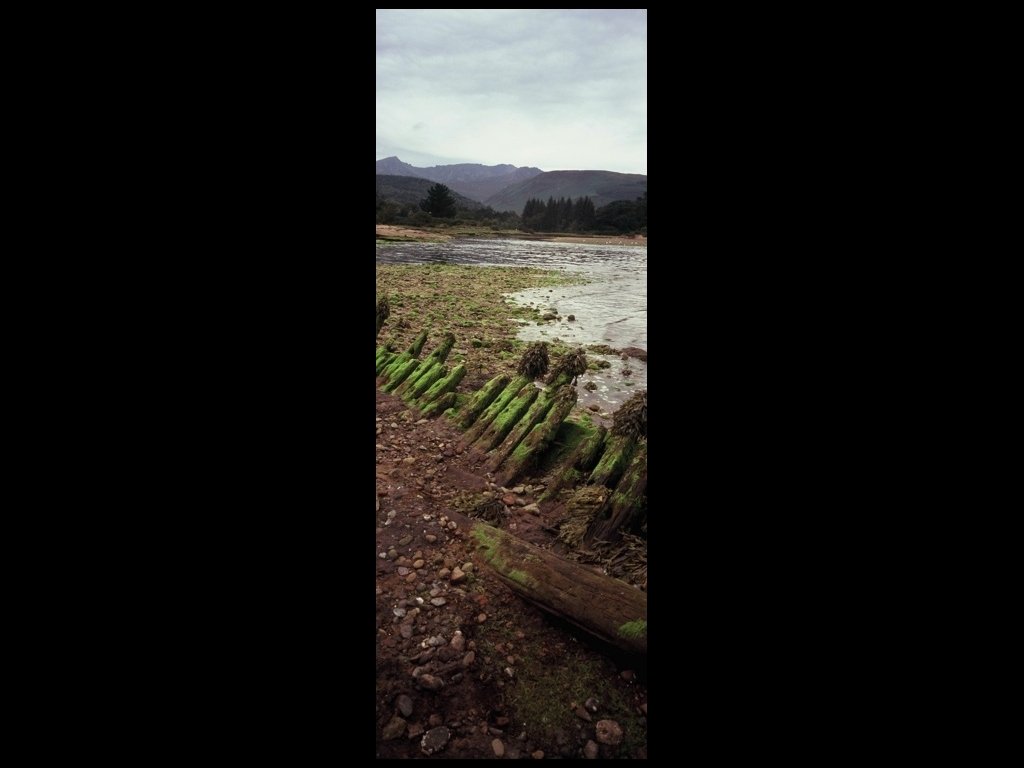
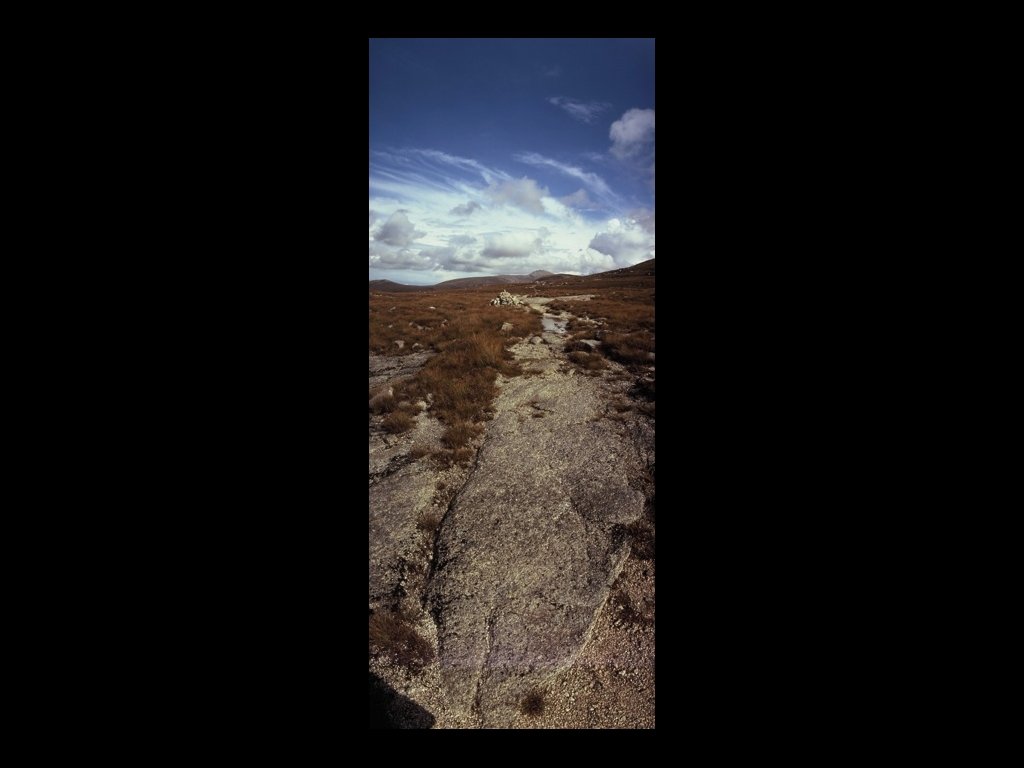
Leave only footprints 1: - landscape considerations
Distinct layers background/foreground
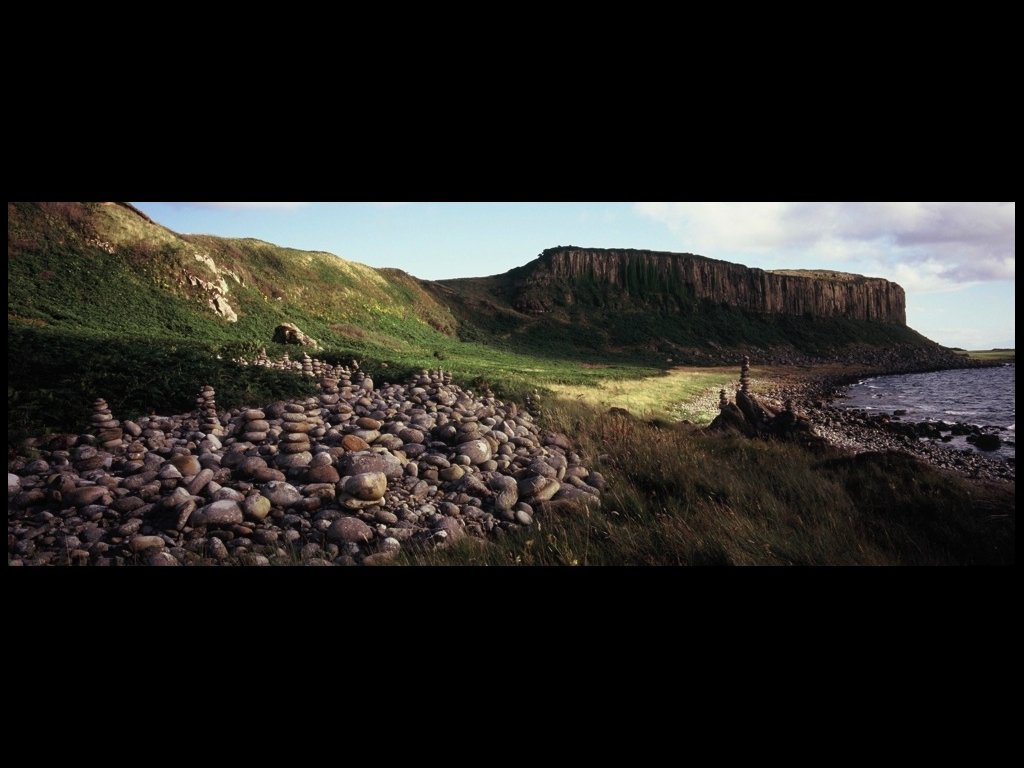
Move, always look for the alternative angle
If you find existing graphic lines, use them
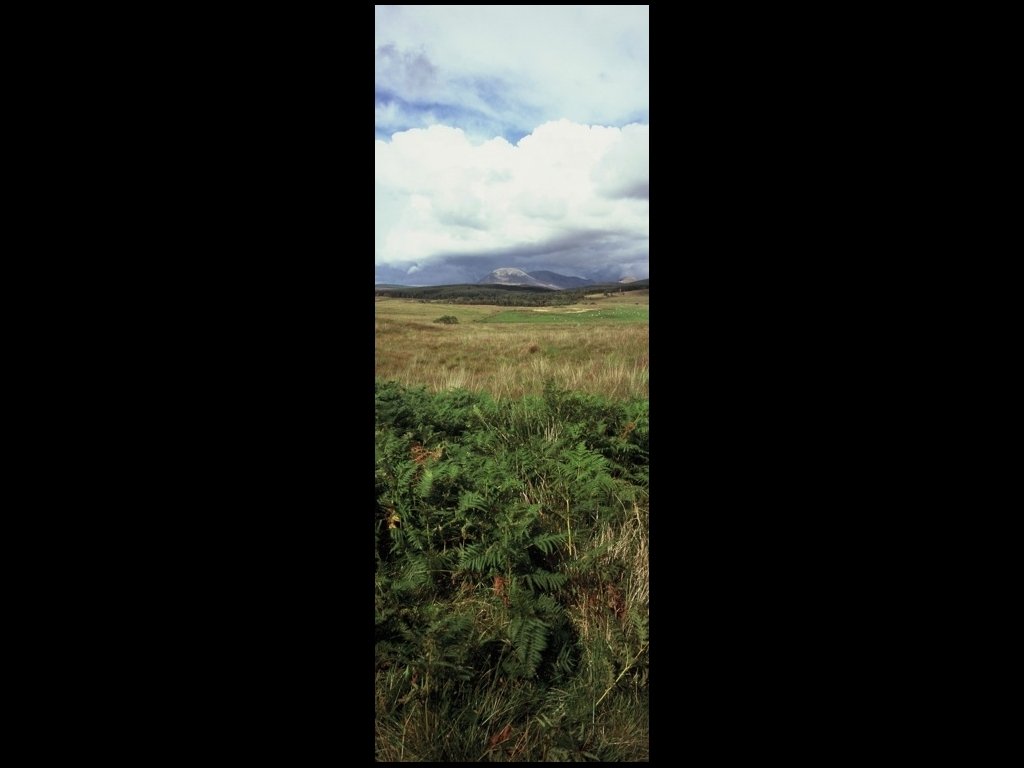
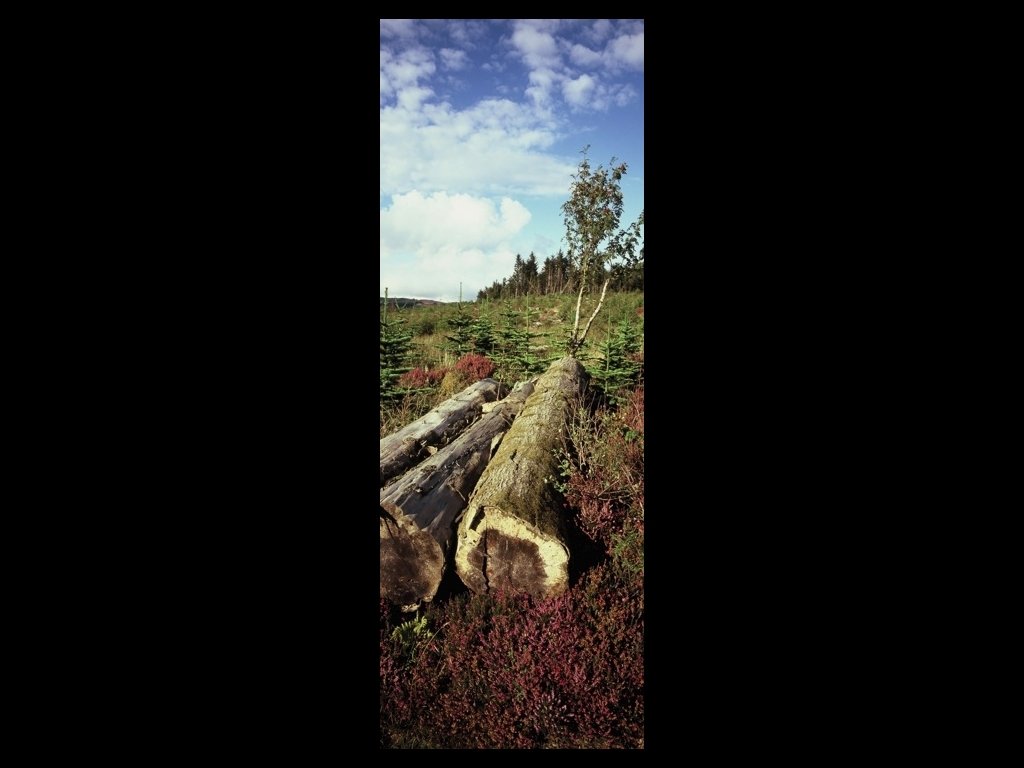
Landscapes do not need to be in landscape format
How does your foreground work -think about layers, the corners of the shot and remember. . .
EVERYTHING IN YOUR PHOTO IS YOUR FAULT. . . IT WAS IN THE VIEWFINDER WHEN YOU PUSHED THE BUTTON
16
Think about the time of the day 17
18
• Photographers refer to something called The “golden hour”. . what is it? 19
• Wikipedia says: • “The golden hour is the period of daytime shortly after sunrise or before sunset, during which daylight is redder and softer than when the Sun is higher in the sky. ” 20 20
• Wikipedia says: • “The golden hour is the period of daytime shortly after sunrise or before sunset, during which daylight is redder and softer than when the Sun is higher in the sky. ” • This is not a rule, it is a suggestion to consider. 21 21
Leave only footprints 2: - more questions than answers
Can man-made objects be included in a landscape? 23
Can man-made objects be included in a landscape? 24
Can people be included in a landscape? 25
Does a landscape have to be beautiful? 26
Does a landscape need to be big? 27
Does a landscape need to be big? 28
Can a landscape be flat? 29
Does a landscape need depth? 30
So, how about answers • What sort of things do you need to consider when shooting a landscape. 31
Leave only footprints 3: - depth of field (and hyperfocal distance)
What is Depth of Field?
This is a shallow depth of field, it uses a large aperture (a low number) and only the main subject is in focus
This is a deep depth of field, it uses a small aperture (a high number) and everything is in focus
32 22 16 11 8 5. 6 4. 0 2. 8 2. 0 1. 4
32 22 16 11 8 5. 6 4. 0 2. 8 2. 0 1. 4
So, controlling Depth of Field allows you creative control of what is in focus from the front to the back of the picture. Is there an app that will help? !
Yes, there are many for IOS, Android and Amazon Fire. A large number are free, but the one I use is not.
This is Simple DOF - it is only for IOS
What is Hyperfocal Distance?
It is the nearest point to the camera for a given FStop that enables everything from that point to infinity to be in focus. Very useful to know for landscape.
The app shows that too (so do the free ones)
To make the most of working with hyperfocal distance, it may be necessary to use manual focus, do the calculations on an app, and then focus to that setting.
Questions?
Landscape Projects
Emotions in nature authors: Elin hein, liis Sinitamm, Ester kaul, anette Välling goal s Nature can be a good source of inspiration and practicing creativity skills. The idea of the task is to create different pictures that represent different emo- tions (e. g. fear, anger, surprise, sadness, disgust and happiness). Students are guided to think out of the box and use only nature in their pictures, but when in trouble, people can also be used as models. This task is important to a nature photographer because it helps to notice nature from different angles and not just to find beautiful places and take pictures, but to start thinking about the emotion behind the picture. Creating emotions behind your pictures is an important thing in photography. outpu t fear Surpris e The main goal of the assignment is to start thinking more abstractly and out of the box. Also to think more about the emotion behind the picture and just practice one´s photographic skills. Students (as a group of 6 people) will make 6 different pictures representing 6 emotions and present their pictures to the whole group. 35
Step by step 1. First teacher discusses the whole idea of the assignment with students. Pictures shown below can be used as an example of describing the assignment. Students are encouraged to use less different objects in the picture and make more abstract photos. Different techniques (longer shutter speed etc. ) can also be used to make pictures more interesting. 2. Then students are guided to go to nature (forest, park etc) and to look around and try to find different things in nature (plants, landscapes) meanwhile thinking about how they make a viewer feel about - what emotions they give to you. happine ss 36 3. Then students should make at least 6 pictures that represent 6 different emotions (e. g. fear, anger, surprise, sadness, disgust and happiness). For making the pictures students can use any type of camera. In every picture, there should be some natural element. 4. After making the pictures students should be able to describe their pictures in detail, how and why their pictures are connected with the emotions they picked.
ange r 37
capturing nature using different angles authors: tiina oja, mark drõgin, liis Saarepere, helga-liisa oselin, loore ly mahla Nature photography tends to put a stronger emphasis on the aesthetic value of the photo more than other photography genres, such as photojournalism and documentary photography. Thus choosing the right angle that make your images seem stronger and pop out is crucial in nature photography. Participants first observe the nature around them and then choose one meaningful object from their surroundings to take pictures of using different angles and varying depth of field. 38 goal s Students see and practice how they can make their photo more interesting when shooting from different angles and using different depth of field (DOF). Moreover they need to discuss which angle and DOF is best for your object practicing their communication skills. outpu t Students have chosen 1 picture out of the 6 that they took that has the best angle and DOF in their opinion. Students present their work to other groups and describe why they chose that specific picture.
Step by step 1. Teachers discusses with students different possibilities of shooting from different angles and how this affects the outcome of the picture. Basis of under- standing the concept of depth of field is also discussed together. 4. Then every student needs to take picture of this object in nature using different angle (e. g. frog perspective, birds-eye view etc, ) and playing with depth of field (by controlling aperture) and focal distance (by zooming in or out). 2. Then students are divided into separate groups (the size of the group may vary) and guided to go to nature (different places can be used). Students have to check if they have their camera and specific lenses (zoom lenses are more suitable for this assignment) with them and they also need to know the basics of using them. 5. After taking pictures students need to show each other the pictures and discuss how our experience of viewing the picture is influenced by the angle that photographer has chosen. Students need to choose one picture that represent best their object. 3. On the location students need to walk around and find together one more or less interesting object in the nature that they want to start taking pictures of. This can be a tree, scenic lake, an interesting plant etc. 6. All groups come together after the as- signment and show each other pictures that they have taken and explain why they have chosen that specific picture. Teacher is making the summary of the assignment by emphasizing the impor- tance of thinking about choosing the right angle in nature photography More information: http: //www. dofmaster. com/dofjs. html https: //www. cambridgeincolour. com/tutorials/hyperfocaldistance. htm 39
hyperfocal distance in nature photography authors: katariina Škurinski, Eva näf, Sofia Pungas, Jefim Štšukin, teele raja As explained by Jim Hamel hyperfocal distance is the closest point related to your object at which you can focus and still keep the furthest edge of your background acceptably sharp. This understanding is important for nature photographer as it allows to understand how close one can focus while still keeping the background sharp. In this assignment, the aim of this assignment is to understand what hyperfocal distance is, how it works and how to use it to take photos with infinite depth of field in the most effective way. To do this, students must use a hyperfocal distance app and present at least one photo with infinite depth of focus along with a description of what is in focus and why. goal s The main goal of the assignment is to understand hyperfocal distance well enough to be able to explain it to others and use it when photographing landscape. outpu t Students need to present as a group at least one photo of a landscape where the area behind the subject in focus is infinitely in focus. Students need to explain how they ended up to get the result and what challenges they have faced. advanced level assignment 40
Step by step 1. Hyperfocal distance as a concept is discussed with students and an example is made together with a teacher. During the discussion students are asked to download an app for calculating hyperfocal distance (for ex. DOF Calculator from Google Play). 2. Then students are divided into groups of 3 -5 and sent to an outdoors location, where they can practice taking photos. 3. Being on location students need to choose a subject in the foreground that they’ll be setting their focus on. 4. Then students should open the app, choose their camera model, aperture and focal length which they feel are correct for the light condition they have and make pictures (Tip: The higher your aperture number and the smaller your focal length, the easier it will be to understand hyperfocal distance in practice). As an example, aperture f/11 and aperture 49 mm were chosen. Additional information can be found from https: //photographylife. com/landscape s/ hyperfocal-distance-explained 5. After the assignment students come together to discuss their results and difficulties of the process with a teacher. An example of achieving deep depth of field in night photography by Loore-Ly Mahla 41
how to keep nature clean? : ’’human, the nature’s trash’’ authors: Jaana loopre, Sigrid Järv, hanna-liis Vaasa, mirjam kase, Seleri tidor Nature photography is a possibility to show beautiful the nature is, but also how harmful people can be to nature. Therefore being a nature photographer, it also means thinking about ethical concerns. One has to remember that nature should not be harmed to get better picture. Sometimes this even means not tagging the specific locations in social media as it attracts other tourists to go to specific endangered places. Thus, the goal of the assignment is to start thinking how a person can be “nature´s trash” by making a landscape photo, where one can see humans being damaging towards nature. Students are guided to find something unnatural within nature, which harms it, and add a human factor to it. 42 goal s The main goal of the assignment is to practice creative thinking and noticing in nature. Moreover students will learn how not to make 100 random photos, but to really plan and direct models for the photo, in the way they might even do it for a movie. Students will start noticing how humans actually harm nature and un- derstand better how not to do that. outpu t Outcome. Students as a group make more photos, but eventually present only one photo with a story behind it. Pictures can be even presented as an exhibition where prints have made, but also in a simple manner as digital files.
Step by step 1. Teacher is discussing with students how nature photographer should be cautious when being in nature and not destroy what has been created. 2. Then teacher explains the assignment and students are given time to think about their ideas related to the assignment in a smaller group (3 -4 students). For example one could think about how people create nature harming activities. 3. Then students are presenting their ideas and with the help of a teachers and other groups ideas are formed to a stronger whole before going to nature. 4. Then all groups are going to the nature to make their pictures. Different frames are made to represent the idea, but every group should only present one picture and a story behind it as an outcome. Scene staging can also be used to give the picture more authority. 5. Students should be guided to plan their work, act as a group and set up the perfect picture (no photoshop should be used). 6. After pictures are ready they are presented to the whole group and discussions are held based on the pictures. 43
Stay safe when walking in the countryside, it is easy to trip, get lost, run into trouble, run out of water. Do not damage the environment or disturb anything living there. You are a guest in their home. 56
Leave only footprints All pictures by Bruce Tanner www. brucetanner. com