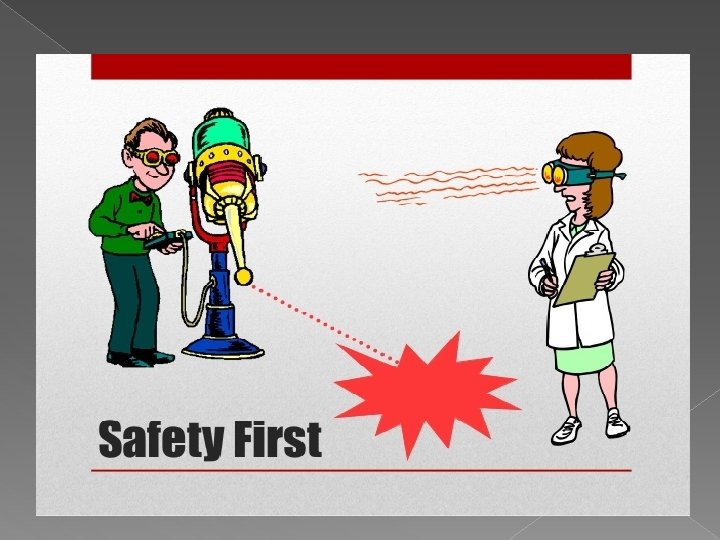
Laser safety Mercy Medical Center Operating Room Laser


 This is the actual area (boundary) where someone could be")


 are highly flammable, especially when")

 and/or calibrated")

 are pointing up � Select")


 � Colposcope")
 � New")


- Slides: 47
Laser safety Mercy Medical Center Operating Room
Laser Classifications � Class I � � � Class IIIa � � Generally – may pose low hazard risk i. e. laser pointer � Class IIIb � � Can produce hazard if viewed directly i. e. low wattage eye lasers � Class IV � Can produce hazard from direct or reflection – also pose skin hazards as well as fire hazards i. e. most medical lasers Generally – do not pose a hazard i. e. CD, DVD Generally – do not pose a hazard – unless viewed directly for extended period of time � i. e. checkout scanners
Nominal Hazard Zone (NHZ) This is the actual area (boundary) where someone could be injured by the Laser Beam within the Determined Nominal Hazard Zone � Different for each laser � In practice, the entire Room is considered NHZ �
Warning Signs: Placed on all doors entering the Laser room
General safety precautions � All staff in nominal hazard zone must wear protective eyewear specific wavelength and optical density for laser use � Patients must be appropriately protected (goggles or glasses, moistened eye pads, eye shields) depending on type of laser used
Laser Goggles
Fire safety protocols: Ensure sterile water or saline is immediately available on the field to douse small fire � Know location of and how to operate laserappropriate fire extinguisher (CO 2 extinguisher) � Use wet towels, nonflammable drapes near the laser target area � Do not use flammable materials near the laser impact site � Allow flammable skin preps to thoroughly dry � Only activate the laser when the delivery tip is within the user’s direct field of vision �
Skin Protection The distal tip of the laser tip should be directed at the target tissue to prevent exposure on unprotected skin Protect exposed tissues with saline or water saturated drapes � Laser-retardant drapes � Laser safe Endotracheal Tubes �
HAZARDS • Methane gas will ignite! • Place wet sponge in rectum for perirectal procedures
Anesthesia considerations � � � PVC Endotracheal tubes (ETTs) are highly flammable, especially when using O 2 during anesthesia administration Laser-retardant ETTs should be used during oral, tracheal or esophageal laser procedures ETTs should be inflated with tinted saline Non-explosive gases should be used during laser procedures In case of endotracheal fire: › › › Stop ventilation, disconnect gas flow Extinguish all flames with saline Remove ETT Ventilate patient by mask or re-intubate Examine the airway for burns or foreign bodies
Smoke plume may contain: Carbon � Bacteria � Viruses � Blood borne pathogens � Tissue cell particles � Hydrocarbons � Hazardous components which may cause eye, nose and throat irritation as well as nausea, vomiting, and flu-like symptoms. � HPV has been isolated in CO 2 plume �
Pre-procedure testing for Lasers � Laser will be test fired (CO 2) and/or calibrated prior to the patient entering the OR � If laser does not function properly › Obtain another laser of the same wavelength › Notify attending physician if no other laser is available › If laser does not work effectively- notify biomed right away (9371 - Michael or 9373 - Marcus)
LUMENIS CO 2 LASER Storage • Ensure arm is in the holder and is locked • Cap is on the laser end for protection
Pre-procedure testing for Lasers Ensure all arrows (on hinges) are pointing up � Select appropriate category and energy for testing � Test on wet towel and tongue depressor � Keep all shiny metal surfaces covered �
Arm position Do not force the arm in or out of the holder � Ensure the arrow points up � Does the arm need to be locked or unlocked? � Tip should be covered to protect lens �
Arm lock and Emergency stop � Does the arm need to be locked or unlocked? � Emergency stop button
Hand piece components
Hand piece
Hand piece connected
Troubleshooting � If the burn is not within the aiming beam, if the burn is unacceptable, or if the aiming beam is not visible, check the following: › Verify that the delivery system connections are secure › Verify that any “up arrows” on the articulated are pointing toward the ceiling › It may be helpful to move the articulated arm or rotate the articulated arm knuckles closest to the hand piece. Sometimes changing the orientation of the articulating arm knuckles can affect the aiming beam, particularly if the articulating arm is extended or moved during a procedure › Remove the hand piece form the articulated arm, hold it toward a light source and look through it, The lens should appear translucent, smooth, bright, and free of any cracks, spots, debris, or obvious damage › If the brightness of the aiming beam fluctuates greatly or if the aiming beam is not visible, the optical lens may be damages or the laser articulated arm may be out of alignment
Lumenis Laser Breast and plastics
CPG and Deep FX hand piece storage CPG and Deep FX hand pieces are found in the WBG equipment room on the second shelf � CPG is for light resurfacing � Deep FX is for deep lines, wrinkles and scars �
Laser tips � Plug in the hand piece then turn on machine › It will not register the hand piece if it is plugged in after turn the laser on � Deep Fx setting › 100 mj › 100 hz (change from watts) › Shape- square #3 › Size- 4 -5 › Density 2 -3
Deep FX Hand Piece �
CPG Hand Piece
For Deep FX: Select Surgi. Touch + Aesthetics
Deep FX
Select shape, size, density, and micro pulse energy
Verify delivery device
Scanner pause to switch between Deep FX and CPG hand peices
Dr Vander. Kolk Settings
Lumenis Laser GYN
Micromanipulator Suitcase 2 Suitcases � Found on Laser Cart � “Coherent” “Lumenis”
There are 2 colposcopes – 1 “old” and 1 “new” – the Micromanipulator connects differently to each one. � Usually at WBG � Old Colposcope **Only the old colposcope has a connection for a camera head** � Bunting � New Colposcope
Step 1 � Old � Colposcope Remove Objective Lens from Colposcope � New � Colposcope Leave Objective Lens in Place on Colposcope--- Guide Silver Plate into grooved square on Colposcope & tighten screw
Step 2 � Old � Colposcope Attach black ring labeled “Part 1” into colposcope � New � Colposcope Attach black ring labeled “Part 1” into silver plate
Step 3 � Old � � New Colposcope Re-Attach Objective lens (300) � Colposcope Attach 2 nd black ring (Clearspot) into “Part 1” ring
Step 4 � Old � Colposcope Attach 2 nd black ring (Clearspot) � New Colposcope Attach Micromanipulator – by loosening screw and snapping it onto the 2 nd black (Clearspot) ring, then re-tighten screw. � Ensure it is secure. �
Step 5 � Old Colposcope Attach Micromanipulator – by loosening screw and snapping it onto the 2 nd black (Clearspot) ring, then re-tighten screw � Ensure it is secure � � New Colposcope o Attach Laser to black end of Micromanipulator
Step 6 � Old Colposcope › Attach Laser to black end of Micromanipulator
Focusing � 1. Position the Focusing Lever to Index 1
2. Position a focusing target in front of the Micromanipulator at the appropriate working distance � 3. Adjust the distance between the eyepieces so that a single image is viewed in the field � Adjust eyepiece here.
� 4. Set the image magnification to the lowest setting and grossly focus on the desired target
� 5. Set the image magnification to the highest setting and fine focus on the desired target
Reminders Make sure objective lens and focal distance selector are on the same power setting (300) � Test the laser � Drape with wet towels � �
-MAKE SURE THE LASER ARM IS IN THE “UP” POSITION -FILL OUT THE LASER LOG -RETURN THE LASER KEY TO THE PROPER LOCATION