Lab 9 Forensic Techniques Forensic Analysis Forensic tests

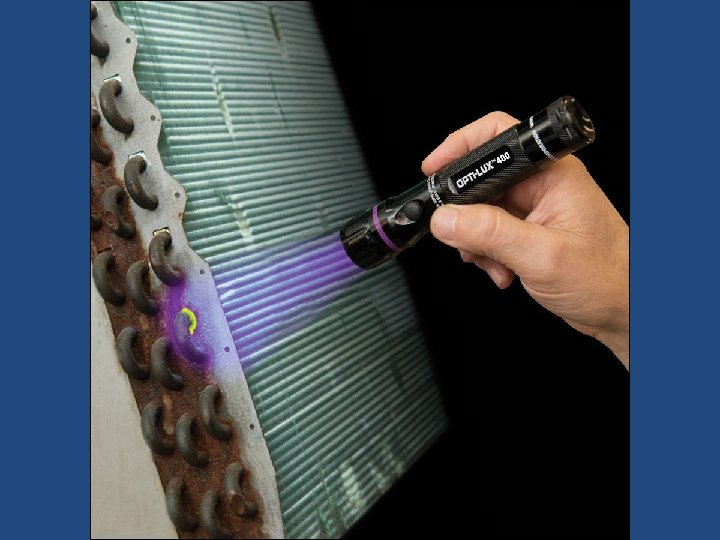
Lab 9: Forensic Techniques Forensic Analysis: Forensic tests are done for the purpose of presenting results in a court of law or for use in public debate. However, the techniques that forensic scientists use can be useful for many kinds of evidence gathering at work, home, or in the field. In other words, we often encounter the need to understand what’s going on so that something can be fixed or a mystery can be solved. For example, when something goes wrong our car, we are like detectives trying to figure out what it is. Forensic techniques can be useful for that. Our eyes are good for looking for evidence but some things are not always visible. That’s where scientific tools are used to help us see more. A common tool used in forensics investigation is an ultraviolet flashlight or UV laser. These can make substances that are normally invisible glow (fluoresce) so that they can easily be seen.

Forensic Techniques Forensic tests are done for the purpose of presenting results in a court of law. However, the techniques that forensic scientists use can be useful for many kinds of evidence gathering at work, home, or in the field.

Approach • Take advantage of the fact that there is always some exchange of physical evidence between criminal and the crime scene • Either criminal leaves something at the crime scene that can be connected to him/her. . . • Or criminal picks up something at the crime scene that connects him/her to the scene.

Evidence Examination • The “physical match” is the strongest form of evidence. • It is strong because of the certainty of connecting suspect to crime scene. • In the court it is more convincing because of the obvious visible match.

Physical Match

Fluorescence: Making things glow aids in investigation. Biologists have inserted genes that make jellyfish glow into other animals. That makes other animals glow in certain areas or all over. The ability to make something that has no color into something that has color or glows is a useful tool in biology and other sciences.

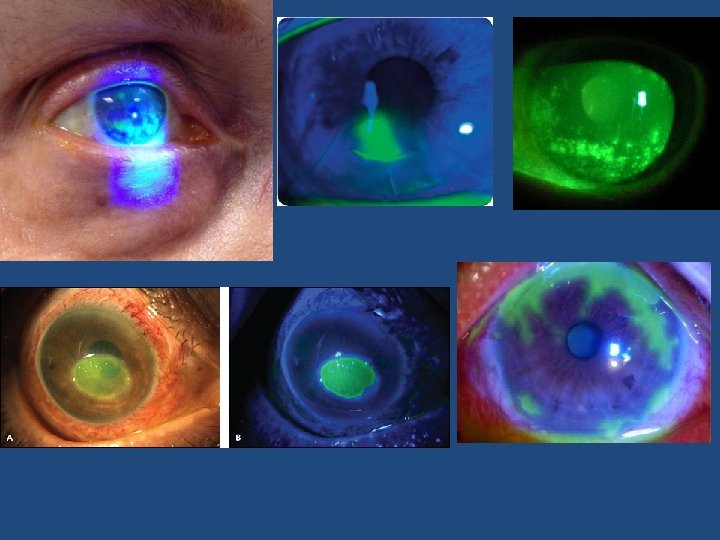
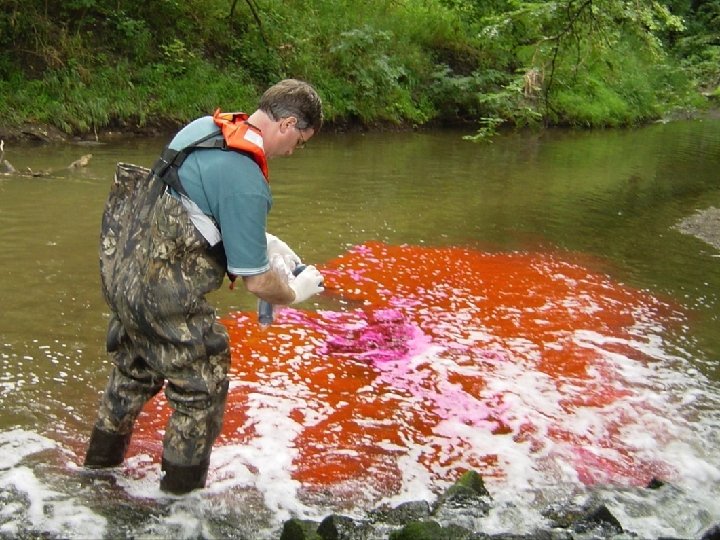
Fluorescence: Forensic investigators use a dye called fluorescein to cause traces of blood to glow.

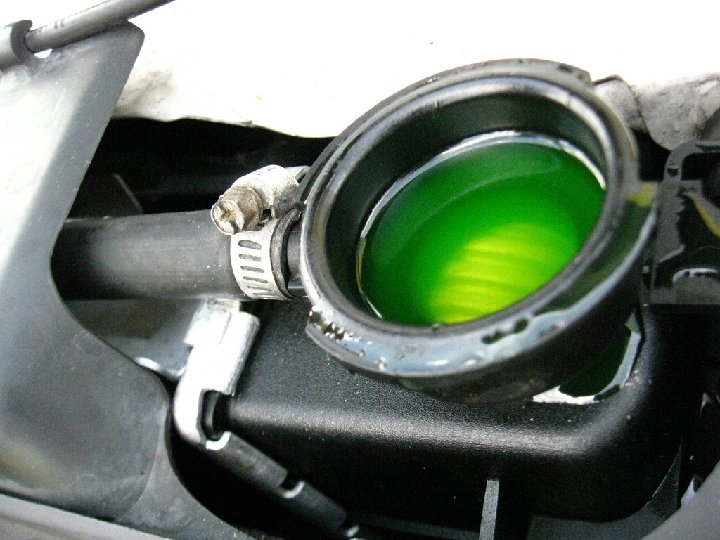
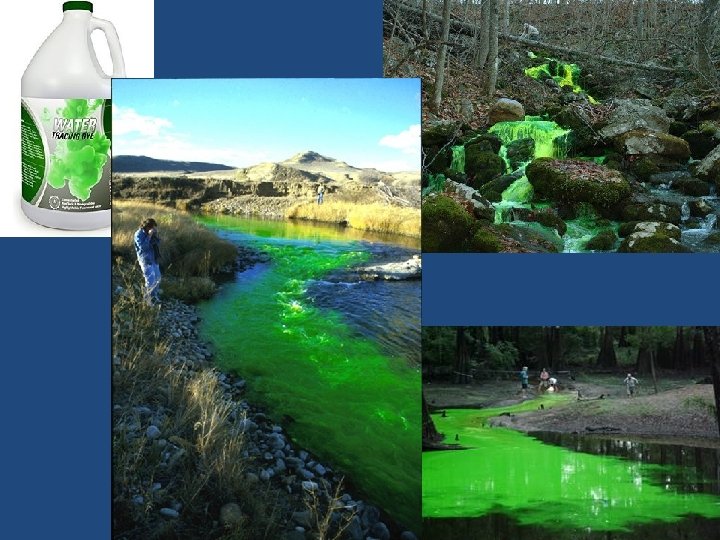
Fluorescein placed in water can track leaks and water pollution. A University of Delaware building cooling system turned some small waterways around Newark bright green late Monday and Tuesday. About 500 gallons of chilled water containing a fluorescent green dye used for leak detection along with a rust inhibitor leaked from a system at Purnell Hall. A similar type of leak earlier this month turned streams green near a Chesterfield, Virginia, county jail, according to Homeland Security. Cleanup crews collected 20, 000 gallons of polluted water after that incident, according to the federal agency.

Fluorescein is only slightly soluble in water but soluble in oil. Na- -Na Fluorescein disodium is very soluble in water but not in oil.

Near Infrared Extreme Near Vacuum C A B Short nm 10 nm 1 12 m 0 n 20 nm 0 28 m 5 n 31 m 0 n 40 m 0 n 45 m 0 n 50 m 0 n 55 m 0 n 60 m 0 n 65 m 0 n 70 0 nm 40 1, 0 nm 00 m 3, n 00 m , 0 0 n 15 , 00 0 00 1, Peak absorption 494 nm Peak emission 521 nm Mid Far Mid & Far Long Ultraviolet
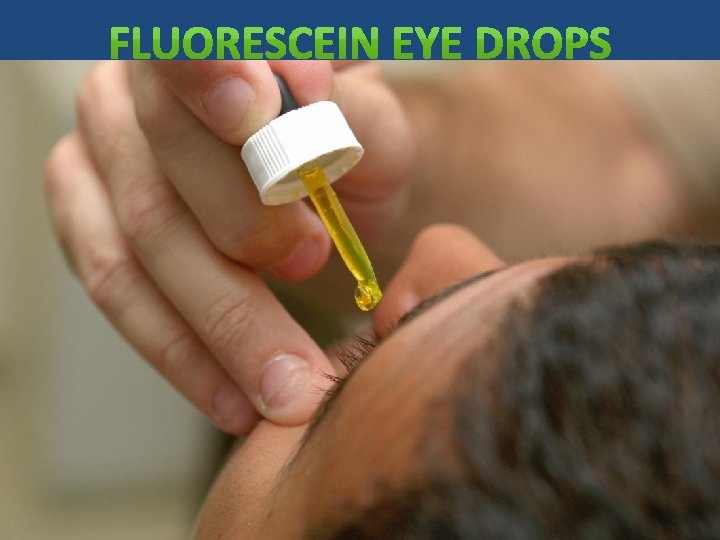

When something goes wrong our car, we are like detectives trying to figure out what it is. Forensic techniques can be useful for that. Our eyes are good for looking for evidence but some things are not always visible. That’s where scientific tools are used to help us see more.
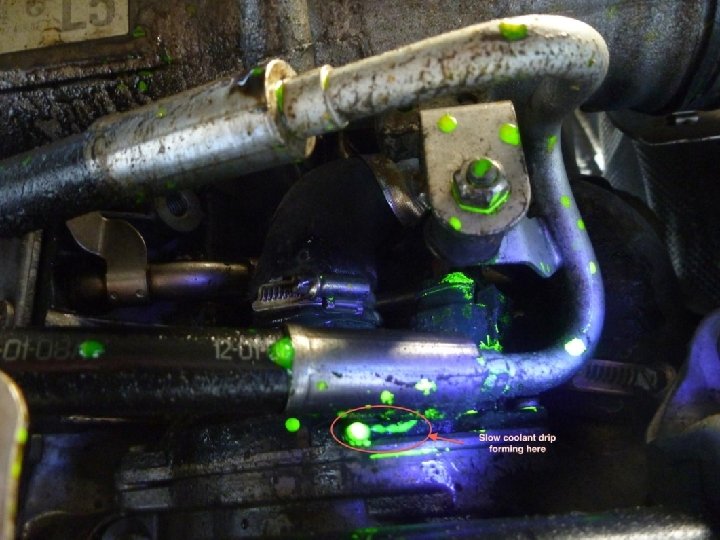
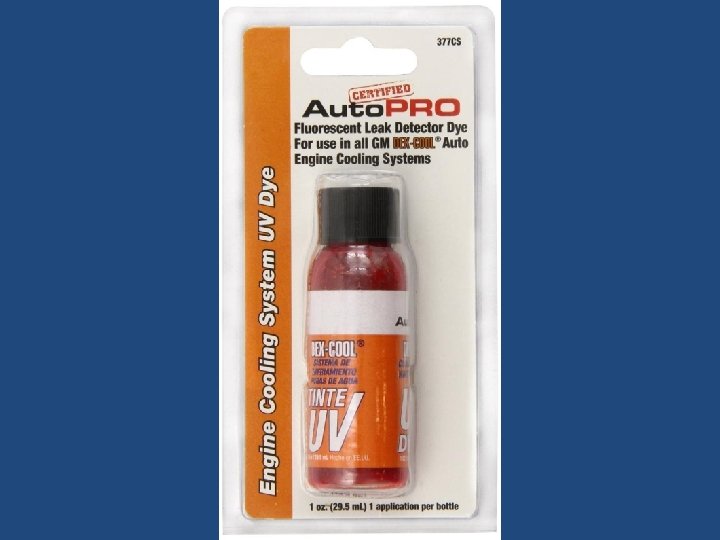
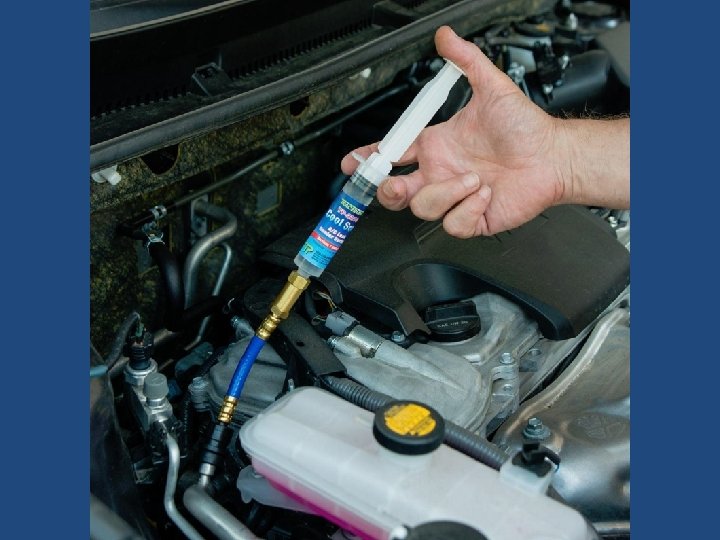
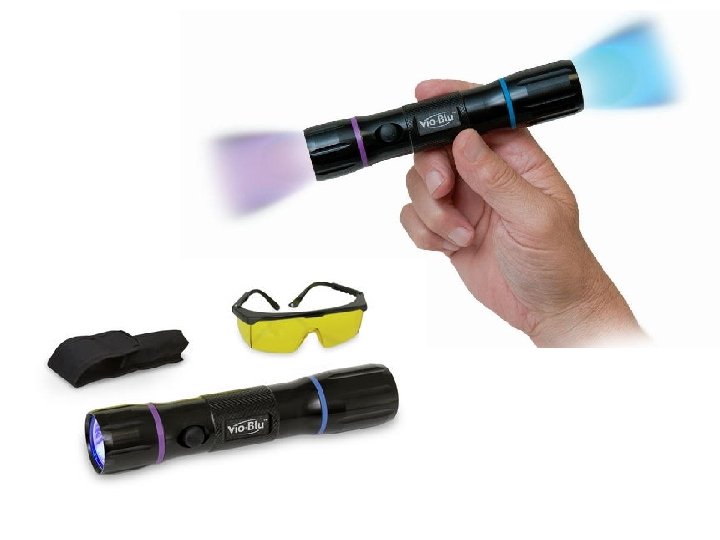

Yellow dye trace pinpoints valve cover oil leak under Vio-Blu’s blue light LED

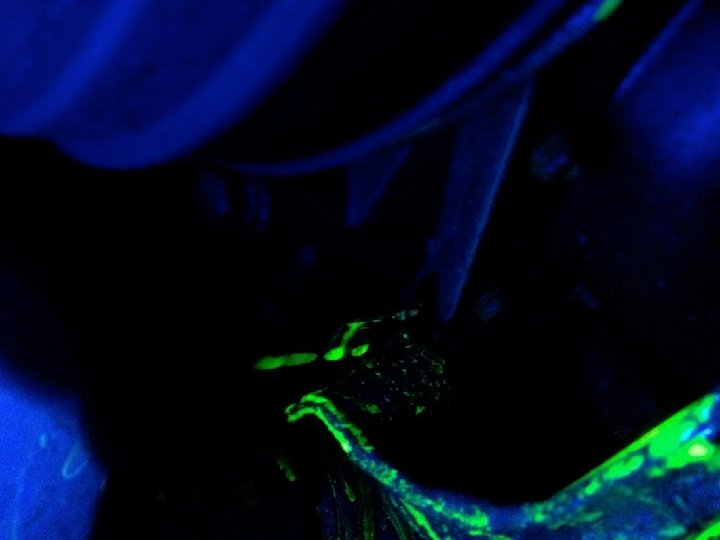
A/C system leak fluorescing a brilliant green under Vio-Blu’s UV LED

Detection of Holding Pond Leaks: Holding ponds are reservoirs that store polluted run-off water such as waste water from mines or from animal waste on cattle, chicken, and pig farms. The holding ponds are supposed to be sealed so that polluted water cannot leak out into the environment. Sometimes the leak is obvious but other times it is hidden. Fluorescein can be used to detect the hidden leaks.

Holding ponds for sulfuric acid in mining.

You will use a Ziploc bag to represent a lined holding tank. A Ziploc bag (like a good holding pond) supposedly keeps its contents sealed in the bag. You will check to see if your Ziploc bag truly does that. 1) Place 100 m. L of water into a sandwich size Ziploc bag. 2) Add 6 drops of the concentrated Fluorescein solution then seal the bag. 3) Check outside of the bag with an UV light to make sure no Fluorescein is on the outside of the bag. 4) Measure out about 250 m. L of distilled water (or tap water). Add the water to the larger Ziploc bag. Place the small Ziploc bag with the Fluorescein into the large (quart size) Ziploc bag. 5) Gently rock the large Ziploc bag back and forth for about a minute, then let it sit for about another 10 minutes. 6) Remove the small inner Ziploc bag from the larger Ziploc bag. 7) Shoot the purple laser beam through the larger bag to see if the beam is yellow-green. If so, the smaller inner Ziploc bag leaked.
: In forensics, identification of certain drugs or comparison of inks")
Thin Layer Chromatography (TLC): In forensics, identification of certain drugs or comparison of inks and other substances are often done with thin layer chromatography. The setup for TLC is relatively simple. It involves placing samples on paper (or other thin layer material) and allowing solvent such as water/alcohol mixture to climb up the paper. As it does, the components in the sample will travel at different speeds. This causes them to separate. So samples that initially look the same will be shown to be different if they produce spots of different colors or spots at different heights. Thin layer chromatography works best with colored samples (hence the name “chroma”); however, UV light can make some non-visible components of the sample glow and be visible.


Connecting suspect to crime using Thin Layer Chromatography : In some crime investigations, the 9” x 5” sheet question of who did some writing is key (like who wrote a check or who wrote a ransom note). The. . unk 1 2 3 4 5 6 7 8 9 strategy is to see if the pen that did 1. 5” the writing is the same pen that a suspect is carrying. This can be 2. 5” done by seeing if the inks match. 1) Cut a sheet of paper to 9” by 5”. Draw a line using a pencil 1. 5 inches (3. 8 cm) from the bottom of the sheet. Starting at 2. 5 inches from the left, place dots using a pencil at every half inch along that line. Label them “unk and 1, 2, 3, 4, 5, 6, 7, 8, & 9. 2) On the “unk” (unknown) dot, carefully place a dot of ink from a bottle that contains ink that was extracted from the written evidence (ransom note, check, etc. ).
 Get a chromatography jar and place ¾” of solvent into the jar. The")
5) Get a chromatography jar and place ¾” of solvent into the jar. The solvent is usually a mixture of rubbing alcohol and water, acetone or water, or some other solvent. 6) Carefully place the sheet of paper (coiled into a cylinder) into the jar with the solvent. Replace the cap. 7) Work on the other parts of this lab while the solvent is climbing up the paper. Wait until the solvent has risen at least half way up the paper before making a conclusion. At the end of this experiment, the class can compare their chromatographs to see which mixture did the best job in separating the components of the inks. 8) Decide which pen best matches the pen used in the crime, or say no pen was a match. Also, results can be inconclusive if the chromatography did not produce a good separation or distinction between the spots. Let instructor see your results. Matches Pen #: ______ No Match Inconclusive
 fingerprints: The chemical composition of our fingerprints allows various")
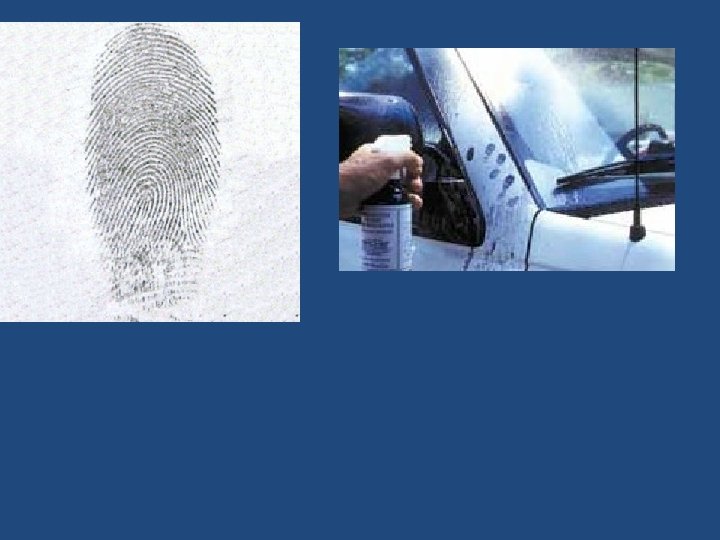
Latent (present but not visible) fingerprints: The chemical composition of our fingerprints allows various methods to be used to make them visible. 1) Oils in our fingerprints are sticky. So powders such as small iron filings will stick to them making them visible. 2) There is also salt (sodium chloride) in fingerprints. Silver ions in a solution of silver nitrate will latch onto the chloride in the fingerprint producing white particles (silver chloride). Then in sunlight or UV light, the silver ions become metallic silver particles, which are black. 3) Fingerprints also contain proteins. A chemical called “Ninhydrin” reacts with NH 2 groups on the proteins, which turns Ninhydrin from white to purple. So when sprayed with a dissolved solution of Ninhydrin, the fingerprints become visible as purple prints. 4) Glues such as “Super Glue” and “Krazy Glue” contain forms of cyanoacrylate. You may have experienced your fingers getting glued together when using Super Glue also sticks to fingerprints because of small amounts of water being present.

Iron filings and magnet brush

Black powder and brush

Fluorescent powde and feather brush

Ag+ + Na+ + Cl- → Ag. Cl + Na+ 2 Ag. Cl → 2 Ag + Cl 2

Ninhydrin spray turns proteins purple
 Crystals of iodine are warmed so that they turn to vapor. This is")
5) Crystals of iodine are warmed so that they turn to vapor. This is blown across the latent fingerprints. Oils and fats in the prints absorb the iodine vapor and turn black.

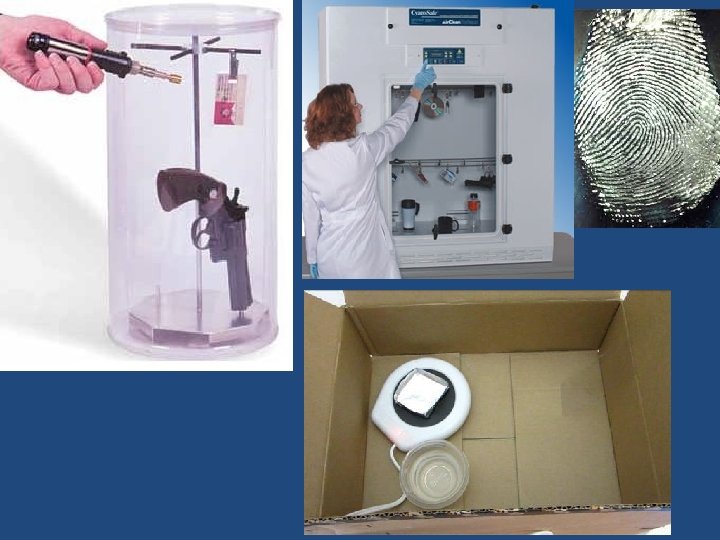
Fingerprint technicians place items into a closed container containing cyanoacrylate. When heated, the cyanoacrylate turns to vapors which find their way to the latent fingerprints. The cyanoacrylate reacts with the moisture in the prints to form a white polymer which makes the prints visible. 5) Crystals of iodine are warmed so that they turn to vapor. This is blown across the latent fingerprints. Oils and fats in the prints absorb the iodine vapor and turn black. The lab will be set up so that you can use one or more of the above methods to “dust” for prints. Show your instructor that you completed one or more of these methods.


- Slides: 47