KEPServer moving from 4 0 to 5 0


 ØUser Management")


”. You will")

- Slides: 27
KEPServer moving from 4. 0 to 5. 0
KEPServer 5. 0 is the next generation of Kepware communications technology. Newer, sleeker, and stronger it represents 12 years of knowledge and know how. The Server has been re-designed from the ground up to take advantage of new technology and position it to move onto new automation platforms while leveraging legacy functionality.
Key Features ØNew Licensing ØSeparate Runtime and Configuration ØRemote Configuration (Phase II) ØUser Management ØProcessor Affinity and Process Priority Settings ØHost Resolution Management
Where are the my options? One of the things that has been done in 5. 0 is the ability for the server project to carry project specific settings with it. Additional options for the server are divided between Runtime and Configuration Options.
General Options
View Options
Service Options
Event Log Options
OPC Settings Option
OPC Compliance Options
OPC DX Option
DDE Option
Configure the Runtime for connection
DCOM Security Requirements
Host Resolution
What has changed when installing and launching the server? ØBy default the runtime runs as a service. The customer will have to change this after the installation if they want to run on the desktop ØBy default stricter DCOM Security requirements are set. In 4. 0 Use DCOM security was off by default which meant the server would basically ignore security warnings for local desktop connections. ØRuntime is managed via the Administrator which runs in the toolbar.
What Has Changed? Cont…. ØThere is a new default Sim. Demo project. ØYou can edit projects offline while another project is running. ØPlug-ins like Advanced Tags, Data Logger, and OPC Connectivity Suite are now embedded in the server GUI rather than having stand alone GUI’s. This reduces issues with UAC if it is enabled.
The new look of the server
Installation and Licensing? Please stop the KEPServer. Ex V 4 service and any client applications (both local and remote) that may be connected before proceeding, run _installKEPServer. Ex 5. exe. This will install the necessary dependencies and launch the KEPServer. Ex V 5 install. After accepting the Licensing Agreement, you will be presented with the following question. Please select “Side by Side”. This will leave V 4 installed while also installing V 5.
During the install wizard you will be asked which drivers to install.
After the install the V 5 server should be running in service mode. If not, go to Programs->Kepware>KEPServer. EX 5 ->KEPServer. EX 5 –> Administration. Preparing the V 5 Server 1. Please locate the Administrator icon ( ) in the system tray and you’ll see the following menu 2. In the event Start Runtime Service is enabled (server not running), right-click and select “Start Runtime Service”. This will launch the server runtime component. 3. Now right-click and select “Configuration”. This will launch the Configuration console with a GUI very similar to our V 4 product. 4. If the server doesn’t automatically load the V 4 project you can do so manually by going to File | Open in the Configuration console and select the project file used in KEPServer. Ex V 4 (i. e. M 11_Kep_GCBD. opf). You should get the following popup:
5. Select Yes, Update 6. Your project will now be loaded into the Runtime. 7. We suggest doing a File | Save As and calling it something like M 11_Kep_GCBD_V 5. opf, this way you can always distinguish between the V 4 and V 5 project. 8. Now that the server is configured, the next step is to redirect your clients so that they point at the V 5 server rather than the V 4 server. Redirecting Client Prog. Ids All clients will need to be configured so that the Server Prog. Id is changed from Kepware. KEPServer. EX. V 4 to Kepware. KEPServer. EX. V 5. This operation will be done differently based on the client (i. e. Factory. Talk, VB app). Once redirected, please verify connectivity with the server with all clients.
Licensing Once connectivity has been verified, you will want to license your drivers, otherwise you’ll be running in a 2 hour demo mode. Right-click on the Administrator utility in the system tray and select License Utility. The following screen will come up.
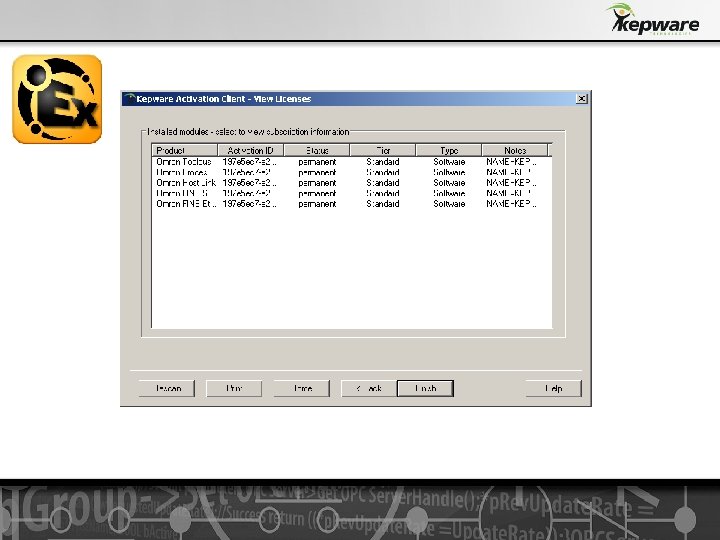
In the drop down box select “Manage Software Licenses”. You will see the following screen below.
Select the “Manage software license activation between this PC and Kepware (default)”. You will see the following screen below.
• In the Activation ID edit box, enter one of the activation ids. Make sure to note which one you used as it can’t be used again on the other PCs. • Now press the “Save to File” button. A file called activation_request. txt will be saved to your hard drive. By default it will be saved in My Documents. • We suggest renaming it to something like activation_request_Omron. FINSEthernet_GMS_2. txt to reflect the driver and PC the activation will apply to. • Go to your my. Kepware. com account and login to the activate license utility on the website. Enter the entitlement ID and upload the ctivation_request. txt file. You will then be provided with a response. txt file and save to your hard drive. • If you had shut down the License Utility since step 6, please re-launch it and follow the above steps until you get to the Manage Software License Activation screen (shown above). • From this screen, press the “Load From File” button under the Process Activation Response File group. • Navigate to the response. txt file. • The licensing process is now complete. You should see a screen similar to this