
Iodine fuming method Equipments goggles gloves and protective

- Slides: 8
Iodine fuming method Equipments goggles, gloves, and protective clothing iodine fuming chamber (use beaker) small sprayer bottle iodine crystals (a few crystals per run) starch solution (~1 g of soluble starch (or cornstarch) in 25 m. L water; filter or decant off clear liquid) specimens of paper with latent fingerprints
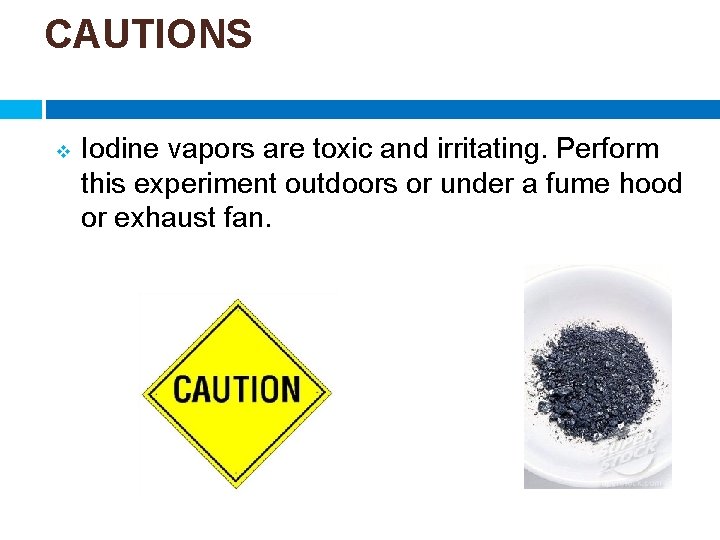
CAUTIONS v Iodine vapors are toxic and irritating. Perform this experiment outdoors or under a fume hood or exhaust fan.
steps 1. 2. 3. 4. Wear splash goggles, gloves, and protective clothing. . Set up your iodine fuming chamber and fill the pan that it sits in with hot tap water. Place the specimen inside the chamber. If you’re not working outdoors, turn on the fume hood or exhaust fan. Sprinkle a few small crystals of iodine into the bottom of the chamber and replace the cover. The crystals should begin sublimating immediately, filling the chamber with violet vapor. If the chamber or lid is transparent, you should see latent prints becoming visible within a few seconds as orange smudges.
steps Figure: Latent fingerprints begin to appear seconds after the specimen is placed in the fuming chamber
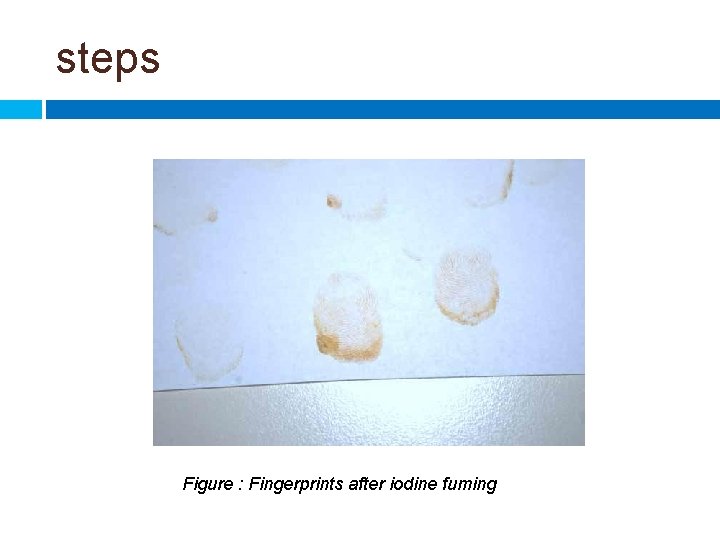
steps 5. 6. 7. Allow the fuming to continue until the ridge detail is evident in the developing prints. Depending on the specimen and the amount of iodine vapor present, this may anything from just a few seconds to a minute or more. When development appears to be complete, quickly remove the specimen from the chamber and replace the lid. (Be careful not to inhale the iodine vapor, which is irritating and has a strong chlorine-like odor. ) Place the specimen on a clean, flat surface and examine it carefully under strong light with the magnifier or loupe.
steps Figure : Fingerprints after iodine fuming
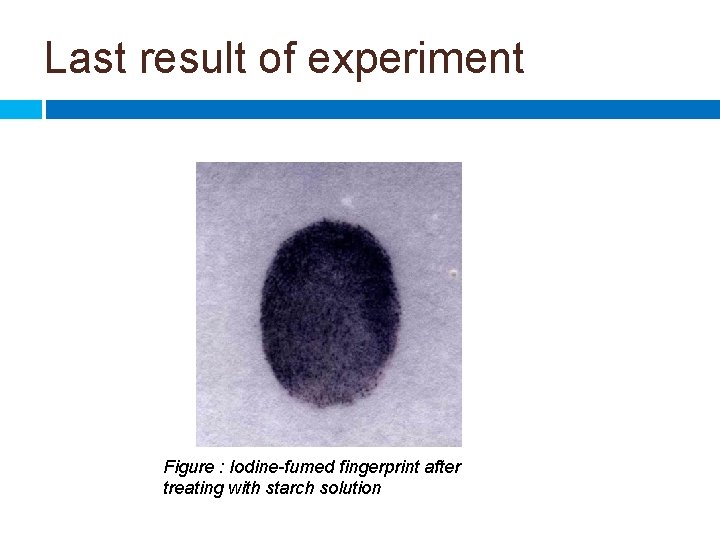
steps 8. 9. Spray the specimen with the cornstarch solution to develop the prints. You needn’t drench the specimen As the iodine reacts with the starch, the color of the developed prints changes to blue-black. Record your observations in your lab notebook.
Last result of experiment Figure : Iodine-fumed fingerprint after treating with starch solution