Invoice Requisition Entry Munis FinancialsPurchasingPurchase Order ProcessingRequisitions entry


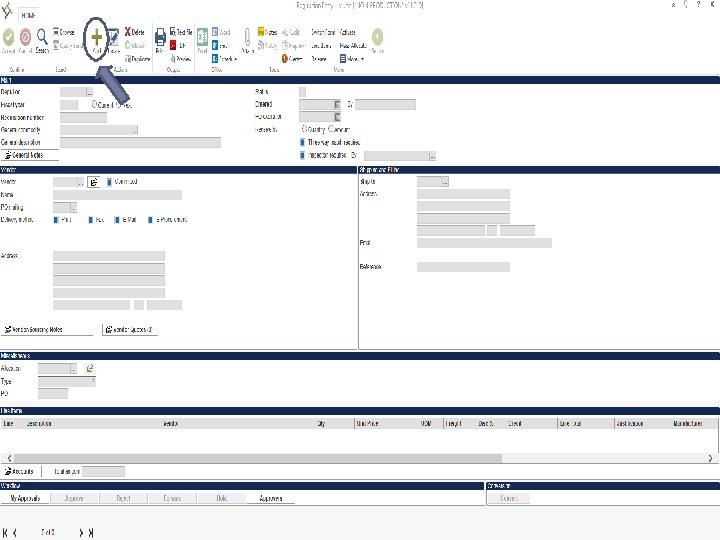


. Quantity should say one. Summarize")


- Slides: 23
Invoice Requisition Entry Munis: Financials<Purchasing<Purchase Order Processing<Requisitions entry
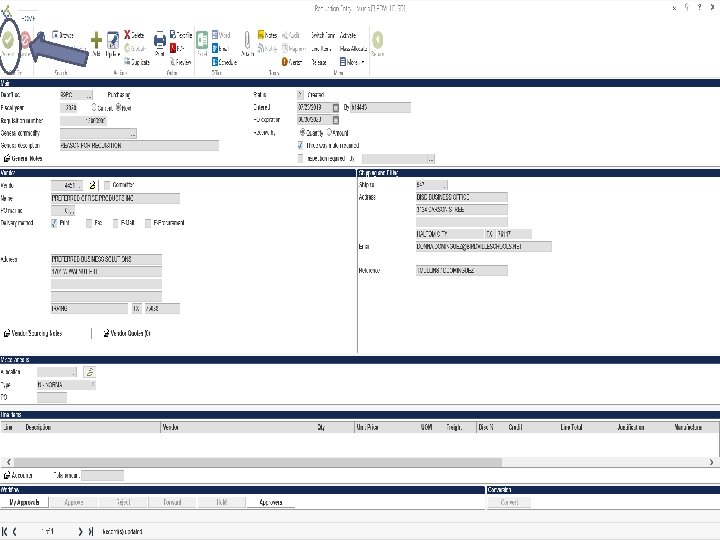
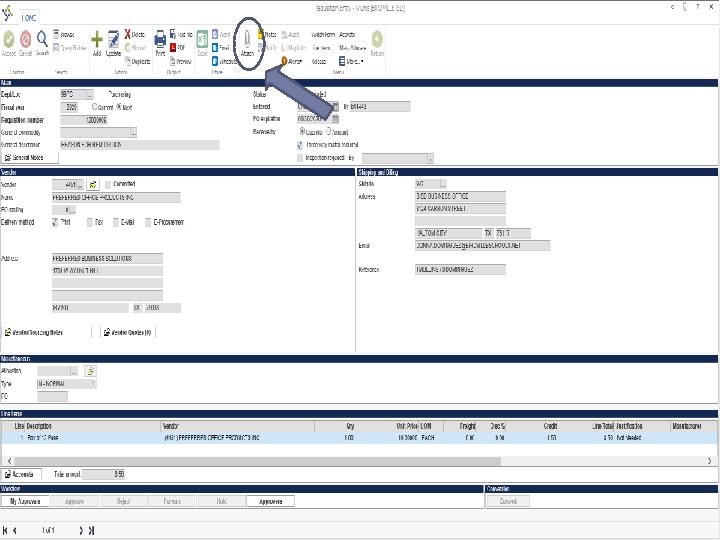
Select “BISD”.
Change to INV.
1‐ Rejected: The requisition has been rejected by an approver. Click the Approvers button to view the rejection comments. To update a rejected requisition, click the Activate button. 2‐ Created: The requisition header (general) details have been entered, but general ledger (GL) details have not been entered, or, the requisition has header and GL detail, but does not have the appropriate budget to move it to a Status 4. 4‐ Allocated: The requisition has been entered and has been General Description: List the reason for the requisition. allocated (charged) to a general ledger account, therefore money is being taken from available budget. The requisition has not been released into Workflow. A requisition must be in a status 4‐ Allocated to be released into Workflow; click Release to initiate the Workflow process. 6‐ Released : The requisition has been released into Workflow and is awaiting approval. Click the Approvers button to see the current approval status. 8‐ Approved : The requisition has been fully approved in Workflow and is ready to be converted to a purchase order. 0‐ Converted : The requisition has been converted to a purchase order. The number is included on the Terms/Miscellaneous tab in Requisition Entry.
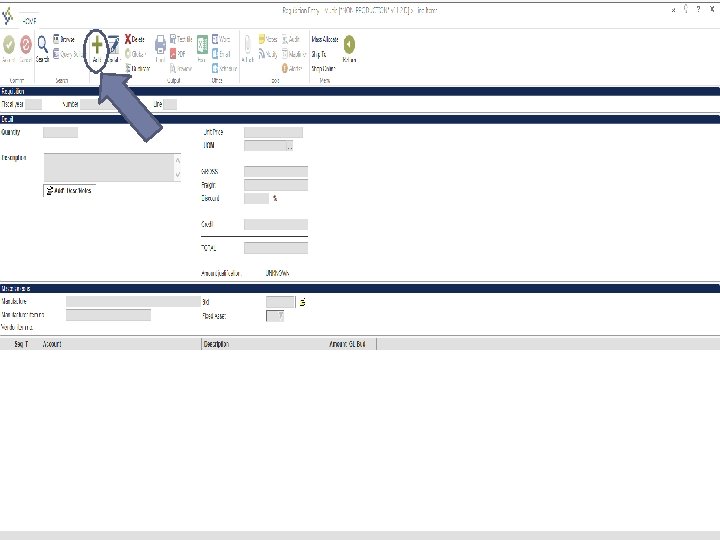
Be sure Quantity is chosen.
Enter the Munis Vendor # found on the Approved Vendor List Change to Print Type your name here. Do not put department name in this spot and/or description.
Every Requisition must have a vendor sourcing note.
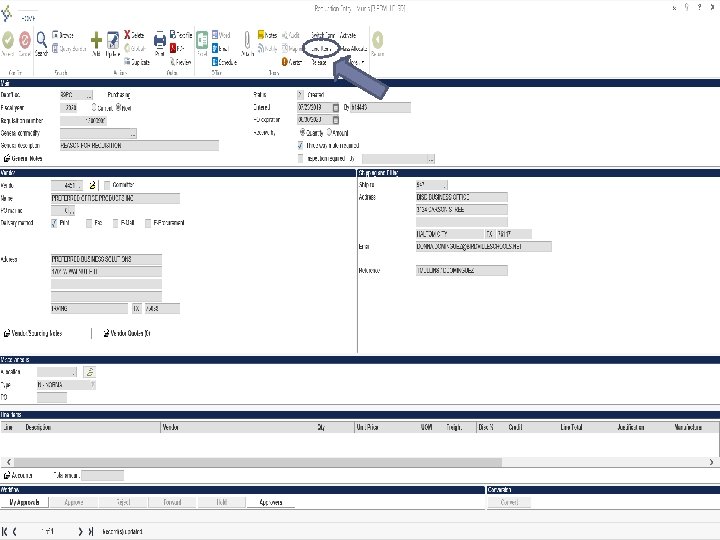
You must click “Print on PO”. Enter vendor sourcing information and reference Invoice #. Click “Print on PO” & then click accept. Click Return to go back to the main screen.
Unit price should reflect total of invoice (total due). Quantity should say one. Summarize order in Description.
Enter budget code & click accept. Should only have one line. Click Return.
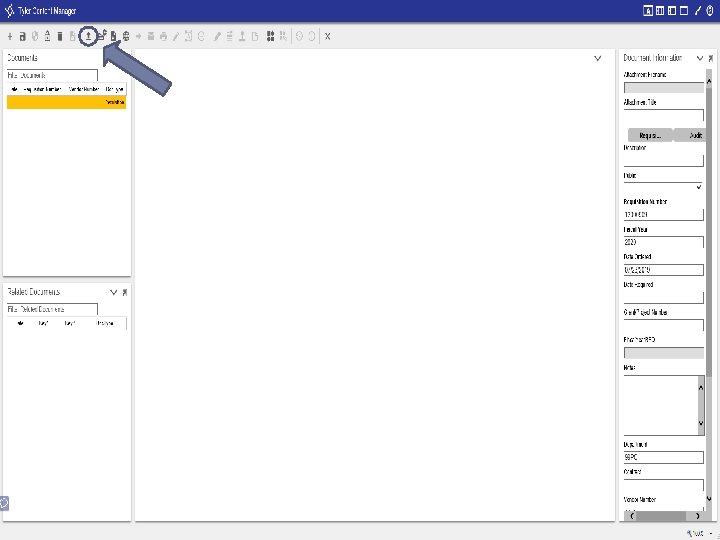
All attachments should be attached in Requisition Attachment. Double click to open.
Click Choose File to Browse the computer or you can drag and drop the attachment. Document must be saved as a PDF Click Import to upload the document
Attach Invoice and Invoice PO Form. You will see a pop up of the documents you uploaded on the screen. You must click save to attach the document, and then close the document
Status 4 – Allocated means this requisition is ready for release. Vendor Sourcing is highlighted in yellow now because the information is saved in it.
Invoice PO’s are always sent back to the requestor. Once you have received your PO, please receive in Munis and email invoice to Accounts Payable with PO # referenced.