Introduction week 4 Hi all First of all


.")


- Slides: 71
Introduction- week 4 Hi all First of all I hope you are all still keeping safe, healthy and looking after yourselves. Now to the boring bit…. Work… My expectation…. I will be expecting you to be doing 5 hours of maths a week. This is no more than what you do in school so it should be relatively straight forward. Now this can be completed by doing an hour a day or spending a few hours on 2 or 3 days completing the entirety of the work, the choice is yours, however, I will be expecting the work to be completed. There will be 4 lessons of NEW CONTENT a week with the 5 th lesson having to complete questions on everything you’ve just learnt (Each lesson 1 hr long). There will be an instruction of how I expect these questions to be completed when you go to lesson 5. I will be providing you with lessons to go through and will be expecting each of you to take notes and answer any questions which are within the slides to help develop your understanding. The week will be topic based so lesson 1 will help with lesson 2 and 3 and so on, so PLEASE DO NOT skip slides. All the lessons will provide you with material on topics that we were yet to cover during your first year at LEEP. If you feel you get stuck or are confused please do not hesitate to contact me. I will be allocating every Wednesday for you to contact with any questions or concerns and will respond to them as soon as I can on the day. However if you have any questions outside of that day I will get back to you as soon as I possibly can. Email: s. rivera@leep. org. uk Please continue to look after yourselves and work hard to ensure we are not having to play catch up when we are back. Mr Rivera
Timetable: Monday – Lesson 1 material New Topic Tuesday – Lesson 2 material Wednesday – Lesson 3 material Thursday – Lesson 4 material Friday – Questions through the Lessons must be completed
Please look at these slides in full screen so you get all the content material. Not a lot of slides this week so please make sure you write all the information. Lesson 1, 2, 3 & 4 are all Lessons. Lesson 5 will be to answer all questions in the lessons you have gone through. Information: Go Full Screen Remember, if you have any questions you will be able to send an email to me. I will respond as soon as possible. Email: s. rivera@leep. org. uk
Lesson 1
09/11/2020 Reflections I will be able too… • Identify the equation of a line of Symmetry • Recognise and describe reflections on a coordinate grid • Reflect 2 D shapes using specified mirror lines Starter:
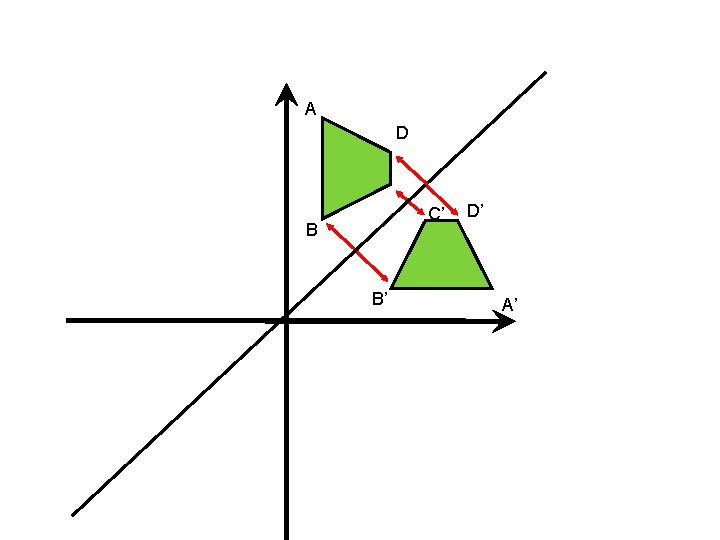
Reflection • When a shape is reflected, the reflection takes place in a “line of reflection” or “mirror line”. • To draw the reflection, first draw the mirror line. • Now draw a perpendicular line from one corner of the original shape to the mirror line, and extend it for the same distance on the other side (as on diagram above). • Repeat with the other corners until you can draw the whole shape. 09/11/2020 Back to main menu Next
Equations of Lines of Reflection
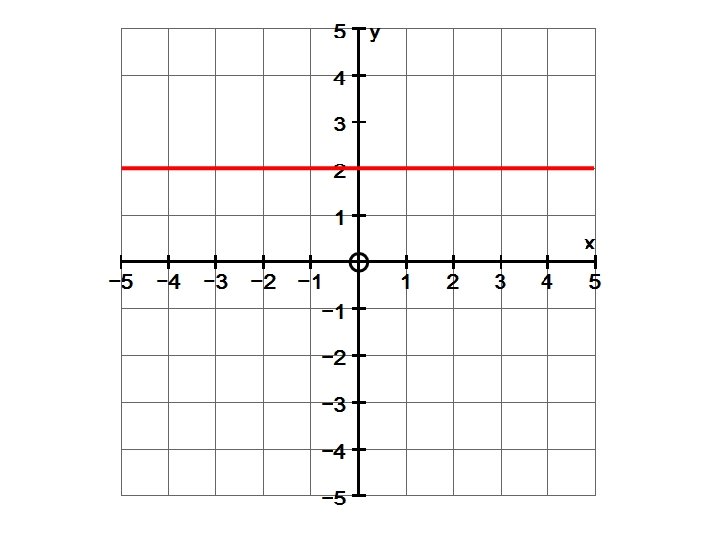
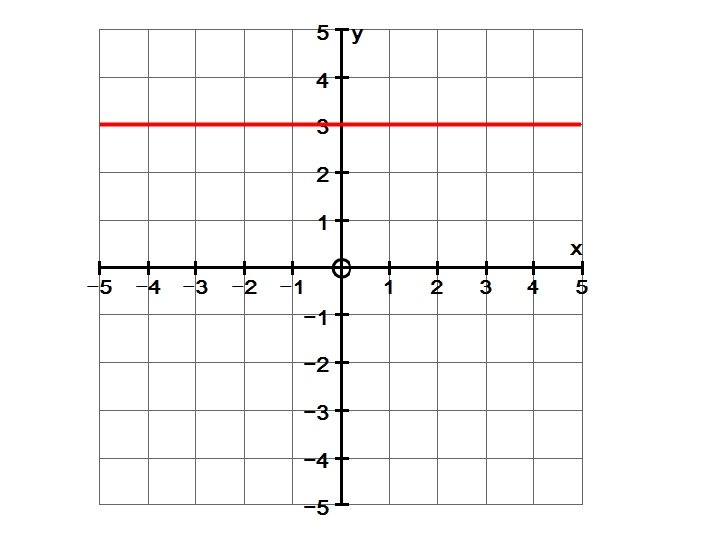
Reflection Now try reflecting shape S in the line y=0. Have a go before you click to continue! Where is the line y=0? Hint: the points (0, 0), (1, 0), (2, 0) etc. are all on it… …yes, it’s the x-axis! Now draw in your perpendicular lines… y 6 S 4 5 2 -6 -4 Finally, draw in your transformed shape… -2 3 0 -2 -4 4 2 5 3 4 x 6 4 S’ -6 09/11/2020 Back to main menu Next
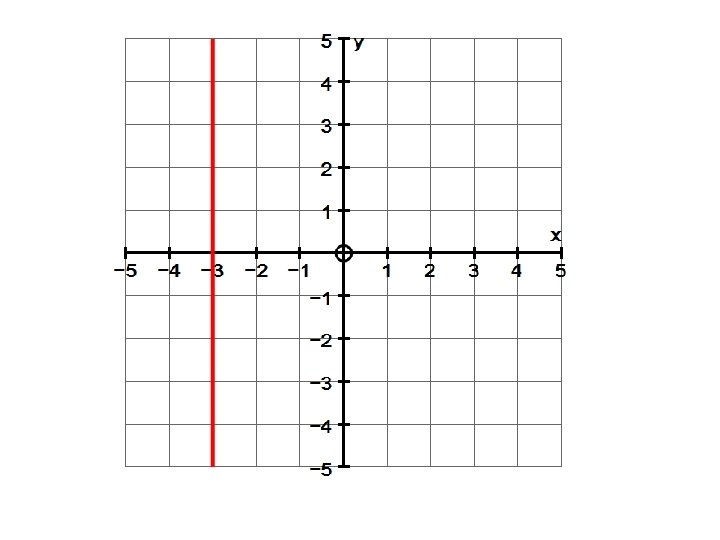
Reflection y • Now reflect shape T in the line x=2… T Try it before clicking to continue! 4 2 • … and then reflect shape T in the line y=x 3 5 4 3 5 3. 5 2 4 4 6 -6 -4 Try it before clicking to continue! T’ 3. 5 -2 0 -2 2 2 4 4 6 T’’ -4 -6 09/11/2020 Back to main menu On to Rotation x
Reflection y x
y Reflect triangle ABC in the y-axis. 6 1 5 4 A 1 3 3 1 2 1 3 B C 1 0 -6 -5 -4 -3 -2 -1 1 2 3 4 5 6 -1 -2 -3 -4 -5 -6 x
y Reflect triangle ABC in the x-axis. 6 A 5 4 5 3 2 1 B C 2 2 0 -6 -5 -4 -3 -2 -1 1 2 3 4 5 6 -1 2 2 B’ C’ -2 -3 -4 -5 -6 5 A’ x
y 6 5 4 3 Reflect quadrilateral ABCD in the line y=x. A D 3 C B C’ D’ 2 1 B’ 3 0 -6 -5 -4 -3 -2 -1 1 2 3 4 5 6 -1 -2 -3 -4 -5 -6 A’ x
Reflect this shape on the mirror line given
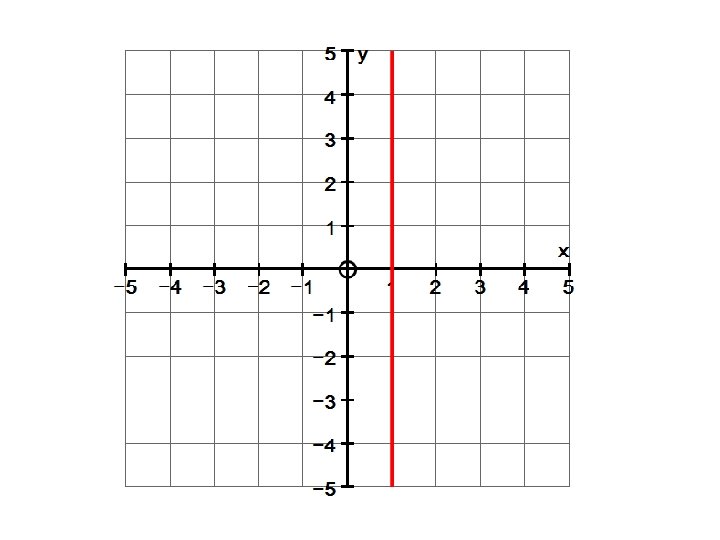
Reflect this shape on the mirror line x=1
Reflect this shape on the mirror line y=-1
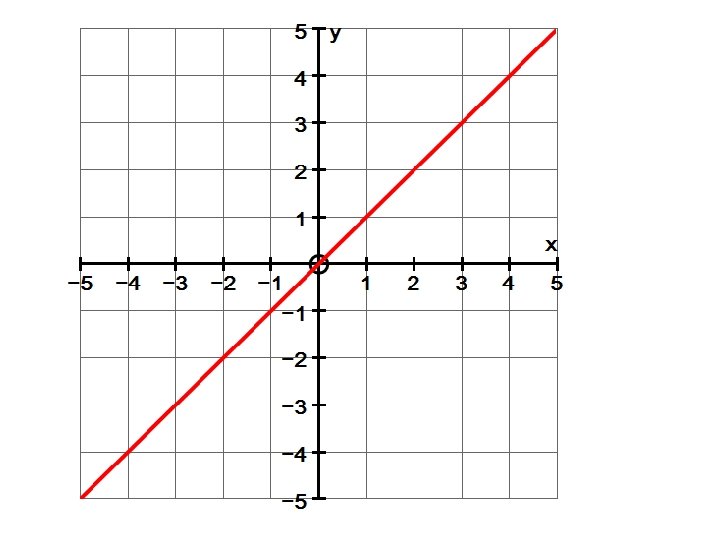
Reflect this shape on the mirror line y=x
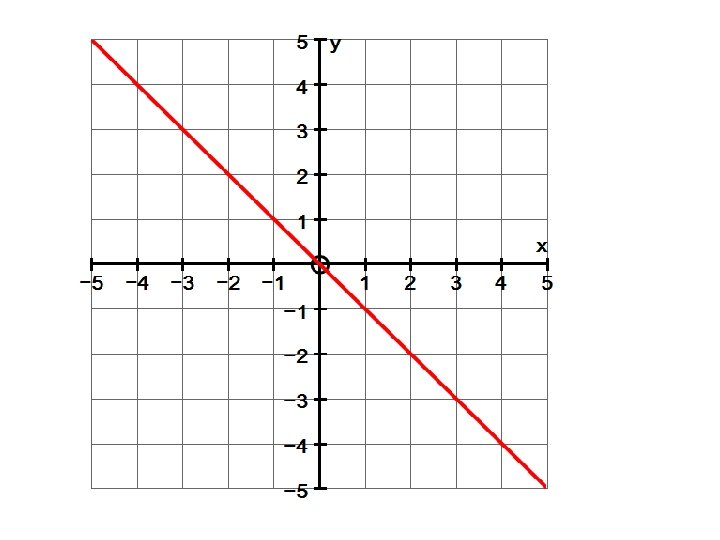
Reflect this shape on the mirror line y=-x
Plenary
Lesson 2
09/11/2020 Translations and Rotations LO: • Recognise and describe single translations using column vectors on a coordinate grid • Translate a given shape by a vector Rotate a shape and describe rotations How has the Orange Shape moved?
How has the Purple Shape moved?
Translations are usually given in vector form: means 3 units to the right So what does mean? and 1 unit down. What is the vector translating A to B? What about B to A? A to B: B to A: After translation, a shape will be • the same shape and size • the same way round (orientation) • in a different position 09/11/2020 Back to main menu +3 -3 -4 +4 A B Next
Translation • Start by taking one corner of the shape to be translated. • Draw in the translation vector and mark the position of the corresponding corner on the translated shape. • Repeat with the other corners until you are able to complete the shape. Now translate shape A with vector New location of top corner 2 right Start here Try the question before you click to continue! 09/11/2020 Back to main menu 3 up A’ A Next
Translation Now try a couple more! y P’ New location of bottom corner Translate shape P with vector P 2 up 6 4 -4 right Start here 2 = 4 left Try it before you click to continue! Now translate shape Q with vector -6 -4 -2 0 Q -5 2 4 6 x -2 Try it before you click to continue! -4 Can you see how the coordinates of the vertices (corners) change? Look at the coordinates of one vertex at a time. -6 09/11/2020 +3 Q’ What vector would translate each shape back to its original position? Back to main menu On to Reflection
Checkpoint
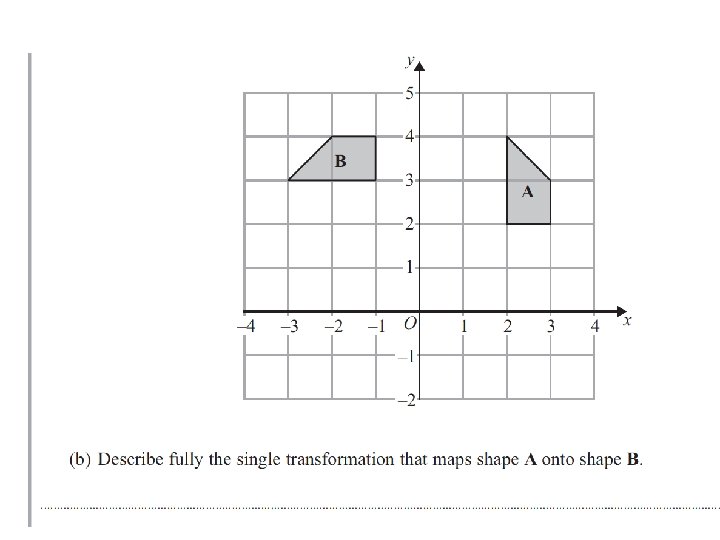
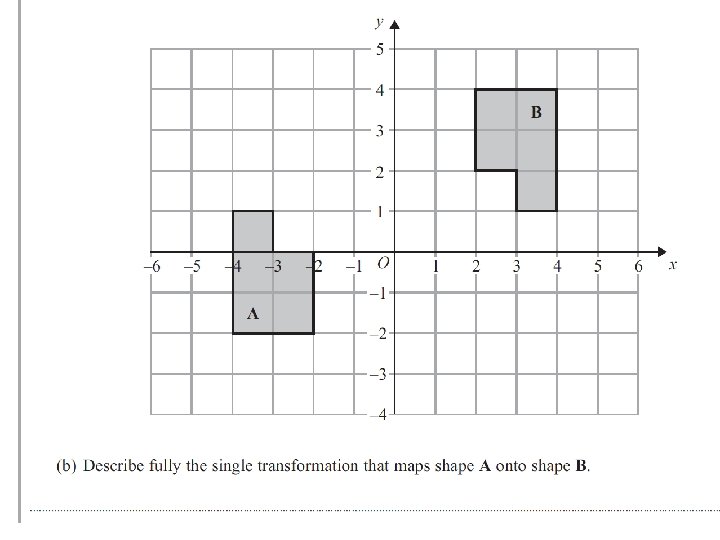
D E C A B Describe in a single transformation….
Plenary
Rotation • You need to be able to rotate a shape about a given point – clockwise or anticlockwise – through 90, 180 or 270 degrees (quarter-, half- or ¾-turn) • A piece of tracing paper can make this easier! – Mark the centre of rotation and draw a straight line connecting it to one corner on the shape – Put tracing paper over both the shape AND the centre of rotation – Trace the shape and line onto the paper – Put your pencil point on the centre of rotation and turn the paper through the appropriate angle – Draw the transformed shape in its new position • Let’s give it a try… 09/11/2020 Back to main menu Next
Rotation Rotate shape A clockwise through 90° about the origin. y First, mark your centre of rotation at (0, 0) and join it to the shape. 6 4 Place the tracing paper over the shape and the Co. R, and trace. With your pencil point on the Co. R, rotate the tracing paper clockwise through 90°, then transfer the shape to its new position on the grid. Now try rotating the same shape anticlockwise through 180° about the origin. Try it, then click to see the answer. 09/11/2020 A 2 -6 -4 -2 0 4 2 x 6 -2 A’’ Back to main menu -4 A’ -6 Next
Rotation y Now rotate shape D anticlockwise through 90° about the point (2, -1). 6 Try it before clicking to continue! D 4 Can you think of another way to describe this transformation? Click again for the answer… Rotation clockwise through 270° about the point (2, -1) 2 -6 -4 What transformation would return the shape to its original position? Rotation clockwise through 90° (or anticlockwise through 270°) about the point (2, -1) 09/11/2020 Back to main menu -2 0 2 4 x 6 -2 D’ -4 -6 Next
Rotation y Sometimes the centre of rotation can be inside the shape. Try rotating shape F clockwise through 90° about the point (-1, 2). Have a go before clicking to see the answer! 6 4 F 2 -6 -4 -2 F’ 0 2 4 6 -2 -4 -6 09/11/2020 Back to main menu On to Enlargement x
Lesson 3
09/11/2020 Enlargement L. O: • Describe and transform 2 D shapes using a scale factor (positive, negative, fractional) • Identify the scale factor of an enlargement of a shape • Enlarge a shape given centre of enlargement
Key Words Enlargement _____ smaller. makes all sides of a shape bigger, or Two pieces of information are needed to describe enlargement they are Where the shape is Centre of enlargement enlarged from - __________, which means ______ Scale factor How many times bigger, or smaller the shape becomes.
8 6 4 2 -10 -8 -6 -4 -2 2 4 6 8 10 -2 -4 ROTATE REFLECT TRANSLATE -6 ENLARGE N
Describing an Enlargement y 4 It’s becoming 2 times as wide. 3 Image 2 1 Object x -5 4 -4 5 It’s becoming 4 times in size in terms of area. -3 6 -2 -1 0 1 2 -1 It’s being enlarged about some point. Clearly this shape is being ‘enlarged’ in some way. What two things might describe such a transformation? -2 -3 -4 Click to Start animation 3
Describing an Enlargement y 4 . . . by a scale factor of 2. 3 Image 2 1 Object x -5 4 -4 5 -3 6 -2 -1 -1 An enlargement about the point (-5, -1) -2 -3 -4 0 1 2 3
Example 1 y 4 Describe enlargement from A to B. 3 B 2 The centre of enlargement. 1 A x -5 4 -4 5 -3 6 -2 -1 0 1 2 -1 The distance from the centre is being tripled, so we have enlargement by a scale factor of 3. -2 -3 “Enlargement about the point (-3, 1) by a scale factor of 3. ” -4 3
Example 2 y 4 Describe enlargement from A to B. 3 A 2 1 B x -5 4 -4 5 -3 6 -2 -1 -1 -2 -3 -4 0 1 2 3
Test Your Understanding y 4 Describe enlargement from A to B. 3 2 B 1 x -5 4 -4 5 -3 6 -2 -1 -1 -2 -3 -4 A 0 1 2 3
Drawing an Enlargement y 4 Enlarge the shape by a scale factor of 2 about the point (0, -2) 3 2 1 x -5 4 -4 5 -3 6 -2 Image -1 -1 0 1 2 Object -2 -3 The approach is to take each vertex on the object one at a time, count the -4 squares across and up/down from the centre, and times each by the scale factor 3
Example 4 y 4 3 2 1 Image x -5 4 -4 5 -3 6 -2 -1 -1 Object -2 -3 -4 0 1 2 3
Test Your Understanding y 4 3 2 1 Object x -5 4 -4 5 -3 6 -2 -1 -1 Image -2 -3 -4 0 1 2 3
Negative Enlargement y 4 Enlarge the shape by a scale factor of -1 about the point (0, 2) 3 2 Image 1 x -5 4 -4 5 -3 6 -2 Object -1 0 1 2 -1 -2 -3 -4 the principle is exactly the same. Any Bro Tip: When the scale factor is negative, ‘negative distances’ go in the opposite direction. 3
Test Your Understanding y 4 3 2 1 Object Image x -5 4 -4 5 -3 6 -2 -1 0 1 -1 -2 -3 Enlarge the shape by a scale factor of -2 about the point (1, 1) -4 2 3
Test Your Understanding y 4 3 2 Image 1 x -5 4 -4 5 -3 6 -2 Object -1 0 1 2 -1 -2 -3 Enlarge the shape by a scale factor of -0. 5 about the point (0, 2) -4 3
Test Your Understanding y 4 3 2 1 Object Image x -5 4 -4 5 -3 6 -2 -1 0 1 2 -1 -2 -3 -4 Enlarge the shape by a scale factor of -1. 5 about the point (1, 1) 3
Answers Enlargement by a scale factor ? of 3 about the origin.
Answers Enlargement of scale factor 3 about the origin. ?
Lesson 4
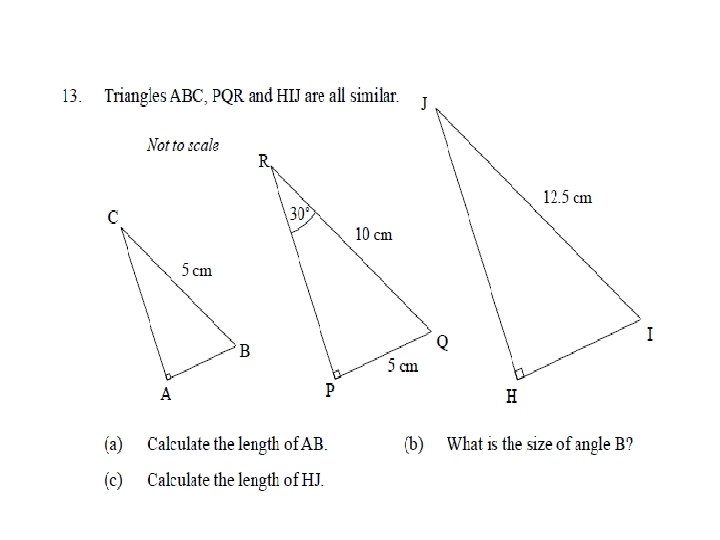
Area of Similar Shapes I will be able to… - Investigate the area of similar shapes - Use scale factors to calculate areas Starter: Find the SF used from one shaped to its enlarged version, to work out the missing lengths
Every Architect makes/ draws a scale model of the proposed building… Understand the effects of enlargement on areas and volumes of shapes and solids. Use scale factors to find the area and volume of shapes and solids. Use the volume and area of given shapes and solids, to work out the scale factor used.
A 1. What is the area of this rectangle? 2. Draw a sketch of this rectangle when it has been enlarged by SF 2. Call this rectangle B. 3. What is the area of rectangle B? 4. Rectangle A is now enlarged with SF 3. Draw this rectangle and label it C. 5. What is the area of rectangle C? 6. How many times bigger is the area of B than the area of A? 7. How many times bigger is the area of C than the area of A?
e h t Finding the Scale Factor s ’ at cale h W rs a e n i l r? o t fac Shape A has a surface area of 20 cm 2. A similar larger shape, shape B, has a surface area of 80 cm 2. What was the scale factor used?
Scale Factor Effect on Area • To find the area of an enlarged shape, you square the scale factor. Scale Factor Increase in Area (area multiplier) 2 x 4 multiplier Scale Factor² = area 3 x 9 4 x 16
Questions 3. 1. Area = 6 cm² Area = ? Area = 180 m² ? 2 cm Area = 20 m² 5 m 8 cm 2. 4. Area = ? Area = 45 cm² Area = 100 m² 16 m 4 cm 12 cm Area = 25 m² ?
Extension Copy the table and determine the missing values. Shape A Shape 1 Length: Area: Volume: 2 B 3 cm 5 cm 2 10 cm 3 ? ? 6 cm 20 cm 2 80 cm 3 ? ? Determine the missing values. Shape A Shape B Length: 5 m 15 m 2 Area: 8 m 72 m 2 Volume: 12 m 3 324 m 3 ? ? ? 3 ?
Lesson 5
Questions You must now go through all the questions that are in the lessons and ensure you complete all of them. You should be doing the questions as you go through each lesson, so if they are already completed you don’t have much to do other than go through them and check answers.