Introduction to Sailing Torrey Pines Sailing Club San

Introduction to Sailing Torrey Pines Sailing Club San Diego, CA March-April 2019 Instructor: Pete Politzer website: sailtpsc. com -- slides edited for the website --

Schedule Thursdays March 14, 21, & 28; April 4 6: 00 – 8: 00 pm Text “Basic Keelboat” published by USSailing $20, here and now

Outline • Introductory stuff • Ropes & knots • Parts of a boat • Sailing rules & safety • Making a boat go • Local knowledge • Sail control, steering, getting from here to there Plus: Lots of information about TPSC – membership, water lessons, … These classes will give you some of the principles of sailing; to learn to sail, you have to get in a boat – we can arrange that.

Things I won’t cover • setting up and putting away a boat • motors • docks – leaving and returning • anchoring • reefing a sail • man-overboard rescue • etc. – there’s not enough time in this class – these vary considerably, depending on the boat type and model – items better covered during the water lessons

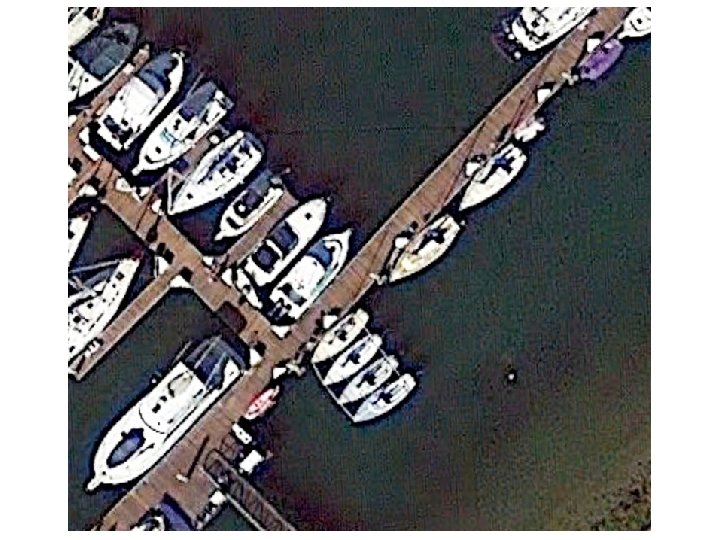
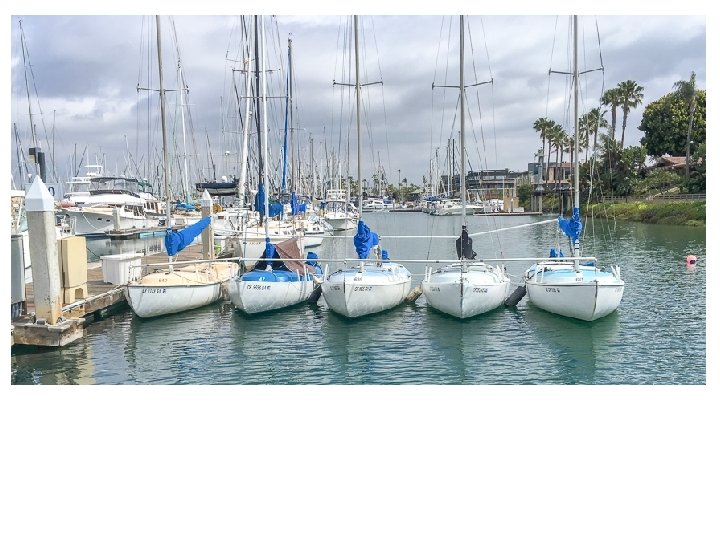
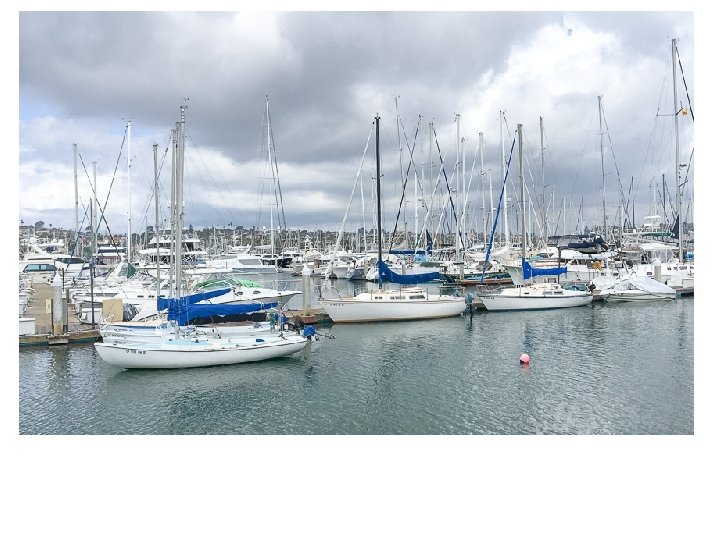
Very briefly about the Torrey Pines Sailing Club • ~50 years old! • Roughly 70 members • Cooperative organization – members do the work • 8 boats at Shelter Island Marina • Inexpensive • Vlad will tell you more

Very briefly about the Torrey Pines Sailing Club • ~50 years old! • Roughly 70 members • Cooperative organization – members do the work • 8 boats at Shelter Island Marina • Inexpensive • Vlad will tell you more

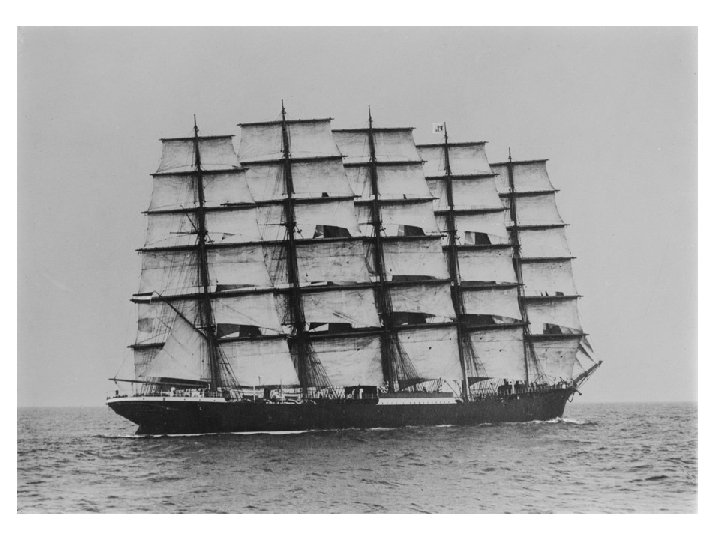
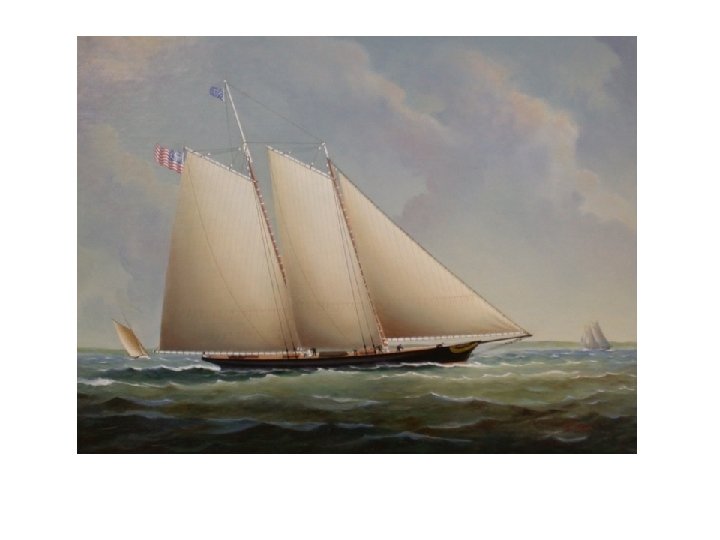
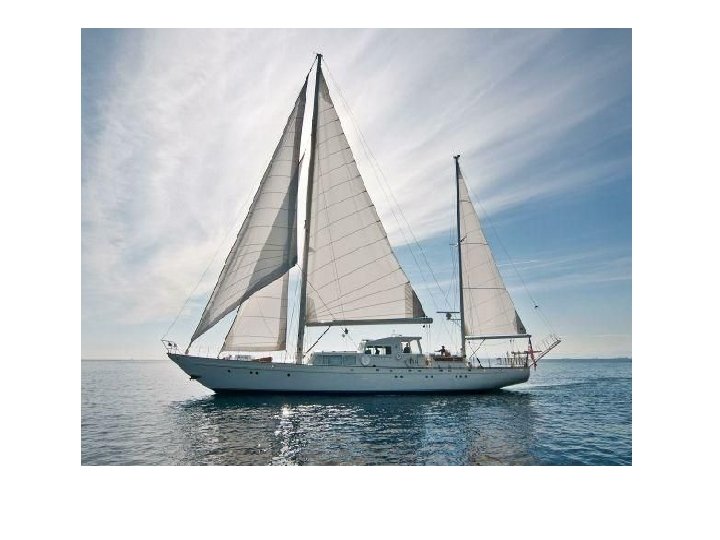
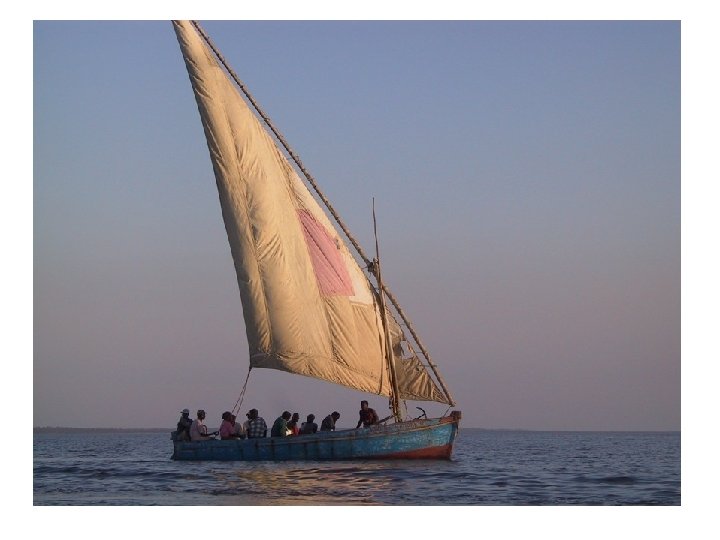
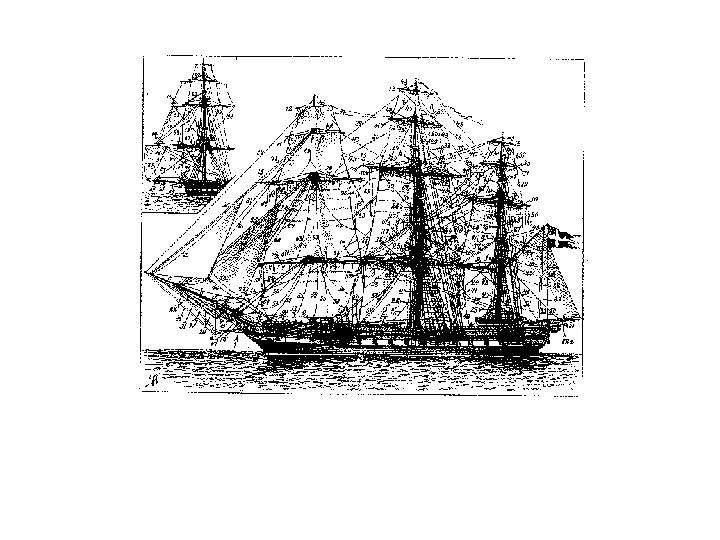
Many kinds of sailboats

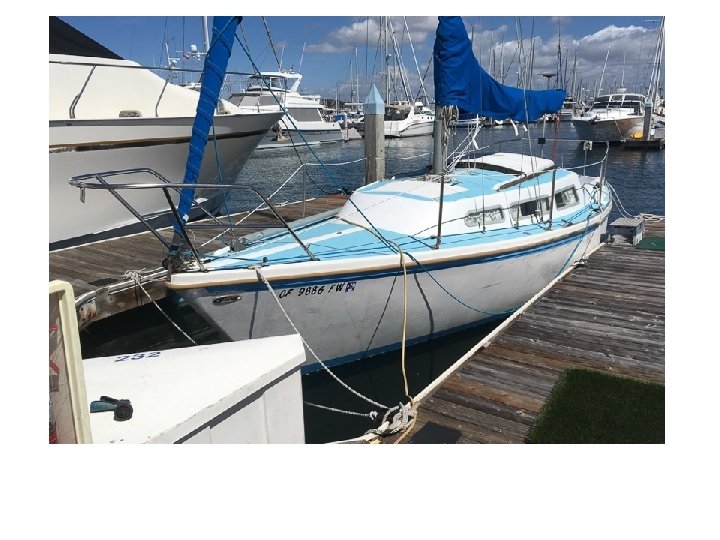
TPSC Victory sloop

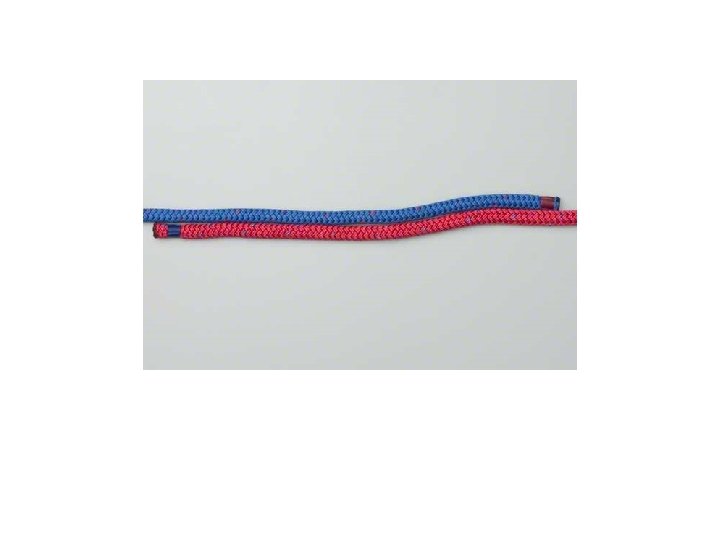
◊ Parts of a boat ◊ • Lots of nautical names & terms • Mostly historical origin: (some very obscure) • Very specific • Necessary for accurate & rapid communication For example: – a rope is what you buy at the store – when it’s on or near a boat, it becomes a line – when it’s used for something, it gets a specific name e. g. , jib sheet, main halyard, …

build a boat – learn the main parts hull

forward directions relative to the hull starboard port aft forward aft

steering oar

bow parts of the hull gunwale stern transom gunwale freeboard bow waterline transom (gunwale is pronounced “gunnel”) stern

– we need something to steer with; – then, something to control the rudder; – and one more attachment under the hull (why have a keel? – later) – finish the top of the hull cockpit deck tiller rudder keel cabin keel rudder

to make the boat go: sails; first, support the sails mast boom

to make the boat go: sails; first, support the sails; also, support the mast spreaders forestay backstay shrouds

finally – sails! main sail jib

parts of a sail head lea luff ch battens clew foot tack

primary lines which raise & control the sails main halyard jib halyard j main sheet jib sheets

◊ Making a boat go ◊ • Downwind • Upwind • Forces • Sail trim

Sailing downwind – pretty simple – wind pushes on sail (think Viking ships or square-riggers)

Sailing upwind windward leeward windward – toward the wind leeward – away from the wind lots going on here

Sailing upwind lots going on here windward leeward windward – toward the wind leeward – away from the windward
")
Sailing upwind • air flow around curved sail causes lift • (think airplane wing) lift forces

Sailing upwind lift force leads to both – forward force – sideways force
")
Sailing upwind forward force pushes boat forward (what we want)

Sailing upwind • sideways force tries to push boat sideways through the water • resisted (mostly) by the keel • get slow drift to leeward (leeway)
 • resisted by")
Sailing upwind • sideways force also causes boat to heel (tilt) • resisted by weight of keel and/or weight of crew on windward (high) side

Sailing directly into the wind • doesn’t work • “in irons” • boat stops • lose control

”points of sail” wind “no-go” zone

”points of sail” wind “no-go” zone starboard tack close-hauled port tack close-hauled close reach beam reach broad reach run

some observations about points of sail • sailing close-hauled can be uncomfortable and requires constant tweaking – you may prefer a close reach • a broad reach is fastest and most fun • going straight downwind, the main blankets the jib – either head up a little – or put the jib on the other side “wing-and-wing” wind

◊ Sail control, steering, getting from here to there ◊ • controlling and trimming the sails • sail adjustments • de-powering • heave-to

Controlling and trimming the sails • sheets: primary sail control • jib sheets are attached to the clew (aft corner) of the jib – there are two jib sheets; passing to the cockpit outside of the shrouds – one is used to control the position of the jib clew, the other is slack (depends on which tack we’re on) • for example: on port tack: jib blocks port jib sheet is slack (passes through a block) winches cleats starboard jib sheet goes through a block, around a winch, and is tied to a cleat

Controlling and trimming the sails • sheets: primary sail control • jib sheets are attached to the clew (aft corner) of the jib – there are two jib sheets; passing to the cockpit outside of the shrouds – one is used to control the position of the jib clew, the other is slack (depends on which tack we’re on) • after turning to starboard tack: now the starboard jib sheet is slack, and the port jib sheet controls the sail

block

winch

cleat

jib clew jib sheets block winch sheeted jib

Controlling and trimming the sails • The main sheet controls the position of the boom, and so the angle between the mainsail and the boat. • It connects the aft end of the boom to the cockpit. (Location varies from boat to boat. ) • Usually in a block-and-tackle arrangement.

main sheet cleat

all together

There are many possible adjustments of a sail • Poor trim => lose power • Most basic: adjust sheet (position of clew) Too loose: Too tight: – first the sail will luff; bulge to windward at the luff – then it will flap like a flag – sail will “stall”; look good but going nowhere & too much heel Just right: – smooth flow => optimum performance

Tell-tales • There may be tell-tales attached to the surface of the jib, or main, or both. • Also at the leach (trailing edge) of the main. – windward tell-tale flutters – leeward tell-tale flutters – both tell-tales stream smoothly aft • With practice, you will be able to judge optimal trim by feel!

Tell-tales on window in jib

De-powering • sometimes there is too much wind for your comfort level – eithere is a brief puff or a longer stretch of high wind – your response is to reduce the power of the sail • in a puff – make the sail luff => ease the sail – “when in doubt, let it out” => or head up (turn into the wind) • in a steadier strong wind – flatten the sails => tighten the vang, outhaul, downhaul, jib leech – (in a very light wind, do the opposite => loosen everything) – “reef” the sails (reduce their area) – lower the jib (sail only with the main)

reefing a sail = reducing sail area sail must have lines set up for reefing

reefing a sail = reducing sail area if boat has roller reefing jib sail must have lines set up for reefing if not, lower the jib and sail only with the main otherwise, lower the jib

De-powering • sometimes there is too much wind for your comfort level – eithere is a brief puff or a longer stretch of high wind – your response is to reduce the power of the sail • in a puff – make the sail luff => ease the sail – “when in doubt, let it out” => or head up (turn into the wind) • in a steadier strong wind – flatten the sails => tighten the vang, outhaul, downhaul, jib leech – (in a very light wind, do the opposite => loosen everything) – “reef” the sails (reduce their area) – lower the jib (sail only with the main) • last – if you don’t feel safe, lower the sails, start the motor, go home

◊ Driving the boat ◊ • Wind • Steering • Tacking • Jibing

Where is the wind coming from? How strong is it? “Apparent wind” • A sailboat moves through air and is driven by air. • Air speed and direction are usually thought of as measured with respect to instruments fixed to the ground (or you, standing still). • But: you can make your own wind, by moving. no wind resulting from motion

Apparent wind running into the wind => ground wind and motion wind add => felt wind (apparent wind) is larger apparent wind w. r. t. ground wind resulting from motion running with the wind => winds subtract => apparent wind is smaller apparent wind w. r. t. ground wind resulting from motion

A sailboat is moving through the air and so it responds to the apparent wind Sailing downwind ground wind apparent wind motion wind • The wind driving the boat, and felt by the crew is less than the ground wind • This makes a downwind run a good time to take it a bit easier

Sailing motoring upwind ground wind apparent wind motion wind • The wind felt by the boat and the crew is large • This can make going upwind less comfortable • Note that the apparent wind can vary a lot, depending on the direction you’re moving

What is the apparent wind when sailing another course? on a broad reach: apparent wind ground wind motion wind • The (apparent) wind strength is reduced • Its direction has changed – crew should adjust the sails • What you thought was a broad reach is now a beam reach

What is the apparent wind when sailing another course? on a close reach: apparent wind ground wind motion wind • The (apparent) wind strength is increased • Its direction has changed – crew should adjust the sails • What you thought was a close reach is now close-hauled

How to tell where the wind is coming from • Most important: learn to judge the feel of the wind on your face! • Wind vane (“fly”) on top of mast • Tell-tales (strips of yarn) on shrouds • Ripples on water (roughly perpendicular to wind)

masthead fly

tell-tale on shroud
. •")
Steering • The rudder is mounted on a vertical axle (the rudder post). • The tiller is attached to the top of the post, allowing the helmsman to move the rudder post tiller rudder helmsman: the person steering the boat rudder

helmsman
 put the tiller to starboard.")
Turning “heading up” • To turn to port (left) put the tiller to starboard. • Think: you are steering the back of the boat. • Crew adjusts sails during turn. • When turn is completed, straighten tiller. – In this example, we are turning toward the wind: called “heading up” – Also, generally the helmsman and crew will be on the windward (high) side.

Turning “bearing off” • To turn to starboard, put the tiller to port. • Again: you are steering the back of the boat. • When turn is completed, straighten tiller & crew adjusts sails. – In this example, we are turning away from the wind: called “heading down” or “bearing off” – Directions of turns are called out w. r. t. the wind, so the crew knows what to do with the sails.

Sailing a “straight” course • The wind is never entirely steady. Also waves and currents vary from moment to moment. Þ The helmsman and crew need to constantly adjust tiller and sails. • When not close-hauled (on a reach or run) the helmsman generally holds his course, and the crew adjusts the sails for wind changes. • When close-hauled (sails pulled in as far as they’ll go), the helmsman must adjust for changes in wind speed and direction.

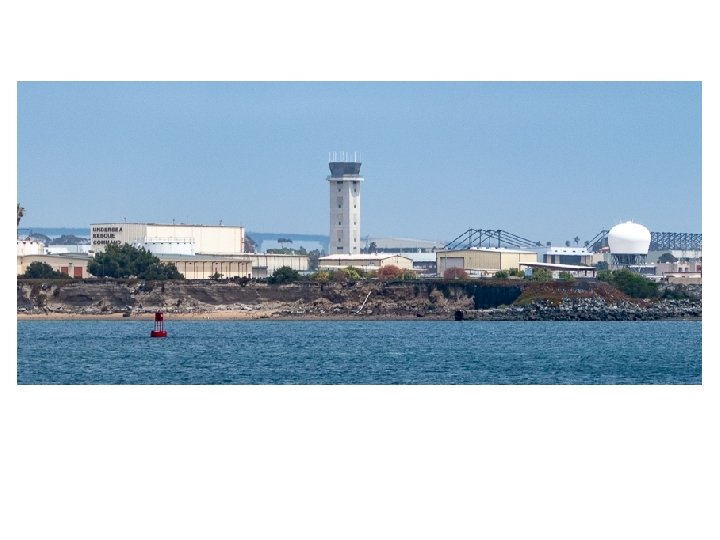
Sailing a “straight” course • Out at sea, the helmsman maintains a course using a compass or (if really skilled) by the sun and stars and wave patterns. • Near shore or in the bay (the rest of us), pick a recognizable point on shore (e. g. , an airport tower) and aim for it. • However, water currents and the wind (remember leeway) can push the boat sideways. So be aware of sideways drift. • If possible, pick two points on shore (one near and one far) that line up with each other (called a “range”), and keep them in line.

North Island control tower

range marks at south end of Shelter Island

Harbor Island range marks

Getting where you’re going – upwind you want to go here but you can’t sail in the no-go zone what do you do? you are here

Getting where you’re going – upwind • sail close-hauled • turn through the wind – “tack” – several times • this is “beating” or “beating to windward”

Tacking wind • look around – make sure the way is clear – look in the direction you’re turning and pick a landmark (so you know when to end the turn) • communicate with the crew – “prepare to tack” or “ready about” • crew checks sheets & answers – “ready” “ready about”

Tacking wind • communicate with crew – “tacking” or “hard a-lee” • head up (turn into the wind) “tacking”

Tacking • as the jib begins to luff, – crew releases the working jib sheet • coast through the no-go zone – turn too slowly => get stuck in no-go zone ”in irons” – turn too quickly => too much drag due to rudder lose most forward speed – when boom crosses centerline helmsman moves to other side wind

Tacking • when the wind catches the jib and pushes it to leeward, crew sheets in the new working jib sheet • crew crosses to the other side wind

Tacking • straighten tiller • sail in direction selected before tacking • adjust for new apparent wind • adjust sails for optimum performance • tidy up loose lines wind

Getting where you’re going – downwind • you’re sailing downwind on a run or a broad reach – for example, on a port tack • you want to switch to a starboard tack (there’s a rock or another boat in front of you) • what do you do? => jibe (or gybe) wind

Jibing wind • look around; make sure the way is clear • communicate with the crew – “prepare to jibe” • crew checks sheets, says “ready” “prepare to jibe” “ready”
 • as turn")
Jibing wind • start to turn • say “jibing” (or “jibe-ho”) • as turn proceeds, sheet in the main “jibing”

Jibing wind • as the turn proceeds, sheet in the boom • get boom to centerline when wind crosses the stern

Jibing wind • quickly: – let the main out – straighten tiller – move to other side – release old jib sheet and sheet in jib on the other side (the wind will flip the jib) Important: the boom moves fast, keep your head down!

Beware – the uncontrolled jibe • you are sailing downwind • (the jib is flapping because it is shielded by the main) • suddenly the wind shifts just a little bit wind

Beware – the uncontrolled jibe • you are sailing downwind • (the jib is flapping because it is shielded by the main) • suddenly the wind shifts just a little bit • it catches the leech of the main • slamming the main and boom across the boat • can cause serious injury or toss someone overboard Þ when sailing downwind – be aware of the possibility of an uncontrolled jibe – keep your head below the level of the boom – if it starts to go, yell “duck” “duck!”

Stopping • learn to stop the boat where you want • critical for docking, man-overboard • for each boat you sail, get a feel for how far it will coast before stopping – sailing on a reach or close-hauled => let out both sails until they luff no propulsion – you’ll stop => or, turn into the wind and let the sails luff
 that allows for a")
Heave-to • a heave-to is a stable, controlled stop (almost) that allows for a break, even in a heavy wind – you can start the motor, eat lunch, repair something, or just relax for a few minutes wind • to heave-to: – get close-hauled or in a close reach
 that allows for a")
Heave-to • a heave-to is a stable, controlled stop (almost) that allows for a break, even in a heavy wind – you can start the motor, eat lunch, repair something, or just relax for a few minutes wind backwinded jib • to heave-to: – get close-hauled or in a close reach – start to tack, BUT don’t release the jib sheet – the jib will be “backed”
 that allows for a")
Heave-to • a heave-to is a stable, controlled stop (almost) that allows for a break, even in a heavy wind – you can start the motor, eat lunch, repair something, or just relax for a few minutes wind backwinded jib main and tiller to leeward • to heave-to: – get close-hauled or in a close reach – start to tack, BUT don’t release the jib sheet – the jib will be “backed” – ease the main and put the tiller to leeward; tie the tiller in place
 that allows for a")
Heave-to • a heave-to is a stable, controlled stop (almost) that allows for a break, even in a heavy wind – you can start the motor, eat lunch, repair something, or just relax for a few minutes wind backwinded jib slow drift eating lunch main and tiller to leeward • to heave-to: – get close-hauled or in a close reach – start to tack, BUT don’t release the jib sheet – the jib will be “backed” – ease the main and put the tiller to leeward; tie the tiller in place • the boat will settle into a position at an angle to the wind => slow drift downwind and forward

Tying up to a dock – boat can only move a few inches relative to dock – fenders protect boat (and dock) from damage forward spring line fenders stern line aft spring line bow line dock cleats

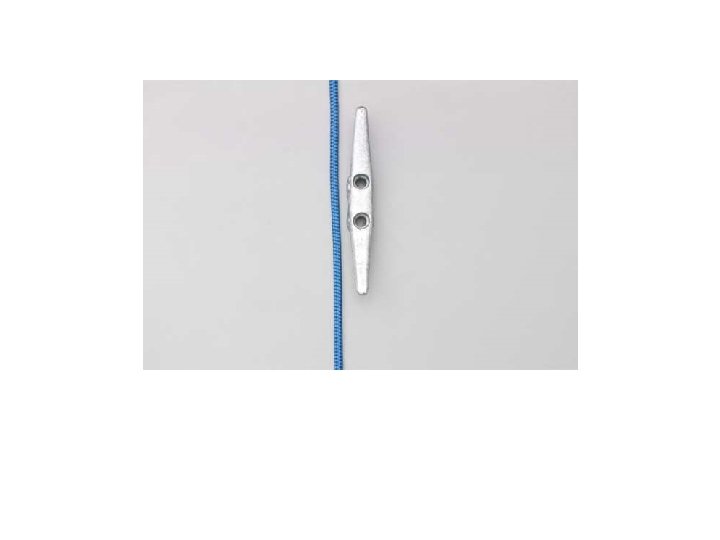
◊ Ropes & knots ◊ • knots you should know: – cleat hitch – bowline – figure-eight – clove hitch – reef (square) knot • app for phones and tablets: Knots 3 D (free) also: 101 knots. com animatedknots. com
 to tie")
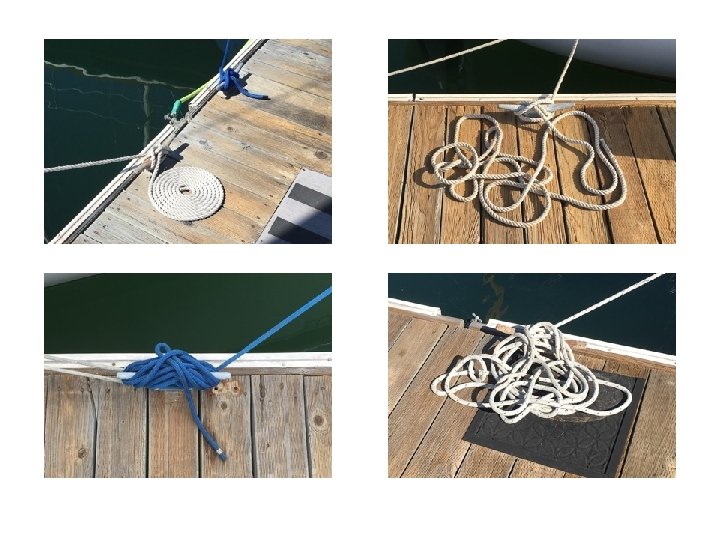
Cleat hitch to attach a line to the boat (halyards, sheets, …) to tie boat to dock won’t jam and easily removed (hitch: knot to tie a line to an object)

always bring the line under the far horn first!

then under the near horn

cross over the cleat do not start a second loop under the far horn – the line will jam!

then under the far horn

again across the cleat

make a loop with the tail end underneath!

slip the loop over the near horn of the cleat

pull tight note: you have two lines under and one over

Bowline to make a loop at the end of a line that won’t slip and is easily undone

loop may be empty or around something

make a small loop where the big loop will close on itself note: the free end goes over the standing line

bring the free end to the small loop

put the free end up through the small loop

then the free end goes under the standing line

the free end then goes back down through the small loop

pull tight

Figure 8 knot a stopper knot at the end of a line prevents the line which passes through a block from slipping back through the block there are other stopper knots – this is the simplest

end of line

make a small loop free end comes over standing line

free end goes under standing line

free end goes over then down through first loop pull tight looks sort of like a figure eight

Clove hitch to quickly attach a line to a pole or bar relies on friction may slip under load!

line & pole

line around pole

line crosses over itself

again around the pole
")
pass line under itself (under the cross-over)

pull tight

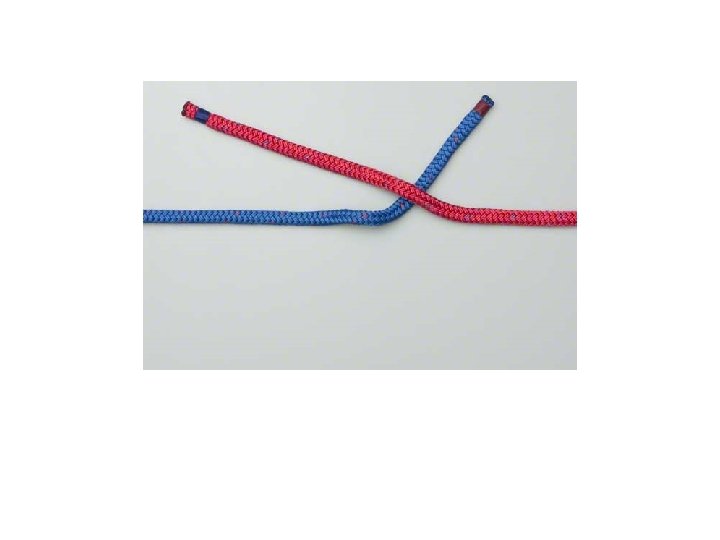
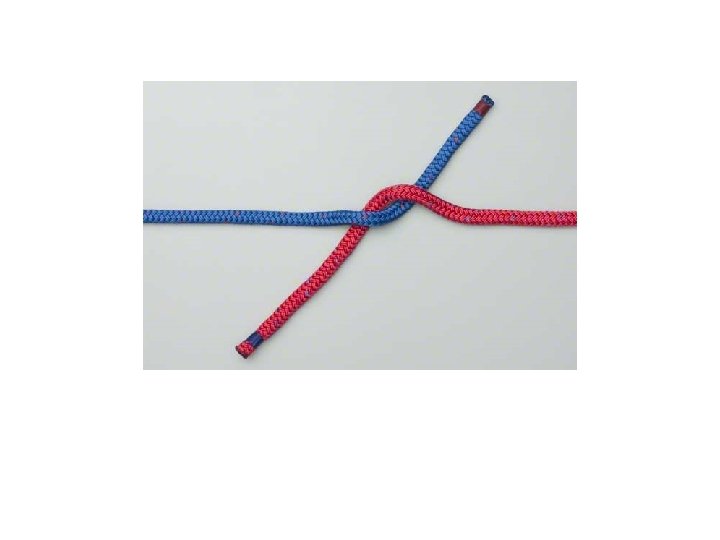
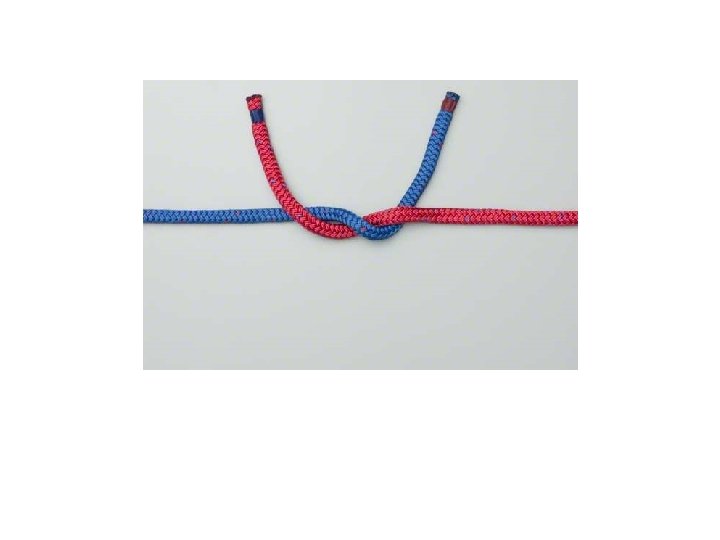
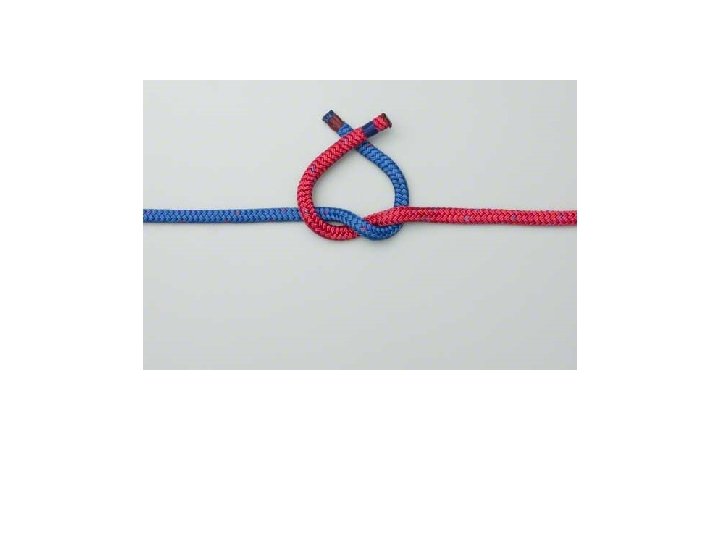
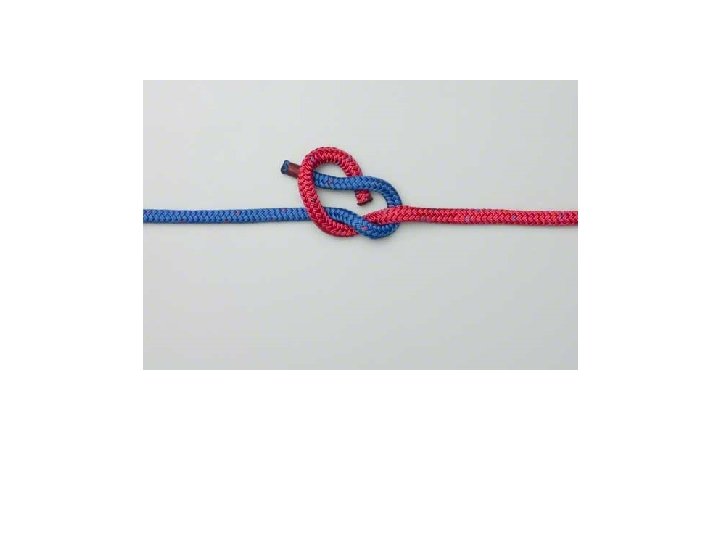
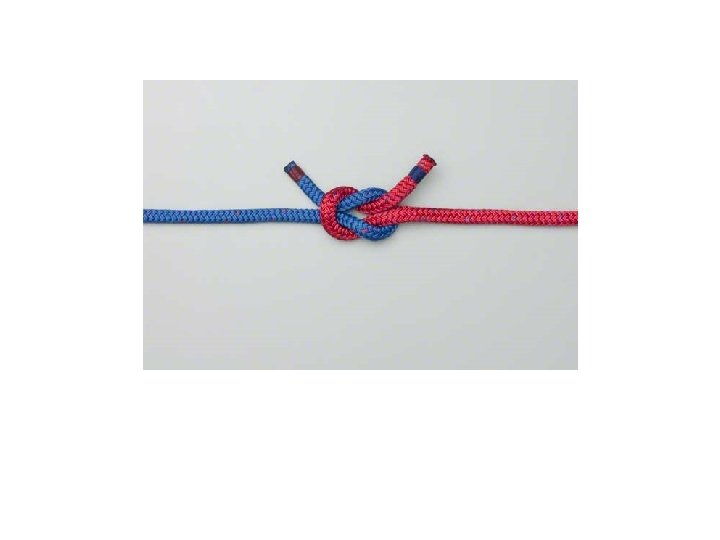
Reef knot a. k. a. square knot – Used for reefing a sail, tying packages, tying shoelaces, … i. e. , when there’s friction against an object – Do not use for tying two lines together! it can collapse under load – For joining two lines look up “bends” e. g. , sheet bend, fisherman’s knot, ashley bend, zeppelin bend, carrick bend, …

◊ Rules & safety ◊ • CA Boater Card program • Required equipment • Signs and signals • Meeting another boat Basic principles: – avoid injury – avoid collisions – avoid damage

California Boater Card • website: http: //www. californiaboatercard. com for information on how to get the card • online safety course and test (and $10 fee) • program overseen by CA State Parks Division of Boating and Waterways • courses and tests given by approved organizations • TPSC asks that you take the course and get the card before becoming a member • CA requires that all boaters 25 or under have the card by 1/1/19 (now); 35 or under by 1/1/20, etc.

Required equipment The Coast Guard requires: • a life jacket for each person on board – must be easily accessible – show everyone where the jackets are – must be worn by anyone under 13 • a throw-able floatation device – must be readily accessible • fire extinguisher • sound signal (horn, whistle, …) • proper lights when sailing between sunset and sunrise • a distress signal (flares, distress flag, flashlight, …) The TPSC boats also have • paddle, bucket, sponge, anchor, tool box, gas tank => do an inventory check each time you go out

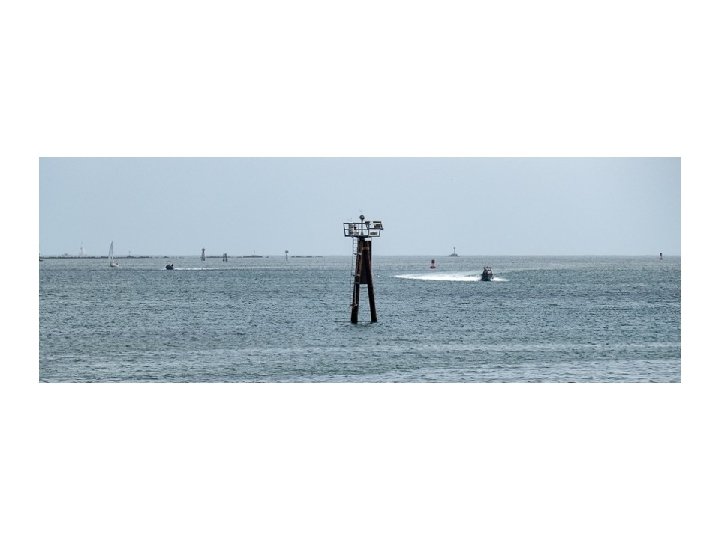
Buoys, channel marks, navigation aids • very important in San Diego Bay • marks provide information about – location of a safe channel – hazards – traffic control • learn the most basic marks: – cans, nuns, daymarks • Pay attention to warning signs (diamond shaped; on buoy or post) – e. g. , “shoal”

nuns nun buoys are: – red – pointy – even numbered – on the starboard (right) side when sailing inland from the sea mnemonic: “red right return”

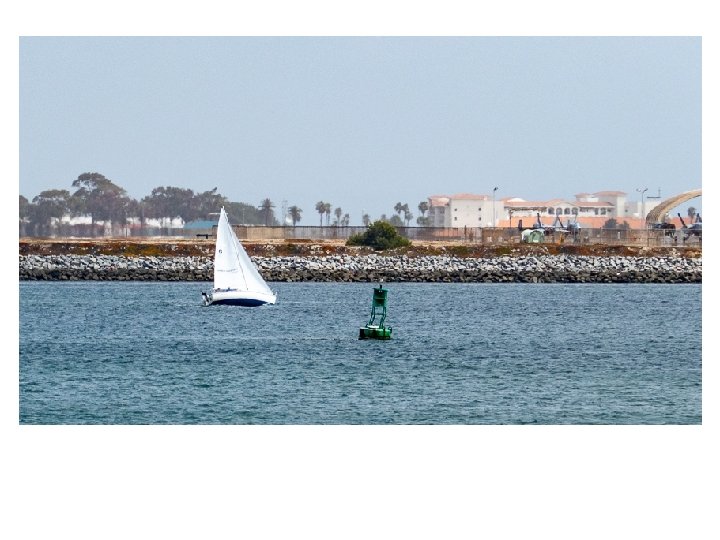
cans can buoys are: – green – flat-topped cylinders – odd numbered – on the port (left) side when sailing inland from the sea
")
to ocean inland marked channel (entrance to Shelter Island basin)

Daymarks daymarks are signs – either red, even numbered, triangular or green, odd numbered, square (depends on which side of channel it’s on) – mounted on pilings (posts)

Warnings slow – no wake

5 mph

Meeting another boat Some observations: • the rules refer to the “stand-on” vessel and the “give-way” vessel • referring to ”right-of-way” implies too much assertiveness • the stand-on vessel should hold its course and allow the give-way vessel to maneuver around it (except to avoid a collision)
: • do not assume: – the other guy")
Meeting another boat More observations (important): • do not assume: – the other guy is looking where he’s going – that he’s sober – that he knows the rules => it’s more important to keep safe and yield the “right-of-way” to the other boat than to be right and get in trouble => if a collision seems possible, signal your intentions by turning well in advance => Be generous, be kind
 (essentially based")
Order of precedence (who is the stand-on boat and who is give-way) (essentially based on maneuverability) • anything anchored, moored, disabled • large ships in a channel • large ships, generally • human-powered craft (kayaks, canoes, paddleboards, …) • sail boats • motor boats • personal watercraft (jet-skis, …) (a sail boat with its motor running is a motor boat – even with sails up)

motor boats meeting head-on The usual custom is to pass port-to-port

sailboat and motor boat meeting head-on how the rules say it should happen

sailboat and motor boat meeting head-on how the rules say it should happen wise move for sailboat is to bear off a bit

motor boats on a crossing path boat on left is give-way vessel boat on right is stand-on vessel
 boat on port tack is give-way vessel;")
sailboats head-on or crossing (upwind or downwind) boat on port tack is give-way vessel; sails behind other boat on starboard tack is stand-on vessel
 windward boat is give-way vessel")
sailboats crossing on the same tack (upwind or downwind) windward boat is give-way vessel – must head up or even tack leeward boat is stand-on vessel
 overtaken boat is stand-on vessel overtaking boat")
one boat overtaking another (motor or sail) overtaken boat is stand-on vessel overtaking boat is give-way vessel

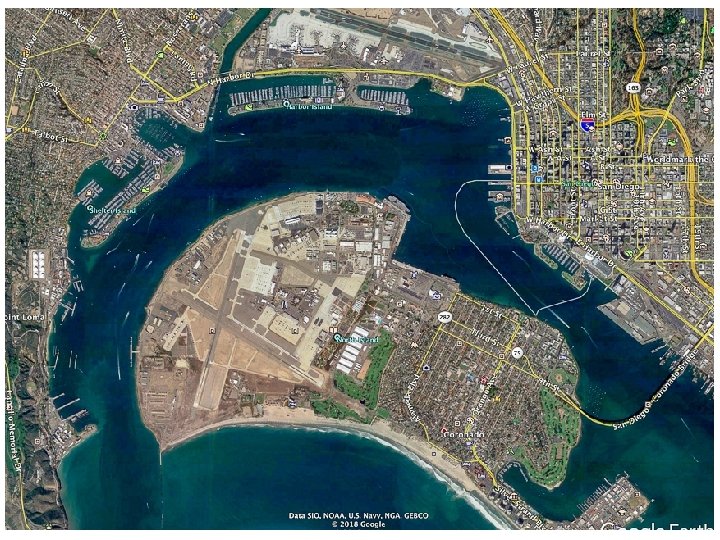
Big boats in San Diego Bay • There’s a channel down the middle of San Diego Bay – marked by red and green buoys – dredged deep enough for large ships • Small boats can sail outside of the channel • Always know whether you are in the channel – check the buoys – keep a lookout for large ships • 5 horn blasts ( • • • ) mean “you are in my way” – look around to check whether it’s meant for you – get out of the channel a. s. a. p. • Tug boats and tour boats don’t stay in the channel – be aware of them

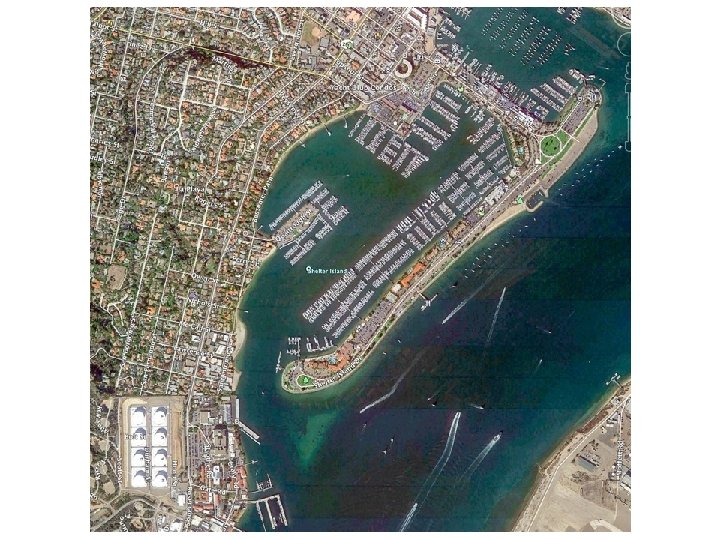
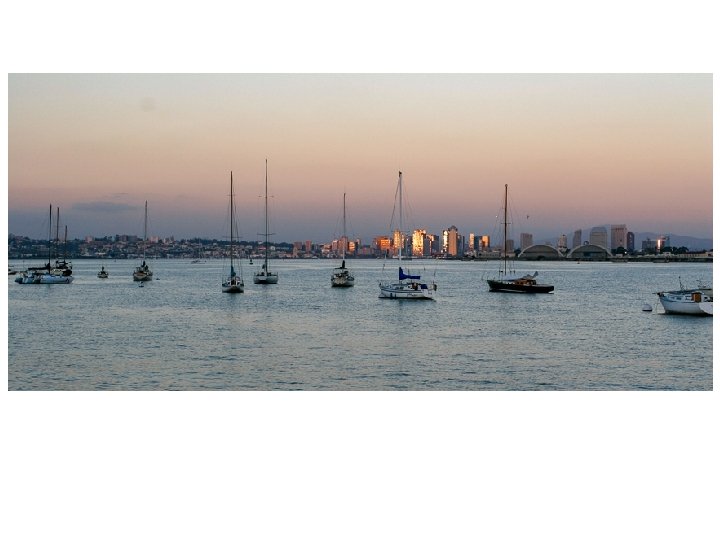
◊ Local knowledge ◊ • winds • tides • a brief tour of San Diego Bay

winds • winds are generally from the west to north-west • San Diego winds are relatively light – more than 12 -14 knots is rare – small white-caps at this wind speed • usually calm-to-light before noon and after 6: 00 pm • check National Weather Service website – go to weather. gov and enter san diego, ca forecast at SD airport – for details, click hourly weather forecast at bottom

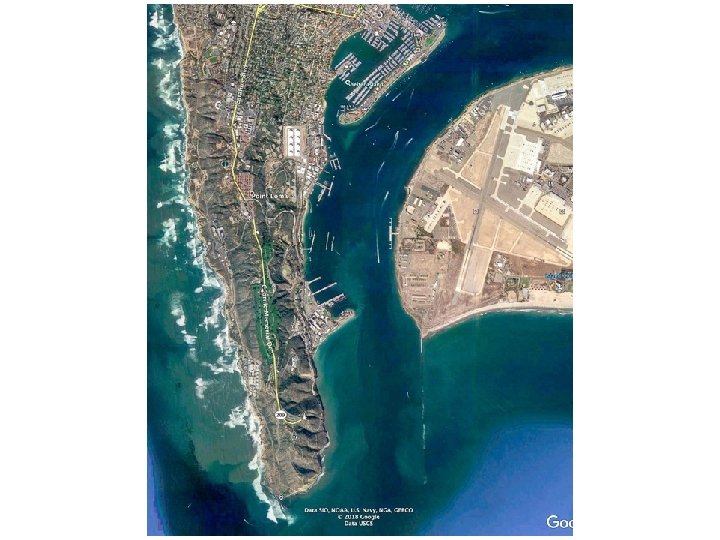
tides • two high and two low tides each day – 6 -7 hours from high to low (or low to high) • number is relative to m. l. l. t. (mean-low-tide) – this is the depth given on charts • largest swing around new and full moon – occasionally as much as 9 feet (at entrance to Shelter Island basin) • many tide apps; I use Tide. Graph. Pro • current can be as much as 2 knots in SD Bay – sometimes not enough wind to move boat against it – greatest current at and south of Ballast Point • before going out, check tide and wind forecast!

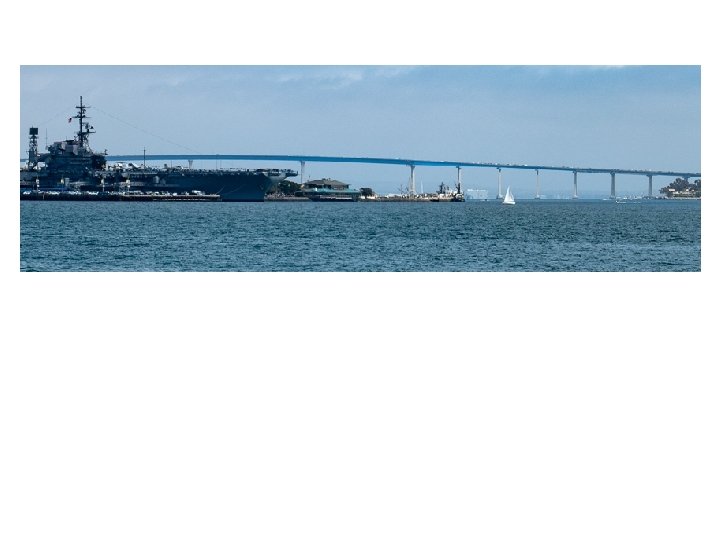
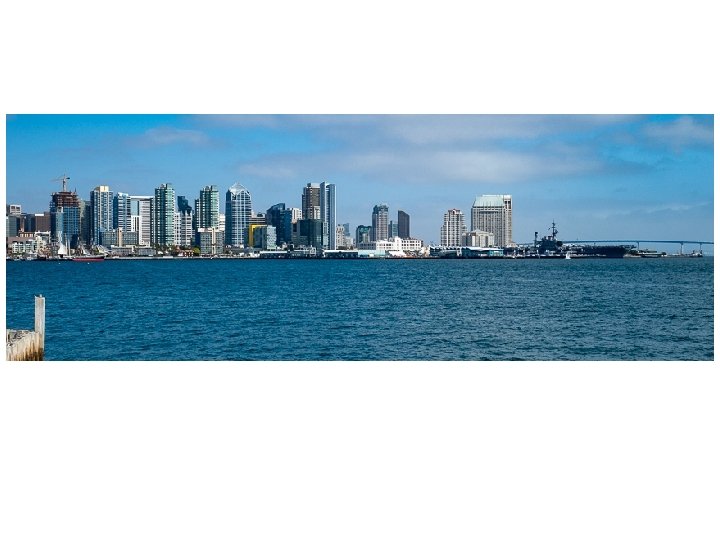
tour

N 5 4 m s 3 i l 2 e 1 0

3. 0 5. 9 1. 5

charts. noaa. gov/PDFs/18773. pdf

prevailing wind

prevailing wind

prevailing wind
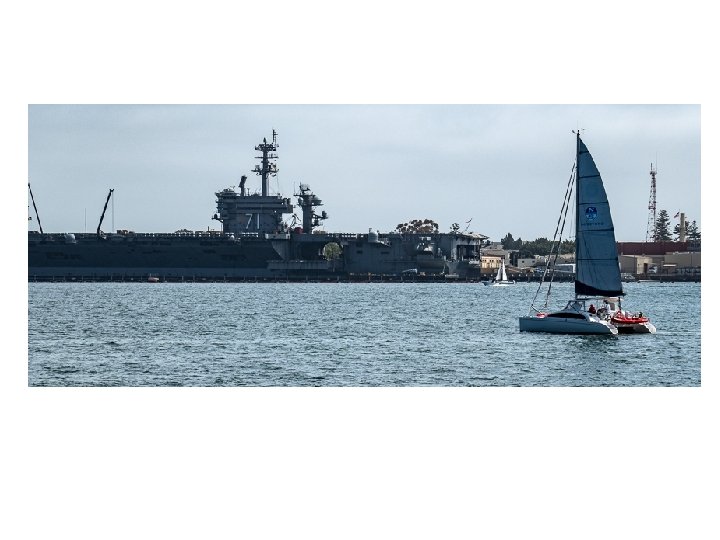
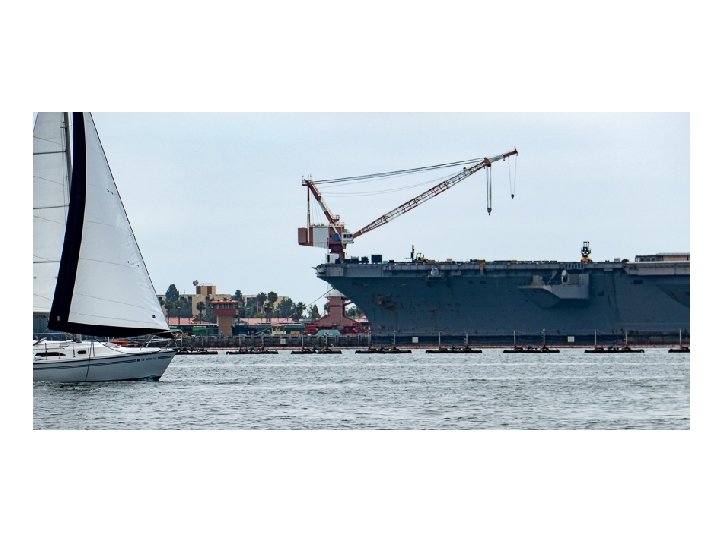

the navy stops for gas

Thank you for sticking with it Sail fast Sail safe Enjoy yourself Join the club
- Slides: 181