Interactive Notebook Setup AN INTRODUCTION First Things First

Interactive Notebook Set-up AN INTRODUCTION

First Things First! Number your pages Start by numbering the pages in your interactive notebook. Number the outer, upper corner of every page, so if you were to flip through the pages quickly with your thumb you would see every page number. Refer to the picture below.

Number the outer, upper corner

Second… The Cover Label the front cover With permanent markers, students write your first and last names, class name, class period, year, and grade on the cover.

Third… The Sides Also, with the permanent markers, write your first and last names along each side of the composition book. This will help you find your interactive notebooks much faster at the start of class.

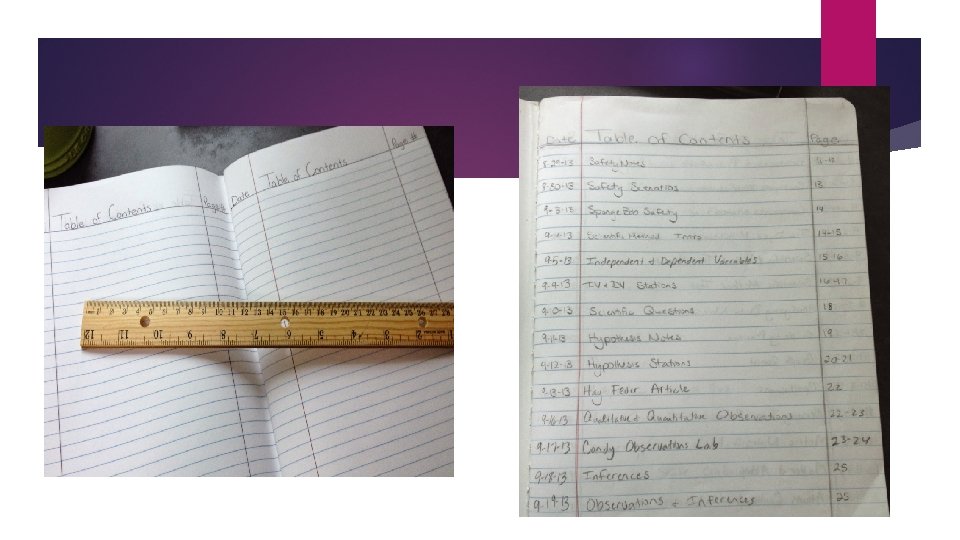
Fourth… Table of Contents Next you are ready to create the table of contents. Use the front and back of the first five sheets (pages 1 -10). You should make three columns: a column for the date, title, and page number of each entry.

Fifth… Glossaries To label the glossary, find the last 7 pages of your notebook. Next, you will label two letters per page. Label the top of each page “Glossary. ” Then divide the page into two even boxes. Write one letter in the corner of each box.

YOUR DONE! Yeah! Congratulations your notebook is ready for class!!
- Slides: 9