insmod module ko module parameters Load the module
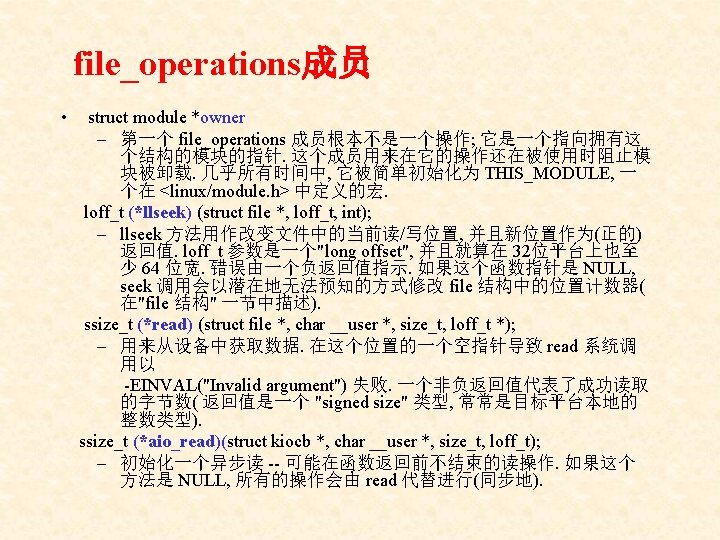
![③ 模块相关命令 • insmod <module. ko> [module parameters] – Load the module – 注意,只有超级用户才能使用这个命令](https://slidetodoc.com/presentation_image_h2/a948ae69f6d504220f85a747d70ff516/image-7.jpg "③ 模块相关命令 • insmod <module. ko> [module parameters] – Load the module – 注意,只有超级用户才能使用这个命令")
 #include <linux/kernel. h> #include <linux/module. h> #include <linux/init. h> static int")


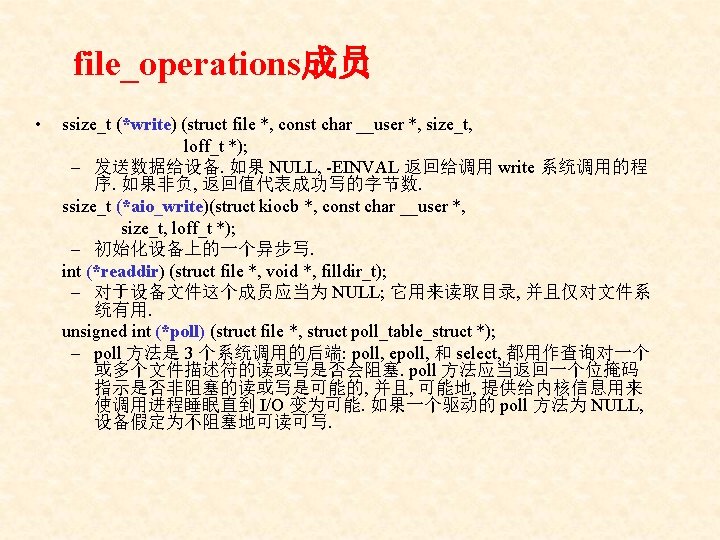
![8. 4 Linux字符设备驱动开发 • 应用程序如何使用字符设备, 一个例子 static char buf[1024]; int main(void) { int fd,](https://slidetodoc.com/presentation_image_h2/a948ae69f6d504220f85a747d70ff516/image-30.jpg "8. 4 Linux字符设备驱动开发 • 应用程序如何使用字符设备, 一个例子 static char buf[1024]; int main(void) { int fd,")

; 您事先知道你需要哪个设备编号,")
 注册 include <linux/fs. h> int register_chrdev(unsigned int major,")
 注册 include <linux/cdev. h> struct cdev *cdev_alloc(void); void")


 ((p << GPIO_PORT_SHIFTT) | (o << GPIO_OFS_SHIFT)) #define GRAB_MODE(x) #define GRAB_PULLUP(x)")
 ({ GPUP(GRAB_PORT((x))) &= ~(1 << GRAB_OFS((x))); GPUP(GRAB_PORT((x))) |= (GRAB_PULLUP((x)) <<")
 ((GPDAT(GRAB_PORT((x))) & (1<<GRAB_OFS((x)))) >> GRAB_OFS((x))) #define read_gpio_reg(x) GPDAT(GRAB_PORT((x))) #define write_gpio_bit(x, v)")

 { printk(DEVICE_NAME \" can't register major numbern\"); /*注册失� ,� 出")


; if (fd < 0) { perror(\"open device leds\"); exit(1); } ioctl(fd, on,")
- Slides: 75
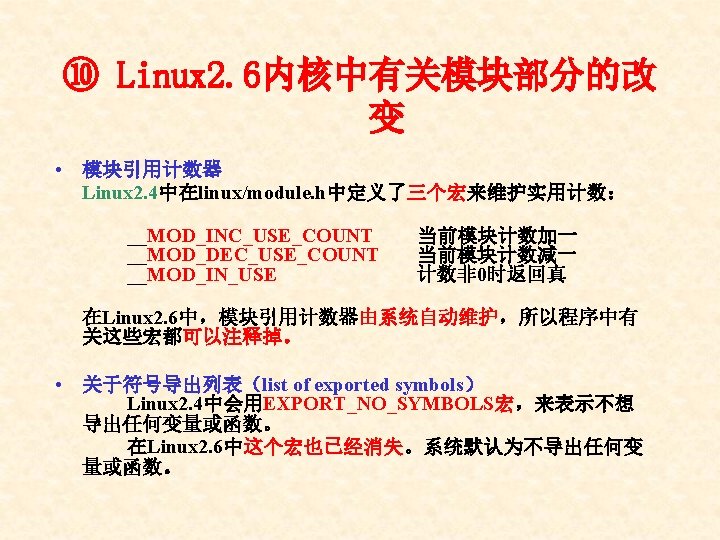
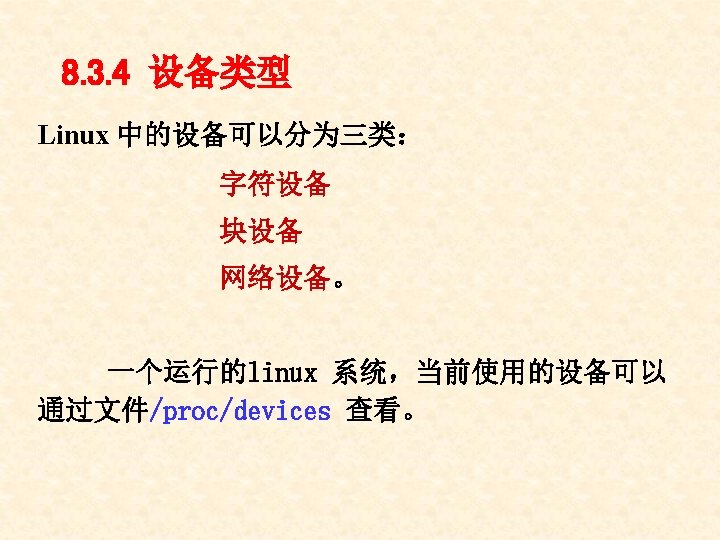
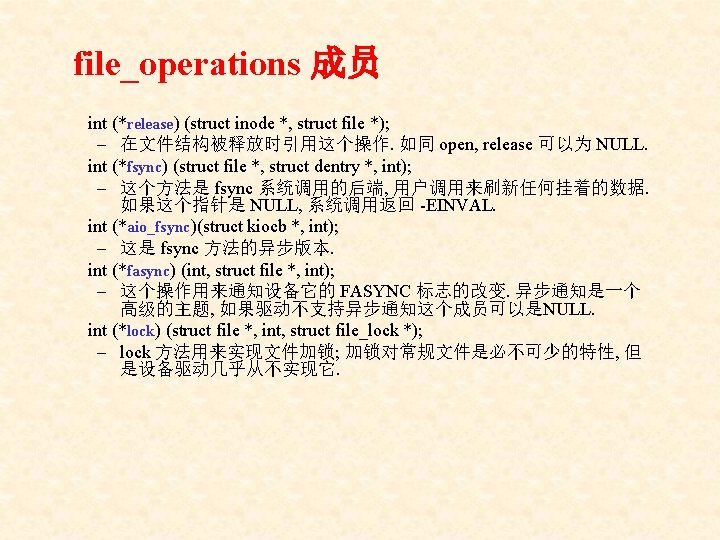
③ 模块相关命令 • insmod <module. ko> [module parameters] – Load the module – 注意,只有超级用户才能使用这个命令 • rmmod – Unload the module • lsmod – List all modules loaded into the kernel –这个命令和cat /proc/modules等价 • modprobe [ r] <module name> – – Load the module specified and modules it depends
⑤ 最简单的内核模块例子(hello world) #include <linux/kernel. h> #include <linux/module. h> #include <linux/init. h> static int __init hello_init(void) { printk(KERN_INFO "Hello worldn"); return 0; } static void __exit hello_exit(void) { printk(KERN_INFO "Goodbye worldn"); } module_init(hello_init); module_exit(hello_exit);
⑥ 编译内核模块 • Makefile文件 obj m : = hello. o all: make C /lib/modules/$(shell uname r)/build M=$(shell pwd) modules clean: make C /lib/modules/$(shell uname r)/build M=$(shell pwd) clean • Module includes more files obj m: =hello. o hello objs : = a. o b. o
⑦ 装载和卸载模块 • 相关命令 –lsmod –insmod hello. ko –rmmod hello. ko
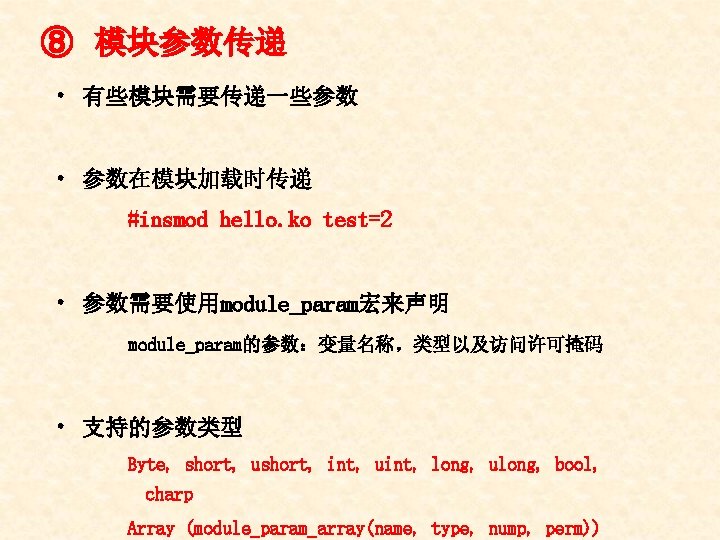
#include <linux/kernel. h> #include <linux/module. h> #include <linux/init. h> #include <linux/moduleparam. h> static int test; module_param(test, int, 0644); static int __init hello_init(void) { printk(KERN_INFO “Hello world test=%d n” , test); return 0; } static void __exit hello_exit(void) { printk(KERN_INFO "Goodbye worldn"); } MODULE_LICENSE("GPL"); MODULE_DESCRIPTION("Test"); MODULE_AUTHOR("xxx"); module_init(hello_init); module_exit(hello_exit);
cat /proc/devices
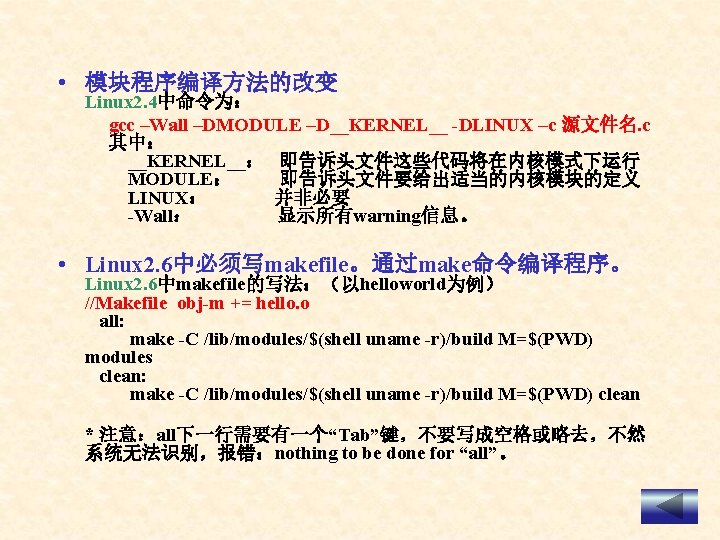
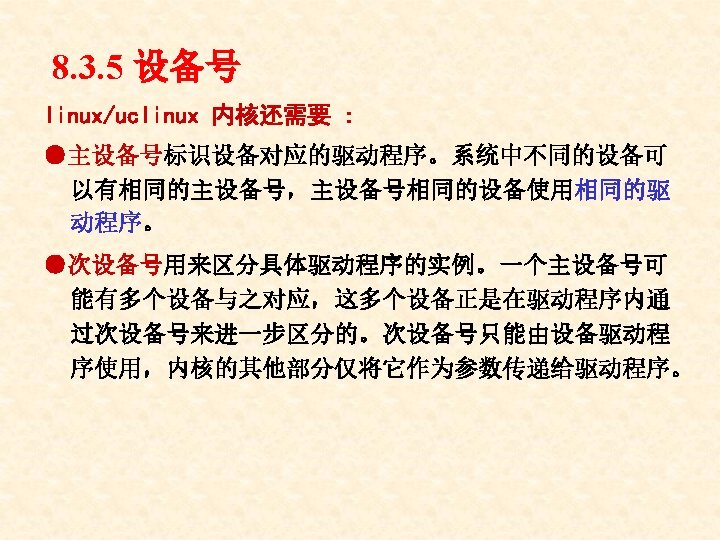
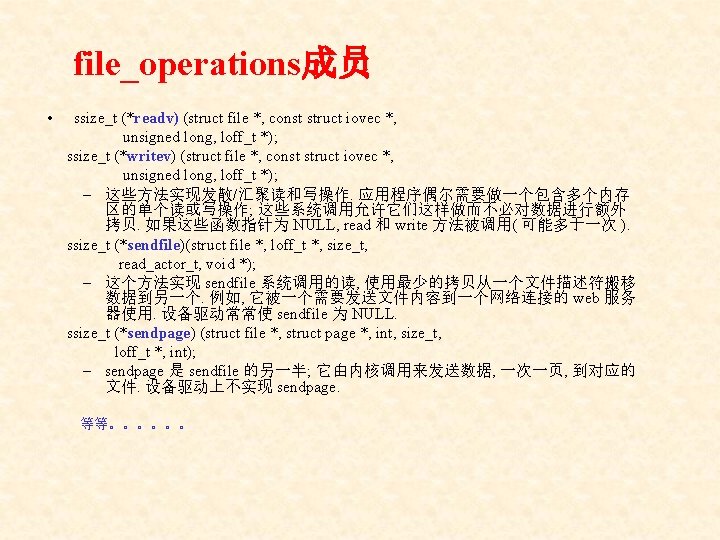
8. 4 Linux字符设备驱动开发 • 应用程序如何使用字符设备, 一个例子 static char buf[1024]; int main(void) { int fd, size = 1024; fd = open(“/dev/fb 0”, O_RDWR); if(fd > 0) { read(fd, buf, size); … write(fd, buf, size); } return 0; }
• 字符设备通过文件系统中的名子来存取. 那些名子称为 文件系统的特殊 • 文件, 或者设备文件, 一般放在/dev目录下 #ls –l /dev/ crw rw rw 1 root 1, 5 Apr 11 2002 zero crw rw rw 1 root 1, 3 Apr 11 2002 null crw 1 root 4, 1 Oct 28 03: 04 tty 1 crw rw rw 1 root tty 4, 64 Apr 11 2002 ttys 0 crw rw 1 root uucp 4, 65 Apr 11 2002 tty. S 1 crw w 1 vcsa tty 7, 1 Apr 11 2002 vcs 1 crw w 1 vcsa tty 7, 129 Apr 11 2002 vcsa 1 其中, 类似 4, 1这样的数字叫设备的主, 次编号
分配和释放设备编号 • #include <linux/fs. h> int register_chrdev_region(dev_t first, unsigned int count, char *name); 您事先知道你需要哪个设备编号, 但不知道是否被使用, 调 用该函数 #include <linux/fs. h> int alloc_chrdev_region(dev_t *dev, unsigned int firstminor, unsigned int count, char *name); 您由系统动态分配设备编号, 用该函数 在设备注册后, 您的设备号将出现在/proc/devices中和/sys 中 释放以上两个函数分配的设备编号 void unregister_chrdev_region(dev_t first, unsigned int count); www. gdemb. com
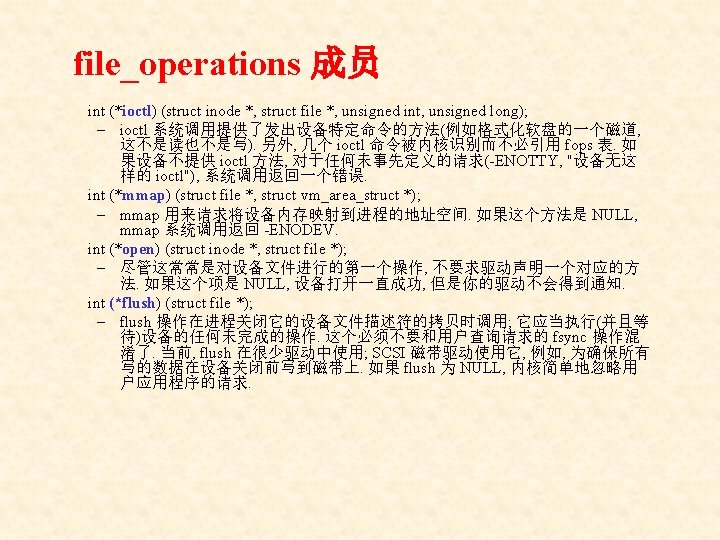
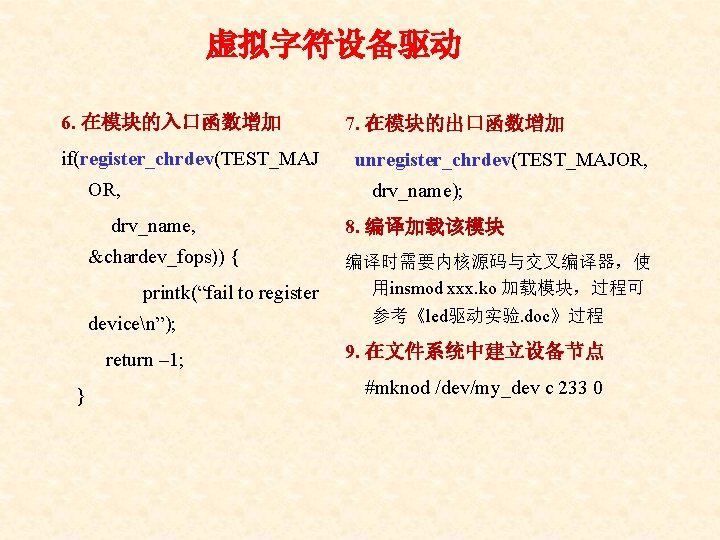
字符设备注册 • 老方法: (Linux 2. 4及其之前版本) 注册 include <linux/fs. h> int register_chrdev(unsigned int major, const char *name, struct file_operations *fops); 注销 int unregister_chrdev(unsigned int major, const char *name); 一旦你的驱动注册成功, 系统就可以对你的设备进行 操作, 所以 在注册前, 你需要把你的fops结构准备好.
字符设备注册 • 新方法: (Linux 2. 6及其之后版本) 注册 include <linux/cdev. h> struct cdev *cdev_alloc(void); void cdev_init(struct cdev *dev, struct file_operations *fops); int cdev_add(struct cdev *dev, dev_t num, unsigned int count); 注销 void cdev_del(struct cdev *dev); cdev 结构管理的函数, 它代表内核中的字符设备 在注册前, 你需要把你的fops结构准备好
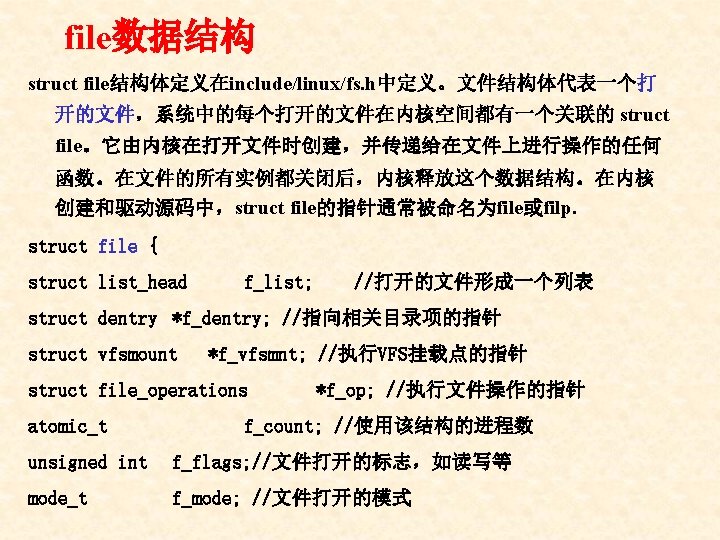
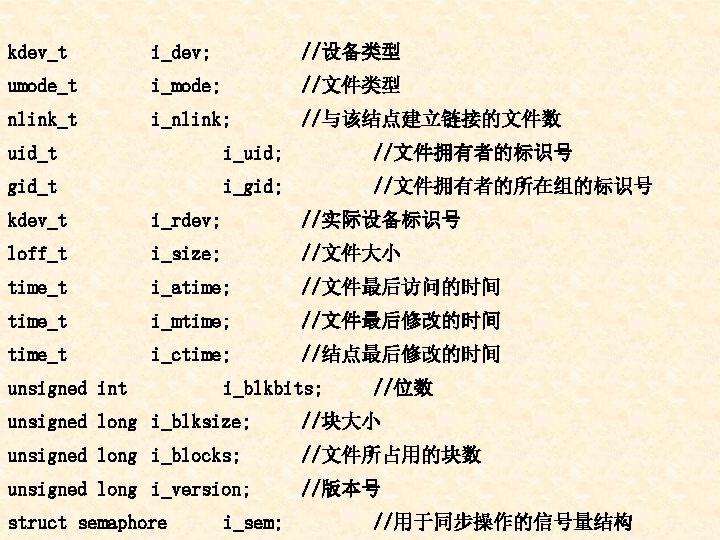
loff_tf_pos; //文件的当前位置 unsigned long f_reada, f_ramax, f_raend, f_ralen, f_rawin; /*预读标志、要预读的最多页面数、上次预读后的文件指针、预 读的字节数以及预读的页面数*/ struct fown_structf_owner; //文件的所有者 unsigned int f_uid, f_gid; //用户的UID和GID int f_error; unsigned long void struct kiobuf long }; f_version; *private_data; *f_iobuf; f_iobuf_lock; //网络写操作错误码 //版本号 //tty驱动程序使用
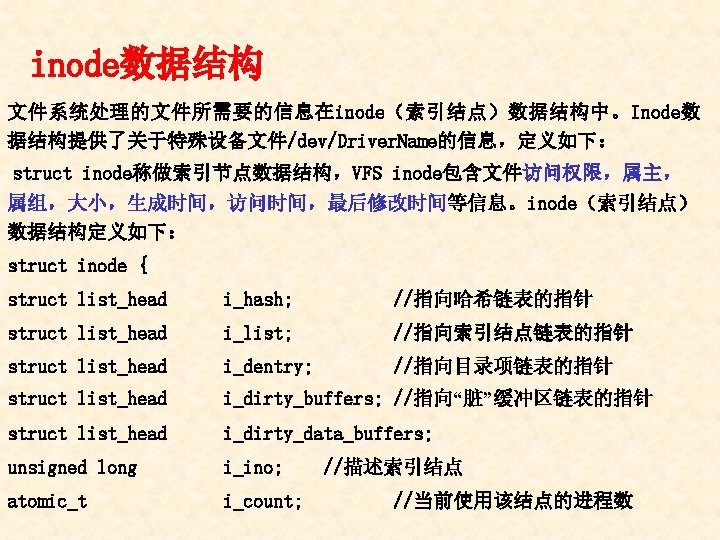
struct semaphore i_zombie; //索引结点的信号量 struct inode_operations *i_op; struct file_operations *i_fop; //指向文件操作的指针 struct super_block *i_sb; //索引结点操作 //指向读文件系统超级块指针 wait_queue_head_t i_wait; //指向索引结点等待队列的指针 struct file_lock *i_flock; //指向文件加锁链表的指针 struct address_space *i_mapping; //把所有可交换的页面管理起来 struct address_space i_data; struct dquot *i_dquot[MAXQUOTAS]; struct list_head i_devices; struct pipe_inode_info struct block_device struct char_device unsigned long //数据 *i_pipe; *i_bdev; *i_cdev; i_dnotify_mask; //索引结点的磁盘限额 //设备文件形成的链表 //指向管道文件 //指向块设备文件的指针 //指向字符设备文件的指针
struct dnotify_struct *i_dnotify; unsigned long i_state; //索引结点状态标志 unsigned int i_flags; unsigned char i_sock; atomic_t i_writecount; //写进程的引用计数 unsigned int i_attr_flags; //文件创建标志 u 32 i_generation; //保留 //文件系统的安装标志 //是否是套接字文件 union { struct minix_inode_info minix_i; …… struct jffs 2_inode_info void } u; }; *generic_ip; jffs 2_i;
与应用程序交换数据 • 交换的方式有很多, 最直接的方法是在struct file_operations 中的read/write方法中与用户空间的buffer进行数据的交换, 但它们不能进行类似于memcpy这样的拷贝, 而是使用内核提 供的接口来进行: #include <asm/uaccess. h> unsigned long copy_to_user(void __user *to, const void *from, unsigned long count); unsigned long copy_from_user( void *to, const void __user *from, unsigned long count);
虚拟字符设备驱动 实验从Hello world内核模块修改过来 1. 增加头文件和宏定义 #include <linux/fs. h> #include <asm/uaccess. h> 3. 增加open/release函数 static int test_chardev_open(struct inode *inode, struct file *file) { printk("test_chardev_open. . . n"); #define TEST_MAJOR 233 return 0; } 2. 增加静态变量 static char drv_name[] = “test”; static int test_chardev_release(struct static char tmpbuf[1024]; inode *inode, struct file *file) { static struct file_operations chardev_fops ={ printk("test_chardev_release. . . n". owner = THIS_MODULE, ); . read = test_chardev_read, return 0; }. write = test_chardev_write, . open = test_chardev_open, . release = test_chardev_release, }; 注意要让函的声明在结构前可见
虚拟字符设备驱动 4. 增加read函数 static ssize_t test_chardev_read (struct file *file, char __user *buf, size_t count, loff_t *offset) { if(count < 1024) { if(copy_to_user(buf, tmpbuf, count)) { printk(“copy to user failn”); return –EFAULT; } } else { printk(“buffer can not > 1024n”); return –EINVAL; } return count; } 5. 增加write函数 static ssize_t test_chardev_write(struct file *file, const char __user *buf, size_t count, loff_t *offset) { if(count < 1024) { if(copy_from_user(tmpbuf, count)) { printk(“copy from user failn”); return –EFAULT; } } else { printk(“buffer can not > 1024n”); return –EINVAL; } return count; }
虚拟字符设备驱动 • 测试应用程序test. c #include <stdio. h> #include <sys/types. h> #include <fcntl. h> #include <string. h> static char sz[] = “this is a test stringn”; staitc char readback[1024]; int main(void) { int fd; fd = open(“/dev/my_dev”, O_RDWR); if(fd > 0) { printf(“I am writing my device…n”); write(fd, sz, strlen(sz) + 1); read(fd, readback, strlen(sz) + 1); printf(“the string I read back is : %sn”, readback); } return 0; } 编译: arm linux gcc –o test. c, 运行 , 观察结果
在开发系统的安装目录下的include/asm-arm/arch-s 3 c 2410/s 3 c 2410. h文件中定 义了有关对各寄存器操作的宏:. . . #define GPIO_CTL_BASE 0 x 56000000 /*IO口控制寄存器及地址*/ #define b. GPIO(p) __REG(GPIO_CTL_BASE + (p))//寄存器地址0 X 50000000+p. . . #define GPBCON b. GPIO(0 x 10) /*寄存器地址0 X 56000010*/ #define GPBDAT b. GPIO(0 x 14) /*寄存器地址0 X 56000014*/ #define GPBUP b. GPIO(0 x 18) /*寄存器地址0 X 56000018*/ . . . #define GPCON(x) __REG 2(0 x 56000000, (x) * 0 x 10)//功能�� 寄存器地址 #define GPDAT(x) __REG 2(0 x 56000004, (x) * 0 x 10)//数据寄存器地址 #define GPUP(x) 器地址*/ __REG 2(0 x 56000008, (x) 0 x 10)//上 * 拉 �阻 �置 寄 存 . . .
#define GPIO_OFS_SHIFT 0 #define GPIO_PORT_SHIFTT 8 #define GPIO_PULLUP_SHIFT 16 #define GPIO_MODE_SHIFT 24 #define GPIO_OFS_MASK 0 x 000000 ff #define GPIO_PORT_MASK 0 x 0000 ff 00 #define GPIO_PULLUP_MASK 0 x 00 ff 0000 #define GPIO_MODE_MASK 0 xff 000000 #define GPIO_MODE_IN (0 << GPIO_MODE_SHIFT) #define GPIO_MODE_OUT (1 << GPIO_MODE_SHIFT) #define GPIO_MODE_ALT 0 (2 << GPIO_MODE_SHIFT) #define GPIO_MODE_ALT 1 (3 << GPIO_MODE_SHIFT) #define GPIO_PULLUP_EN (0 << GPIO_PULLUP_SHIFT) #define GPIO_PULLUP_DIS (1 << GPIO_PULLUP_SHIFT) #define PORTA_OFS 0 #define PORTB_OFS 1 …
#define MAKE_GPIO_NUM(p, o) ((p << GPIO_PORT_SHIFTT) | (o << GPIO_OFS_SHIFT)) #define GRAB_MODE(x) #define GRAB_PULLUP(x) (((x) & GPIO_MODE_MASK) >> GPIO_MODE_SHIFT) (((x) & GPIO_PULLUP_MASK) >> GPIO_PULLUP_SHIFT) #define GRAB_PORT(x) (((x) & GPIO_PORT_MASK) >> GPIO_PORT_SHIFTT) #define GRAB_OFS(x) (((x) & GPIO_OFS_MASK) >> GPIO_OFS_SHIFT) /*端口参数� 置宏*/ #define set_gpio_ctrl(x) ({ GPCON(GRAB_PORT((x))) &= ~(0 x 3 << (GRAB_OFS((x))*2)); GPCON(GRAB_PORT(x)) |= (GRAB_MODE(x) << (GRAB_OFS((x))*2)); GPUP(GRAB_PORT((x))) &= ~(1 << GRAB_OFS((x))); GPUP(GRAB_PORT((x))) |= (GRAB_PULLUP((x)) << GRAB_OFS((x))); })
#define set_gpio_pullup(x) ({ GPUP(GRAB_PORT((x))) &= ~(1 << GRAB_OFS((x))); GPUP(GRAB_PORT((x))) |= (GRAB_PULLUP((x)) << GRAB_OFS((x))); }) #define set_gpio_pullup_user(x, v) ({ GPUP(GRAB_PORT((x))) &= ~(1 << GRAB_OFS((x))); GPUP(GRAB_PORT((x))) |= ((v) << GRAB_OFS((x))); }) #define set_gpio_mode(x) ({ GPCON(GRAB_PORT((x))) &= ~(0 x 3 << (GRAB_OFS((x))*2)); GPCON(GRAB_PORT((x))) |= (GRAB_MODE((x)) << (GRAB_OFS((x))*2)); }) #define set_gpio_mode_user(x, v) ({ GPCON(GRAB_PORT((x))) & = ~(0 x 3 << (GRAB_OFS((x))*2)); GPCON(GRAB_PORT((x))) |= ((v) << (GRAB_OFS((x))*2)); }) #define set_gpio. A_mode(x) ({ GPCON(GRAB_PORT((x))) &= ~(0 x 1 << GRAB_OFS((x))); GPCON(GRAB_PORT((x))) |= (GRAB_MODE((x)) << GRAB_OFS((x))); })
#define read_gpio_bit(x) ((GPDAT(GRAB_PORT((x))) & (1<<GRAB_OFS((x)))) >> GRAB_OFS((x))) #define read_gpio_reg(x) GPDAT(GRAB_PORT((x))) #define write_gpio_bit(x, v) ({ GPDAT(GRAB_PORT((x))) &= ~(0 x 1 << GRAB_OFS((x))); GPDAT(GRAB_PORT((x))) |= ((v) << GRAB_OFS((x))); }) #define write_gpio_reg(x, v) (GPDAT(GRAB_PORT((x))) = (v)) … #define GPIO_B 7 MAKE_GPIO_NUM(PORTB_OFS, 7) #define GPIO_B 8 MAKE_GPIO_NUM(PORTB_OFS, 8) #define GPIO_B 9 MAKE_GPIO_NUM(PORTB_OFS, 9) #define GPIO_B 10 … MAKE_GPIO_NUM(PORTB_OFS, 10)
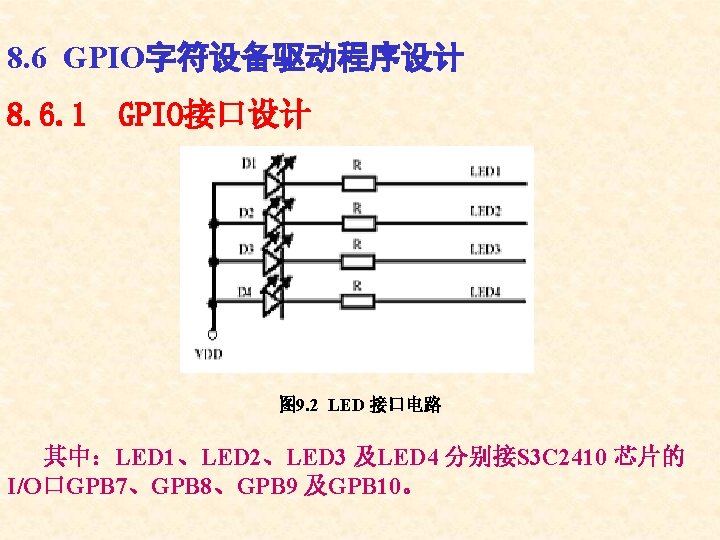
4. 6. 2 LED驱动程序代码分析 1. 系�� 源和宏定� #define DEVICE_NAME #define LED_MAJOR 231 "leds" /*定� led �� 的名字*/ /*定� led �� 的主�� 号*/ static unsigned long led_table []={ GPIO_B 0, /*I/O 方式led ���� 的 硬件� 源*/ GPIO_B 1, GPIO_B 6, GPIO_B 5, GPIO_B 7, GPIO_B 8, GPIO_B 9, GPIO_B 10, };
if (ret < 0) { printk(DEVICE_NAME " can't register major numbern"); /*注册失� ,� 出 提示信息*/ return ret; } devfs_handle = devfs_register(NULL, DEVICE_NAME, DEVFS_FL_DEFAULT, LED_ MAJOR, 0, S_IFCHR | S_IRUSR | S_IWUSR, &matrix 4_leds_fops, NULL); /*使用宏� 行端口初始化,set_gpio_ctrl 和write_gpio_bit 均� 宏定� */ for (i = 0; i < 8; i++) { set_gpio_ctrl (led_table[i] | GPIO_PULLUP_EN | GPIO_MODE_OUT); write_gpio_bit(led_table[i], 1); /*使I/O端口�� 的LED熄� */ } printk(DEVICE_NAME " initializedn"); return 0; }
5.ioctl入口,执行读、写之外的操作,通过参数cmd设定命令参数。 static int leds_ioctl(struct inode *inode, struct file *file, unsigned int cmd, unsigned long arg) { switch(cmd) { case 0: case 1: if (arg > 8) { return -EINVAL; } write_gpio_bit(led_table[arg], !cmd); default: return -EINVAL; } }
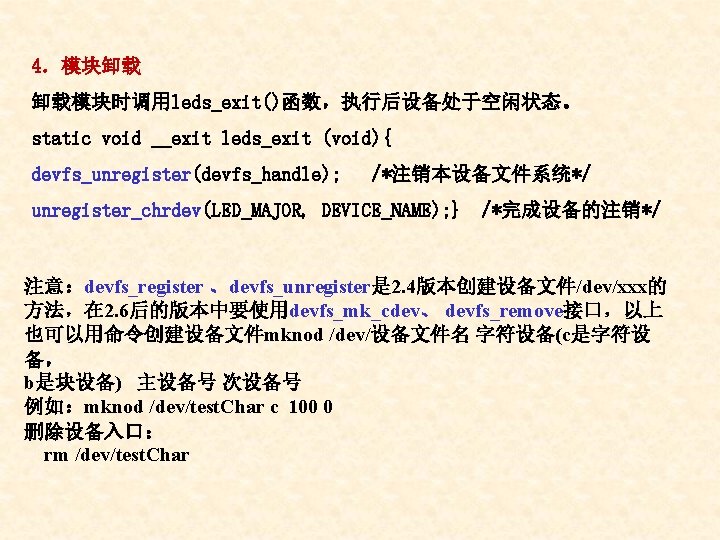
6.文件系统接口定义 static struct file_operations leds_fops = { owner: THIS_MODULE, ioctl: leds_ioctl, }; 7. 模块化 module_init(leds_init); module_exit(leds_exit); 用insmod命令加载模块时,调用module_init();用rmmod命令来卸载模块 时,会调用module_exit()函数。
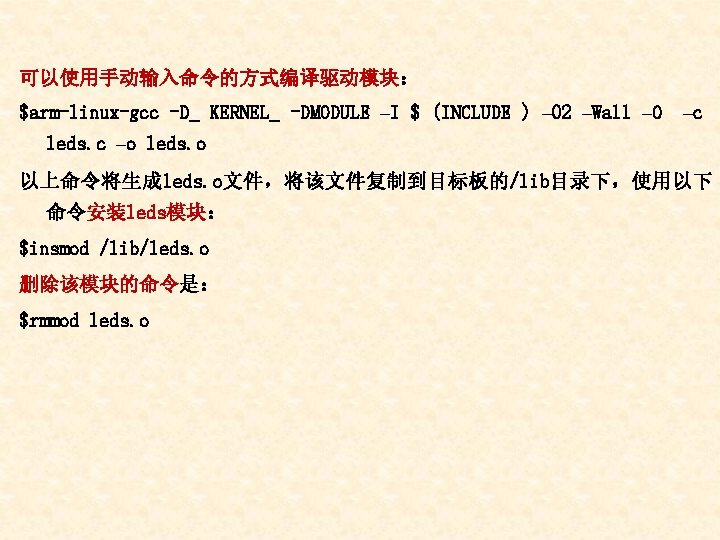
8. 6. 3 LED驱动程序加载及测试 1.LED驱动程序加载 首先编写Makefile文件,如下所示: INCLUDE = /usr/linux/include EXTRA_CFLAGS = -D_ KERNEL_ -DMODULE –I $ (INCLUDE ) – 02 –Wall –O all: leds. o ledtest leds. o: leds. c arm-linux-gcc $(CFLAGS )$( EXTRA_CFLAGS) –c leds. c –o leds. o ledtest: ledtest. c arm-linux-gcc –g led. c –o ledtest clean: rm –rf leds. o rm –rf ledtest 对Makefile文件执行make命令后,可以生成驱动模块leds和测试程序ledtest了。
LED驱动程序测试: #include <stdio. h> #include <stdlib. h> #include <unistd. h> #include <sys/ioctl. h> int main(int argc, char **argv) {int on; int led_no; int fd; if (argc != 3 || sscanf(argv[1], "%d", &led_no) != 1 || sscanf(argv[2], "%d", &on) != 1 || on < 0 || on > 1 || led_no < 0 || led_no > 3) { fprintf(stderr, "Usage: ledtest led_no 0|1n"); exit(1);
fd=open(“/dev/leds”, 0); if (fd < 0) { perror("open device leds"); exit(1); } ioctl(fd, on, led_no); close(fd); return 0; } 应用程序编译正确后如输入: $ledtest 则提示:Usage: ledtest led_no 0|1 若输入:$ledtest 2 1 则点亮LED 3。