Initial ideas Using Power PointWord to design hats


- Slides: 10
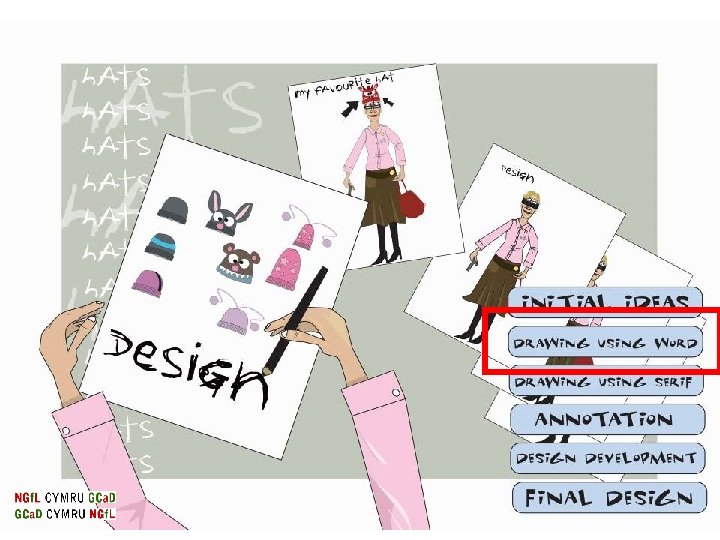
Initial ideas: Using Power. Point/Word to design hats Examples of Power. Point drawn images
Initial ideas: Using Power. Point/Word to design hats A quick introduction to using Power. Point for drawing To enable you to draw using Power. Point/Word – the Drawing toolbar needs to be open. To open the Drawing toolbar – click on the View toolbar - then Toolbars and finally select Drawing from this menu. Drawing tool bar
Initial ideas: Using Word/Power. Point to design hats Main drawing features Auto. Shapes menu The Auto. Shapes menu contains a number of features to help you draw designs : Lines - a range of lines styles can be used – Curve, Freeform & Scribble – you will need to test which one is best suited for a task. Drawing toolbar – Power. Point/Word • Basic Shapes – a range of shapes can be selected e. g. circle & rectangle. Some of the shapes have 3 D features.
Initial ideas: Using Power. Point/Word to design hats Main drawing features Fill Colours Adding colour & 3 D effects – select Fill Colours The menu allows you to: • Fill designs with solid colours • Fill Effects enables you to create a range of interesting pattern & textures – lets look in further detail at Fill Effects.
Initial ideas: Using Power. Point/Word to design hats Fill Effects features Gradient effect – this can be used to get 3 D effects. Texture – some of the fills are suitable. Drawing toolbar - WORD
Initial ideas: Using Word/Power. Point to design hats More Fill Effects features The Pattern menu allows you to : • produce a range of textured effects. • use one or a blend of two colours Drawing toolbar - WORD
Initial ideas: Using Word/Power. Point to design hats The Picture menu allows you to fill an object with saved photographs or designs. Click on Select Picture and it will take you to My Picture – selected your picture, click Insert and it will fill your outline design. Just to re-cap this again. More Fill Effects features
Initial ideas: Using Word/Power. Point to design hats Drawing a beanie hat 1. Draw a rectangle – using Auto Shapes 2. Trace a line around the rectangle using the Scribble line to form the brim of the hat 3. Add colour to the brim using Fill colour gradient tool 4. Draw a simple rectangle using Auto. Shapes 5. Draw the main part of the hat the same way as the brim
Initial ideas: Using Word/Power. Point to design hats Recap - Possible colour and pattern effects. To add a specific pattern: • click on the Fill Colour toolbar • select Fill Effects and select Picture • click on Select Picture, then Insert, this will allow you to select a photograph or design you have saved and use it as a fill. The effects can be very effective. Using gradient fills in Fill Colour are an effective way of getting a 3 D effect - you can create your own fills or use the pre-sets.