INFRARED THERMOGRAPHIC CAMERA Thermografic camera for infrared tests
- Slides: 8

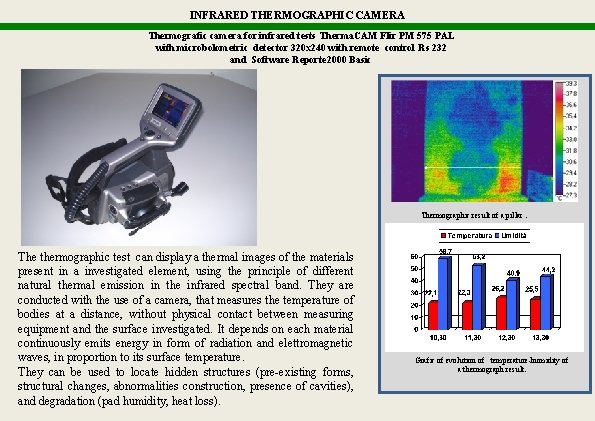
INFRARED THERMOGRAPHIC CAMERA Thermografic camera for infrared tests Therma. CAM Flir PM 575 PAL with microbolometric detector 320 x 240 with remote control Rs 232 and Software Reporte 2000 Basic Thermographic result of a pillar. The thermographic test can display a thermal images of the materials present in a investigated element, using the principle of different natural thermal emission in the infrared spectral band. They are conducted with the use of a camera, that measures the temperature of bodies at a distance, without physical contact between measuring equipment and the surface investigated. It depends on each material continuously emits energy in form of radiation and elettromagnetic waves, in proportion to its surface temperature. They can be used to locate hidden structures (pre-existing forms, structural changes, abnormalities construction, presence of cavities), and degradation (pad humidity, heat loss). Grafic of evolution of temperature-humidity of a thermograph result.

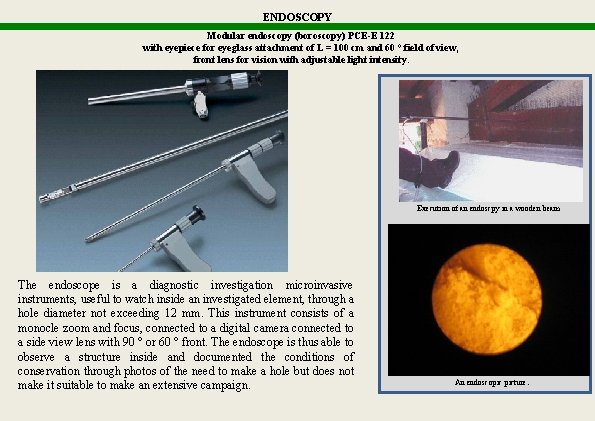
ENDOSCOPY Modular endoscopy (boroscopy) PCE-E 122 with eyepiece for eyeglass attachment of L = 100 cm and 60 ° field of view, front lens for vision with adjustable light intensity. Execution of an endoscpy in a wooden beam The endoscope is a diagnostic investigation microinvasive instruments, useful to watch inside an investigated element, through a hole diameter not exceeding 12 mm. This instrument consists of a monocle zoom and focus, connected to a digital camera connected to a side view lens with 90 ° or 60 ° front. The endoscope is thus able to observe a structure inside and documented the conditions of conservation through photos of the need to make a hole but does not make it suitable to make an extensive campaign. An endoscopic picture.

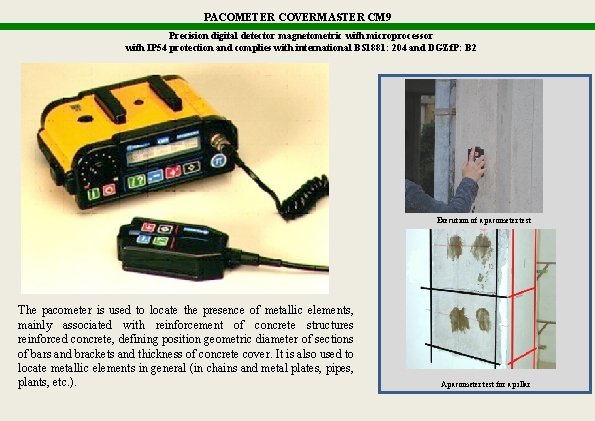
PACOMETER COVERMASTER CM 9 Precision digital detector magnetometric with microprocessor with IP 54 protection and complies with international BS 1881: 204 and DGZf. P: B 2 Execution of a pacometer test The pacometer is used to locate the presence of metallic elements, mainly associated with reinforcement of concrete structures reinforced concrete, defining position geometric diameter of sections of bars and brackets and thickness of concrete cover. It is also used to locate metallic elements in general (in chains and metal plates, pipes, plants, etc. ). A pacometer test for a pillar

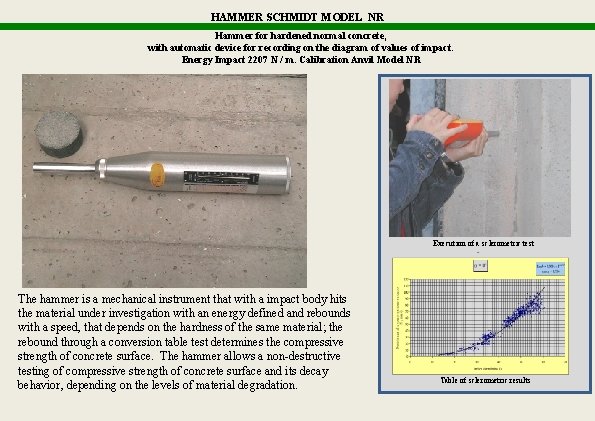
HAMMER SCHMIDT MODEL NR Hammer for hardened normal concrete, with automatic device for recording on the diagram of values of impact. Energy Impact 2207 N / m. Calibration Anvil Model NR Execution of a sclerometric test The hammer is a mechanical instrument that with a impact body hits the material under investigation with an energy defined and rebounds with a speed, that depends on the hardness of the same material; the rebound through a conversion table test determines the compressive strength of concrete surface. The hammer allows a non-destructive testing of compressive strength of concrete surface and its decay behavior, depending on the levels of material degradation. Table of sclerometric results

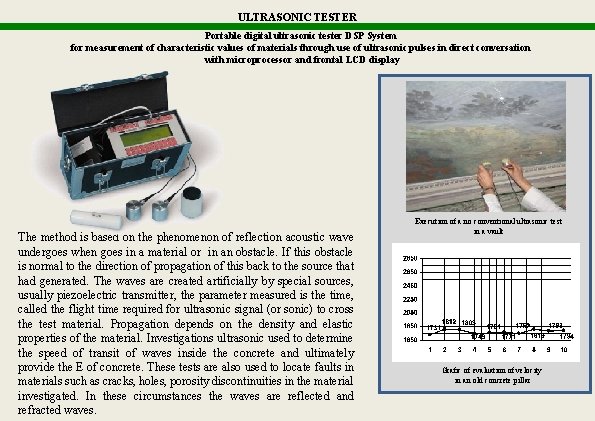
ULTRASONIC TESTER Portable digital ultrasonic tester DSP System for measurement of characteristic values of materials through use of ultrasonic pulses in direct conversation with microprocessor and frontal LCD display The method is based on the phenomenon of reflection acoustic wave undergoes when goes in a material or in an obstacle. If this obstacle is normal to the direction of propagation of this back to the source that had generated. The waves are created artificially by special sources, usually piezoelectric transmitter, the parameter measured is the time, called the flight time required for ultrasonic signal (or sonic) to cross the test material. Propagation depends on the density and elastic properties of the material. Investigations ultrasonic used to determine the speed of transit of waves inside the concrete and ultimately provide the E of concrete. These tests are also used to locate faults in materials such as cracks, holes, porosity discontinuities in the material investigated. In these circumstances the waves are reflected and refracted waves. Execution of a no conventional ultrasonic test in a vault Grafic of evaluation of velocity in an old concrete pillar

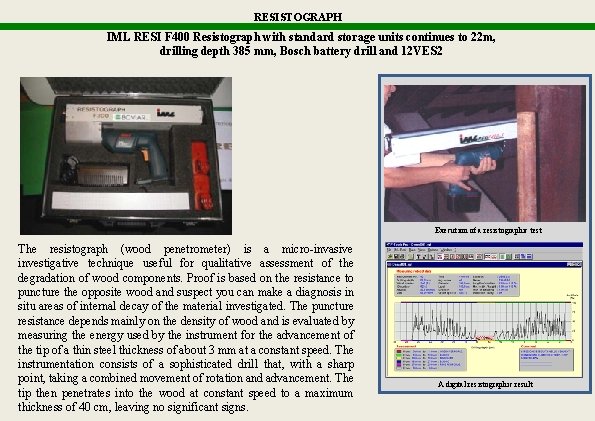
RESISTOGRAPH IML RESI F 400 Resistograph with standard storage units continues to 22 m, drilling depth 385 mm, Bosch battery drill and 12 VES 2 Execution of a resistographic test The resistograph (wood penetrometer) is a micro-invasive investigative technique useful for qualitative assessment of the degradation of wood components. Proof is based on the resistance to puncture the opposite wood and suspect you can make a diagnosis in situ areas of internal decay of the material investigated. The puncture resistance depends mainly on the density of wood and is evaluated by measuring the energy used by the instrument for the advancement of the tip of a thin steel thickness of about 3 mm at a constant speed. The instrumentation consists of a sophisticated drill that, with a sharp point, taking a combined movement of rotation and advancement. The tip then penetrates into the wood at constant speed to a maximum thickness of 40 cm, leaving no significant signs. A digital resistographic result

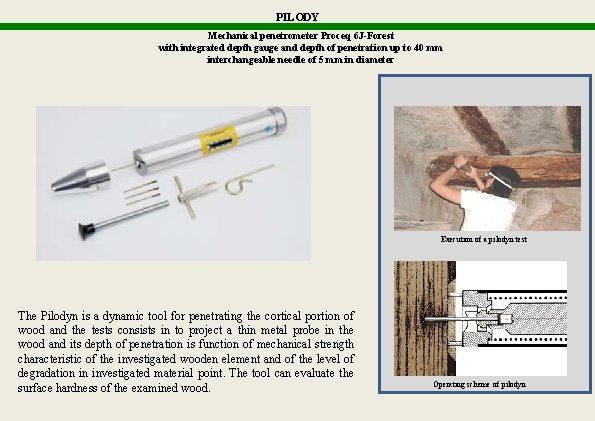
PILODY Mechanical penetrometer Proceq 6 J-Forest with integrated depth gauge and depth of penetration up to 40 mm interchangeable needle of 5 mm in diameter Execution of a pilodyn test The Pilodyn is a dynamic tool for penetrating the cortical portion of wood and the tests consists in to project a thin metal probe in the wood and its depth of penetration is function of mechanical strength characteristic of the investigated wooden element and of the level of degradation in investigated material point. The tool can evaluate the surface hardness of the examined wood. Operating scheme of pilodyn

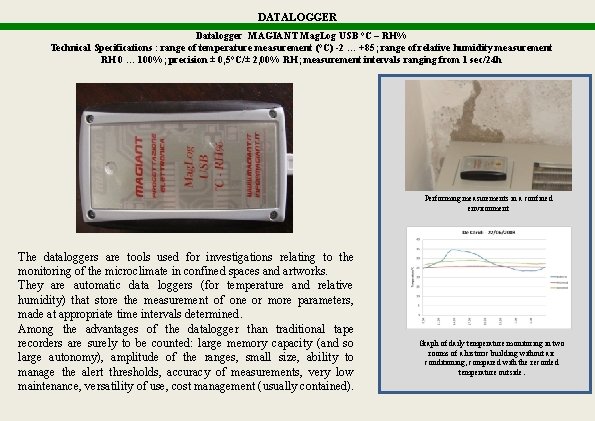
DATALOGGER Datalogger MAGIANT Mag. Log USB °C – RH% Technical Specifications : range of temperature measurement (°C) -2 … +85; range of relative humidity measurement RH 0 … 100%; precision ± 0, 5°C/± 2, 00% RH; measurement intervals ranging from 1 sec/24 h Performing measurements in a confined environment The dataloggers are tools used for investigations relating to the monitoring of the microclimate in confined spaces and artworks. They are automatic data loggers (for temperature and relative humidity) that store the measurement of one or more parameters, made at appropriate time intervals determined. Among the advantages of the datalogger than traditional tape recorders are surely to be counted: large memory capacity (and so large autonomy), amplitude of the ranges, small size, ability to manage the alert thresholds, accuracy of measurements, very low maintenance, versatility of use, cost management (usually contained). Graph of daily temperature monitoring in two rooms of a historic building without air conditioning, compared with the recorded temperature outside.