IENG 248 Lecture 06 Dimensioning Fastener Specification 1232020

- Slides: 23

IENG 248 Lecture 06 Dimensioning & Fastener Specification 12/3/2020 Engineering Graphics & 3 -D Modeling D. H. Jensen 1

IENG 248 Assignment: HW 06 n Ex. 9. 2, p. 387 (Fig. 9. 67, p. 327 in older texts): l Use two sheets of EP Paper, with the title blocks filled out. l Sketch dimensioned views for b and d, only one part per page l Scale drawing so that the parts are roughly double size on your paper (smallest hole diameter is 2 squares in width) l Draw orthographic, multi-view with straight edge (not CAD) l Measure units from Assignment Page with Scale (transfer using note card) ® Use millimeter dimensions for (b) ® Use inch dimensions for (d) 12/3/2020 Engineering Graphics & 3 -D Modeling D. H. Jensen 2

IENG 248 Dimensioning ® Why dimension drawings? Historical practicality n Production inaccuracies n Clarity of: n l Size l Position l Geometric Form ® How to dimension Know dimensioning techniques n Select dimension placement n Choose dimensions shown to convey: n l Functionality of part (very similar to design intent) l Manufacturing steps for part 12/3/2020 Engineering Graphics & 3 -D Modeling D. H. Jensen 3

IENG 248 Dimensioning Terms ® Nominal Size n The approximate size used for naming purposes ® Limits n The extreme allowable sizes for a feature ® Basic Size n The theoretical exact size from which limits for permissible variation are derived ® Basic Dimension n The theoretical exact location, to which tolerances are applied so as to limit permissible geometry variation ® Datum n A feature that is assumed to be exact for the purposes of manufacture and inspection ® Tolerance n 12/3/2020 The total amount the feature is allowed to vary (upper limit - lower limit) Engineering Graphics & 3 -D Modeling D. H. Jensen 4

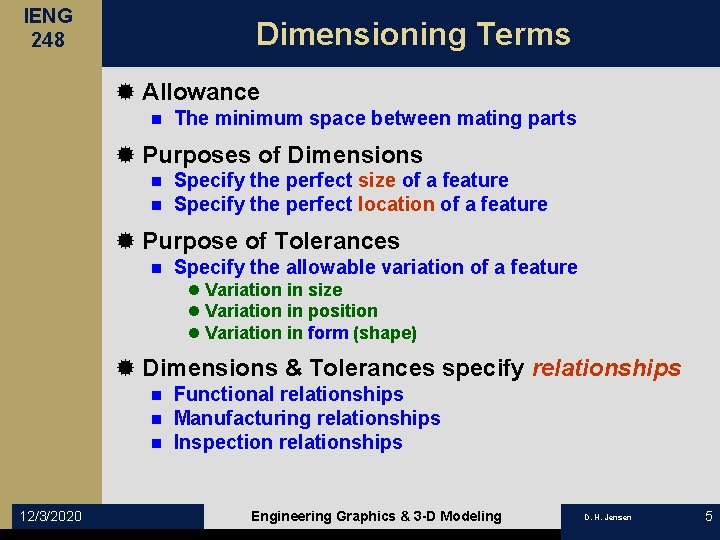
IENG 248 Dimensioning Terms ® Allowance n The minimum space between mating parts ® Purposes of Dimensions n n Specify the perfect size of a feature Specify the perfect location of a feature ® Purpose of Tolerances n Specify the allowable variation of a feature l Variation in size l Variation in position l Variation in form (shape) ® Dimensions & Tolerances specify relationships n n n 12/3/2020 Functional relationships Manufacturing relationships Inspection relationships Engineering Graphics & 3 -D Modeling D. H. Jensen 5

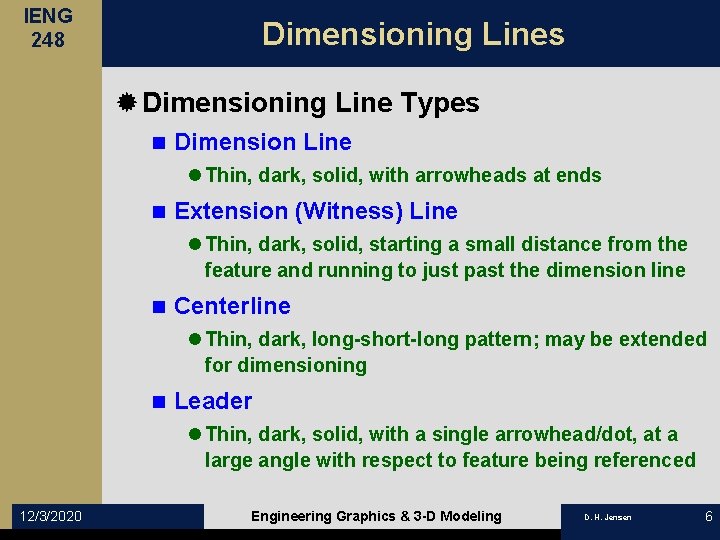
IENG 248 Dimensioning Lines ® Dimensioning Line Types n Dimension Line l Thin, dark, solid, with arrowheads at ends n Extension (Witness) Line l Thin, dark, solid, starting a small distance from the feature and running to just past the dimension line n Centerline l Thin, dark, long-short-long pattern; may be extended for dimensioning n Leader l Thin, dark, solid, with a single arrowhead/dot, at a large angle with respect to feature being referenced 12/3/2020 Engineering Graphics & 3 -D Modeling D. H. Jensen 6

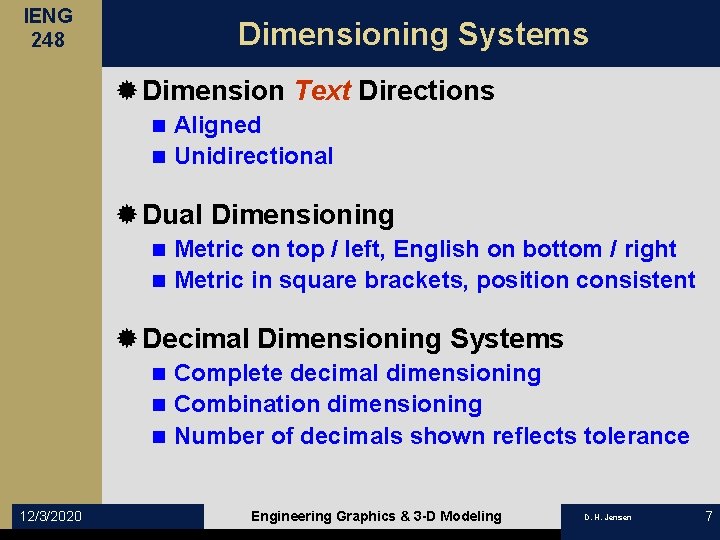
IENG 248 Dimensioning Systems ® Dimension Text Directions Aligned n Unidirectional n ® Dual Dimensioning Metric on top / left, English on bottom / right n Metric in square brackets, position consistent n ® Decimal Dimensioning Systems Complete decimal dimensioning n Combination dimensioning n Number of decimals shown reflects tolerance n 12/3/2020 Engineering Graphics & 3 -D Modeling D. H. Jensen 7

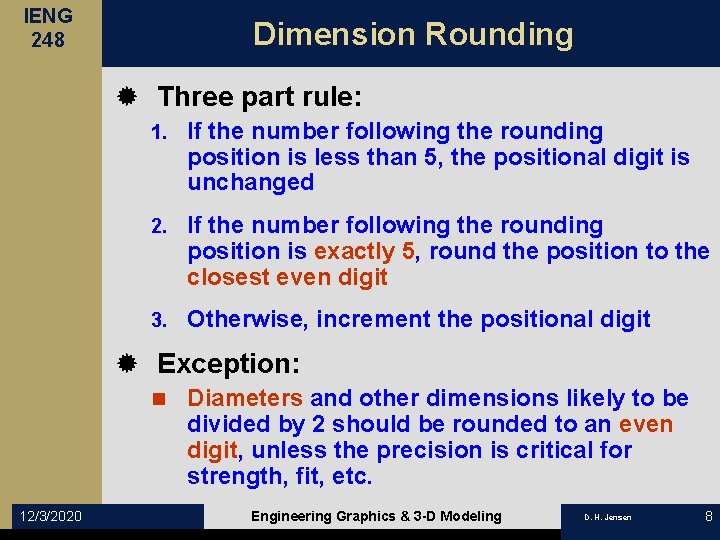
IENG 248 Dimension Rounding ® Three part rule: 1. If the number following the rounding position is less than 5, the positional digit is unchanged 2. If the number following the rounding position is exactly 5, round the position to the closest even digit 3. Otherwise, increment the positional digit ® Exception: n 12/3/2020 Diameters and other dimensions likely to be divided by 2 should be rounded to an even digit, unless the precision is critical for strength, fit, etc. Engineering Graphics & 3 -D Modeling D. H. Jensen 8

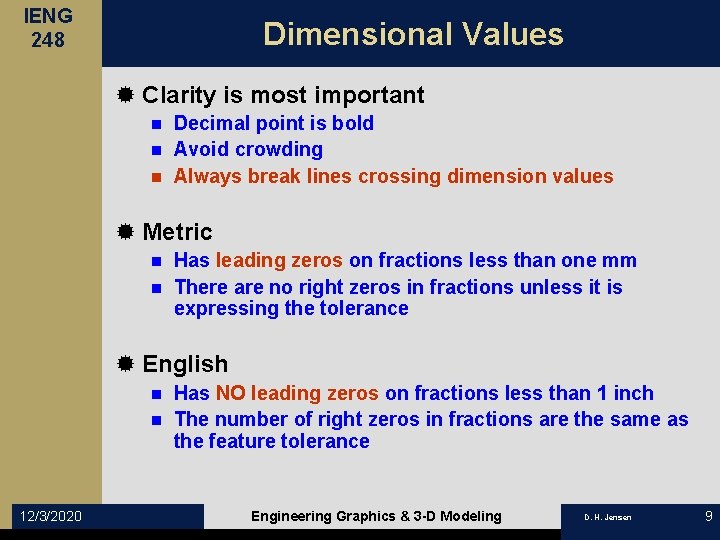
IENG 248 Dimensional Values ® Clarity is most important Decimal point is bold n Avoid crowding n Always break lines crossing dimension values n ® Metric Has leading zeros on fractions less than one mm n There are no right zeros in fractions unless it is expressing the tolerance n ® English Has NO leading zeros on fractions less than 1 inch n The number of right zeros in fractions are the same as the feature tolerance n 12/3/2020 Engineering Graphics & 3 -D Modeling D. H. Jensen 9

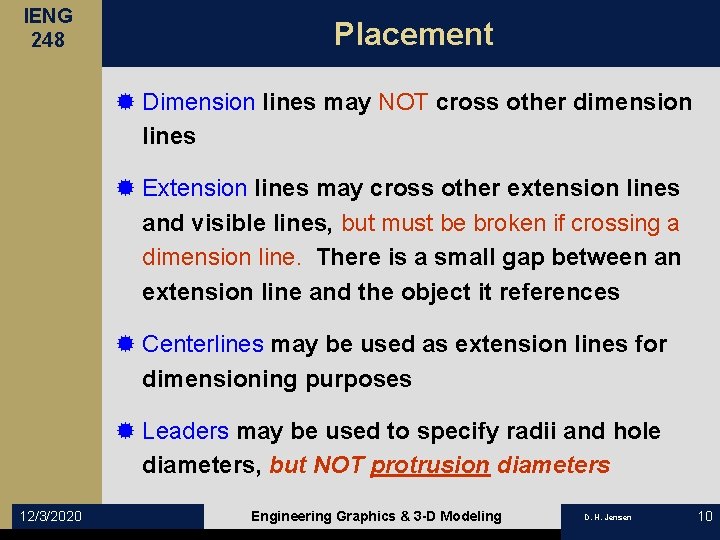
IENG 248 Placement ® Dimension lines may NOT cross other dimension lines ® Extension lines may cross other extension lines and visible lines, but must be broken if crossing a dimension line. There is a small gap between an extension line and the object it references ® Centerlines may be used as extension lines for dimensioning purposes ® Leaders may be used to specify radii and hole diameters, but NOT protrusion diameters 12/3/2020 Engineering Graphics & 3 -D Modeling D. H. Jensen 10

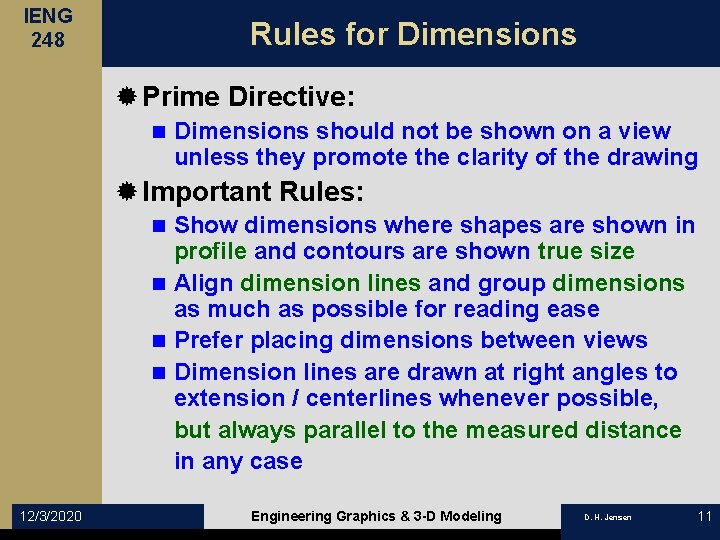
IENG 248 Rules for Dimensions ® Prime Directive: n Dimensions should not be shown on a view unless they promote the clarity of the drawing ® Important Rules: Show dimensions where shapes are shown in profile and contours are shown true size n Align dimension lines and group dimensions as much as possible for reading ease n Prefer placing dimensions between views n Dimension lines are drawn at right angles to extension / centerlines whenever possible, but always parallel to the measured distance in any case n 12/3/2020 Engineering Graphics & 3 -D Modeling D. H. Jensen 11

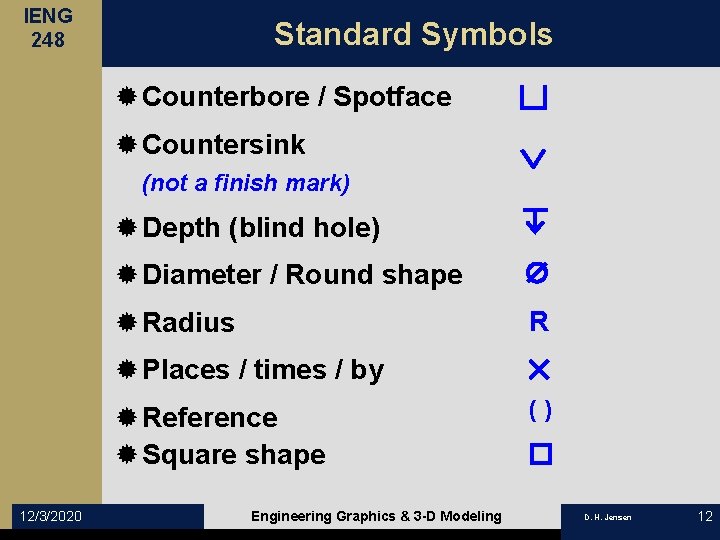
IENG 248 Standard Symbols ® Counterbore / Spotface ® Countersink (not a finish mark) ® Depth (blind hole) ® Diameter / Round shape R ® Radius ® Places / times / by ® Reference ® Square shape 12/3/2020 Engineering Graphics & 3 -D Modeling () D. H. Jensen 12

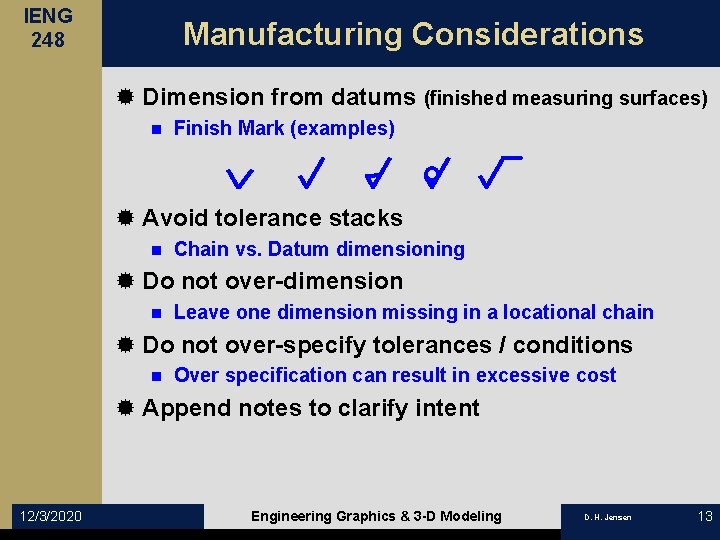
IENG 248 Manufacturing Considerations ® Dimension from datums (finished measuring surfaces) n Finish Mark (examples) ® Avoid tolerance stacks n Chain vs. Datum dimensioning ® Do not over-dimension n Leave one dimension missing in a locational chain ® Do not over-specify tolerances / conditions n Over specification can result in excessive cost ® Append notes to clarify intent 12/3/2020 Engineering Graphics & 3 -D Modeling D. H. Jensen 13

IENG 248 Fastener Terminology ® Screw Thread n a helical ridge of uniform section on the curved surface of a cylinder (internal or external) ® External Thread n a thread on the outside of a member (shaft) ® Internal Thread n a thread on the inside of a member (hole) ® Major Diameter n the largest diameter of a screw thread ® Minor Diameter n 12/3/2020 the smallest diameter of a screw thread Engineering Graphics & 3 -D Modeling D. H. Jensen 14

IENG 248 Fastener Terminology ® Angle of Thread n the angle between the two sides of a thread, measured on a plane through the axis of the screw ® Crest n the top surface/edge joining the thread sides ® Root n the bottom surface/edge joining the thread sides ® Side n 12/3/2020 the surface connecting the crest with the root Engineering Graphics & 3 -D Modeling D. H. Jensen 15

IENG 248 Fastener Terminology ® Pitch n the distance from one thread to the next, measured parallel to the axis. The reciprocal of the number of threads per inch. ® Pitch Diameter n the diameter of a cylinder if it passed through the point on the thread where the area of the threads and the space between threads is equal. ® Lead n 12/3/2020 the distance a thread advances axially in one turn. Engineering Graphics & 3 -D Modeling D. H. Jensen 16

IENG 248 Fastener Terminology ® Axis of Screw n the longitudinal centerline through the screw ® Depth of Thread n distance from crest to root measured normal to the axis ® Form of Thread n cross section of thread cut by a plane through the axis ® Series of Thread n 12/3/2020 standard number of threads per inch and based on the screw diameter Engineering Graphics & 3 -D Modeling D. H. Jensen 17

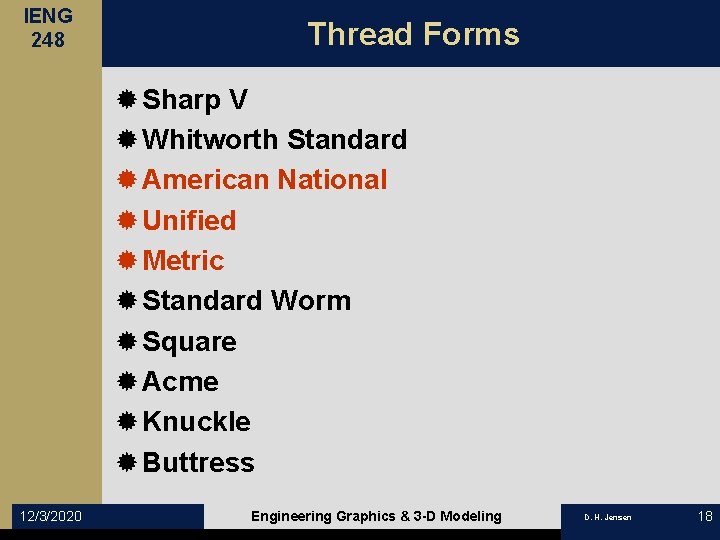
IENG 248 Thread Forms ® Sharp V ® Whitworth Standard ® American National ® Unified ® Metric ® Standard Worm ® Square ® Acme ® Knuckle ® Buttress 12/3/2020 Engineering Graphics & 3 -D Modeling D. H. Jensen 18

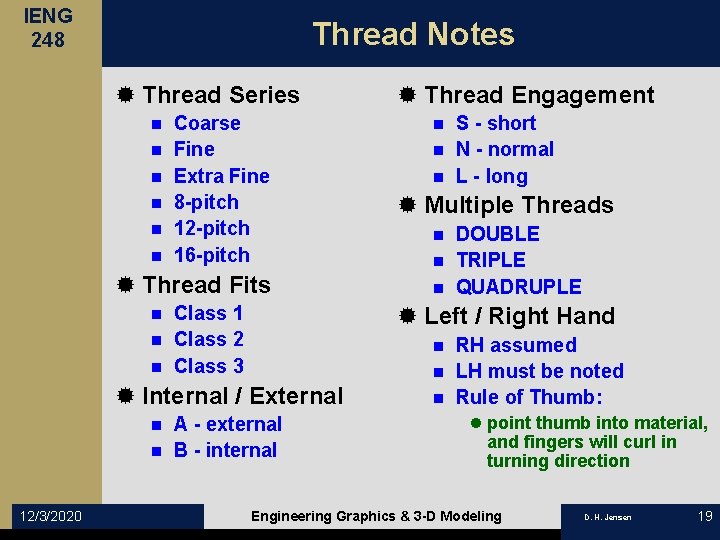
IENG 248 Thread Notes ® Thread Series n n n Coarse Fine Extra Fine 8 -pitch 12 -pitch 16 -pitch ® Thread Fits Class 1 n Class 2 n Class 3 ® Multiple Threads DOUBLE n TRIPLE n QUADRUPLE n RH assumed n LH must be noted n Rule of Thumb: n ® Internal / External A - external n B - internal 12/3/2020 S - short n N - normal n L - long n ® Left / Right Hand n n ® Thread Engagement l point thumb into material, and fingers will curl in turning direction Engineering Graphics & 3 -D Modeling D. H. Jensen 19

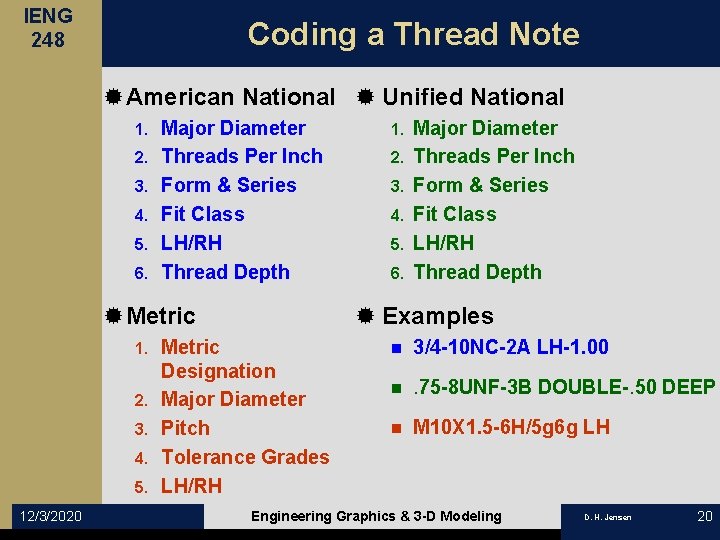
IENG 248 Coding a Thread Note ®American National ® Unified National 1. 2. 3. 4. 5. 6. Major Diameter Threads Per Inch Form & Series Fit Class LH/RH Thread Depth ®Metric 1. 2. 3. 4. 5. 12/3/2020 1. 2. 3. 4. 5. 6. Major Diameter Threads Per Inch Form & Series Fit Class LH/RH Thread Depth ® Examples Metric Designation Major Diameter Pitch Tolerance Grades LH/RH n 3/4 -10 NC-2 A LH-1. 00 n . 75 -8 UNF-3 B DOUBLE-. 50 DEEP n M 10 X 1. 5 -6 H/5 g 6 g LH Engineering Graphics & 3 -D Modeling D. H. Jensen 20

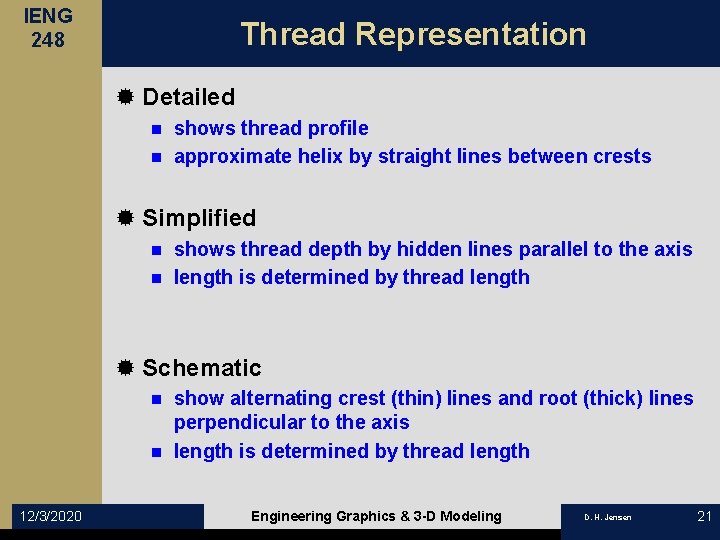
IENG 248 Thread Representation ® Detailed shows thread profile n approximate helix by straight lines between crests n ® Simplified shows thread depth by hidden lines parallel to the axis n length is determined by thread length n ® Schematic show alternating crest (thin) lines and root (thick) lines perpendicular to the axis n length is determined by thread length n 12/3/2020 Engineering Graphics & 3 -D Modeling D. H. Jensen 21

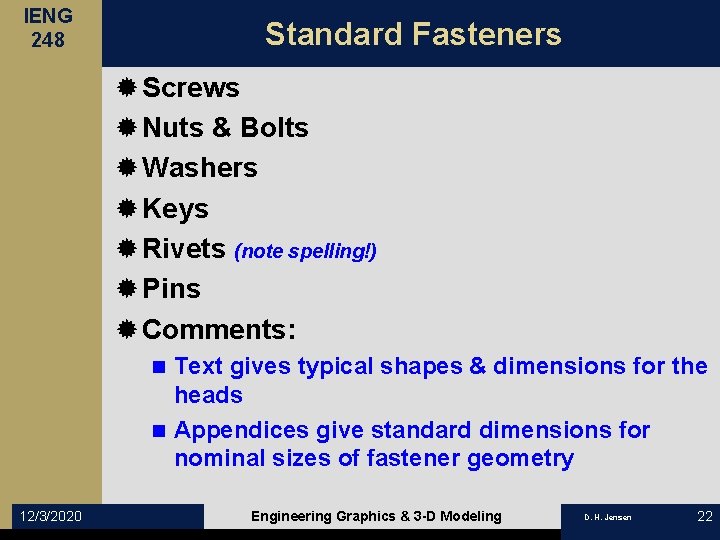
IENG 248 Standard Fasteners ® Screws ® Nuts & Bolts ® Washers ® Keys ® Rivets (note spelling!) ® Pins ® Comments: Text gives typical shapes & dimensions for the heads n Appendices give standard dimensions for nominal sizes of fastener geometry n 12/3/2020 Engineering Graphics & 3 -D Modeling D. H. Jensen 22

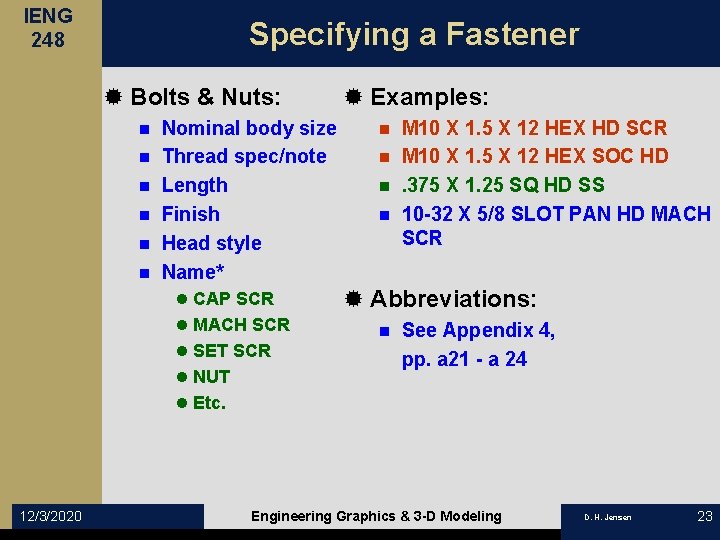
IENG 248 Specifying a Fastener ® Bolts & Nuts: n n n Nominal body size Thread spec/note Length Finish Head style Name* l CAP SCR l MACH SCR l SET SCR l NUT l Etc. 12/3/2020 ® Examples: M 10 X 1. 5 X 12 HEX HD SCR n M 10 X 1. 5 X 12 HEX SOC HD n. 375 X 1. 25 SQ HD SS n 10 -32 X 5/8 SLOT PAN HD MACH SCR n ® Abbreviations: n See Appendix 4, pp. a 21 - a 24 Engineering Graphics & 3 -D Modeling D. H. Jensen 23