
IDENTITY How were these portraits created Chris Trappeniers
- Slides: 5
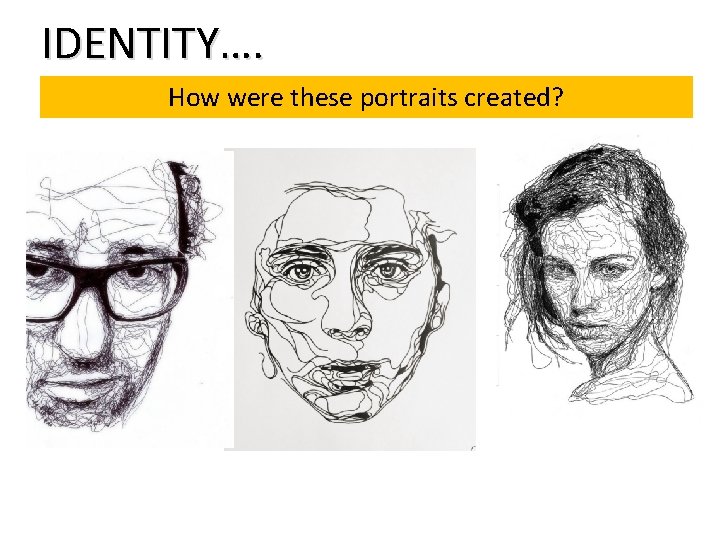
IDENTITY…. How were these portraits created?
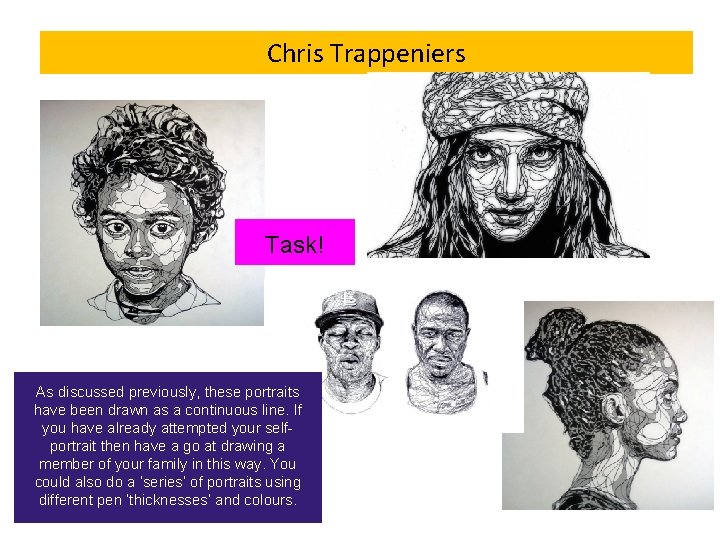
Chris Trappeniers Task! As discussed previously, these portraits have been drawn as a continuous line. If you have already attempted your selfportrait then have a go at drawing a member of your family in this way. You could also do a ‘series’ of portraits using different pen ‘thicknesses’ and colours.
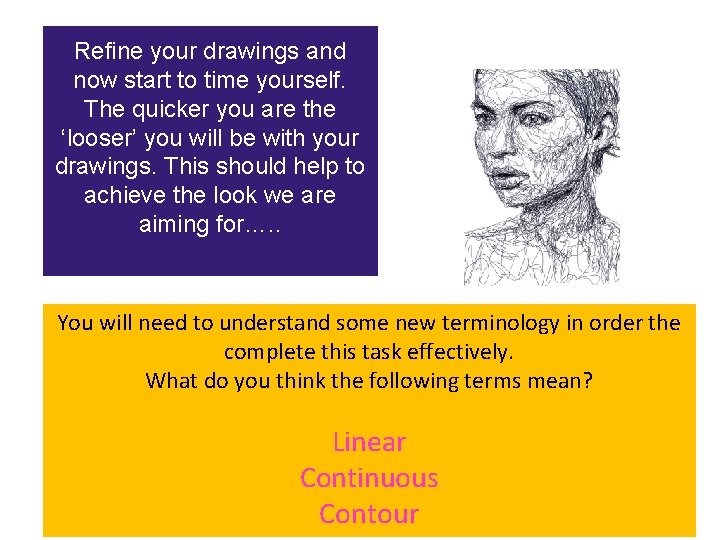
Refine your drawings and now start to time yourself. The quicker you are the ‘looser’ you will be with your drawings. This should help to achieve the look we are aiming for…. . You will need to understand some new terminology in order the complete this task effectively. What do you think the following terms mean? Linear Continuous Contour
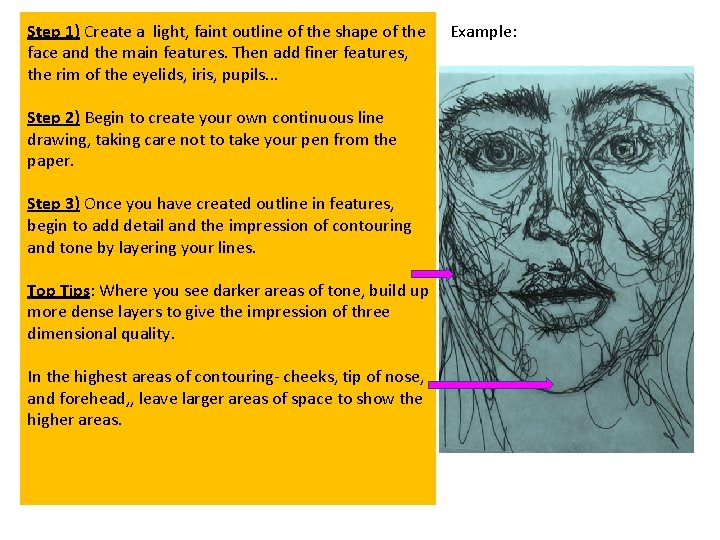
Step 1) Create a light, faint outline of the shape of the face and the main features. Then add finer features, the rim of the eyelids, iris, pupils. . . Step 2) Begin to create your own continuous line drawing, taking care not to take your pen from the paper. Step 3) Once you have created outline in features, begin to add detail and the impression of contouring and tone by layering your lines. Top Tips: Where you see darker areas of tone, build up more dense layers to give the impression of three dimensional quality. In the highest areas of contouring- cheeks, tip of nose, and forehead, , leave larger areas of space to show the higher areas. Example:
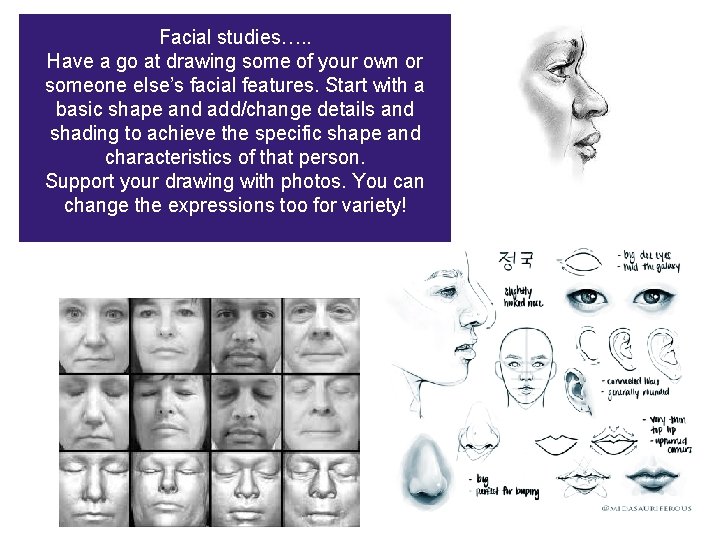
Facial studies…. . Have a go at drawing some of your own or someone else’s facial features. Start with a basic shape and add/change details and shading to achieve the specific shape and characteristics of that person. Support your drawing with photos. You can change the expressions too for variety!