HTML select The select Element p label forroleWhich

HTML – select

The select Element � <p> � <label for="role">Which best describes you? </label> � <select name="role" id="role"> � <option>Secretary</option> � <option>Web Designer</option> � <option>Manager</option> � <option>Other</option> � </select> � </p> Like checkboxes and radio buttons, it’s possible to preselect one of the options in a drop-down menu. To do so, we need to use a selected attribute with a value of selected.

The textarea Element The better choice for larger amounts of text is the textarea element Here’s some code that displays a textarea: � <p> � <label for="hobbies">Please tell us about your hobbies: </label></p> � <p><textarea name="hobbies" rows="7" cols="40" id="hobbies"> � </textarea> � </p>

Submit Buttons The code below produces the display shown below: � <p><input type="submit"/></p> The wording on this button is a little bland, because we’re yet to set a value attribute, so the browser uses its default. Adding in a value helps to make the button a little more friendly and intuitive, � <p><input type="submit" value="Send Your Feedback"/></p> Figure shows how browser displays combined form elements

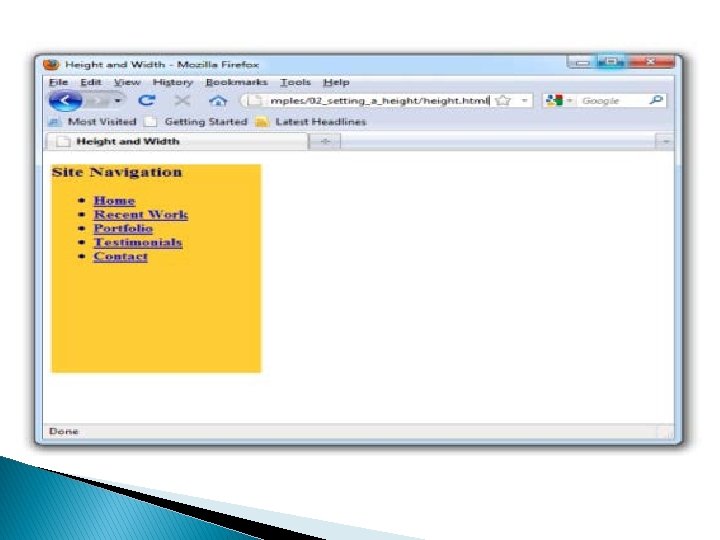
Figure 2 Displaying the div set to 200 pixels wide and 400 pixels high Translation: don’t underline the text of any link inside a level two heading (the default setting underlines all links, so other links on the page will remain underlined). Consider this HTML: <div id="mainnavigation"> <h 3>Site Navigation</h 3> <ul> <li><a href="home. html">Home</a></li> <li><a href="recent. html">Recent Work</a></li> <li><a href="portfolio. html">Portfolio</a></li> <li><a href="testimonials. html">Testimonials</a></li> <li><a href="contact. html">Contact</a></li> </ul> </div>
- Slides: 6