html head style typetextcss h 3 color red


 l HTML 문서의 <head>에서 <link>")


와 같은 요소는")


- Slides: 37
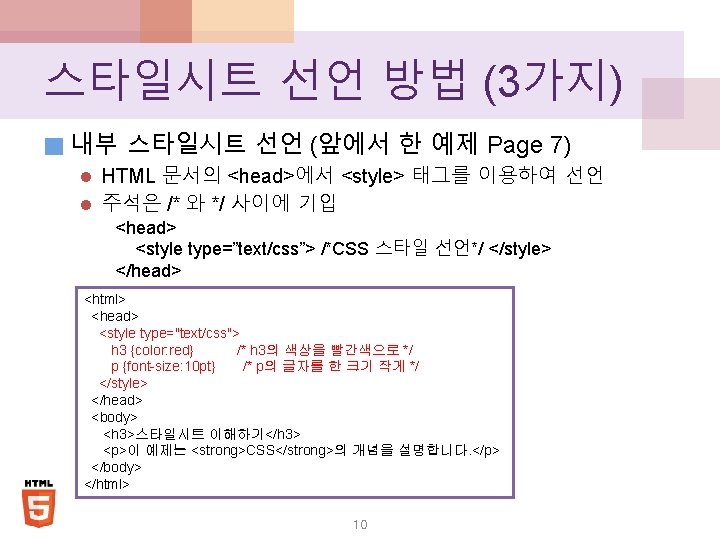
■ 속성 누적하기 <html> <head> <style type="text/css"> h 3 {color: red; font-style: italic; } p {font-size: 10 pt} strong { color: red; font-style: italic; } </style> </head> <body> <h 3>스타일시트 이해하기</h 3> <p>이 예제는 <strong>CSS</strong>의 개념을 설명합니다. </p> <p>다음 예제로 이어집니다. </p> </body> </html> 8
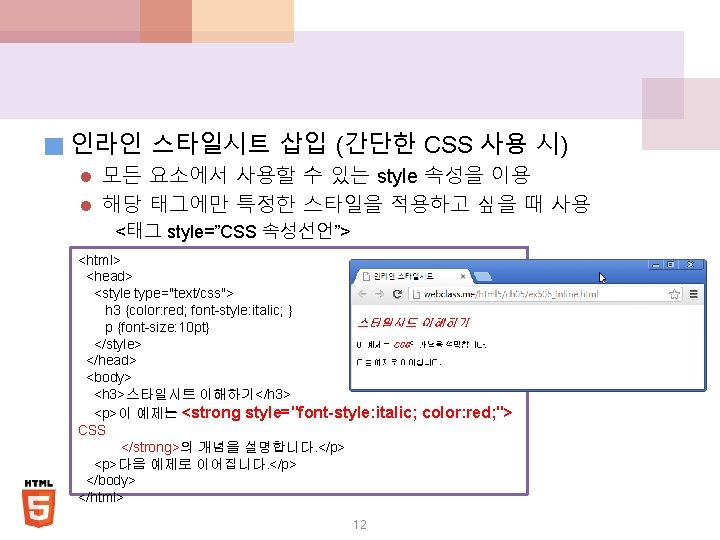
■ 외부 스타일시트 연결 (설계와 구현을 별개로, 큰 사이즈) l HTML 문서의 <head>에서 <link> 태그를 이용하여 연결 <head> <link rel=”stylesheet” type=”text/css” href=”CSS 파일 이름” /> </head> /* 외부 스타일시트 */ h 3 { color: red} p { font-size: 10 pt } <html> <head> <link rel="stylesheet" type="text/css" href="extern. css"/> </head> <body> <h 3>스타일시트 이해하기</h 3> <p>이 예제는 <strong>CSS</strong>의 개념을 설명합니다. </p> </body> </html> 11
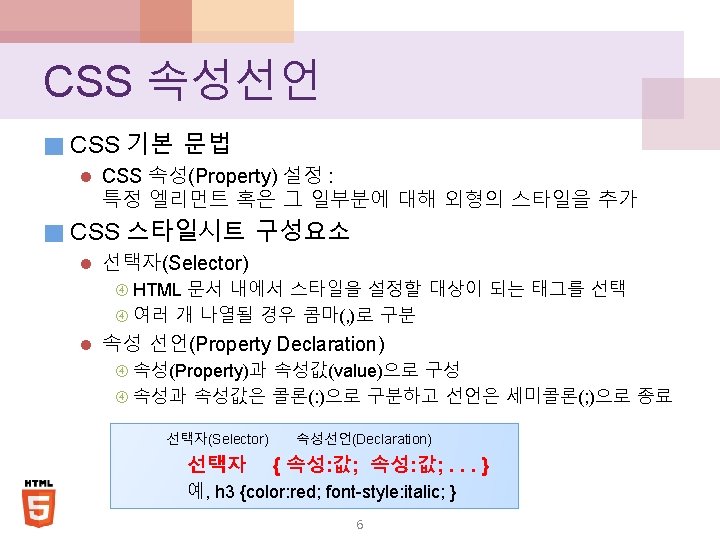
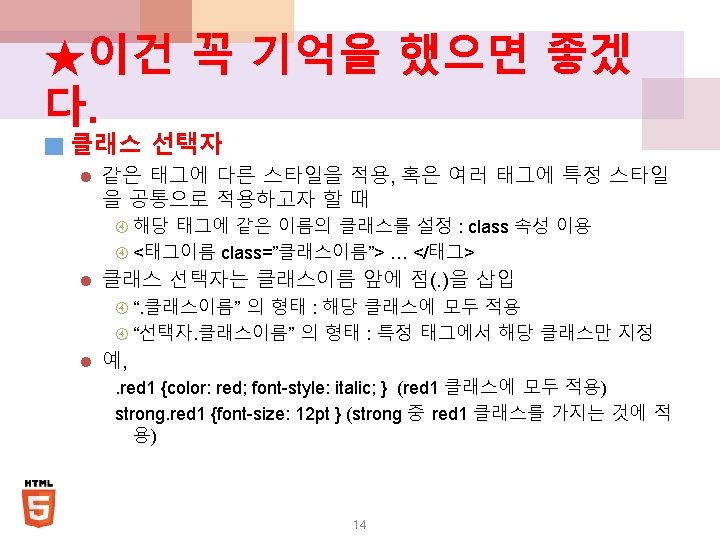
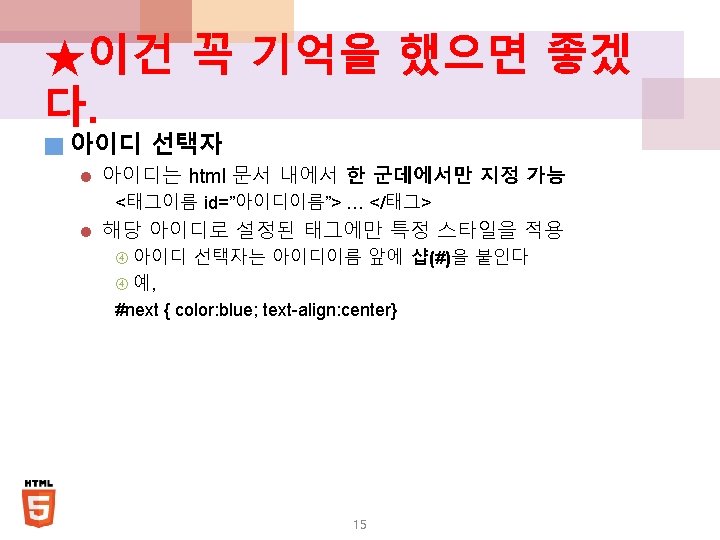
클래스 선택자 및 아이디 선택 자 <head> <style type="text/css"> p {font-size: 10 pt}. red 1 {color: red; font-style: italic; } /* red 1 클래스는 빨간색 이탤릭으로 */ strong. red 1 {font-size: 12 pt } /* strong 요소중 red 1 클래스는 12 pt 크기 */ #next { color: blue; text-align: center} /* next 아이디는 파란색 가운데 정렬 */ </style> </head> <body> <h 3 class="red 1">스타일시트 이해하기</h 3> <p>이 예제는 <strong class="red 1">CSS</strong>의 개념을 설명합니다. <span class="red 1">클래스</span>와 ID로 스타일을 지정합니다. </p> <p id="next">다음 예제로 이어집니다. </p> </body> 16
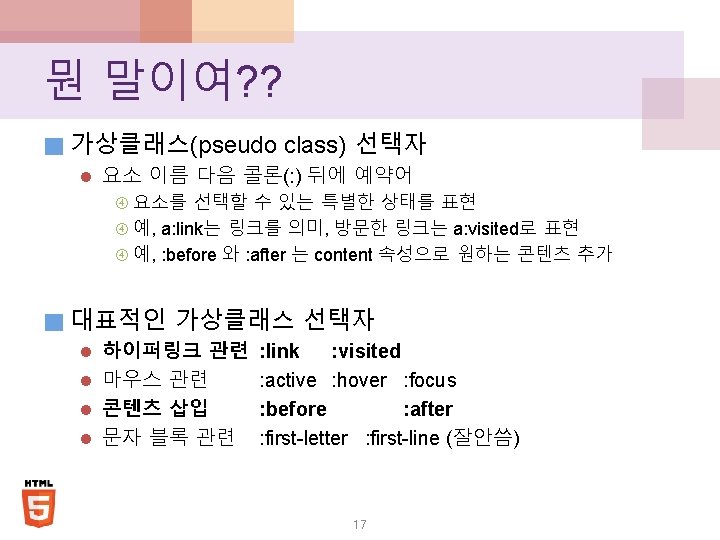
가상클래스 선택자 <head> <style type="text/css"> p {font-size: 10 pt} a: link { color: blue; } /* a태그의 하이퍼링크 */ a: visited { color: green; } /* 방문한적 있으면 a태그의 링크 */ p: last-child { color: blue; text-align: center; } /* 마지막 p요소 */ p: first-letter { font-size: 12 pt; background-color: silver } /* p요소의 첫글자 */ h 3: before { content: "◆"; color: blue } /* h 3요소의 앞에 파란색 ◆문자 삽입 */ h 3: after { content: " (ⓒsblim)"; font-size: 10 pt } /* h 3요소의 뒤에 콘텐츠 삽입 */ </style> </head> <body> <h 3><strong>스타일시트</strong> 이해하기</h 3> <p>이 예제는 <strong>CSS</strong>의 개념을 설명합니다. </p> <p>선택자에 <a href="http: //www. w 3 c. org">가상클래스</a>와 <a href="http: //mm. sm. ac. kr"> 선택자 조합</a>을 적용하여 스타일을 지정합니다. </p> </body> 18
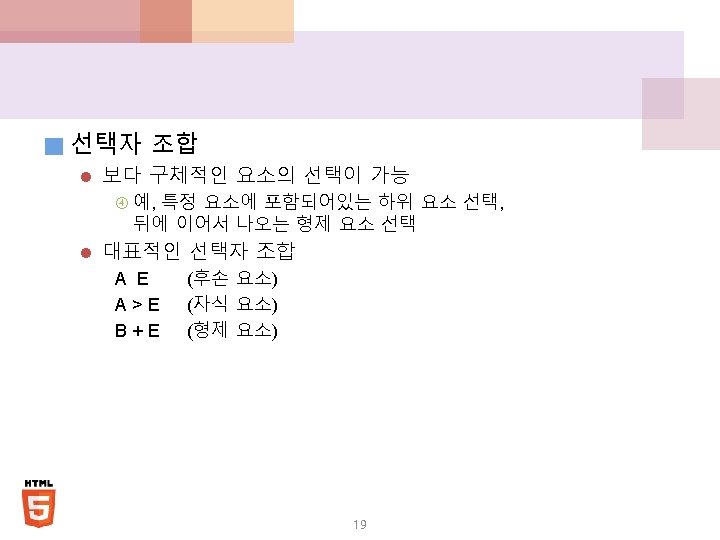
선택자 조합 <head> <style type="text/css"> p { font-size: 10 pt } h 3: after { content: " (©sblim)"; font-size: 10 pt } /* h 3요소의 뒤에 콘텐츠 삽입 */ h 3 strong { font-style: italic } /* h 3에 속하는 strong 요소 */ p strong { color: red } /* p에 속하는 strong 요소 */ p > strong { color: blue } /* p요소 바로 아래에 속하는 strong 요소 */ h 3 + p { font-style: italic } /* h 3요소 바로 다음에 있는 p요소 */ </style> </head> <body> <h 3> <strong>스타일시트</strong> 이해하기</h 3> <p>이 예제는 <span id="test"><strong>CSS</strong>의 개념</span>을 설명합니다. <a href="http: //www. w 3 c. org">가상클래스</a>와 <a href="http: //mm. sm. ac. kr"> 선택자조합</a>으로 스타일을 지정합니다. </p> <p>다음 <strong>CSS 속성</strong> 예제로 이어집니다. </p> </body> 20
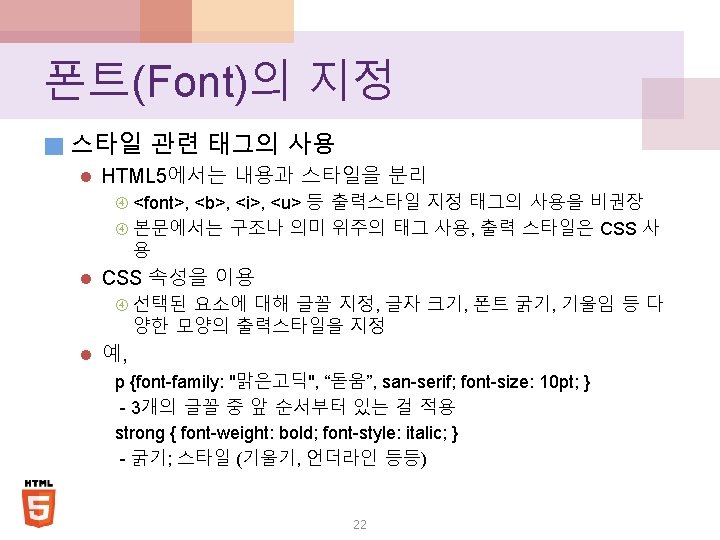
폰트 지정 예제 <head> <style type="text/css"> h 3 { font-family: "맑은고딕" "돋움" san-serif; color: red } h 3: after { content: " (©sblim)"; font-size: 10 pt } p { font-family: "Times New Roman" "돋움" serif; line-height: 10 pt} #x-small { font-size: x-small } /* 중간 생략 */ #v-normal { font-variant: v-normal } #small-caps { font-variant: small-caps } </style> </head> <body> <h 3>CSS 폰트 속성</h 3> <p>font-size : <span id="x-small">x-small</span>, <span id="small">small</span>, <span id="medium"> medium </span>, <span id="pt 12"> 12 pt </span>, <!--중간 생략 --> <p>font-variant : <span id="v-normal"> CSS normal , </span> <span id="small-caps"> CSS small-caps , </span> </body> 24
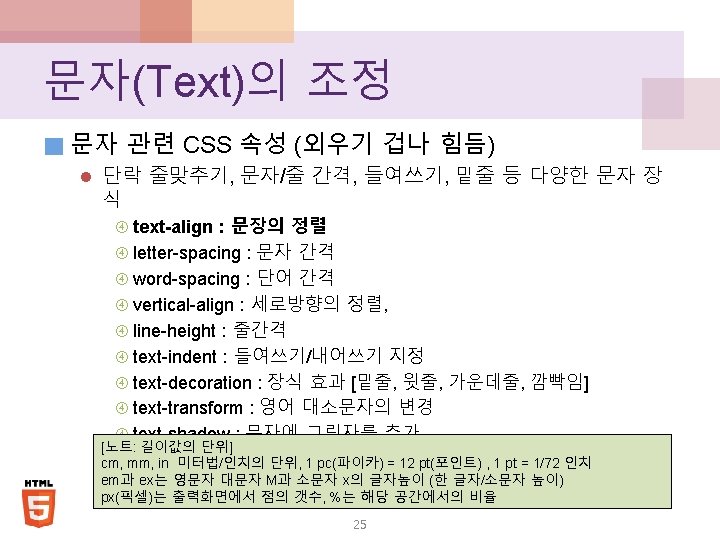
문자 조정 예제 <head> <style type="text/css"> h 3 {font-family: "맑은고딕" san-serif; color: red; text-shadow: 3 px 4 px grey } h 3: after { content: " (©sblim)"; font-size: 10 pt; text-shadow: 1 px 12 px green } p { font-family: "Times New Roman" "돋움" serif; line-height: 10 pt } #first { text-align: left; letter-spacing: 2 pt; word-spacing: 8 pt } #second { text-align: left; text-indent: 2 em; letter-spacing: -2 pt; word-spacing: 2 pt} #third { text-align: right; } #fourth { text-align: center; } /* 중간 생략 */ #cap { text-transform: capitalize } #upper { text-transform: uppercase } 전체 대문자 #lower { text-transform: lowercase } 전체 소문자 </style> </head> <body> <h 3><strong>CSS</strong> 문자관련 속성</h 3> <p id="first">왼쪽정렬, 문자간격 3 pt, 단어간격 8 pt </p> <p id="second">왼쪽정렬, 들여쓰기 2글자, 문자간격 -2 pt, 단어간격 2 pt </p> <p id="third">오른쪽정렬, text-decoration : <span id="under"> underline </span>, <span id="over"> overline </span>, <span id="thru"> line-through </span> </p> <p id="fourth">가운데정렬, text-transform : <span id="cap"> capitalize </span>, <span id="upper"> uppercase </span> , <span id="lower"> Lowercase </span></p> </body> 26
27
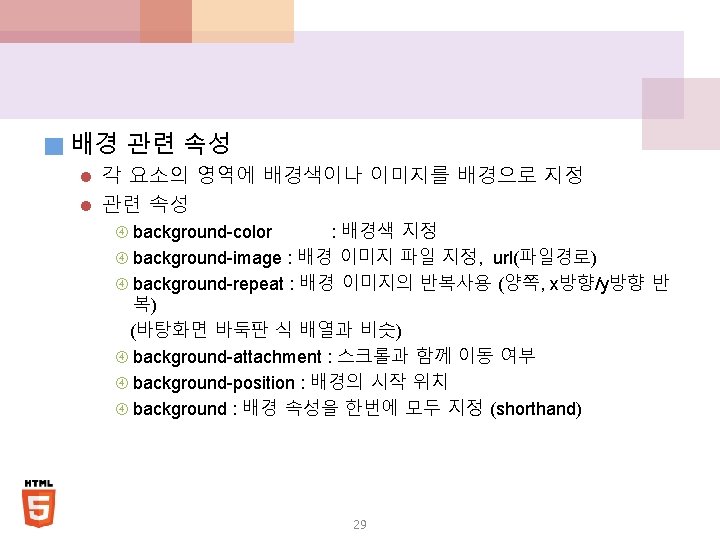
배경 지정 예제 <head> <style type="text/css"> h 3 { color: red; background-color: #90 ff 90 } h 3: after { content: " (©sblim)"; font-size: 10 pt; background-color: yellow } #first { background-image: url(flower. jpg); background-repeat: repeat-x; } #second { background-image: url(flower. jpg); } #third { background-image: url(flower. jpg); background-repeat: no-repeat; background-position: center bottom } </style> </head> <body> <h 3> CSS 배경관련 속성</h 3> <table border="1"> <tr> <td id="first"> 배경 이미지 • url(파일경로) . . . 생략. . . </td> <td id="second"> 배경 이미지 • url(파일경로) . . . 생략. . . </td> <td id="third"> 배경 이미지 • background-repeat : >. . . 생략. . . </td> </tr> </table> </body> 30
영역설정을 위한 박스모델 ■ 배경 영역 l <h 3>, <p>, <div> (블럭요소)와 같은 요소는 해당하는 줄만큼 배경 l <strong>이나 <span>과 같은 요소는 해당하는 글자들만 배경 l <table>이나 <img>와 같은 요소는 자신의 영역이 미리 결정 <head> <style type="text/css"> p {font-size: 10 pt} h 3 { color: red; background-color: #90 ff 90 } h 3: after { content: " (ⓒsblim)"; font-size: 10 pt; background-color: yellow } strong, . red 1 { background-color: silver } #next { text-align: center; background-color: #B 0 ffff } </style> </head> <body> <h 3> <strong>스타일시트</strong> 이해하기</h 3> <p>이 예제는 <strong>박스모델</strong>의 개념을 설명합니다. <span class="red 1">클래스</span>와 ID로 스타일을 지정합니다. </p> <p id="next">다음 예제로 이어집니다. </p> </body> 32
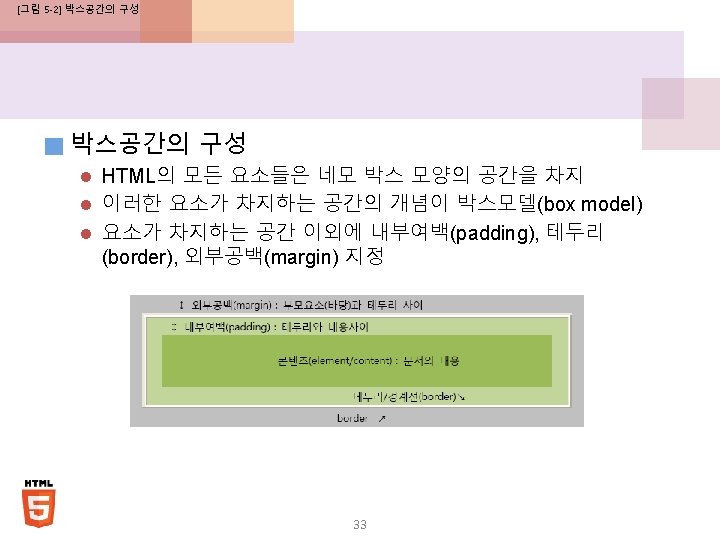
■ 박스공간을 위한 속성 l 외부공백 : margin, l l l margin-top, margin-right, margin-left, margin-bottom 내부여백 : padding, padding-top, padding-right, padding-left, paddingbottom 테두리/경계선의 두께 : border-width, border-top-width, border-bottom-width, border-left-width, border-rightwidth 테두리의 모양 : border-style (실선, 점선, 이중선 등) 테두리의 색상 : border-color 테두리 지정 줄여쓰기(shorthand) : border: <width> <style> <color> 34
박스모델 확인 예제 <head> <style type="text/css"> p {font-size: 10 pt; line-height: 24 pt} h 3 { color: red; background-color: #90 ff 90; margin-left: 60 px; margin-right: 60 px } h 3: after { content: " (ⓒsblim)"; font-size: 10 pt; } p { background-color: #ffff 80; padding: 10 px; border: medium dotted red } #next { line-height: 2 pt; margin-left: 30%; padding: 8 px; border: 4 px double blue } strong, . red 1 { background-color: silver; margin: 10 px; padding: 6 px; border: 1 px solid black } </style> </head> <body> <h 3> <strong>스타일시트</strong> 이해하기</h 3> <p>이 예제는 <strong>박스모델</strong>의 개념을 설명합니다. <span class="red 1">클래스</span>와 ID로 스타일을 지정합니다. </p> <p id="next">다음 예제로 이어집니다. </p> </body> 35
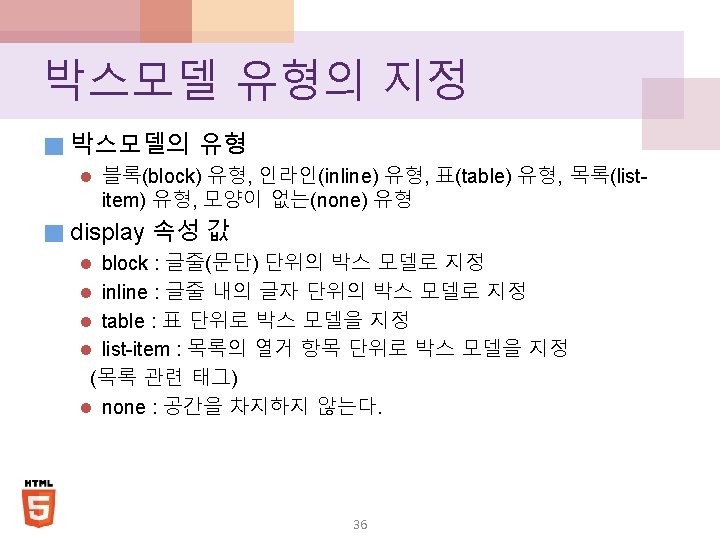
display 속성 변경 예제 head> <style type="text/css"> /* 생략 */ p { display: inline; background-color: #ffff 80; padding: 10 px; border: thin dotted red } #next { display: inline; line-height: 12 pt; margin-left: 30%; padding: 8 px; border: 4 px inset green } strong { display: none; background-color: silver; margin: 10 px; padding: 6 px; border: 1 px solid black }. red 1 { display: block; background-color: silver; padding: 6 px; border: 1 px solid black } </style> </head> <body> <h 3> <strong>스타일시트</strong> 이해하기</h 3> <p>이 예제는 <strong>박스모델</strong>의 개념을 설명합니다. <span class="red 1">클래스</span>와 ID로 스타일을 지정합니다. </p> <p id="next">다음 예제로 이어집니다. </p> </body> 37